In disc playing mode, press it on remote control to adjust channel output as below.
Language menu(AUDIO)
Confirm button(ENTER)
Press this buttonto confirm theselected menu.
10
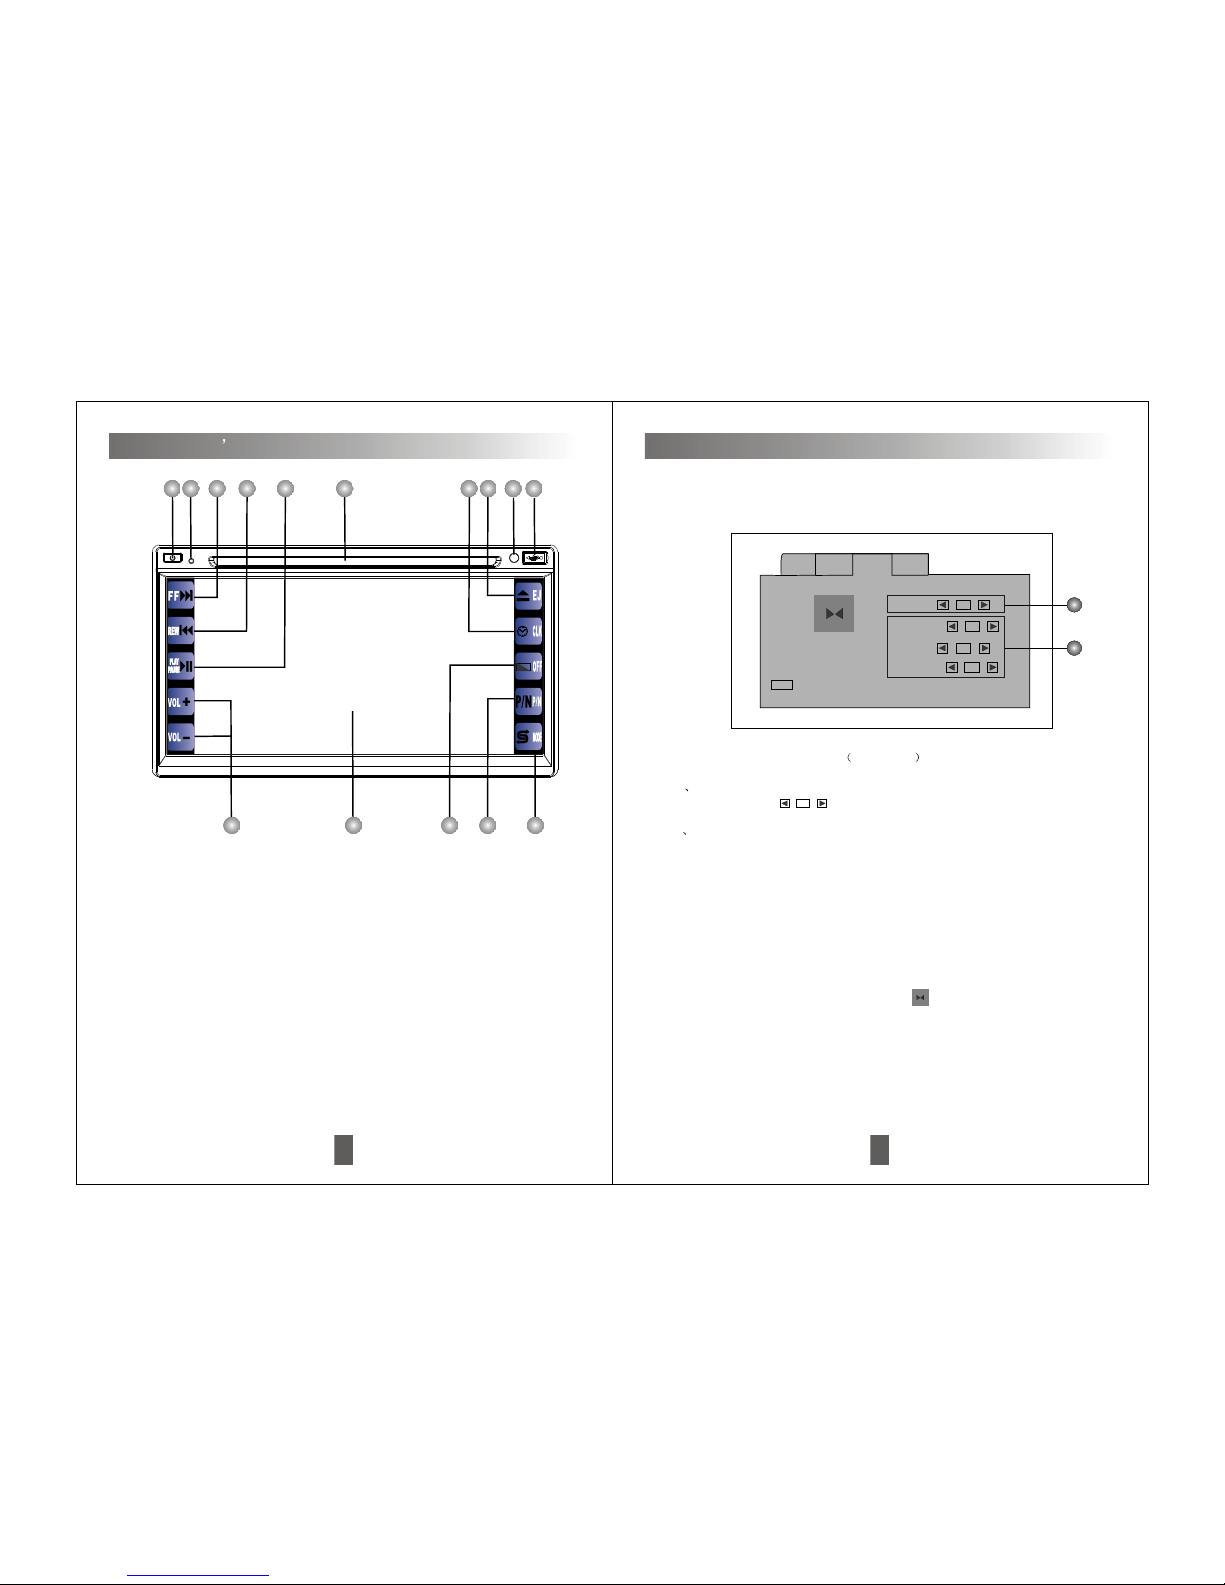
Function Instructions
Insert the discinto slot, CDwill begin toplay, and the name and number of the
track will appeartoo.
Disc slot window
Radio/searching up/DVD/next track/fast-forward( )
1. In radiomode, Press onpanel/remote control to adjust the receiver
frequency up. Pressand hold itfor over 2seconds to searchup automatically.
2. In discplaying mode, Press to select thenext track.
3. In discplaying mode, press button for over2 seconds toselect fast
forward, to selectfast forward speedas following:
Example: fast backwardX2, X4, X8,X16 playing.
f unction toselect fast backwardspeed as following:
Example: fast backwardX2, X4, X8,X16 playing.
1. In radiomode, Press onpanel/remote control to adjust the receiver
frequency down. Pressand hold itfor over 2seconds to searchdown
automatically.
Radio/searching down/DVD/last track/fast-backward( )
2. In discplaying mode, Press to select thelast track.
3. In discplaying mode, press button over 2seconds to select fast-backward
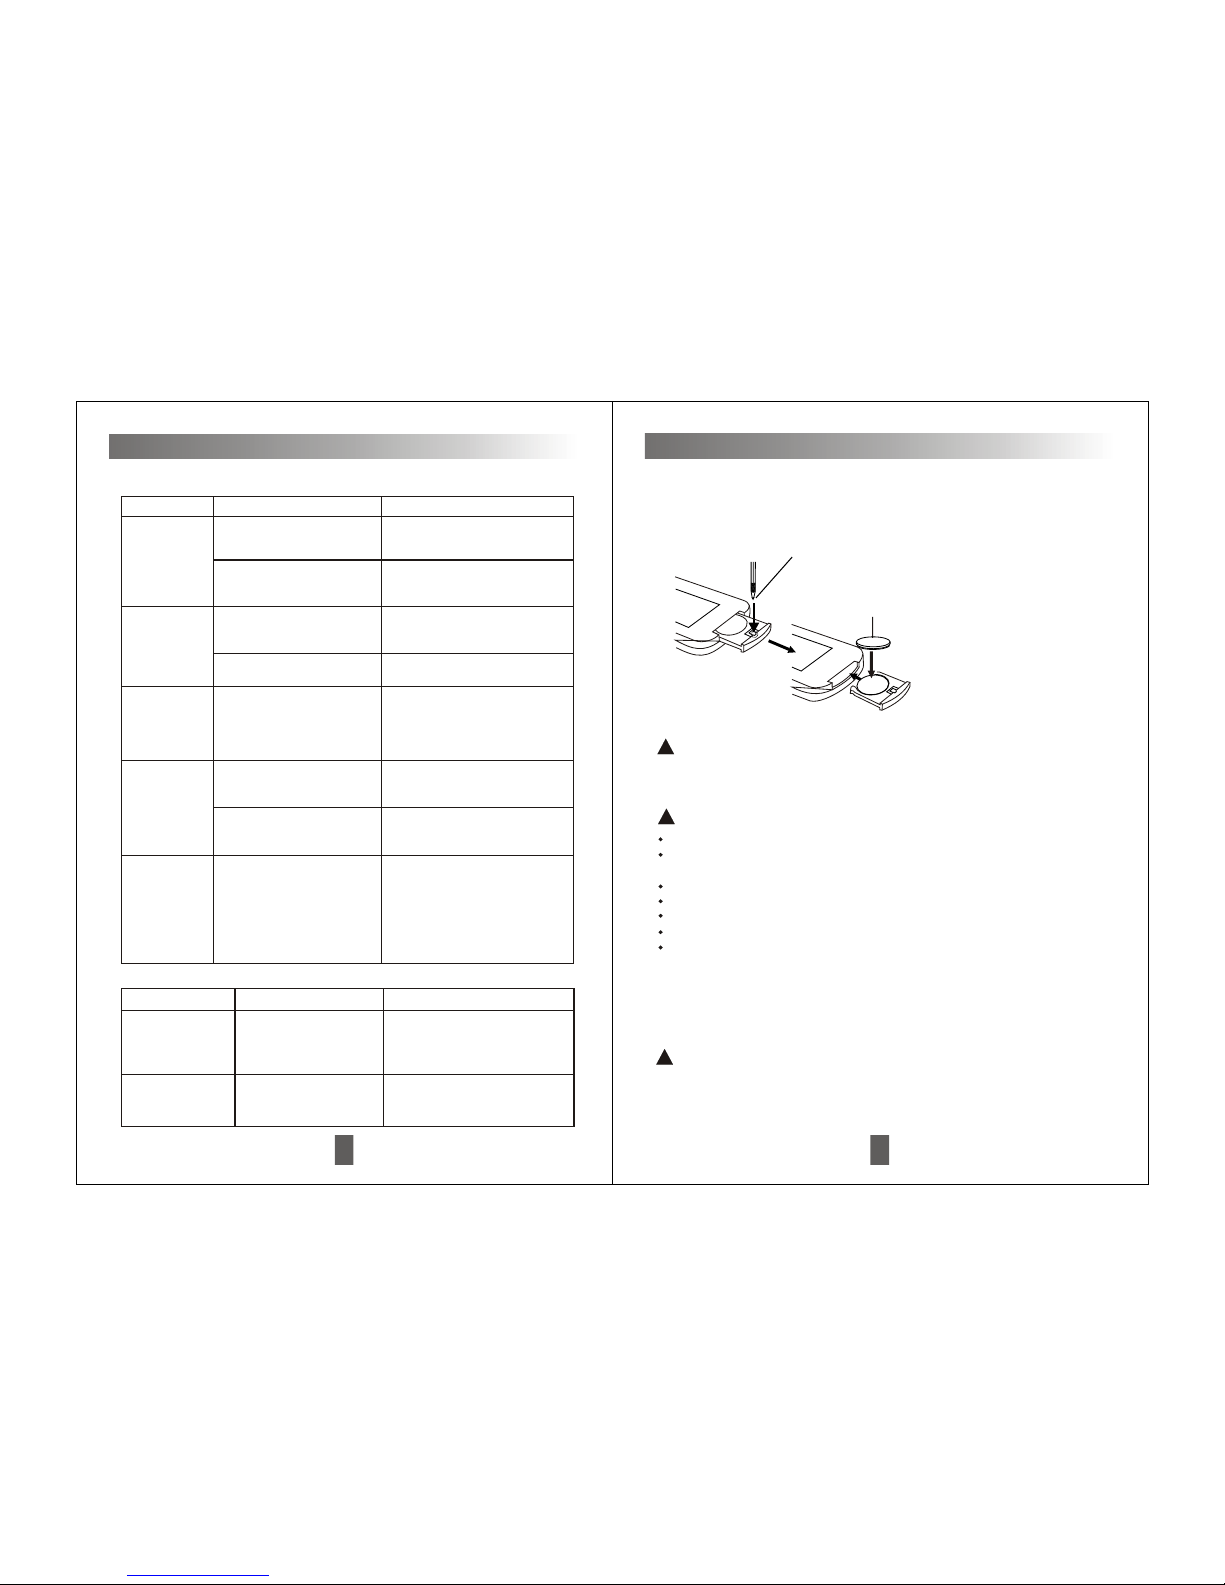
Disc eject button( )
Press it toeject a disc,and change toradio mode automatically. Afterejecting
the disc, itwill enter automaticallyif not takeit out in10 seconds, butnot
playing.
1. In radiomade,press PRG/AMS on remote controlover 3 sec,the unit will
select the strongestlocal 6 stations automatically to store the NO.1-6 stations in
order. FMincludes FM1, FM2,FM3, each canstore 6 stations,at most 18
stations. AMincludes AM1,A 2, AM3,each can store 6 stations, at most 18
stations.
Auto-memory & scan storage button(AMS)
LCD
Display all selectedfunctions.
USB function selection
Insert USB toUSB port ofthis player,it will automaticallyplayback the
M
33
1 Touch this buttonto choose trackup, press itover 2 sec means fast-
backward function.
2 Touch this buttonmeans disc pause/playfunction.
3 Touch this buttonto choose trackdown, press it over 2 sec means
fast-forward function.
4 Repeat button, Touch this button torepeat single trackplayback or full
disc playback mode.
5 Random button, Touch this button tochoose random function.
6 A-B Repeatplayback button, fixpoint repeat (A-B)allow to playback
repeatly between any2 points, In playback process, In start point (A) of
playback, when thepoint Ahas setup, then setup the end point (B) of
needed playback. Whenthe point B has setup, then touch A-B button, it
will playback repeatlybetween Aand B. If want to quit this function, then
touch A-Bbutton once again.
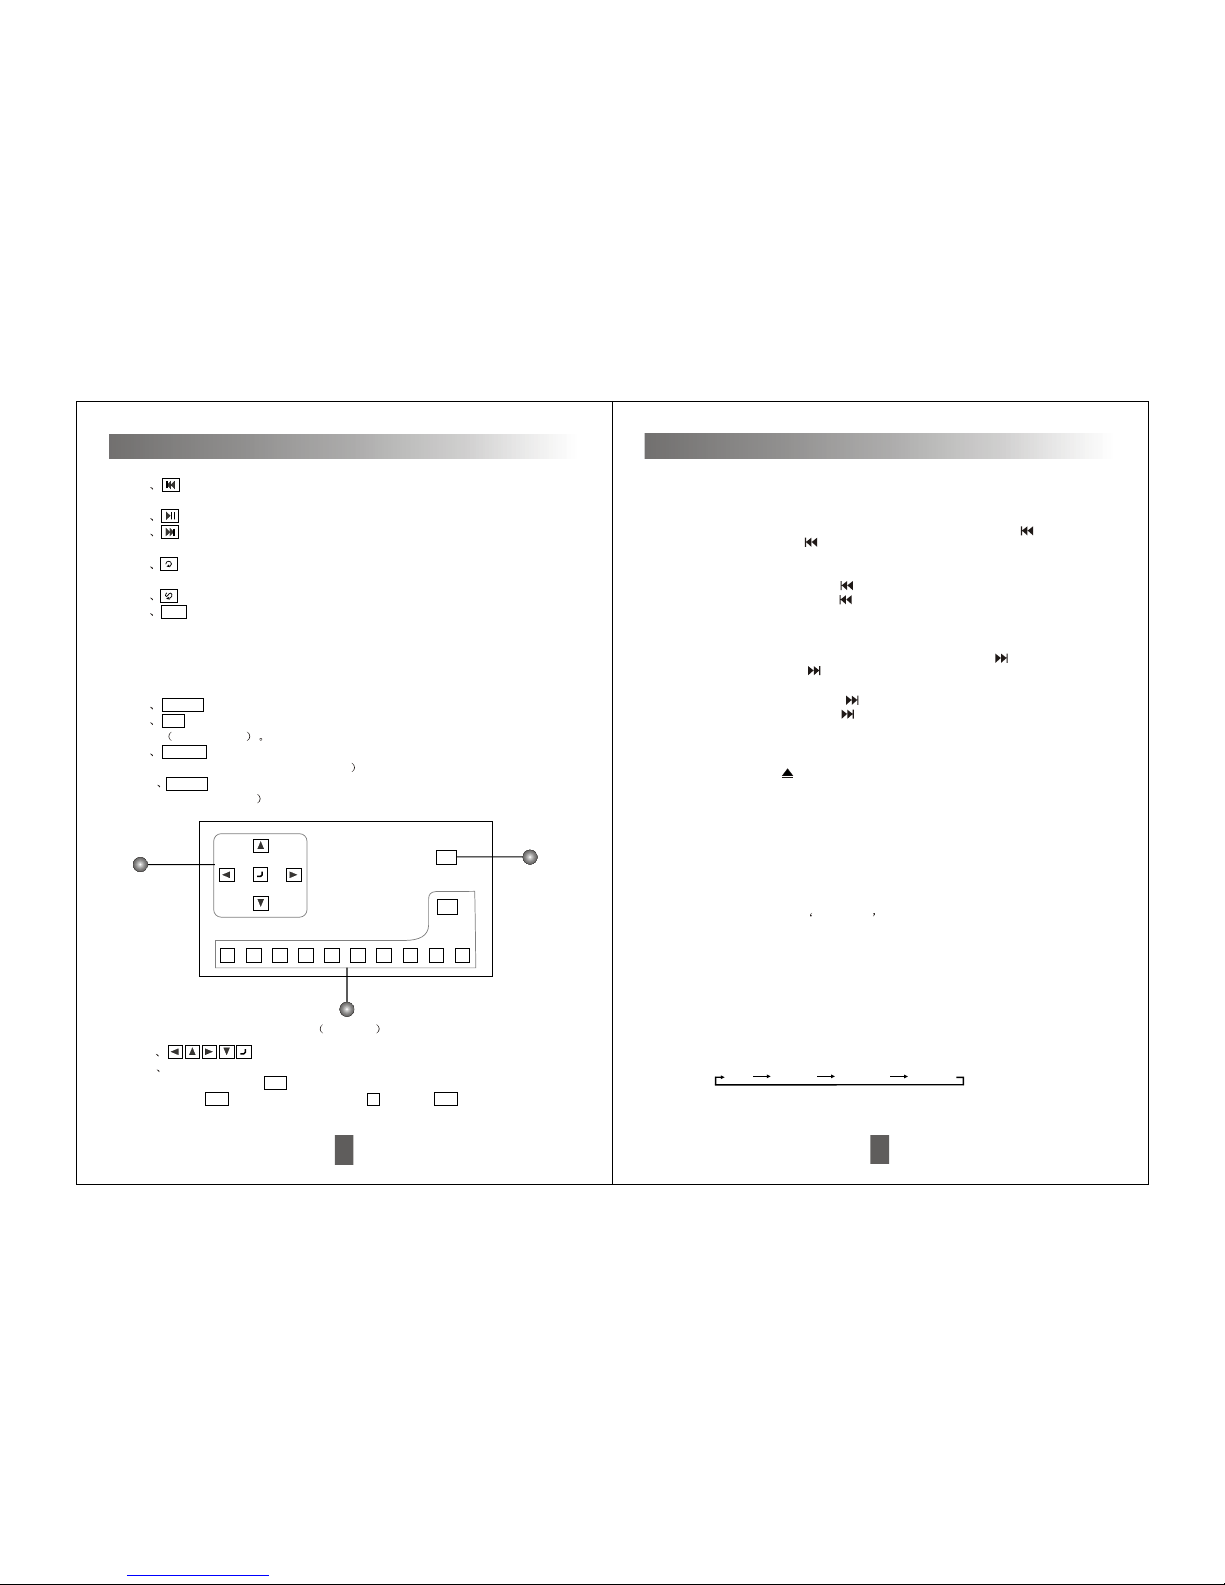
7 MENU To setup theopen and closeof menu.
8 1/2 In thisinterface, press thisbutton to enterthe next pageinterface.
see picture 6
9 Source Touch this buttonto enter themain interface modeof unit to
choose other mode.(seepicture 3
10 Setup Touch this buttonto enter thefunction setup interface.(see
picture9-1/2/3/4
QUIT
+10
123456789
0
Picture 6
13
12
11
11 For menu directionselect, menu confirmbutton.
12 The digital buttonis used to select track, if certain part or track has 2
digits, first touch10+ ; thentouch the firstdigit (If selecttrack 15, first
touch 10+ buttononce, then touch 5 ). Touch 10+ once, thesecond
Touch screen function introduction
Left Right Mix Stereo