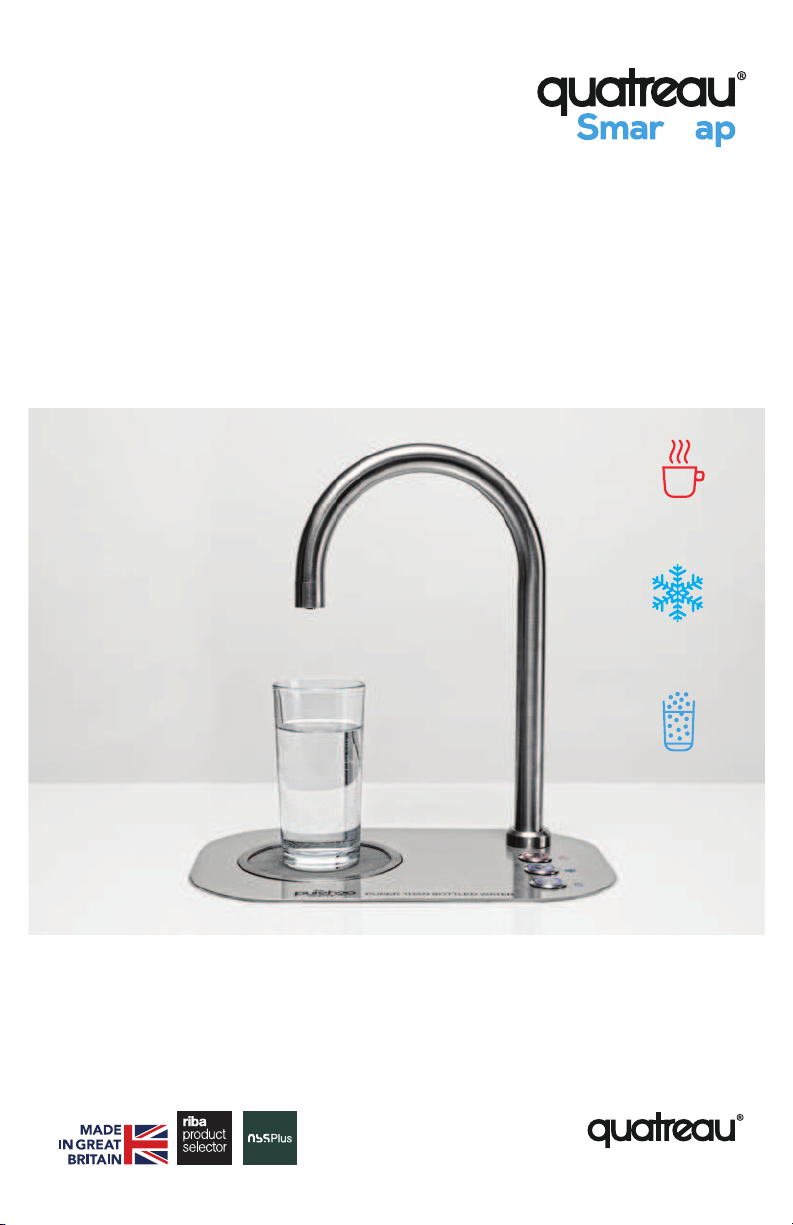
3.5 We typically site the standalone tap
on the right hand side of the sink with
the spout farthest away (at the back)
from the user or to the back of the
sink in a front to back orientation.
Before you start cutting ensure that
you have set up a jig or a template
device to prevent the drill bit moving
when you cut.
3.6 If installing the integrated drip tray
(QST-D) locate it centre of worktop,
with controls to the right-hand side.
3.7 Once the hole(s) is prepared,
remove any rough edges or bits of
wood and place the tap carefully
into the hole ensuring that the
comms cable is dropped into the
hole first to prevent damage.
3.8 Run a bead of silicone around the
edge of the holes or around the
edge of the tap base unit and
carefully place the SmartTap into the
worksurface ensuring that the
comms cable is hanging free
underneath the worksurface.
3.9 Using the fixing nut (and washer if
required) provided gently tighten to
underside of the worksurface to
prevent the tap base (or drip tray)
from moving. Once secure remove
any excess silicon using a wet finger
to run around the edges pushing
into the corners to create a smooth
finish.
————————————————————
THE COMMS CABLE CONNECTS
INTO THE BACK-LEFT SIDE OF
THE QST553-B. IT’S ESSENTIAL
THAT THE QST553 IS LOCATED
CLOSE TO THIS CABLE WITHOUT
CAUSING IT TO STRETCH.
————————————————————
————————————————————
#4 INSTALLING THE TYPE AA (AIRGAP)
DRAIN
————————————————————
This device prevents reverse
contamination into the boiling water from
the drain.
4.1 Open the drain off kit and type AA
connection found in the installation
kit. Be careful not to lose any parts.
Locate a suitable position on a
trapped upstand (above the water
trap)
4.2 Place the O-ring in the recess
around where the blade and place
saddle clamp in a position where
you can access the cutting device.
4.3 Fix in place and connect the elbow,
check-valve and finally the AA
airgap fitting and check it fits. The
top of the AA airgap should be at
least 6” below the worksurface to
ensure a fall when it is connected to
the VenturiT™ onto the SmartTap™
boiling pipe approx. 4-6” below the
worksurface (this comes later).
4.4 When you are happy that the parts
all fit and the airgap fitting is fixed
pointing directly upwards, remove
components and use the piercing
blade or a drill to cut through the
waste pipe. This part connects to the
internal thread on the saddle clamp.
Once cut, remove this cutting
device completely and discard.
4.5 Now assemble the drain off kit with
the elbow, check valve and AA
fitting tightening all the collars to
create a firm fix. The check valve
and the airgap create 2 different
forms of back flow prevention.
INSTA L L A T ION