www.qcfe.com.au
»Disengage Reel lock before operation
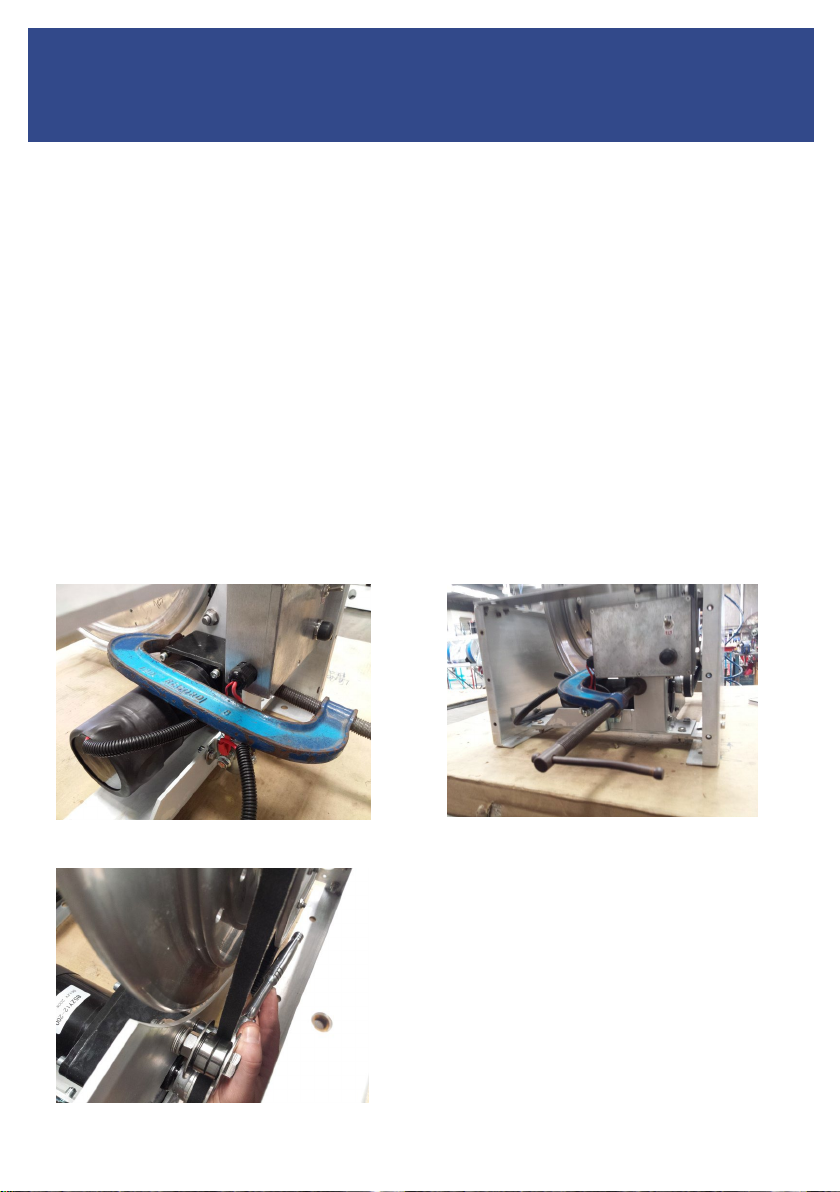
»Adjust Friction Brake tension to minimize hose “run on”.
»The Reel will free-wheel out to desired distance
»To engage rewind, insert handle into reel shaft by depressing the lever. This
will lock handle in place.
»Ensure tension is applied to hose.
»Guide the hose on, to ensure it is wound neatly.
»Adjust Friction Brake tension to minimize hose “run on”.
»The Reel will free-wheel out to desired distance
CAUTION: Do not pull hose out too fast, as reel may “run on”, causing hose
to become tangled.
CAUTION: Do not pull hose out too fast, as reel may “run on”, causing hose
to become tangled.
»When ready to rewind hose, press and hold button to retract hose back to
unit. Ensure hose is always in front of the operator.
»Guide the Hose on to ensure it is wound neatly.
»Release the button 2 meters prior to the end of the hose.
CAUTION: Be ready to release button when approaching reel, as injury may
result. This unit has been designed to operate in a continous start/stop mode
without damage to the unit. Keep tension on hose when rewinding.
A circuit breaker must be connected in the main power lead at battery end,
to prevent re, in case of accidental short circuit. The reel is able to draw up to
100amps at full load. We recommend using a 80amp circuit breaker to ensure
safe operation.
Manual Reel (RFR-1)
Powered Reel (RFR-2)
Basic Operation
4