manuals.online logo
Brands
  1. Home
  2. •
  3. Brands
  4. •
  5. Quoizel
  6. •
  7. Outdoor Light
  8. •
  9. Quoizel BKR8408K Mounting instructions

Quoizel BKR8408K Mounting instructions

1of2
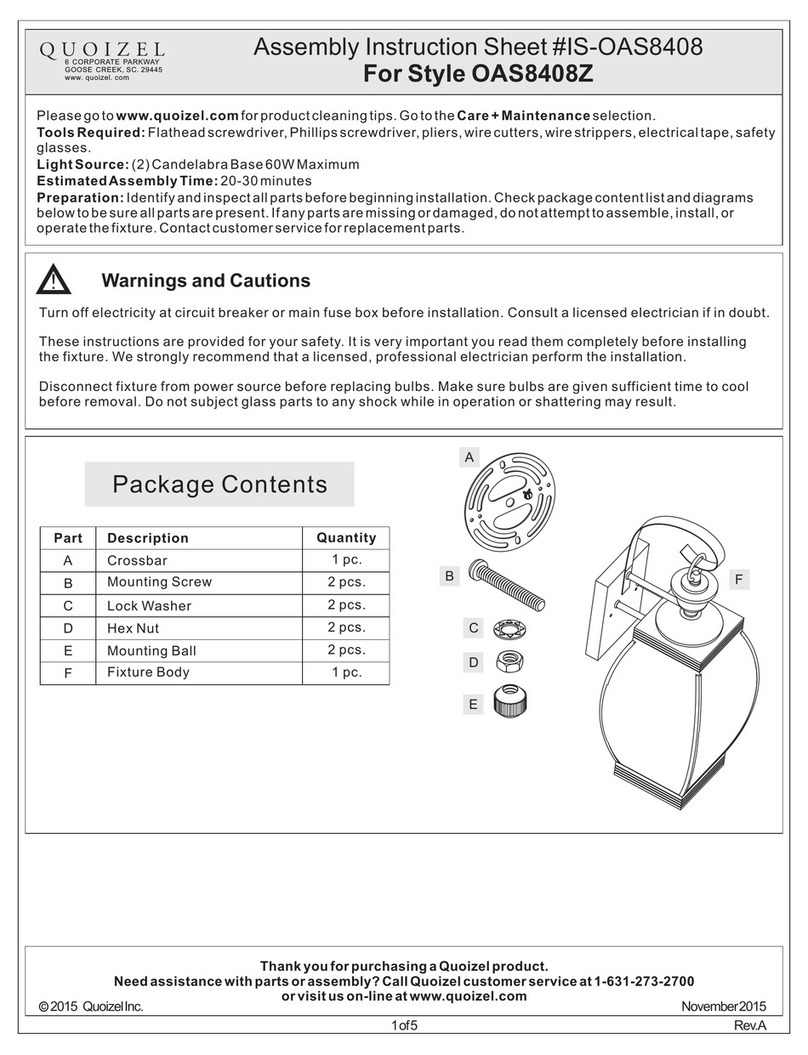
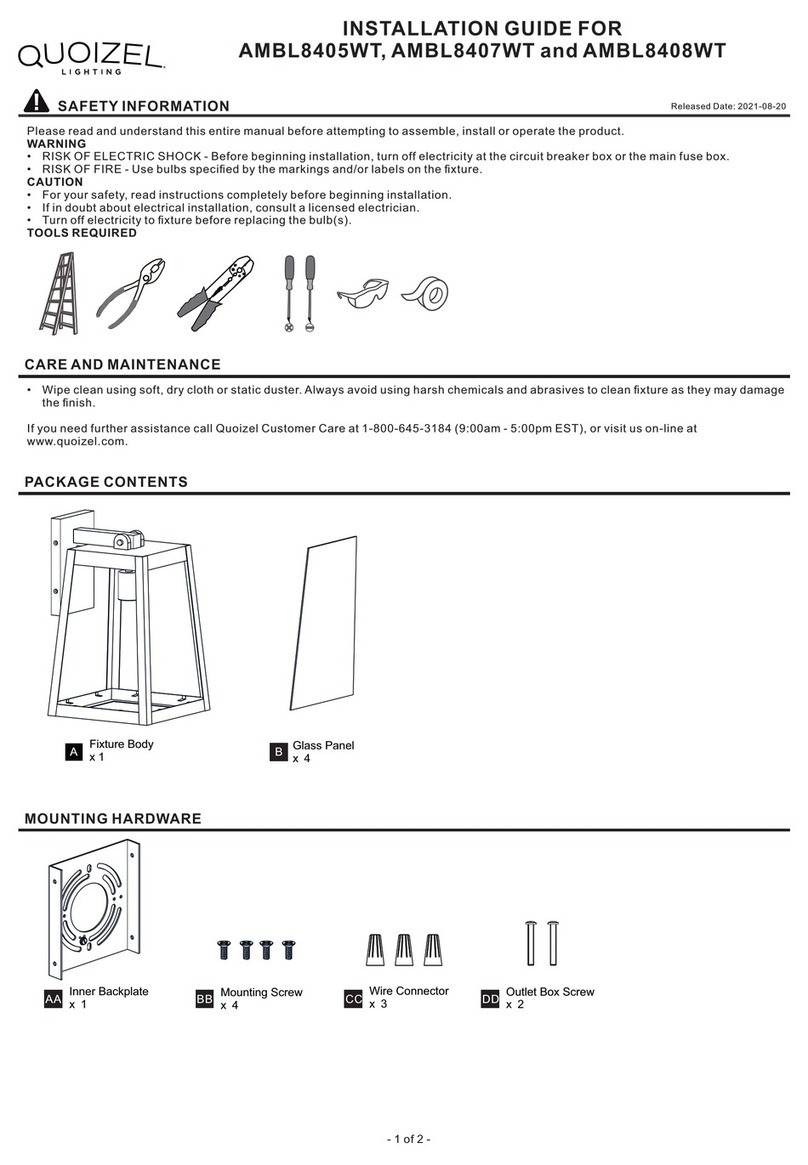
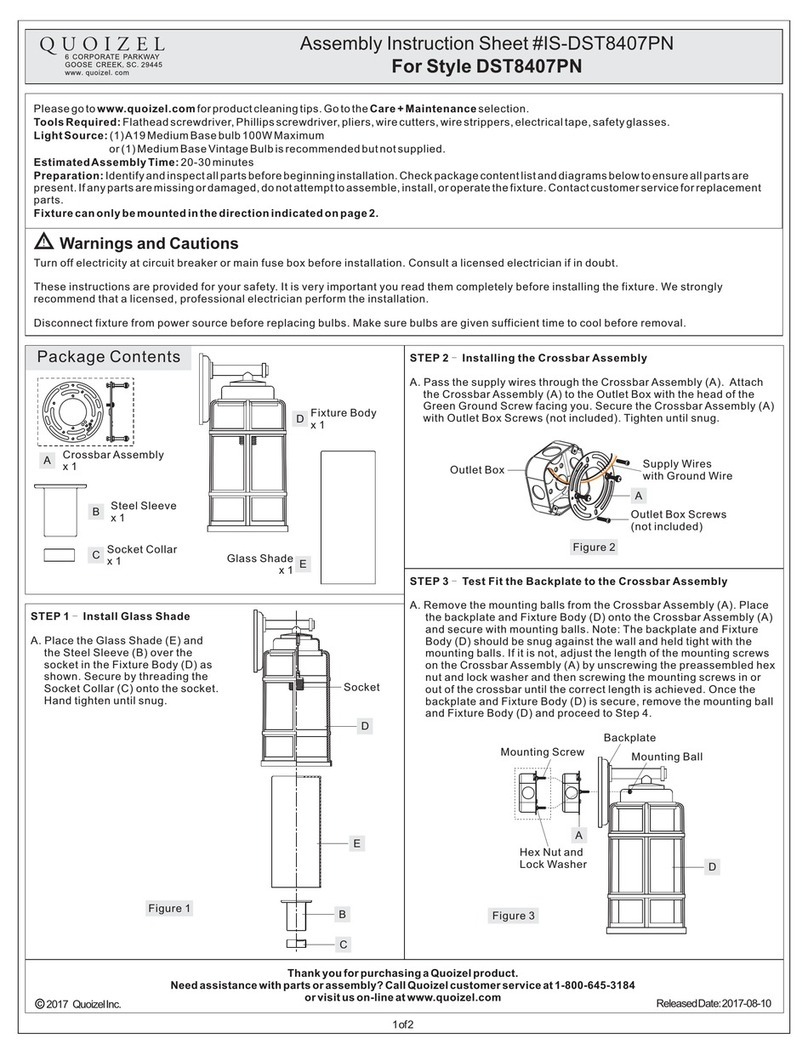
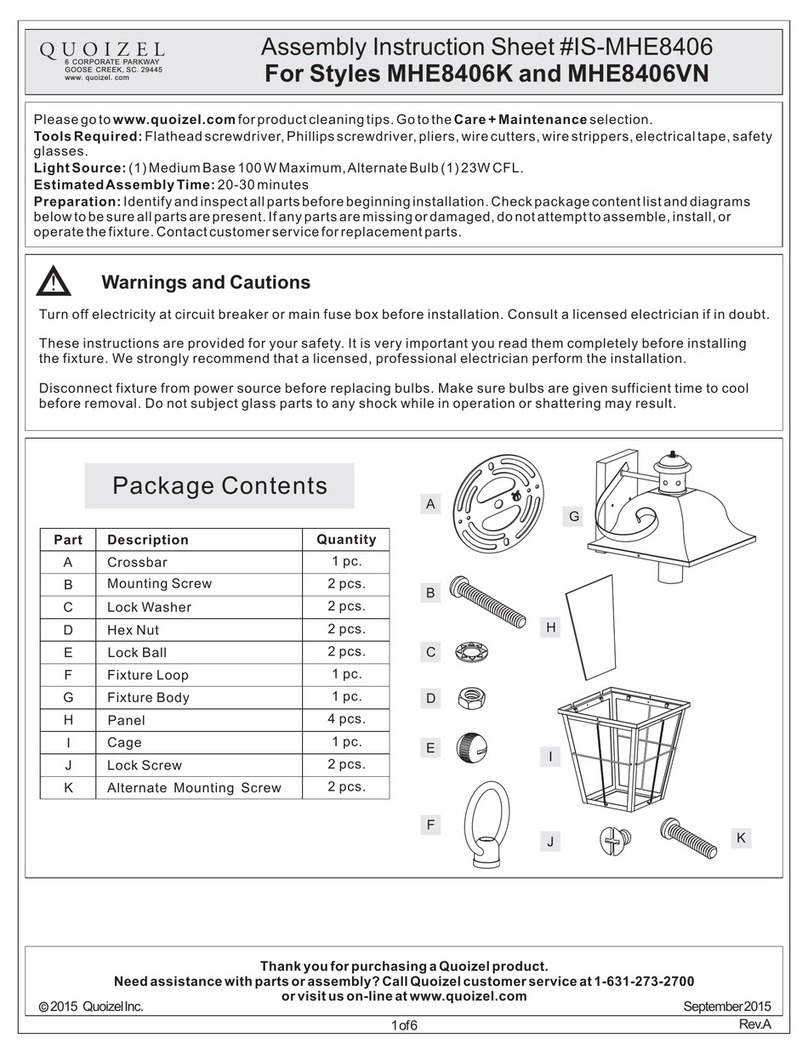
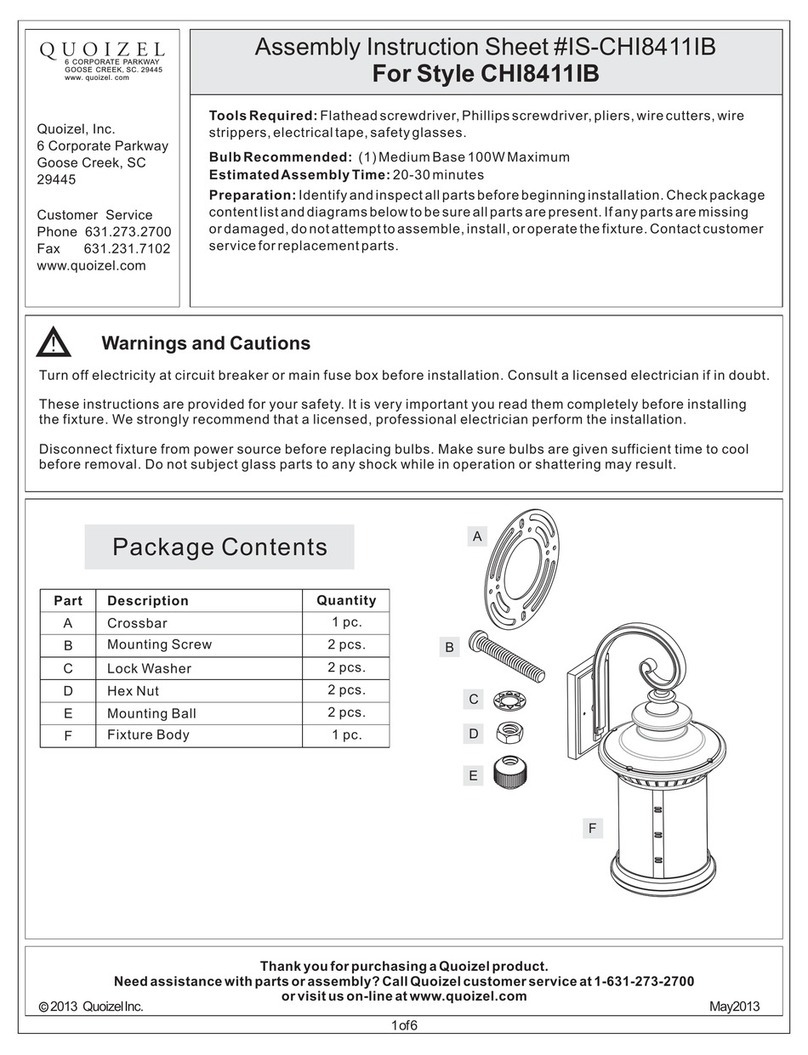
Assembly Instruction Sheet #IS-BKR8408K
For Style BKR8408K
Thank you for purchasing a Quoizel product.
Need assistance with parts or assembly? Call Quoizel customer service at 1-631-273-2700
or visit us on-line at www.quoizel.com
2015 QuoizelInc.
Pleasegoto forproductcleaningtips.Gotothe selection.
(1)MediumBaseDecorativeFilament60Wbulb(provided),Maximum100W,Alternatebulb(1)23WCFLMaximum.
20-30minutes
Identifyandinspectallpartsbeforebeginninginstallation.Checkpackagecontentlistanddiagramsbelowtobesureallpartsare
present.Ifanypartsaremissingordamaged,donotattempttoassemble,install,oroperatethefixture.Contactcustomerserviceforreplacement
parts.
www.quoizel.com Care+Maintenance
LightSource:
EstimatedAssemblyTime:
Preparation:
Fixturecanonlybemountedinthedirectionindicatedonpage2.
ToolsRequired:Flatheadscrewdriver, Phillips screwdriver,pliers,wirecutters,wirestrippers,electricaltape,safetyglasses.
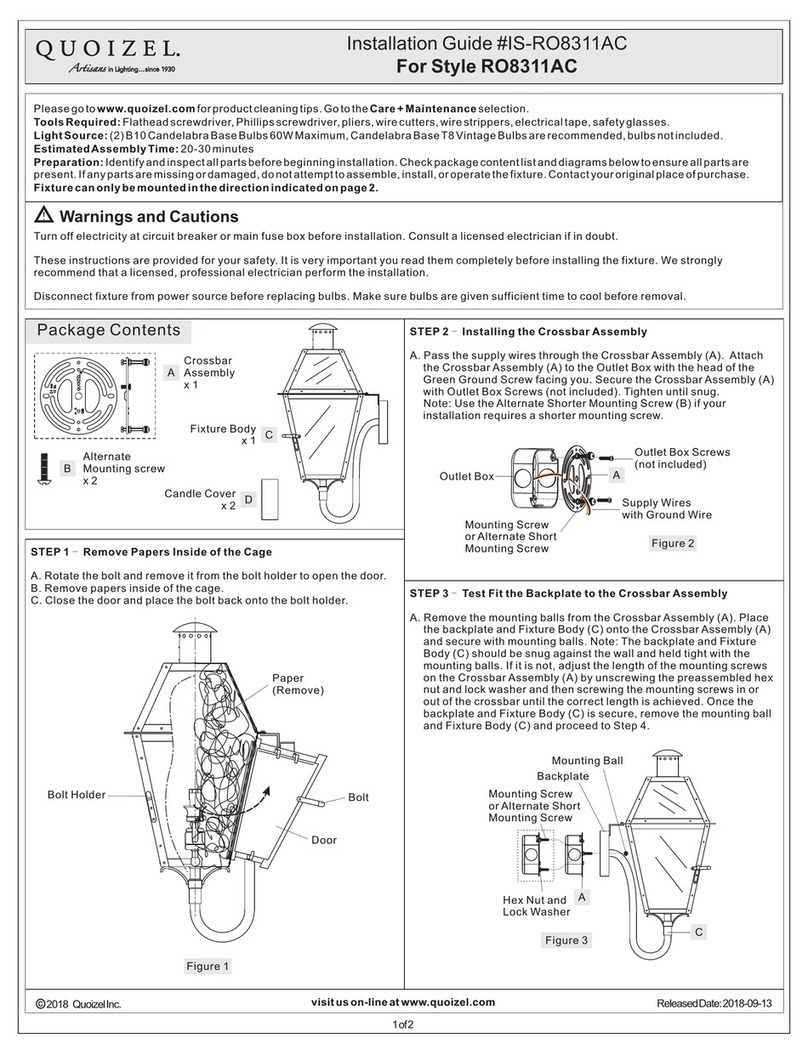
Package Contents
Warnings and Cautions
Turn off electricity at circuit breaker or main fuse box before installation. Consult a licensed electrician if in doubt.
These instructions are provided for your safety. It is very important you read them completely before installing the fixture. We strongly
recommend that a licensed, professional electrician perform the installation.
Disconnect fixture from power source before replacing bulbs. Make sure bulbs are given sufficient time to cool before removal. Do not subject
glass parts to any shock while in operation or shattering may result.
A
Crossbar
Assembly
x1
Fixture
Body
x1
September2015
STEP 1 Install Crossbar Assembly-
A. Pass the supply wires through the Crossbar Assembly (A). Attach
the Crossbar Assembly (A) to the Outlet Box with the head of the
Green Ground Screw facing you. Secure it with Outlet Box Screws
(not included). Tighten until snug
Note: Use the Alternate Shorter Mounting Screw (B) if your
installation requires a shorter mounting screw.
.
Supply Wires
with Ground Wire
Outlet Box Screws
(not included)
Outlet
Box
Figure 1
A
Shade
x1
E
Socket Collar
x1
G
Edison
Bulb
x1
D
Wahser
x1
B
Alternate
Mounting
screw
x2
C
F
Mounting Screw
or Alternate Short
Mounting Screw
STEP 2 Fit Backplate to
Crossbar Assembly
-
A.
on Fixture
Body (C) to the
Remove mounting balls from
the Crossbar Assembly (A).
Fit the backplate
Crossbar
Assembly (A) and secure with
Figure 2
Mounting Screw
or Alternate Short
Mounting Screw
C
Mounting Ball
A
Backplate
Hex Nut and
Lock Washer
mounting balls. Note: The
backplate
should be snug against the wall
and the mounting balls. If
on Fixture Body (C)
not,
adjust the length of the mounting
screw or alternate short mounting
screw on the Crossbar Assembly
(A) by unscrewing the
preassembled hex nut and lock
(Step 2 Continued)
washer and then screwing the mounting screws or alternate short
mounting screws in or out of the crossbar until the correct length is
achieved. Once the backplate on Fixture Body (C) is secure, remove
the mounting ball and Fixture Body (C) and proceed to Step 3.
STEP 3 - Wire Connections
A. Use standard wire connectors (not included) to make all wire
connections. (Connectors are not included with fixture.) Twist
connectors until wires are tightly joined together. Wrap each
connection with approved electrical tape and carefully stuff all the
connected wires into the Outlet Box.
White wire
from supply White wire
from fixture
Black wire from
supply (or Red)
Black wire
from fixture
Ground wire
from supply
Ground wire
from fixture
Figure 3
Figure 4
STEP 4 Install Fixture Body-
A. Carefully tuck all wires into the outlet box and position the backplate
of fixture body (D) over the outlet box. Align the holes in the
B
Mounting Ball
A
Mounting Screw
or Alternate Short
Mounting Screw
Backplate
STEP 5 Install Shade to Fixture Body-
A. Place Shade (D) and the Washer (E) over the Socket as shown.
Secure by threading the Socket Collar (F) onto the Socket. Hand
tighten until sung.
B. This fixture uses Medium Base Decorative Filament 60W bulb (G),
backplate with the mounting
screws or alternate short
mounting screws. Secure
with the previously
removed mounting balls
and hand tighten until
snug.
2of2
Thank you for purchasing a Quoizel product.
Need assistance with parts or assembly? Call Quoizel customer service at 1-631-273-2700
or visit us on-line at www.quoizel.com
2015 QuoizelInc.
BKR8408K
PART NUMBER
NOTE: ALL DIMENSIONS ARE ROUNDED UP TO THE NEAREST 1/4"
REPLACEMENT PART DESCRIPTION REQ.
NO.
1
FINISH: MYSTIC BLACK
Fixture can only be
mounted in the
direction indicated
G12232SH SHADE 1
4.5” 8.5”
7”
15”
7.25”
8.75”
5.25”Dia.
8.25”
1
(1)Medium Base
Decorative
Filament 60W
bulbs (provided),
Maximum 100W.
September2015
(Step 5 Continued)
Maximum 100W. Insert bulb and screw
snugly into place.
Figure 5
C
D
G
Socket
E
F
STEP 6 -Apply Silicone Sealer
A. Make sure exterior wall surface
and fixture backplate are free of
dirt before applying caulk. Using
exterior grade caulk, caulk over
top of backplate and down other
side. Do not caulk bottom of
fixture backplate to ensure proper
moisture drainage.
Your fixture is now assembled
and ready to use. Enjoy!
Exterior
Grade
Caulk
Backplate
Figure 6

Other Quoizel Outdoor Light manuals

Quoizel GLN2006IB Mounting instructions

Quoizel

Quoizel GLN2006IB Mounting instructions

Quoizel CSE9010EK Mounting instructions

Quoizel

Quoizel CSE9010EK Mounting instructions

Quoizel NY8412K Mounting instructions

Quoizel

Quoizel NY8412K Mounting instructions

Quoizel CHI9011IB User manual

Quoizel

Quoizel CHI9011IB User manual

Quoizel HC8409IB Mounting instructions

Quoizel

Quoizel HC8409IB Mounting instructions

Quoizel MIA8408EK User manual

Quoizel

Quoizel MIA8408EK User manual

Quoizel DRS8407EK User manual

Quoizel

Quoizel DRS8407EK User manual

Quoizel ACA8623BN User manual

Quoizel

Quoizel ACA8623BN User manual

Quoizel MRL9009BBR User manual

Quoizel

Quoizel MRL9009BBR User manual

Quoizel RNL9008WT Mounting instructions

Quoizel

Quoizel RNL9008WT Mounting instructions

Quoizel LTE8407PN Mounting instructions

Quoizel

Quoizel LTE8407PN Mounting instructions

Quoizel BRN8408IB User manual

Quoizel

Quoizel BRN8408IB User manual

Quoizel Waterville WTE8411WT Mounting instructions

Quoizel

Quoizel Waterville WTE8411WT Mounting instructions

Quoizel MGN9008MBK User manual

Quoizel

Quoizel MGN9008MBK User manual

Quoizel Chancellor CCR8406CU Mounting instructions

Quoizel

Quoizel Chancellor CCR8406CU Mounting instructions

Quoizel WVR8405A User manual

Quoizel

Quoizel WVR8405A User manual

Quoizel CHI9011IB Mounting instructions

Quoizel

Quoizel CHI9011IB Mounting instructions

Quoizel VVTH9348BN Mounting instructions

Quoizel

Quoizel VVTH9348BN Mounting instructions

Quoizel CCR8406K User manual

Quoizel

Quoizel CCR8406K User manual

Quoizel Marblehead MBH8407W Mounting instructions

Quoizel

Quoizel Marblehead MBH8407W Mounting instructions

Quoizel PCMCN8624C User manual

Quoizel

Quoizel PCMCN8624C User manual

Quoizel Inglenook TFIK8407VA Mounting instructions

Quoizel

Quoizel Inglenook TFIK8407VA Mounting instructions

Quoizel Style CHI8409IB Mounting instructions

Quoizel

Quoizel Style CHI8409IB Mounting instructions

Quoizel GLS8406EK User manual

Quoizel

Quoizel GLS8406EK User manual

Popular Outdoor Light manuals by other brands

LEDDOO PYRA TL-1 user manual

LEDDOO

LEDDOO PYRA TL-1 user manual

BEL LIGHTING Atlantic G quick start guide

BEL LIGHTING

BEL LIGHTING Atlantic G quick start guide

Hess CITY ELEMENTS 180-2 Installation and operating instructions

Hess

Hess CITY ELEMENTS 180-2 Installation and operating instructions

LIGMAN STEAMER 11 installation manual

LIGMAN

LIGMAN STEAMER 11 installation manual

IKEA SOLVINDEN Instructions for use

IKEA

IKEA SOLVINDEN Instructions for use

LIGMAN FORREY 5 installation manual

LIGMAN

LIGMAN FORREY 5 installation manual

Visual Comfort Fresno XL 3/4 Assembly instructions

Visual Comfort

Visual Comfort Fresno XL 3/4 Assembly instructions

SWITCH MADE SHERKO user manual

SWITCH MADE

SWITCH MADE SHERKO user manual

Micasa SESTO operating instructions

Micasa

Micasa SESTO operating instructions

Conrad Fairy Lights Series operating instructions

Conrad

Conrad Fairy Lights Series operating instructions

Augenti LIGHTING VELA 9000 Installation

Augenti LIGHTING

Augenti LIGHTING VELA 9000 Installation

Gama Sonic GS-94FPW-PIR manual

Gama Sonic

Gama Sonic GS-94FPW-PIR manual

Mio TESS M1623046 quick start guide

Mio

Mio TESS M1623046 quick start guide

Saxby Lighting EL-40094 Instruction leaflet

Saxby Lighting

Saxby Lighting EL-40094 Instruction leaflet

STEINEL professional XSolar GL-S instructions

STEINEL

STEINEL professional XSolar GL-S instructions

Sygonix 2595505 operating instructions

Sygonix

Sygonix 2595505 operating instructions

Intermatic WL100HPS installation instructions

Intermatic

Intermatic WL100HPS installation instructions

Panlux OKO instructions

Panlux

Panlux OKO instructions

manuals.online logo
manuals.online logoBrands
  • About & Mission
  • Contact us
  • Privacy Policy
  • Terms and Conditions

Copyright 2025 Manuals.Online. All Rights Reserved.