Qwest Q1960 User manual

QT1960_OM 4/6/01 5:27 PM Page 1

Congratulations on your purchase of the Qwest Call Waiting ID
cordless telephone (Q1960). This phone is designed for reliability,
long life, and outstanding performance utilizing the latest in
900 MHz Digital Spread Spectrum technology.
Note: Some illustrations in this manual may differ from the
actual unit for explanation purposes.
• 900 MHz Digital Spread Spectrum Technology
• Caller ID and Call Waiting Caller ID
• 50 Number Caller ID Memory
• Advanced Calling Features
• Message Waiting Indicator
• 3-Line, 16 Character Backlit Handset Display
• 20 Enhanced Memory Dial Locations
• 32 Digit Redial
• 2nd Battery Capability
• Back-up Power Supply with Optional Battery Pack
• 3 Redial Memories
• Pause
• Pulse / Tone Dialing
• Page / Find
• 7 Day Standby Battery Life
• 4 Hour Talk Time
• Handset Earpiece and Ringer Volume Control
• Hearing Aid Compatible
Digital Spread Spectrum Technology utilizes a “wider frequency band”vs. a
“single narrow band”used in standard digital transmissions. The result is a
more secure conversation with the clarity of digital sound, extended range,
and minimal interference from other cordless phones.
Random Code™ digital security automatically selects one of over 65,000
codes for the handset and base.
These features enhance your phone’s security and also prevent unauthorized
calls as a result of your phone being activated by other equipment.
QT1960_OM 4/6/01 5:27 PM Page 2

vol
call id menudel
abc def
ghi mno
pqrs tuv wxyz
oper
tone
memory redial/p select voice
mail
jkl
12 3
45 6
78 9
0#
talk call
waiting
open
backup battery
page/find
messages
status
1
2
3
4
5
22
23
24
6
7
8
9
10
13
11
12
15
16
17
20
21
19
18
14
27
25
26
28
QT1960_OM 4/6/01 5:27 PM Page 3

29 30 31
1. Handset antenna
2. Headset jack cover
3. Handset battery compartment
4. Ringer off-on switch
5. Handset earpiece
6. LCD display
7. Talk key
8. Volume/Cursor down key
9. Call ID key
10. Tone/Backspace key
11. Memory key
12. Redial/Pause key
13. Handset microphone
14. Volume/Cursor up key
15. Call Waiting key
16. Menu key
17. Delete key
18. Cursor forward key
19. Voice mail key
20. Select key
21. Handset charging contacts
22. Handset clip storage
23. Spare battery charge compartment
24. Base charging contacts
25. Base antenna
26. Status LED
27. Messages LED
28. Page/Find key
29. Pulse-Tone switch
30. DC power input
31. Phone jack
QT1960_OM 4/6/01 5:27 PM Page 4

Introduction / Features.......................inside front cover
Controls and Functions......................inside front cover
Getting Started
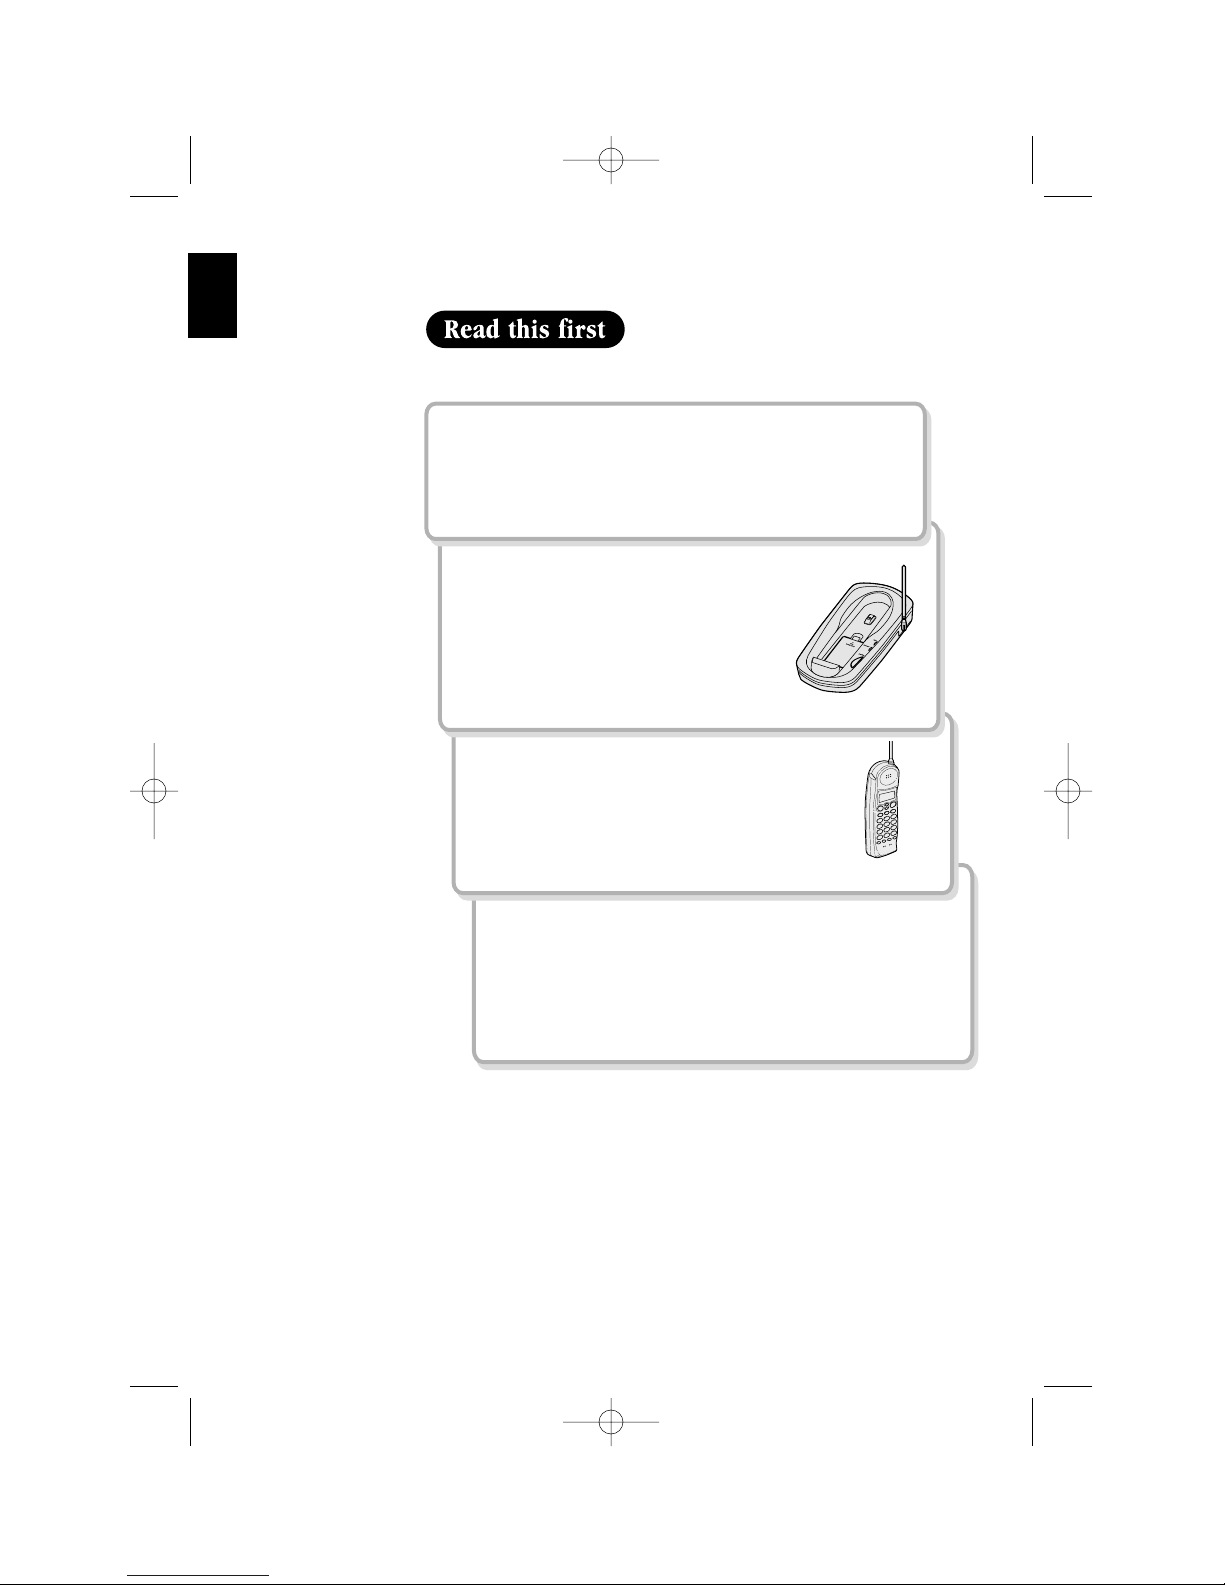
Read this first ..............................................................2
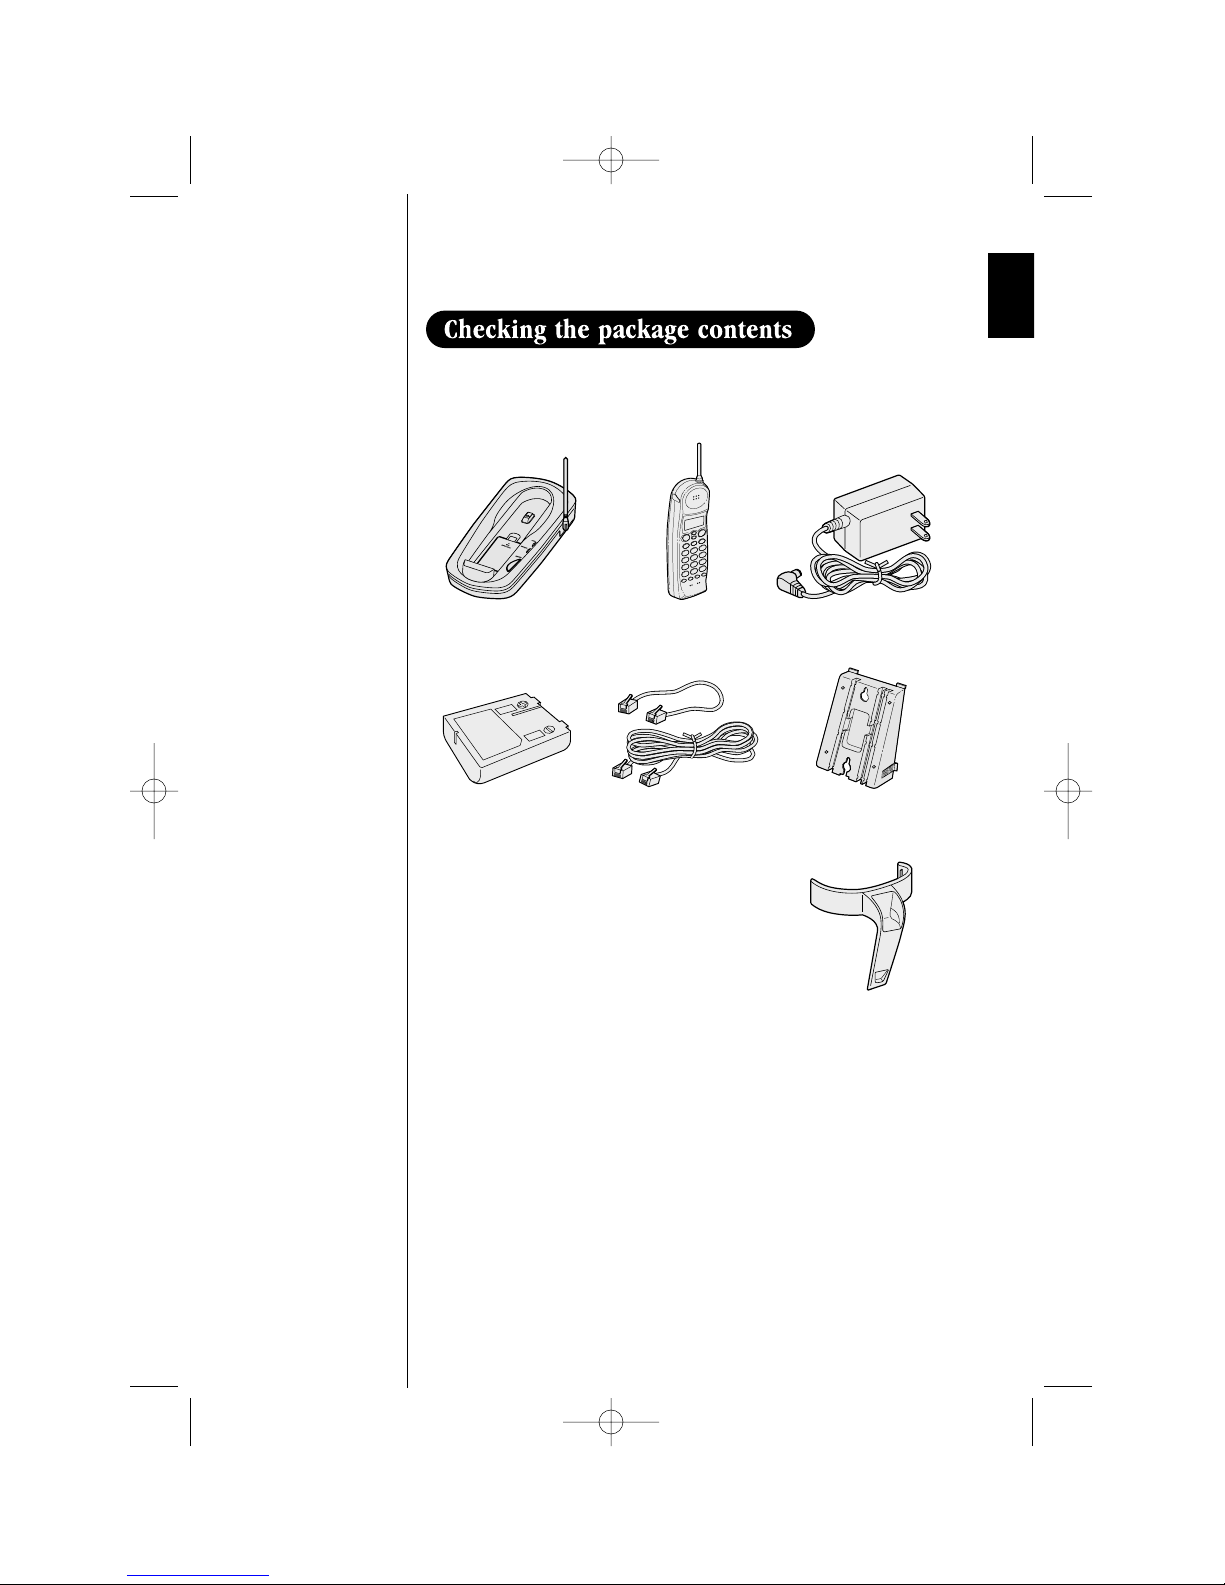
Step 1: Checking the package contents......................3
Step 2: Setting up the base unit.................................4
Mounting the base unit on a wall..................7
Step 3: Preparing the battery pack.............................9
Basics
Making a call.............................................................11
Receiving a call..........................................................13
Adjusting the ringer and earpiece volume..................14
Redialing a call ..........................................................15
Telephone features
Memory dialing
Storing phone numbers and names .........................17
Making calls with memory dialing ..........................19
Editing a stored name and/or
phone number.........................................................21
Erasing a stored name and phone number...............23
Advanced Calling Features.........................................24
Paging........................................................................25
Caller ID features
Caller ID ...................................................................26
When the telephone rings..........................................27
Viewing the Caller ID Message list............................28
Deleting information from the Caller ID list.............29
Using the Caller ID list .............................................31
Using Caller ID on Call Waiting service....................33
Additional Information
Changing the digital security code.............................34
Installing the beltclip.................................................35
Headset installation ...................................................35
Note on power sources ..............................................36
Maintenance..............................................................36
Troubleshooting.......................................................37
Specifications ...........................................................38
Index.........................................................................39
Getting Started
Basics
Telephone
features
Caller ID
Features
Additional
Information
CONTENTS
QT1960_OM 4/6/01 5:27 PM Page 5

2
This cordless telephone must be set up before use. Follow these steps;
Step 1 (page 3)
Unpack and check the telephone and accessories.
Step 2 (page 4 to 8)
Next, choose the best location to set
up the base unit.
Base unit
Step 3 (page 9 to 10)
Then, insert the battery pack into the handset.
You must to charge the battery pack for more
than 17 hours before using the phone. Handset
About the digital security code
This cordless telephone uses a digital security code to prevent unauthorized
access to your base unit. This security code prevents other cordless handsets
from making calls through your base unit.
A random security code will be assigned automatically between your base
unit and handset when you charge the battery pack for the first time.
If you want to reset the security code, see page 34.
GETTING STARTED
Step 4 (page 26)
Now that your phone is fully charged, set up your phone
to distinguish local from long distance calls by using the
Area Code setting.
QT1960_OM 4/6/01 5:27 PM Page 6

3
Make sure you have received the following items in the package.
•Base unit •Handset •AC adapter (AD-420)
•Rechargeable
battery pack
(BT-999) (2)
•Telephone line
cord (2)
•Wall mount adapter
•This Owner's Manual
•Precautions and Important Safety Instructions
•Guide to Using Advanced Calling Features
•Beltclip
QT1960_OM 4/6/01 5:27 PM Page 7

4
Do the following steps.
•Choose the best location
•Connect the base unit
•Choose the dialing mode
Choose the best location
Before choosing a location for your new phone, read the INSTALLATION
CONSIDERATIONS included in the PRECAUTIONS AND
IMPORTANT SAFETY INSTRUCTIONS brochure. Here are some
important guidelines you should consider:
•You should charge your handset for more than 17 hours before attaching to
a phone line and using the phone.
•The location should be close to both a telephone wall jack and a power
outlet that is not controlled by a wall switch.
•Keep the base and handset away from sources of electrical noise such as
motors and fluorescent lighting.
•Be sure there is sufficient space to raise the base antenna
fully vertical.
•The base can be placed on a desk, tabletop or mounted on a standard
wall plate.
Avoid heat sources, such
as radiators, air ducts, and
sunlight
Avoid television
sets and other
electronic equipment
Avoid noise sources such as a window
by a street with heavy traffic
Avoid microwave ovens
Avoid excessive
moisture, extremely low
temperatures, dust,
mechanical vibration,
or shock
Avoid personal
computers
Avoid other cordless
telephones
Choose a central location
QT1960_OM 4/6/01 5:27 PM Page 8

5
Connect the base unit
If you want to install the base unit on the wall, see page 7.
Place the power cord so it
does not create a trip
hazard, or where it could
become chafed and create
a fire or electrical hazard.
1Connect the telephone line cord to the TEL LINE jack on the base
and to a telephone wall jack.
2Connect the AC adapter to the DC IN 9V jack and to a
standard 120V AC wall outlet.
3Set the base unit on a desk or
tabletop and place the handset
on the base unit.
Then raise the antenna to a
vertical position.
QT1960_OM 4/6/01 5:27 PM Page 9

6
Use only the supplied AD-420 AC adapter.
Do not use any other AC adapter.
Connect the AC adapter to a continuous
power supply.
Place the base unit close to the
AC outlet so that you can unplug the AC
adapter easily.
If your telephone outlet isn't modular,
contact your telephone company
for assistance.
Polarity of the plug
Modular
Choose the dialing mode
Depending on your dialing system, set the PULSE-TONE switch as follows:
If your dialing system is Set the switch to
Tone TONE
Pulse PULSE
If you aren't sure of your dialing system
Make a trial call with the PULSE-TONE switch set to TONE.
If the call connects, leave the switch as is; otherwise, set to PULSE.
QT1960_OM 4/6/01 5:27 PM Page 10

7
Standard wall plate mounting
This phone can be mounted on any standard telephone wall plate.
1Snap the wall mount
adapter into the notches
on the base.
2Plug the telephone line
cord to the
TEL LINE jack and the
AC adapter to the
DC IN 9V jack.
3Plug the telephone line
cord into the telephone
outlet.
4Wrap the AC adapter
cord inside the molded
wiring channel. Then
wrap the cord around
the strain relief notch.
5Plug the AC adapter into
a standard
120V AC wall outlet.
6Raise the antenna to a
vertical position.
7Align the mounting slots
on the base. with the
mounting posts on the
wall. Push in and down
until the phone is firmly
seated.
1
2 - 7
QT1960_OM 4/6/01 5:27 PM Page 11

8
Direct wall plate mounting
If you don't have a standard wall plate, you can mount your phone directly to
the wall. Before doing this, consider the following:
•Avoid electrical cables, pipes, or other items behind the mounting location,
that could cause a hazard when inserting screws into
the wall.
•Try to mount your phone within 5 feet of a working phone jack to avoid
excessive cord lengths.
•Make sure the wall material is capable of supporting the weight of the base
and handset.
•Use #10 screws with anchoring devices suitable for the wall material where
the base unit will be placed.
1Insert two mounting screws into
the wall, (with their appropriate
anchoring device), 3-15/16 inches
apart. Allow about 3/16 of an inch
between the wall and screwheads
for mounting the phone.
2Refer to steps 1 through 9 on pages
7 and 8 to mount the telephone.
8On the base unit, pull the handset
retainer out of the slot. Rotate it
clockwise 180 degrees.
9Flip the retainer from front to
back. Slide it back into the slot so
that the lip of the retainer is up
and the oval is down. The retainer
holds the handset
in place.
If the handset beltclip is
attached, you cannot
charge the handset with
the display showing when
the phone is mounted on
the wall (See page 35).
QT1960_OM 4/6/01 5:27 PM Page 12

9
Charge the battery pack for more than 17 hours before you start using
your phone.
1Press in on the battery cover
release and slide the cover down
until it comes off.
2Install the nickel-cadmium
battery with the label facing
down.
3Slide the battery cover on until
it snaps into place.
4Place the handset on the base.
5Make sure that the “status”
LED lights. If the LED doesn’t
light, check to see that the AC
adapter is plugged in and that
the handset makes good contact
with the base charging contacts.
open
backupbattery
page/find
messages
status
DIGITAL
SPREAD
SPECTRAM
900MHz
Use only Battery (BT-999) supplied with your phone.
QT1960_OM 4/6/01 5:27 PM Page 13

10
Battery use time (per charge)
From fully charged
•Four hours continuous use.
•Seven days when the handset is in the standby mode.
When the battery charge becomes low
When the voltage of battery pack in the handset is very low and needs to be
charged, the phone is programmed to
eliminate functions in order to save
power. If the phone is not in use,
“Low Battery”flashes and
none of the keys will operate. If the phone is in use, “Low Battery”
flashes and the handset beeps. Complete your conversation as quickly as
possible and return the handset to the base unit for charging.
Cleaning the battery contacts
To maintain a good charge, it is important to clean the battery
contacts on the handset and base unit about once a month. Use a pencil
eraser or other contact cleaner.
Do not use any liquids or solvents.
Even when the battery
pack is not being used, it
will gradually
discharge over a long
period. For optimum
performance, be sure to
return the handset to the
base unit after a
telephone call for
charging the battery.
Charging optional battery packs
The base unit of your phone is equipped with a compartment for charging an
extra battery pack for use in your handset.
1. Pull the cover of battery charger.
2. Put the battery pack in the
compartment with contacts
facing down.
3. Replace the charger cover.
4. Charge the battery for more than
28 hours.
In the event of a power failure, your spare battery pack can be
used as a back-up power supply for the base unit.
QT1960_OM 4/6/01 5:27 PM Page 14

3The number is dialed. After
about 5 seconds, the call-time
display appears.
4To hang up, press or
place the handset on the base.
The call-time will be displayed
for about 5 seconds.
11
On-hook dialing
1Enter the phone number. (Up to 32
digits.)
Example: Enter 8171234567
2Press . “Talk”flashes on the
display.
Then the volume setting is displayed.
For example, if the volume is set to high
the display shows:
You must press a key
within 20 seconds or the
phone will return to
standby.
Other Operations
To Do this
To adjust the earpiece volume Press or during the call.
To temporarily switch to tone dial Press . The following
(When the base is set to pulse numbers dialed will be sent as
mode) tone dialing.
To enter a pause in the dialing Press .
sequence
BASICS
Press if you enter a
wrong number at the
step 1.
QT1960_OM 4/6/01 5:27 PM Page 15

12
Off-hook dialing
1Press . “Talk”flashes on the display.
Then the volume setting is displayed.
For example, if the volume is set to high the
display shows:
The call-time display appears.
2Dial the phone number.
Example: Enter 8171234567
3
To hang up, press or place the handset
in the base
.
The call-time will be displayed for
about 5 seconds.
QT1960_OM 4/6/01 5:28 PM Page 16

13
1Phone rings.
2Press . “Talk”and volume
setting appears on the display.
3Talk with the caller.
4To hang up, press or place the
handset on the base. The call time will
be displayed for about 5 seconds.
AutoTalk when ringing
When the AutoTalk setting is on and there is an incoming call, simply lift
the handset from the base unit to answer the phone. See “Setting Caller
ID options”on page 26 for more details.
Any key answer when ringing
When the AutoTalk setting is on, and the handset is off the base, press
any handset key to answer the incoming call.
To cancel a page
To cancel paging, press any of the handset keys while the handset is
beeping. (See page 25.)
Call Waiting
Note: You must subscribe to Call Waiting service to use this feature.
When a call is received during a telephone call already in progress, press
to switch to the new call.
If you also subscribe to Call Waiting ID, you will see the name and number
of the waiting call (See page 33.)
QT1960_OM 4/6/01 5:28 PM Page 17

14
Ringer volume
In the standby mode, press
or on the handset to set the
handset ringer volume.
There are two ringer volume
settings; High and Low.
Ringer on/off switch
This switch turns the handset
ringer on or off.
Earpiece volume
Pressing or during a telephone call will change the earpiece volume
of the handset. This setting will remain in effect after the telephone call
has ended.
When you press in Loud mode or press in Normal mode, error
sound beeps.
ringer
off on
ringer
off on
QT1960_OM 4/6/01 5:28 PM Page 18

15
The last three phone numbers dialed can be quickly redialed.
On-hook redialing
1Press .
The phone number that was last dialed
appears on the display.
2Press again.
Each press of will display
one of the last three numbers dialed.
3Press . “Talk”appears
flashing on the display, then the
volume setting is displayed.
4Then the selected number is dialed. After
about 5 seconds, the call-time display
appears.
5
To hang up, press or place the
handset on the base
.
The call-time will be displayed for about
5 seconds.
Most
recent
If the recently dialed
number exceeds 32 digits,
only the first 32 digits are
retained for redialing.
QT1960_OM 4/6/01 5:28 PM Page 19

16
Off-hook redialing
1Press .
“Talk”appears flashing on the display.
2Press .
The last number dialed will be
displayed. Only the last number dialed can be
accessed while off-hook.
3
To hang up, press or place the handset
on the base
. The call-time will be displayed
for about 5 seconds.
Only the last number dialed can be accessed after
has been pressed.
QT1960_OM 4/6/01 5:28 PM Page 20
Table of contents
Other Qwest Cordless Telephone manuals