Rac RACHP2000 User manual

2000W Pressure Washer
RACHP2000
Waste electrical products should not be disposed of with household waste.
Please recycle where facilities exist.
Check with your local authority or retailer for recycling advice.

SAFETY AND WARNING INFORMATION
General Safety Rules
WARNING: Read the instructions fully before using the product for the rst time. Failure
to follow the instructions may result in re, electric shock and or serious injury.
We recommend the user wears safety equipment during use.
We recommend the product be used with a RCD (Residual Current Device).
Please Retain These Instructions For Future Use And Referral
This appliance is not intended for use by persons (including children) with reduced physical, sensory or •
mental capabilities, or lack of experience and knowledge, unless they have been given supervision or
instruction concerning use of the appliance by a person responsible for their safety.
Children should be supervised to ensure that they do not play with the appliance.•
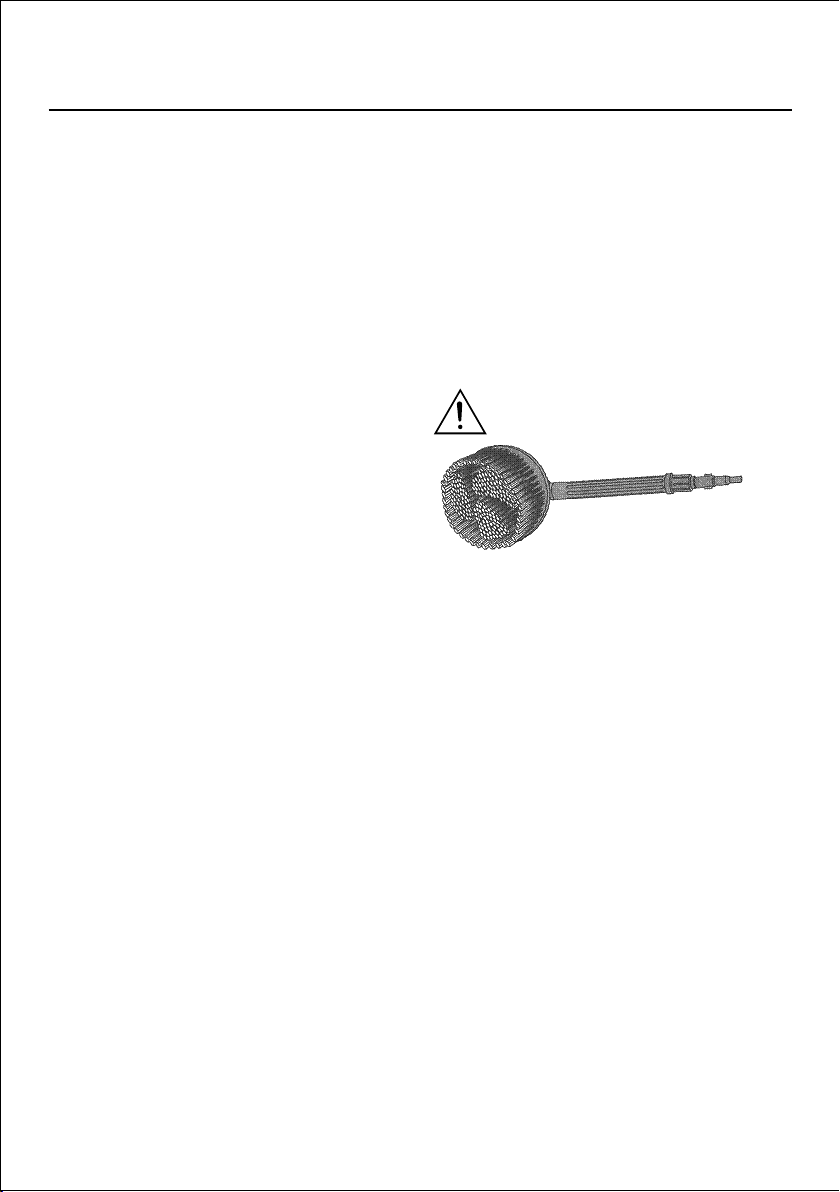
When operating the unit in high pressure mode the lance may cause kickback. Therefore please ensure
that you hold the spray gun rmly. When using the unit we recommend that other people are at least 10m
away from the working area.
High-pressure jets can be dangerous if misused. The jet MUST NOT be directed at yourself, other •
people, animals, live electrical equipment or the pressure washer itself. The trigger gun safety lock
prevents the trigger from accidentally being engaged. This safety feature does not lock trigger in the ‘on’
position.
Do not use the pressure washer if the supply cord or other important parts are damaged (e.g. high •
pressure lance or hoses). Never carry your pressure washer by the cord.
Do not disconnect the high-pressure hose whilst the system is under pressure. This system is capable •
of producing 1600PSI. To avoid rupture and injury, do not operate this pump with components rated less
than 1600PSI working pressure (including but not limited to spray guns, hose and hose connections.)
Do not use acids or ammable liquids in the machine.•
When using a pressure washer always ensure that your water connection is protected by a backow •
preventer (as per water byelaws). This will avoid possible contamination of your water supply. Use cold
water feed only.
Protect the unit against freezing, avoid storing the machine where it may be susceptible to frost. •
Prior to starting the pressure washer in cold weather, be sure ice has not formed in any part of the •
equipment.
The unit must continuously run with water. Dry running will cause serious damage to the seals. •
IMPORTANT: The pressure washer is equipped with an auto stop device. When the trigger is released it will
open the power circuit to the motor and cause the pressure washer motor to stop. The motor will resume
when the trigger is pulled. The pressure washer is also equipped with a main power ON/OFF switch located
on the unit. It should always be moved to OFF position when the pressure washer is not being used.
This product is a class II product-double insulated. No means of grounding (to earth) is provided on this
product nor should it be added. Only a qualied person should carry out servicing. If an extension lead is to
be used with this product, please ensure:
Use only extension cords that are intended for outdoor use.
Completely unwind the cable from the drum to allow for full current rating of the extension cable.
To reduce the risk of electrocution, keep all connections dry and off the ground.
Do not touch plug with wet hands
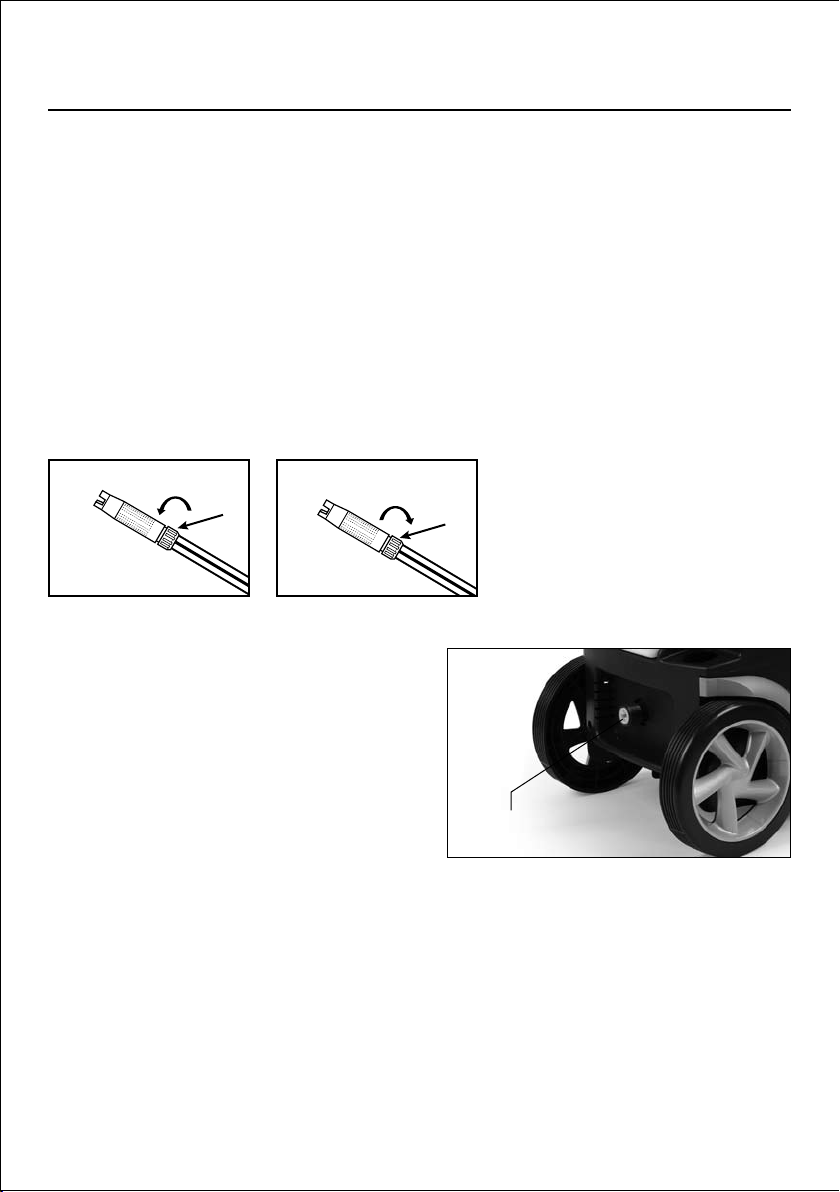
Hose: Water supply hose must be at least ½" in diameter with a minimum recommended length of 7.5
meters and be tted with a suitable coupling that matches the male quick t connector.
Use only original spare parts from the manufacturer or approved by the manufacturer. •
WARNING:• High pressure hoses, ttings and couplings are important for the safety of the appliance. Use
only hoses, ttings and couplings recommended by the manufacturer.
-1-

COMPONENTS
Component List
1. On/Off switch
2. Water supply inlet
3. High pressure outlet
4. Cleaning needle
5. Quick t male connector
6. Patio cleaner extension
7. Lance holder
8. Trigger gun
9. Hose reel
10. Detergent container
11. Mains cord hook
12. Hose reel handle
13. Main handle assembly
14. High pressure connection hose
15. Hose reel connection point
16. Rotary brush
17. Fixed brush
18. Adjustable lance
19. Turbo lance
20. Patio cleaner
21. Water inlet lter
Technicalspecication
Rated voltage:
Rated power:
Rated frequency:
Protection class:
Degree of protection:
Permissible pressure:
Rated pressure:
Max Inlet pressure:
Supply water temperature:
240V ac
2000 Watt
~ 50 Hz
II
IPX5
150 Bar
110 Bar
7 Bar
0 - 40° C
Max output ow rate:
Cable length:
High pressure hose length:
Noise value:
Noise value:
6.6 L/min
5 M
5 M
95 Lwa
73 Lpa
-2-
1
3
57
2
4
6
9
8
10
14
15
19
17
16
20
21
18
12
11
13

ASSEMBLY
Before carrying out any assembly or disassembly of the unit please ensure that the unit is not connected
to the electrical supply.
Assembling your Machine
Fit the mains cord hook (11) to the side of the main body, as shown in Fig 1.1.
Fit the lance holder (7) to the main body, as shown in Fig 2.2.
Locate the main handle assembly (13) onto the main body, as shown in Fig 3. Secure as shown using 3.
the screws supplied.
Fix the hose reel handle (12) to the hose reel (9), as shown in Fig 4.4.
Ensure the walter inlet lter (21) is tted. The screw the quick t male connector (5) onto the water 5.
supply inlet (2), as shown in Fig 5.
-3-
Fig 1
Fig 3
Fig 2
7
11
Fig 5
Note: if the lter is not tted it will invalidate
the guarantee
Fig 4
12
Fig 6
14

ASSEMBLY - cont
-4-
Fig 8
Push the high pressure connection hose (14) into 6.
the high pressure outlet (3) and then screw on the
outer sleeve to x in position (Fig 6). Similarly, t the
opposite end to the hose reel connection point (15).
Connect the high pressure hose (on the hose reel (9)) 7.
to the trigger gun (8), as shown in Fig 7.
Note: Use a 17mm spanner (not supplied) to secure
the hose.
Fit the adjustable lance (18) to the trigger gun (8) by 8.
pushing the lance into the gun, locate the lugs, then
turn clockwise to lock in position (Fig 8).
Connect your garden hose to the unit via the tted 9.
quick t male connector (5).
Patio Cleaner
Assembly
Fit the patio cleaner extension (6) onto the patio cleaner (20).1.
Push and turn to lock the bayonet tting.
Attach the trigger gun (8).2.
Note: All these ttings are bayonet ttings which push in then twist to lock.
6
8
Fig 7
9
8
20
Note: Always check that you will not damage the surface area prior to use on an inconspicuous test area
rst.

OPERATING INSTRUCTIONS
Note:
Before connecting to the mains power supply
please ensure that the ON / OFF switch is in the
OFF position (g 10) and the water supply is
connected and is turned on. Running the pressure
washer without any water supplied to it will
damage the pump
Instructions for use
a) With the unit fully assembled, ensure that the
unit is switched OFF and is connected to the
mains supply and the water supply. Pull the trigger
a few times to expel any air trapped in the system.
b) Ensuring that the trigger is released, switch
ON the pressure washer. The unit is now ready to
operate by pulling the trigger.
Note:
The motor only runs when the trigger is operated.
When the pressure washer is not in use, actuate
the gun lock for safety reasons (Fig 11). Switch the
unit OFF when not in use for extended periods of
time. Never operate the pressure washer without
the water supply connected and turned on.
Helpful Hints
Before starting cleaning remove any objects which
could create a hazard. Ensure that all doors and
windows are closed (where appropriate). The
adjustable lance allows you to use a variety of
spray patterns from a fan to a pencil jet (g 12).
When using the pressure washer to clean decking,
patios, vehicles, etc., always start by using the
fan spray and begin spraying from a minimum
30cm away to avoid damaging the surface of the
material to be cleaned.
WARNING: Do not adjust the nozzle while the
trigger is squeezed.
The pressure of the spray on the surface you
are cleaning increases as you move the nozzle
closer to the surface. We recommend that for most
cleaning applications a 45° spray angle should
be used to avoid damaging the surface being
cleaned. Spraying directly head-on tends to cause
dirt particles to embed in the surface. The turbo
lance is a xed nozzle, which effectively increases
the area of the high pressure water jet and
decreases the time required to clean larger
areas like patios. The turbo nozzle provides a
circular water pattern as it sprays high-pressure
water. The spray pattern
on this nozzle is not adjustable. The circular spray
action does heavy cleaning in less time.
-5-
Fig 09
ON
OFF
Fig 10 LOCK
OFF
Fig 11
The spray is adjustable from a pencil jet spray to
fan spray by tuning the nozzle shown (Fig 12).

-6-
Pre-operation
ADJUSTING FAN PATTERN
The angle of spray coming out of the lance may be
adjusted on some lances by rotating the nozzle.
This will vary the spray pattern from approximately
a 0° narrow high impact stream to a 60° wide fan
spray. (See Fig 13)
A narrow stream has high impact force on cleaning
surface and results in maximum deep cleaning in
a concentrated area. However, this narrow high
impact spray must be used cautiously, as it may
damage some surfaces.
A wide fan pattern will distribute the impact of the
water over a larger area, resulting in excellent
cleaning action with a reduced risk of surface
damage. Large surface areas can be cleaned
more quickly using a wide fan pattern.
NOZZLE CLEANING INSTRUCTIONS
A clogged or partially clogged nozzle can cause
a signicant reduction of water coming out of
the nozzle and cause the unit to pulsate while
spraying. To clean out the nozzle:
Turn off and unplug the unit.•
Turn off the water supply and relieve any•
pressure within the unit by squeezing the trigger
2-3 times
Separate the lance from the gun.•
Rotate the nozzle to the narrow stream setting. •
This opens up the fan blades.
Using the cleaning needle (16) or an unfolded •
paper clip, insert the needle into the nozzle hole
and move it back and forth until the debris is
dislodged (Fig 16)
Remove additional debris by back-ushing •
water through the nozzle. To do this, place the
end of a garden hose (with water running) to the
end of the nozzle for 30-60 seconds.
Fig 12
Figure 13 – Adjusting nozzle for fan pattern (not
applicable on some nozzle)
Fig 13
Figure 14 – Narrow high impact stream
Fig 14
Figure 15 – Wide fan pattern
Fig 15

HOW TO AVOID DAMAGING SURFACES
Damage to cleaning surfaces occurs
because the impact force of the water
exceeds the durability of the surface. Never
use a narrow high impact stream or a turbo/
rotary nozzle on a surface that is susceptible
to damage. Avoid spraying windows with a
narrow high impact stream or turbo nozzle
as this may cause breakage. The surest
way to avoid damaging surfaces is to follow
these steps:
Before triggering the gun, adjust the nozzle 1.
to a wide fan pattern.
Place the nozzle approximately 4-5 feet 2.
from and angled at 45 degrees to the
cleaning surface and begin spraying.
Vary the fan pattern spray angle and the 3.
distance to the cleaning surface until
optimum cleaning efciency is achieved
without damaging the surface.
TURBO NOZZLE
A turbo nozzle, sometimes referred to as
a rotary nozzle, is a very effective tool that
can signicantly reduce cleaning time. The
turbo nozzle combines the power of a narrow
high impact stream and the efciency of a 25
degree fan pattern. This swirls the narrow
high impact stream into a cone shape that
cleans a larger area.
CAUTION: Since a turbo nozzle uses a
narrow high impact stream, only use it in
applications where the cleaning surface
cannot be damaged by a narrow high
impact spray. Note: The turbo nozzle is NOT
adjustable and cannot be used to apply
detergent.
Rotary brush
Before using the rotary brush:
Ensure that the brush is clean and freea.
from debris.
Ensure that the surface to be cleaned isb.
sound and is suitable for being cleaned
by the vigorous rotary action of the brush.
If you are unsure, check on a small
inconspicuous area rst.
Important - Any grit on the surface to be c.
cleaned or in the brush can cause damage
to the surface as it is being cleaned.
-7-
WARNING

Low/High Pressure Adjustable Lance
High Pressure Setting:
Please make sure the trigger is released and no water is coming out, then turn the rear part
of the spray nozzle anti-clockwise (Fig 17) to set to high pressure.
Low pressure Setting:
Please make sure the trigger is released and no water is coming out, then turn the rear part
of the spray nozzle clockwise (Fig 18) to set to low pressure.
CAUTION: Selection of high or low pressure must be carried out with the trigger off.
WATER INLET FILTER
The water inlet lter must be inspected
regularly, so as to avoid blockage and restriction
in the water supply to the pump (Fig 19).
USING DETERGENT
Add detergent to the container and replace the cap. Please note the minimum level required,
Set the adjustable lance at low pressure position (page 6 Fig 13).
Depress trigger to spray detergent.
-8-
Fig 16 Fig 17
Fig 18
Water Filter

-9-
DETERGENTS
The use of detergents can dramatically reduce
cleaning time and assist in the removal of difcult
stains.
Some detergents have been customized for
pressure washer use on specic cleaning tasks.
These detergents are approximately as thick as
water.
The use of thicker detergents, such as washing-up
liquid, will clog the chemical injection system and
prevent the application of the detergent.
The cleaning power of detergents comes
from applying them to a surface and giving
the chemicals time to break down the dirt and
grime. Detergents work best when applied at low
pressure.
Follow this with a high pressure rinse for best
cleaning results.
On vertical surfaces, apply the detergent starting
at the bottom and work your way upward.
This will prevent the detergent form sliding down
and causing streaks.
High pressure rinsing should also progress from
the bottom upwards.
On particularly tough stains it may be necessary
to use a brush in combination with detergents and
high pressure rinsing.
Operation
The following cleaning procedure will help you
organize your cleaning task and ensure that
you achieve the most benecial results in the
shortest amount of time.
Remember to use the spraying/ cleaning
techniques previously listed.
Surface preparation1.
It is important to prepare the surface that is to
be cleaned. This is done by clearing the area of
furniture and making sure that all windows and
doors are closed tight. In addition, you should
make sure that all plants and trees adjacent
to the cleaning area are protected by a drop
cloth. This will ensure that your plants won’t be
sprayed by the detergents.
Initial High Pressure Rinse2.
The next step is to spray the cleaning surface
with water to clear off any dirt or grime that may
have collected on the surface. This will allow
your detergent to attack the deep down dirt that
has worked its way into the cleaning surface.
Before triggering the gun, adjust the nozzle
to a wide fan pattern and slowly adjust to the
desired spray pattern.
This will help you avoid applying too much
concentrated spray to the surface which could
cause damage.

TIPS FOR EXTENDING THE LIFE OF YOUR
PRESSURE WASHER
Never operate the unit without water.1.
This pressure washer is not designed to pump hot water. Never connect it to the hot water supply – 2.
this will signicantly reduce the life of the pump.
Only use detergents specically designed for pressure washers. Other types of detergent may cause 3.
internal damage to the unit, as might chemicals such as bleach, washing-up liquid, etc.
Never operate the unit for more than one (1) minute without spraying water. Otherwise, the resulting 4.
heat buildup will damage the pump.
Winter Storage:5.
For storage during the winter months we recommend the use of a solution of 50/50 mix of antifreeze
and water. This will keep the pump from freezing and getting damaged and will protect the internal
components.
Method: You will need a length of garden hose and a funnel. Attach the garden hose to the inlet and
pour the antifreeze into the unit via the funnel.
Switch the unit on for a few seconds to allow the solution to ow through the system. Disconnect your
pressure washer from the mains power, then pack away in your storage area.
WARNING: Before reusing completely ush the unit out with plain water. Anti-freeze can damage
paintwork so you must ensure there is no antifreeze left in the system before using it again.
-10-

Troubleshooting chart
Plugtting
Note: If a moulded plug is tted and has to be removed take great care in disposing of the plug and
severed cable, it must be destroyed to prevent engaging into a socket. If the supply cord is damaged it
must be replaced by a service agent or similarly qualied person if order to avoid hazard. Your pressure
washer is supplied with a tted plug, however if you should need to t a new plug follow the instruction
below. If in doubt consult a qualied electrician.
IMPORTANT
The wires in the mains lead are coloured in accordance with the following code:
Blue - Neutral Brown - Live
As the colours of the wires in the mains lead of this
appliance may not correspond with the
coloured markings identifying the terminals
in your plug, proceed as follows:
The wire which is coloured blue must be connected to
the terminal which is marked with N or coloured black.
The wire which is coloured brown must be connected to
the terminal which is marked with the letter L or coloured
red. No connection is to be made to the earth terminal
of the plug. If a 13 AMP (BS 1363/A) plug is used, a 13
AMP fuse must be tted, or if any other type of plug is
used a 13 AMP fuse must be tted, either in the plug, or
adaptor or on the distribution board.
Symptom Possible cause (s) Corrective Action(s)
Pressure washer does
not start
Unit is pressurized1.
Poor plug connection or faulty2.
outlet socket
Extension cord too long or3.
undersized
Main voltage supply too low4.
Squeeze trigger on gun1.
Check plug, socket2.
Remove extension cord3.
Check that main supply voltage is 4.
adequate
Pump does not reach
necessary pressure
Water inlet lter is clogged1.
Pump sucking air from hose 2.
connections
Clean water inlet lter1.
Check that connections and2.
locking ring are properly tightened
Fluctuating pressure Pump sucking in air1.
Clogged nozzle2.
Check that hoses and connections1.
are tight
Clear blockage with cleaning2.
needle (see page 5)
Motor stops suddenly Extension cord too long or1.
undersized
Remove extension cord1.
No detergent suction Using high pressure setting1.
Not enough detergent2.
Use low pressure setting1.
Add detegent up to min level2.
-11-


RAC-HP2000 - Issue 1 - R.W. 12-08-09
If faults cannot be remedied, contact the Helpline on 020 8391 6767
GUARANTEE
This product is guaranteed for domestic use for a period of 12 months against faulty manufacture or materials.
This guarantee does not affect the statutory rights of the consumer. In the event of any problem occurring
please contact our Helpline at the number above for advice. This product is not guaranteed for HIRE purposes.
Produced under license for Halco Products Ltd
Booths Hall, Booths Park, Chelford Road,
Knutsford, Cheshire WA16 8QZ England
This product bears the selective sorting symbol for waste electrical and electronic equipment
(WEEE).
This means that this product must be handled pursuant to European Directive 2002/96/EC in
order to be recycled or dismantled to minimize its impact on the environment.
For further information, please contact your local or regional authorities.
Electronic products not intended in the selective sorting process are potentially dangerous for
the environment and human health due to the presence of hazardous substances.
Read Instruction manual
Other Rac Pressure Washer manuals