10
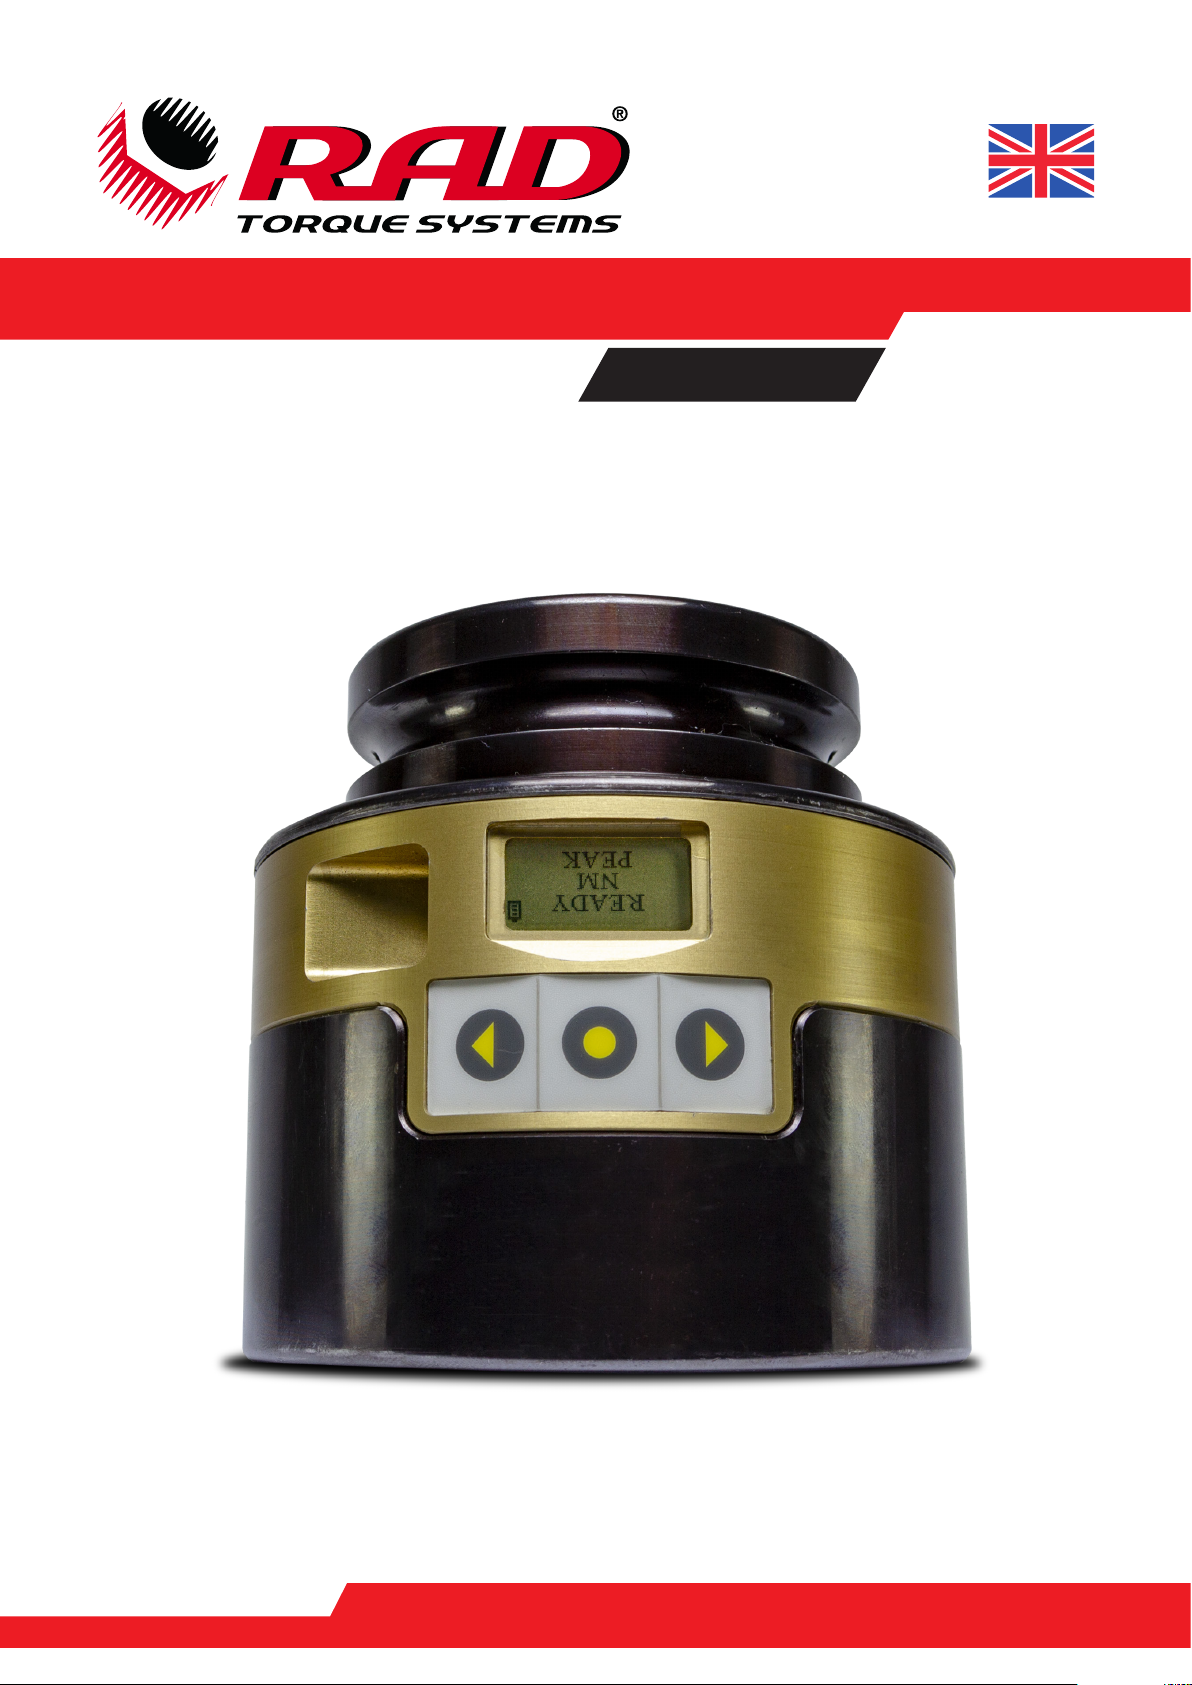
User manual Smart Socket™
www.radtorque.eu
10.Warrenty
10.1 New tool warranty
Any new tool branded with the RAD name and purchased from RAD Torque Systems B.V., or through one of
its authorized distributors or agents, is warranted to the original purchaser against defects in materials and
workmanship for a period of twelve (12) month from the date of delivery to the end user. This guarantee is valid
until fteen (15) months after the original calibration date. The electronic control module is covered for a period of
six (6) months from the date of calibration. Under the terms of this warranty, RAD Torque Systems B.V., at its option
and F.O.B. either its factory or an authorized service center, will replace or repair for the original purchaser, free
of charge, any part or parts, found upon examination by RAD Torque Systems B.V., to be defective in material or
workmanship or both. If any product or part is replaced or repaired under the terms of this warranty, that product
or part will carry the remainder of the warranty from the date of original calibration.
Furthermore, the warranty conditions determine that no warranty applies if:
1. The defect, wholly or partly, is due to unusual, inappropriate, improper or careless use of the product;
2. The defect, wholly or partly, is due to unusual, is due to normal wear and tear or lack of proper
maintenance;
3. The defect, wholly or partly, is due to unusual, is due to installation, assembly, modication and / or repair
by the customer or by third parties;
4. The product altered, modied, used or processed is;
5. The product is transferred to a third party;
6. RAD Torque Systems B.V. has abtained the product, wholly or partly, from a third party, and RAD
Torque Systems B.V. can not claim compensation under warranty;
7. RAD Torque Systems B.V. in manufacturing of the product raw materials, and suchlike has used on
the instructions of the customer;
8. The product has a small deviation in it’s quality, nishing, size, composition and suchlike, which is not
unusual in the industry or if the defect was technically unavoidable;
9. The customer has not fullled all obligations under the agreement promptly and correctly towards RAD
Torque Systems B.V..
10.2 Repaired tool warranty
After the warranty has expired a three (3) month warranty applies to the original purchaser against defective in
material or workmanship or both from the date of repair.
To qualify for the above mentioned warranties, written notice to RAD Torque Systems B.V. must be given immediately
upon discovery of such defect, at which time RAD Torque Systems. will issue an authorization
10.3 New tool warranty
Any new tool branded with the RAD name and purchased from RAD Torque Systems B.V., or through one of
its authorized distributors or agents, is warranted to the original purchaser against defects in materials and
workmanship for a period of twelve (12) month from the date of delivery to the end user. This guarantee is valid
until fteen (15) months after the original calibration date. The electronic control module is covered for a period of
six (6) months from the date of calibration. Under the terms of this warranty, RAD Torque Systems B.V., at its option
and F.O.B. either its factory or an authorized service center, will replace or repair for the original purchaser, free
of charge, any part or parts, found upon examination by RAD Torque Systems B.V., to be defective in material or
workmanship or both. If any product or part is replaced or repaired under the terms of this warranty, that product
or part will carry the remainder of the warranty from the date of original calibration.
Furthermore, the warranty conditions determine that no warranty applies if:
1. The defect, wholly or partly, is due to unusual, inappropriate, improper or careless use of the product;
2. The defect, wholly or partly, is due to unusual, is due to normal wear and tear or lack of proper
maintenance;
3. The defect, wholly or partly, is due to unusual, is due to installation, assembly, modication and / or
repair by the customer or by third parties;
4. The product altered, modied, used or processed is;
5. The product is transferred to a third party;