10
Capillary tube samples – preanalytical errors
Sample collection and handling
1. Stable respiratory condition
To get a true picture of the patient’s respiratory condition, the
patient should ideally be in a steady state of ventilation:
• Patients should be at rest for 5 minutes before sampling
• Ventilatory settings should be unchanged for 20 minutes before sampling
• Pain and anxiety can influence the state of respiration so this should be minimized
wherever possible.
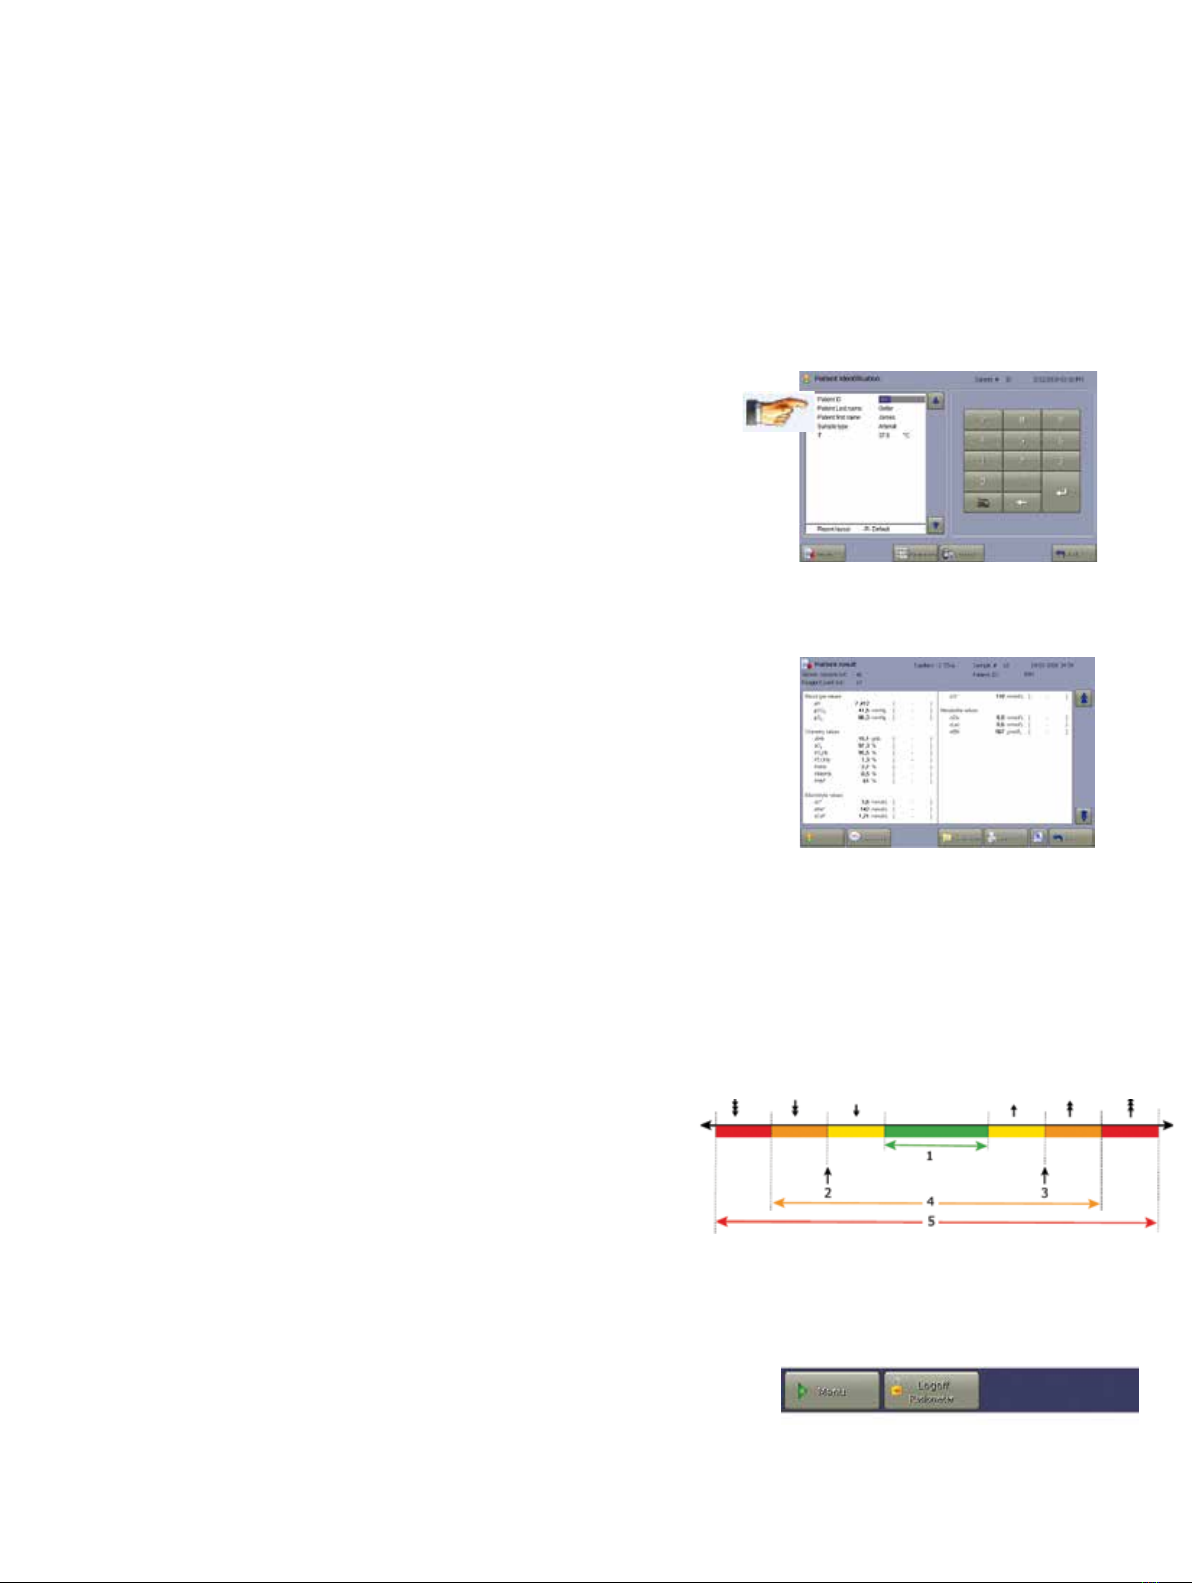
2. Appropriate patient and sample identification
• Prevent mix-up or loss of samples
• Avoid resampling of patients
• Prevent misdiagnosis and wrong treatment
• Facilitate cross-charging
• Avoid litigation and lost billing opportunities
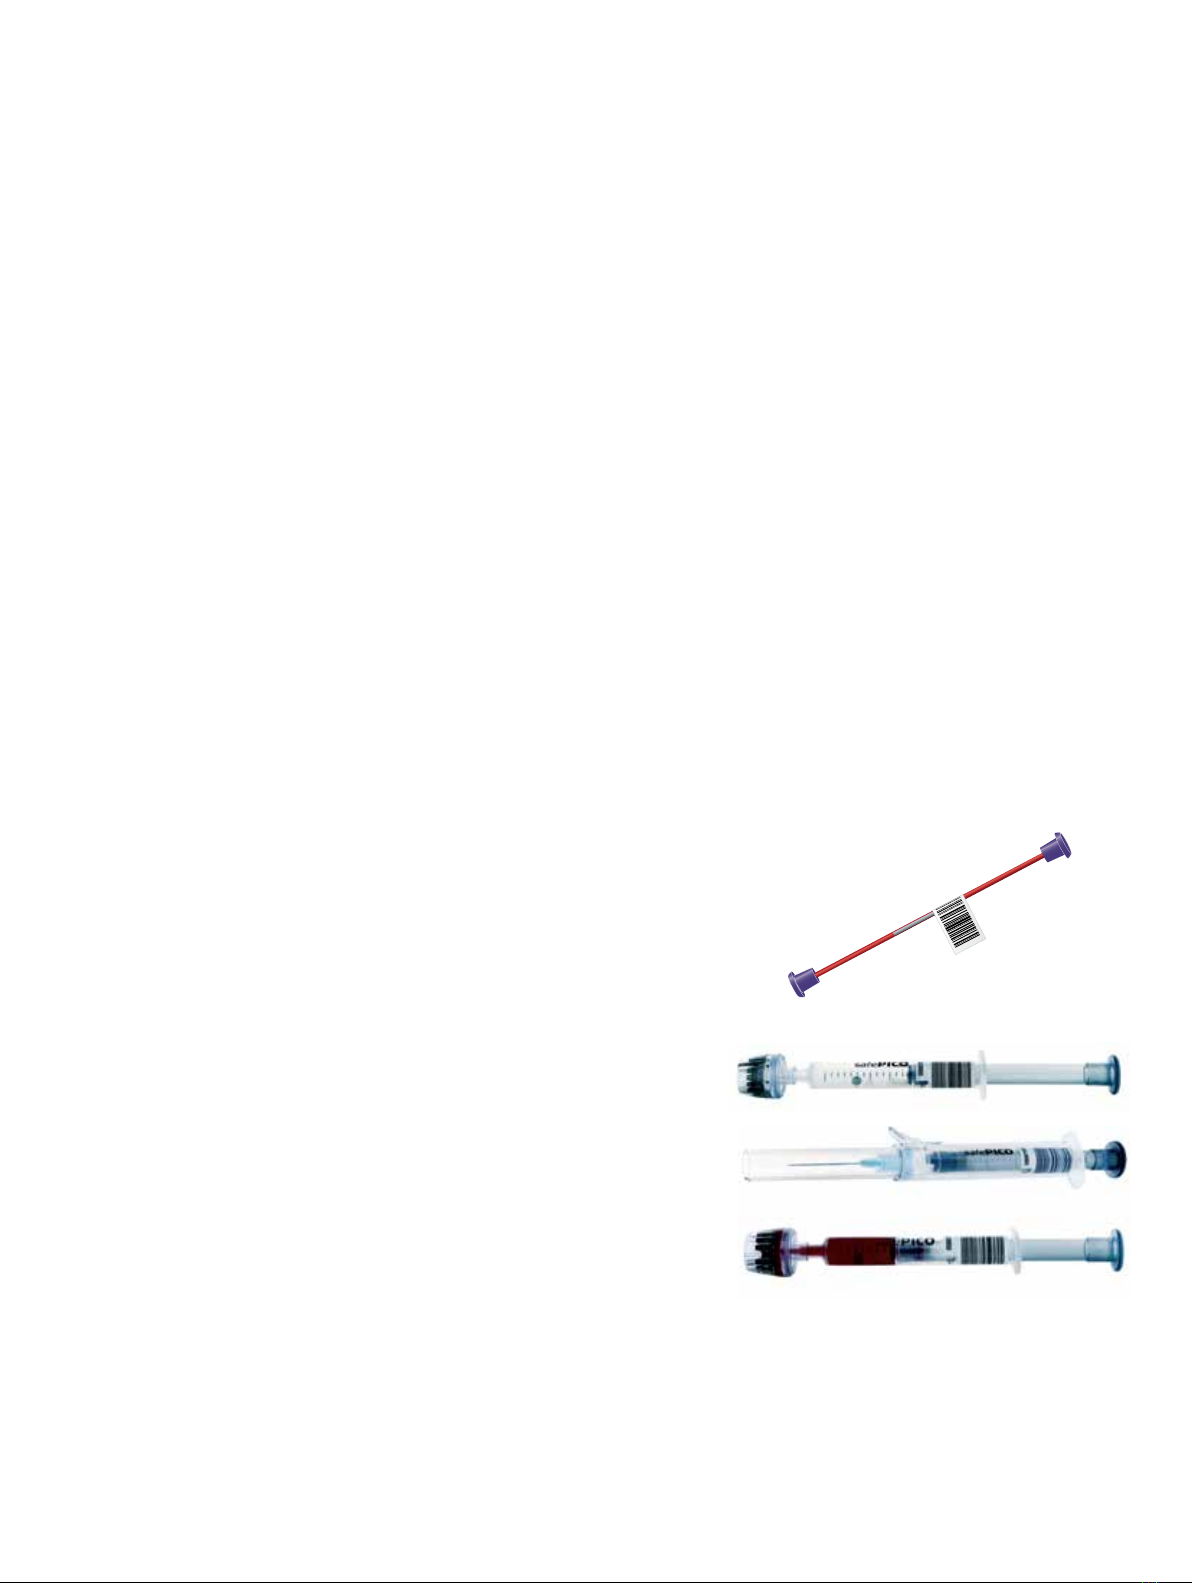
3. Appropriate preheparinized 70 µLcapillary tubes
(
safe
CLINITUBES, plastic) or 100 µL capillary tubes
(CLINITUBES, glass)
• Heparin is the only anticoagulant recommended by Radiometer
• Slows the clotting process
• If applicable, explain about the different types of heparin:
Dry/balanced/non-balanced. Dry electrolyte-balanced heparin
(Na+, K+, Ca2+) is preferable
• If using capillary tubes coated with high-concentration sodium
heparin, do not report electrolyte values
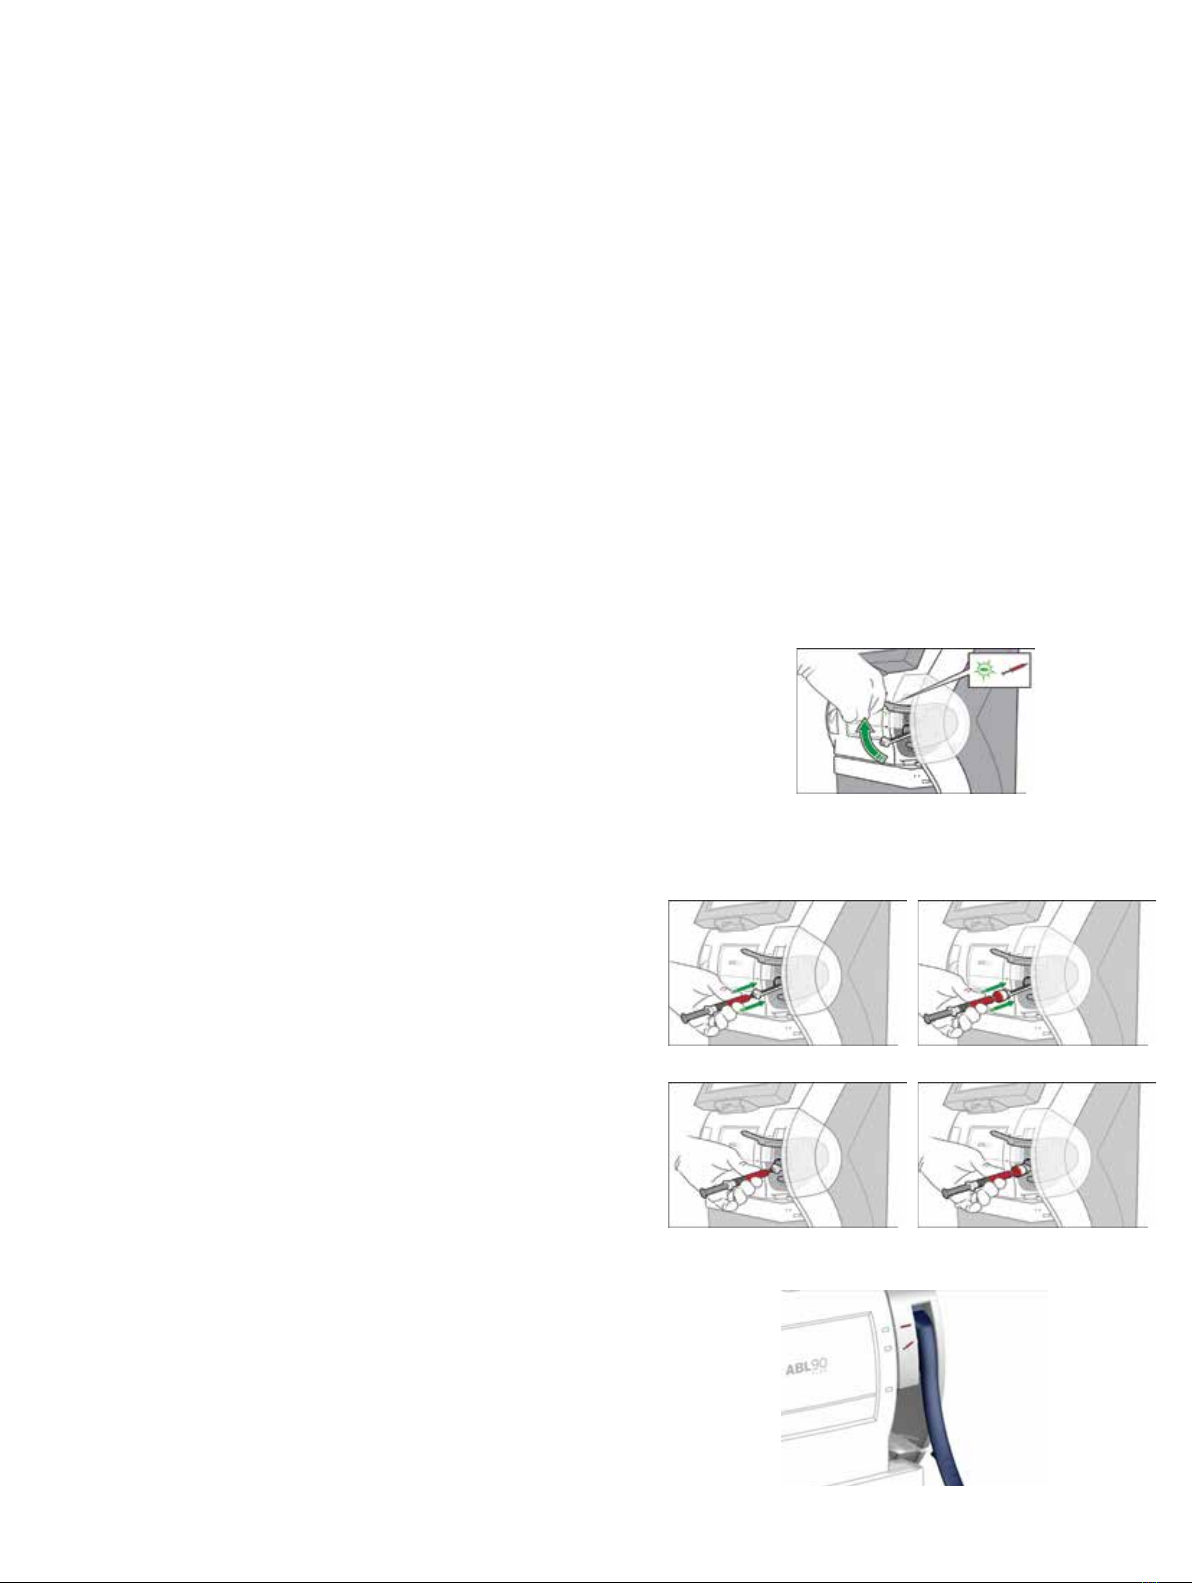
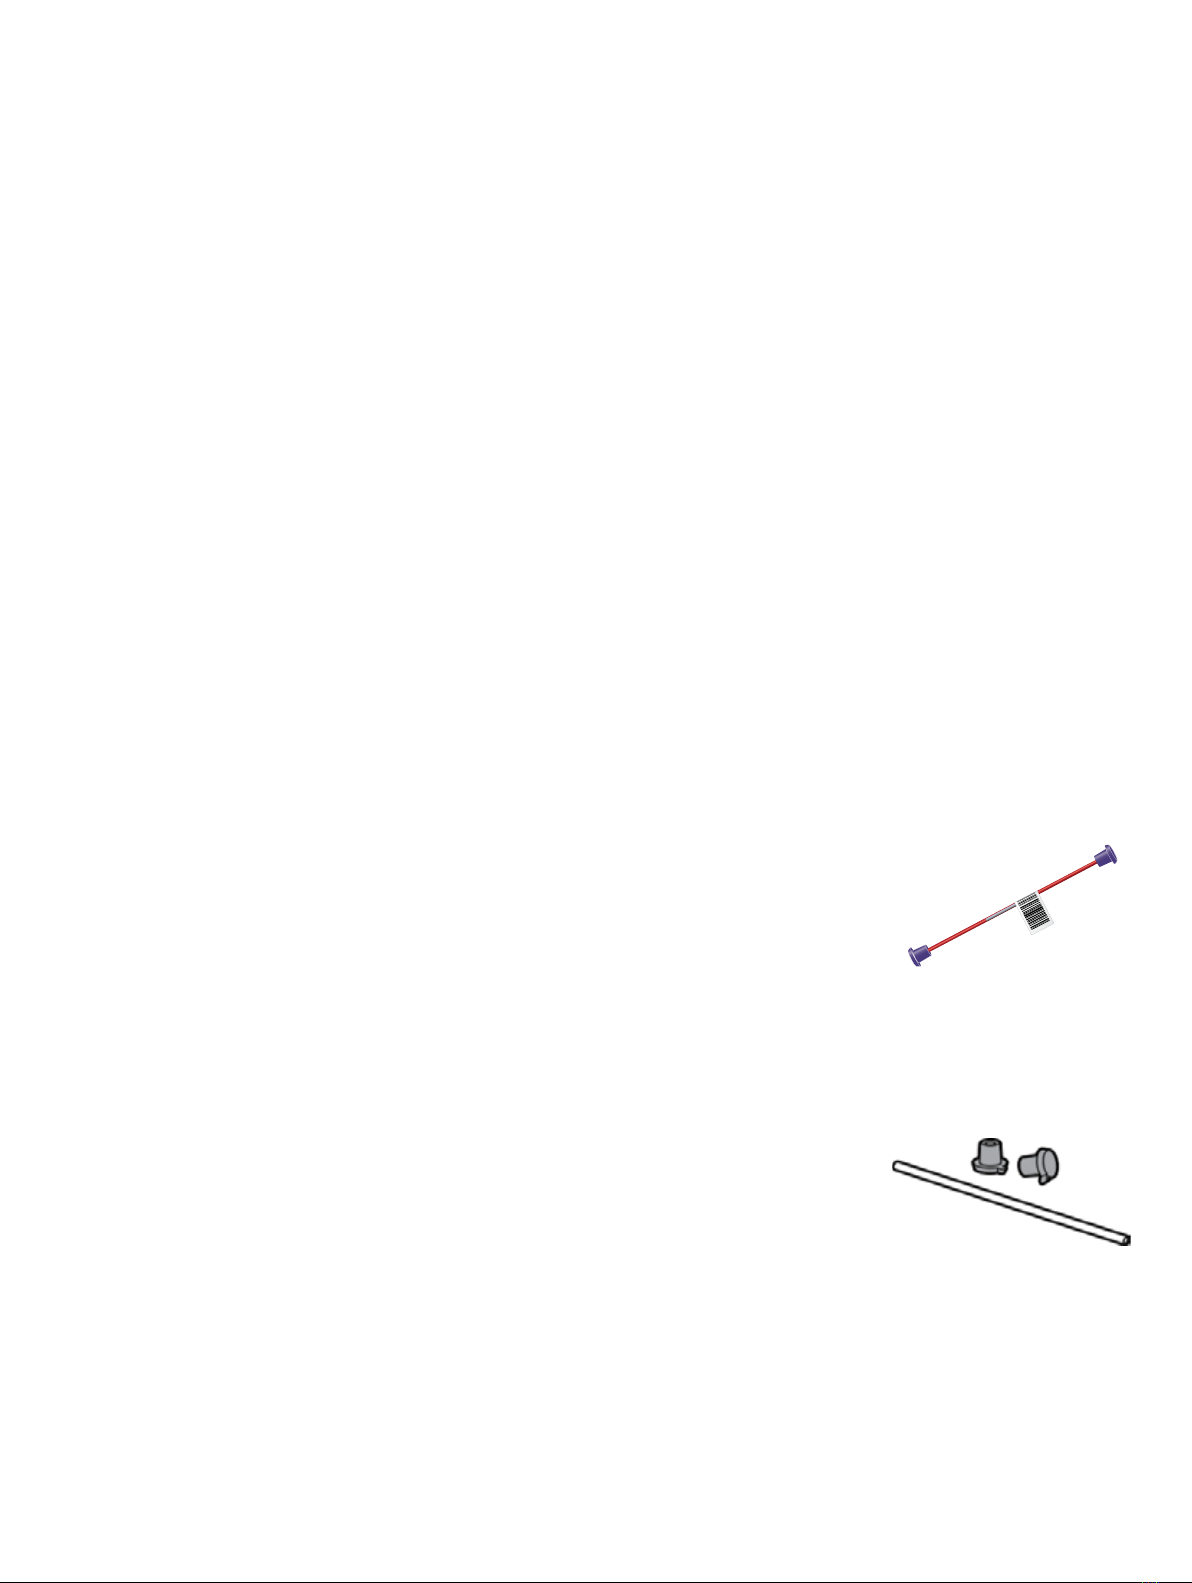
• Always gather everything you need before you start (70 µL
capillary tube, two end caps, magnetic wire, magnetic mixer and an
ABL90 FLEX clot catcher).
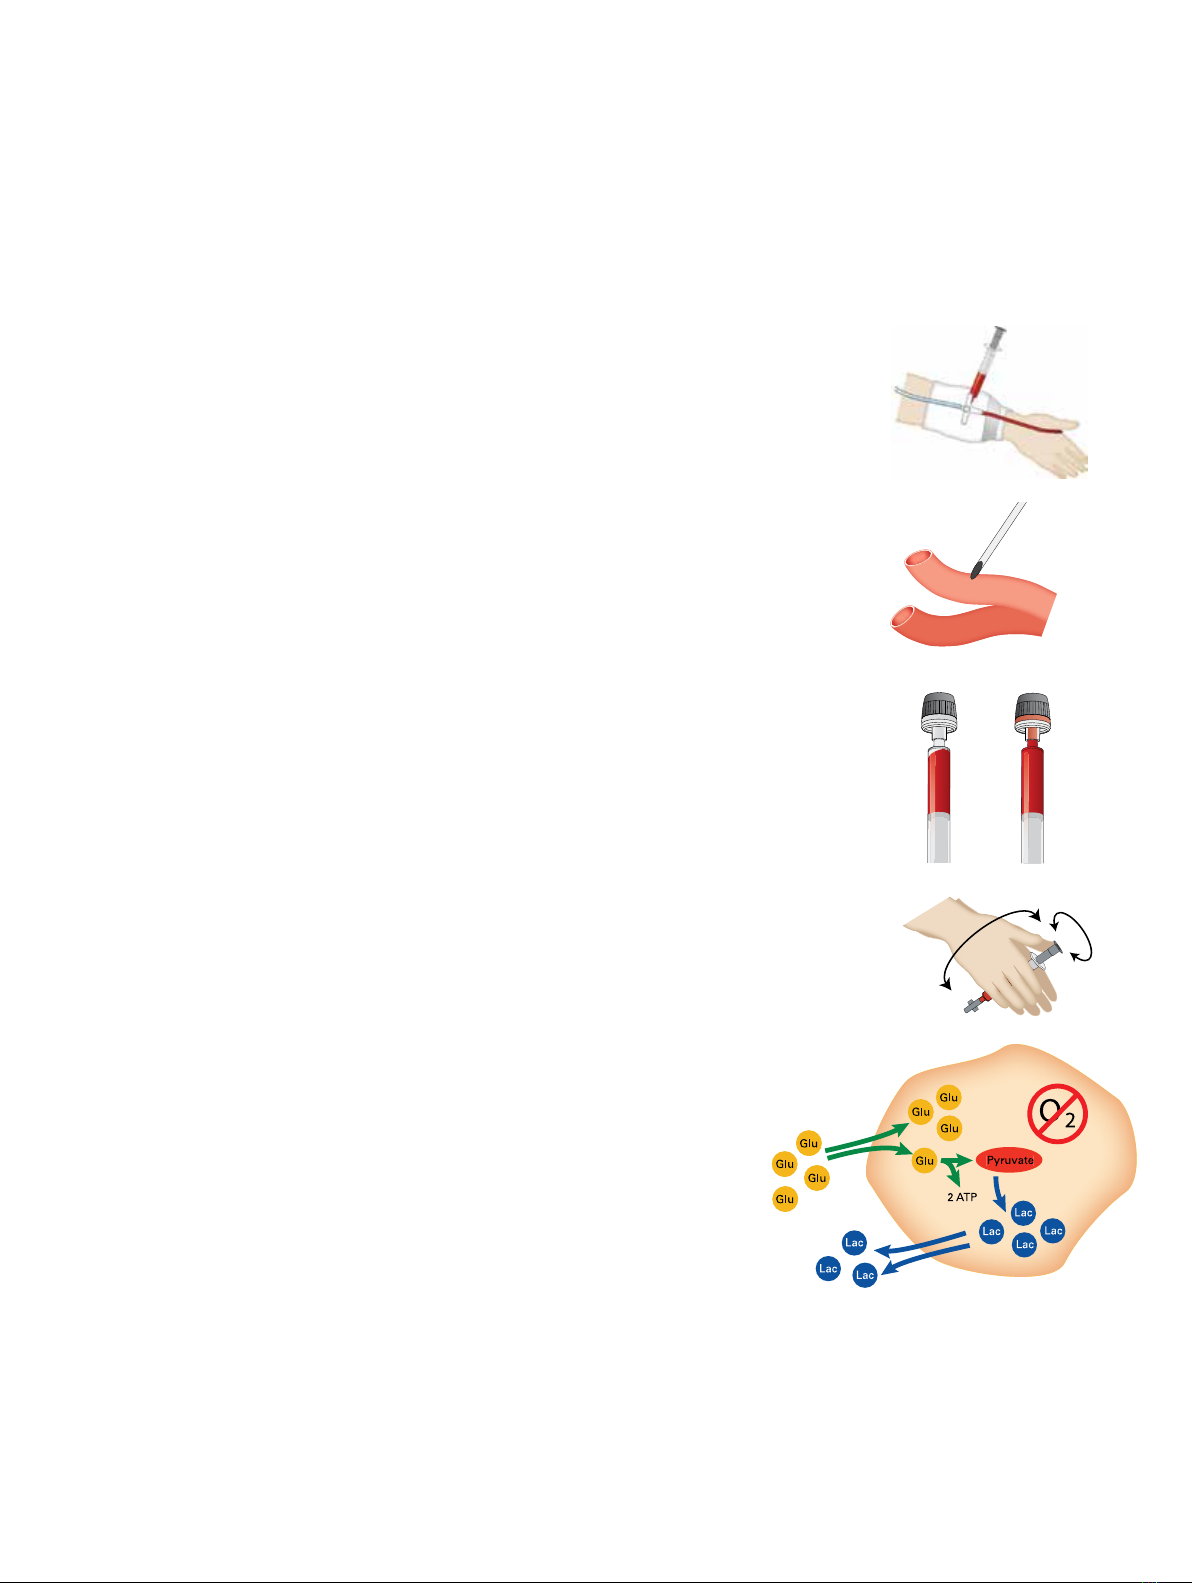
4. Correct volume of blood
• Completely fill the capillary tube with blood
• Minimum size capillary tube is 70 µL
• Do not “milk” the tissue to avoid contamination of the sample with tissue liquid
Training method
Take the trainee through the possible preanalytical errors and explain how "quality in"
equals "quality out": better sample quality will provide more accurate results.
Emphasize the importance of the following points and adjust your messaging according
to local procedures. Demonstrate the steps whenever it seems helpful.
10 of 36EXT-VEND-MAN-0023-1 Owner:Julie Monnox Approved:27 Mar 2019