Rand McNally TND 765 User manual

User Manual
(for software version 5.48)
&


Support
Support for software version 5.48 on TND™760 & TND™765
This manual is organized to help you efficiently accomplish all your work-related tasks.
However, if you have questions that are not addressed here, we invite you to contact us.
Call us: 1-800-641-RAND (7263)
Email us: fleetsupport@randmcnally.com
Write to us:
Rand McNally
Attn: Fleet Customer Support
9855 Woods Drive
Skokie, IL 60077
Safe Driving Practices
Always use your best judgment. Exercise caution and common sense when the vehicle is
in motion. Do not become distracted by the device while driving. Minimize the amount of
time spent looking at the device while driving.
Do not input destinations, change settings, or access any functions requiring prolonged
use of the device controls while driving. Pull over in a safe and legal manner before
attempting such operations.

FCC Compliance Statement
This device complies with part 15 of the FCC Rules. Operation is subject to the following two conditions:
1. This device may not cause harmful interference, and
2. This device must accept any interference received, including
interference that may cause undesired operation.
FCC WARNING
This equipment has been tested and found to comply with the limits for a Class B digital device, pursuant
to Part 15 of the FCC Rules.These limits are designed to provide reasonable protection against harmful
interference in a residential installation. This equipment generates, uses and can radiate radio frequency
energy and, if not installed and used in accordance with the instructions, may cause harmful interference
to radio communications. However, there is no guarantee that interference will not occur in a particular
installation. If this equipment does cause harmful interference to radio or television reception, which can be
determined by turning the equipment off and on, the user is encouraged to
try to correct the interference by one or more of the following measures:
• Reorient or relocate the receiving antenna.
• Increase the separation between the equipment and the receiver.
• Connect the equipment into an outlet different from that to which the receiver is connected.
• Consult the dealer or an experienced radio/TV technician for help.
Exposure to Radio Frequency Radiation.
The device transmits and receives radio frequency (RF) energy through its internal antennas.The cellular
antenna is located at the top of the left edge of the device. The Wi-Fi antenna is located near the center
of the bottom edge of the device. The device is designed to operate with internal antennas and has no
provisions for external antennas.
The device has been designed, tested and manufactured to comply with the limits for exposure to
RF energy set by the FCC. The radiated output power of the device is below the FCC radio frequency
exposure limits. The FCC has granted an Equipment Authorization for this model device with all
reported SAR levels evaluated as in compliance with the FCC RF exposure guidelines. SAR information
on this model device is on file with the FCC and can be found under the Display Grant section of
http://www.fcc.gov/oet/fccid after searching on
FCC ID: A4C01003A.
IC Compliance Statement
FCC Caution
Any changes or modifications not expressly approved by the party responsible for compliance could
void the user’s authority to operate this equipment.
This device complies with Part 15 of the FCC Rules
and Industry Canada license-exempt RSS standard(s). Operate is subject to the following two conditions:
1. This device may not cause interference, and
2. This device must accept any interference, including interference that may cause undesired
operation of the device.
IC CAUTION
Intentional or unintentional changes or modifications to the equipment not expressly approved by Rand
McNally could void the user’s authority to operate the equipment.
IC ATTESTATION DE CONFORMITÉ
Ce dispositif est conforme à la norme FCC Partie 15 et aux norme(s) RSS permis-exempte(s) d’Industrie
Canada. L’opération est soumise aux deux conditions suivantes:
1. Ce dispositif ne peut pas provoquer d’interférence nocive et
2. Ce dispositif doit accepter toute interference reçue, y compris les interférences qui peuvent causer
un mauvais fonctionnement du dispositif.
ATTENTION
Les changements ou modifications à l’équipement, que ce soient intentionnelles ou non, non expressément
approuvés par Rand McNally pourraient annuler l’autorisation de l’utilisateur à utiliser
cet équipement.
IC: 10199A- A4C01003A
WARNING: This product contains chemicals known to the State of California to cause cancer and/or
other harm.

Table of Contents
Device Overview......................................................................................2
Getting Started .......................................................................................3
Registration..........................................................................................3
Log On ................................................................................................4
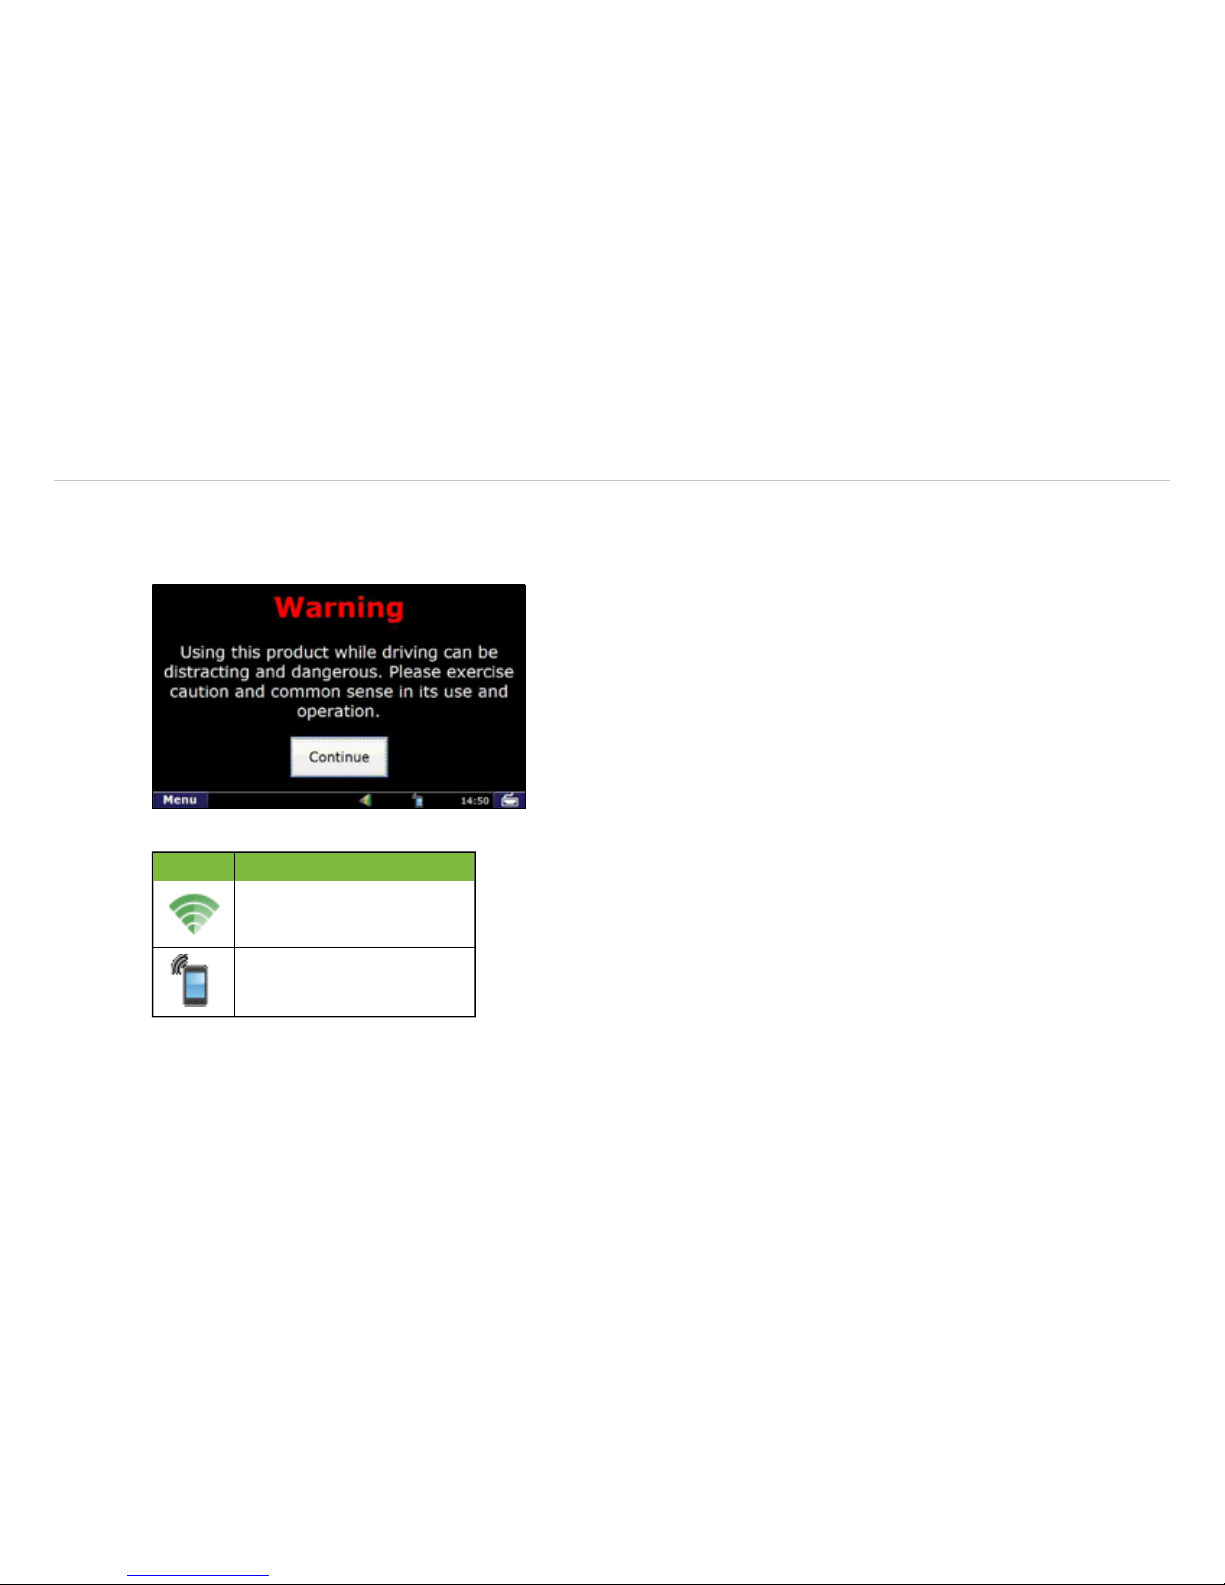
Warning Screen ....................................................................................5
On-screen Keyboard..............................................................................6
Status Bar ............................................................................................7
Screen Calibration ................................................................................8
Home Menu ....................................................................................9
Mail...............................................................................................10
Inbox..................................................................................................11
Attachments and Destinations.............................................................12
Open Message ...................................................................................13
Outbox...............................................................................................14
Send Messages...................................................................................15
Options ..............................................................................................16
Mail Safe-driving Screen .....................................................................16
IntelliRoute®................................................................................17
Main Menu ........................................................................................17
Truck Info ...........................................................................................18
Warnings ...........................................................................................18
General and Route Preferences ..........................................................19
Map Preferences ................................................................................20
Timers ................................................................................................21
Trails ............................................................................................ 22-23
Route to Destination .................................................................... 24-25
POIs ...................................................................................................26
Hours of Service ...........................................................................27
Summary...................................................................................... 28-30
Duty Status.........................................................................................31
HOS Safe-driving Screen .....................................................................32
Logs...................................................................................................33
Options ..............................................................................................34
Company............................................................................................35
Graph Sub-tab....................................................................................36
List Sub-tab........................................................................................37
Summary Sub-tab ...............................................................................38
Trip Info Sub-tab.................................................................................39
Anomalies Sub-tab .............................................................................40
SysInfo..........................................................................................41
Settings .............................................................................................42
Programs and Diagnostics...................................................................43
SysInfo Safe-driving Screen .................................................................44
Stats .............................................................................................45
Driver Performance ............................................................................46
Fault Codes .......................................................................................47
Troubleshooting.....................................................................................48
Connect Web Portal ...............................................................................49

2
TND
™
765 & TND
™
760 User Manual
Getting Started
Device Registration Instructions
Once the unit has been activated and installed, please power the unit on.
The Registration screen will display (this process may take a few minutes).
Your
Data #
and
Serial #
will be pre-populated on the screen. At this
time, you will be asked to enter a
Truck #.
This is the unique identification
number for the vehicle and it can be whatever number you want to assign.
Once you’ve entered the Truck#, press .
If your Data # shows up as “0” and you are unable to submit your Truck #,
either the device has not been activated properly or it has not yet connected
to the cellular network. If this occurs, please call 1-800-641-RAND (7263)
for assistance.
NOTE: Please write down your
Data #
and
Truck
#
in the spaces provided below for future reference.
Data # (pre-populated on your device):
Truck # (number of your choosing using only letters and
numbers, no dashes or spaces, and up to 12 characters):

3
TND
™
765 & TND
™
760 User Manual
Getting Started
Log On Screen
Power On
Press the Power button on the top right of the device.
Log On
The start-up screen displays a log on pop-up (a) and the on-screen
keyboard (b).
• Enter your
Driver ID
.
NOTE: To log off, select the Logoff icon on the Home Menu.
Power Button
(a)
(b)

4
TND
™
765 & TND
™
760 User Manual
Getting Started
Warning Screen
The Warning Screen reminds you that using the device while
driving can be distracting.
Be cautious.
• Tap Continue to complete the logon.
Communication Status
You must have a cellular or Wi-Fi connection to log on
for the first time.
• Locate the communication icon on the status bar. Icons and
their definitions are shown in the table to the left.
• Tap the keyboard button in the bottom right corner of the
keyboard if you cannot view the status bar.
NOTE: If you have a signal but still see errors (such as Invalid
Logon), contact Rand McNally Customer Support.
Warning Screen
Icon Definition
Wi-Fi
Cell

5
TND
™
765 & TND
™
760 User Manual
Getting Started
On-screen Keyboard
To use the keyboard:
• Tap the keyboard button (e) on the status bar to display the keyboard.
• Tap the ABC or !@# buttons (a) to view alphanumeric characters and
symbols respectively. The arrow button (c) on the right and the ABC
screen on the left allow you to change between upper and
lower-case letters.
• Tap the Delete button (b) to erase a character.
• Tap the space bar button to insert a space (f).
• Tap
Enter (d) to type on the next line.
• Tap the keyboard button (e) again to
hide the keyboard.
On-screen Keyboard
(f)

6
TND
™
765 & TND
™
760 User Manual
Getting Started
Status Bar
The status bar remains visible at the bottom of every screen and gives you
access to current information.
Any status or alert icons are found on the status bar (a). Icons and their
definitions are shown in the table to the left.
The status bar also allows you to:
• Check your terminal time (b).
• Pull up the on-screen keyboard (c).
• Return to the Home Menu (d).
NOTE: You can also tap the Home button on the
unit to return to the Home Menu.
Driver Peformance. Screen appears over the icon to help you
manage your performance. Messages are related to metrics such as
over idling and speeding.
HOS. The icon changes color according to your HOS status. Green
means more than 1 hour drive time available. Yellow means 1 hour or
less of drive time available. Red means you are out of drive time and
will be in violation if you continue to drive.
Mail. The icon appears on the status bar when you have
unopened mail.
Communications. The icon shows your Wi-Fi communication
status.
System message. System alerts appear in balloon messages
over the icon.
Cell. The icon indicates the connection status of the cellular modem
on the device.
Icon Definition
Status Bar

7
TND
™
765 & TND
™
760 User Manual
Getting Started
Calibrate Screen Screen Calibration
To calibrate your screen:
• Press and hold the Home button for 5 seconds.
Calibration starts once button is released.
• Tap the center of the crosshairs as they appear on the calibration screen.
There are five total.
-
Tap as close to the center of the crosshairs symbol (+) as possible.
- Use the same pressure you normally use when tapping the screen.
- If you receive an error, try again.
NOTE:
Do NOT press and hold finger on the center of the crosshairs.
Just tap.
1
2
3 4
5

8
TND
™
765 & TND
™
760 User Manual
Home Menu
Home Menu
The Home Menu is the home screen.
The applications available to you are identified by icons.
The icons on the Home Menu are explained in the table to the left.
• Press the Home button to return to the Home Menu screen.
Home Menu Screen
Icon Function Icon Function
View, listen and
respond to messages.
Pinpoint location
and find routes.
Manage settings, tasks
and communication.
Review, create and
send logs.
View driver
perfomance stats.
Log off.

9
TND
™
765 & TND
™
760 User Manual
Mail
Mail Icon on Home Menu Mail
Select the Mail icon on the Home Menu to access messages and
send emails.
Mail opens to the
Inbox
tab.
Inbox Holds incoming messages.
Outbox Holds outgoing messages.
Send Allows you to send messages.
Work Helps you process assignments.
(If workflow is enabled.)
Options Displays your e-mail address and allows you
to manage your e-mail contacts.
Tab Function

10
TND
™
765 & TND
™
760 User Manual
Mail
Inbox Tab Inbox
All incoming messages appear in your Inbox. Special features
of the Inbox tell you details about your messages.
Status information is clustered together (a), (b) and (c).
• (a). A blank space in this column means the message
has been opened. An envelope means it has not been opened.
• (b).A red exclamation point ( !) icon means the
message is important. A paperclip ( ) icon means the message
has an attachment.
• (c).
When you are working in another Mail tab, an
envelope icon appears on the tab indicating that you have
an unopened message.
Other columns in the Inbox tell you more about your messages.
• (d). This column tells you who sent the message.
• (e). This column tells you the subject of the message.
• (f). This column tells you when the message arrived.
-The time displays for messages that arrived on the current day
(based on your terminal time).
-The date displays for messages that arrived on previous days.

11
TND
™
765 & TND
™
760 User Manual
Mail
Attachments and Destinations
Click on the paper clip icon ( )to view an attached document.
Click on the destination icon () to open a destination. A pop-up window
will appear. If there is more than one destination, click the first one
you want to route to. The IntelliRoute®navigation application will then
automatically open, enabling you to begin your route.
Your Inbox holds 100 messages. When more messages arrive,
the oldest messages in your Inbox are automatically deleted.
Attachments and Destinations

12
TND
™
765 & TND
™
760 User Manual
Mail
Open Message Screen Open Message
Select a message to open it.
Four action buttons are available once a message is open.
• (a). Back returns you to the Inbox.
• (b). Play lets you listen to the message.
• (c). Reply lets you send a response to the message.
• (d). Delete lets you delete the open message.
Your Inbox holds 100 messages. When more messages arrive,
the oldest messages in your Inbox are automatically deleted.
Personal Email Access
• If your driver settings are configured to enable personal
email access, you can save up to 25 personal email addresses
to communicate with while on the road.
• Personal emails are color-coded blue in your Inbox so you can identify
them quickly. The color coding remains after the email is read.
• You can view your assigned email address by selecting the Options
tab on the Mail screen and tapping the View Email Address button.
(a)
(c) (b)
(d)

13
TND
™
765 & TND
™
760 User Manual
Mail
Outbox
All outgoing messages appear in your Outbox. Special features of the
Outbox tell you details about your messages.
Your Outbox holds 50 messages. When you have sent more than that, the
oldest messages in your Outbox are automatically deleted.
• (a). A green check mark ( ) icon means the message has been sent.
An orange arrow ( ) icon means the message is waiting to be sent. A
red X ( ) icon means the message has not yet
been sent.
Other columns in the Outbox tell you more about your messages.
• (b). This column tells you who received the message.
• (c). This column tells you the subject of the message.
• (d). This column tells you when the message arrived.
-The time displays messages that were sent on the current day (based on
your terminal time).
-The date displays for messages that arrived on previous days.
Outbox Tab
(b) (c) (d)
(a)

14
TND
™
765 & TND
™
760 User Manual
Mail
Send Tab Send Messages
You can send messages from the Send tab.
The on-screen keyboard (a) appears automatically when you select
the Send tab.
Drop-down boxes (b) make it easy for you to complete the To and
Subject fields.
• The To field automatically selects Dispatch. The drop-down box
lists other saved contacts.
• You can fill in the Subject field by using either the drop-down
list (if you want to send a form) or the on-screen keyboard
(if you want to send a message). If you choose a form from the
drop-down list, the screen displays the form in the message
field (the body of the screen).
When you are done, tap Send (c).

15
TND
™
765 & TND
™
760 User Manual
Mail
Options Tab Options
The
Options
tab has two buttons.
• Manage Contacts (a). This button lets you add contacts
(for the list
that displays in the To drop-down box on your Send message screen)
,
request your contact list when you enter a new truck, and make
changes to your contact list.
• View Email Address (b). This button lets you review your
email address.
Mail Safe-driving Screen
When you select the Mail icon while vehicle is in motion, the mail
safe-driving screen will appear. With the mail safe-driving screen, you can
hear a message rather than read it.
• To hear a message, simply tap it to highlight it.
• To stop the message from playing, tap Cancel Playback on the screen.
Mail Safe-driving Screen
(a) (b)

16
TND
™
765 & TND
™
760 User Manual
IntelliRoute®
IntelliRoute®Icon on Home Menu IntelliRoute®
Select the IntelliRoute
®
icon on the Home Menu to access the
truck-specific routing application. IntelliRoute
®
will route you around
low bridges and truck-restricted roads, and help you find
driver-specific Points of Interest (POIs).
Main Menu
(a.) Enter truck information and access truck-specific use tools.
(b.) Show location on the map and view navigation instructions.
(c.) Choose a destination.
(d.) Select general, route and map preferences.
IntelliRoute®Screen
(a)
(d)
(b) (c)
Other manuals for TND 765
2
This manual suits for next models
1
Table of contents
Other Rand McNally Automobile Accessories manuals