RangeVideo
Wireless Video Solutions
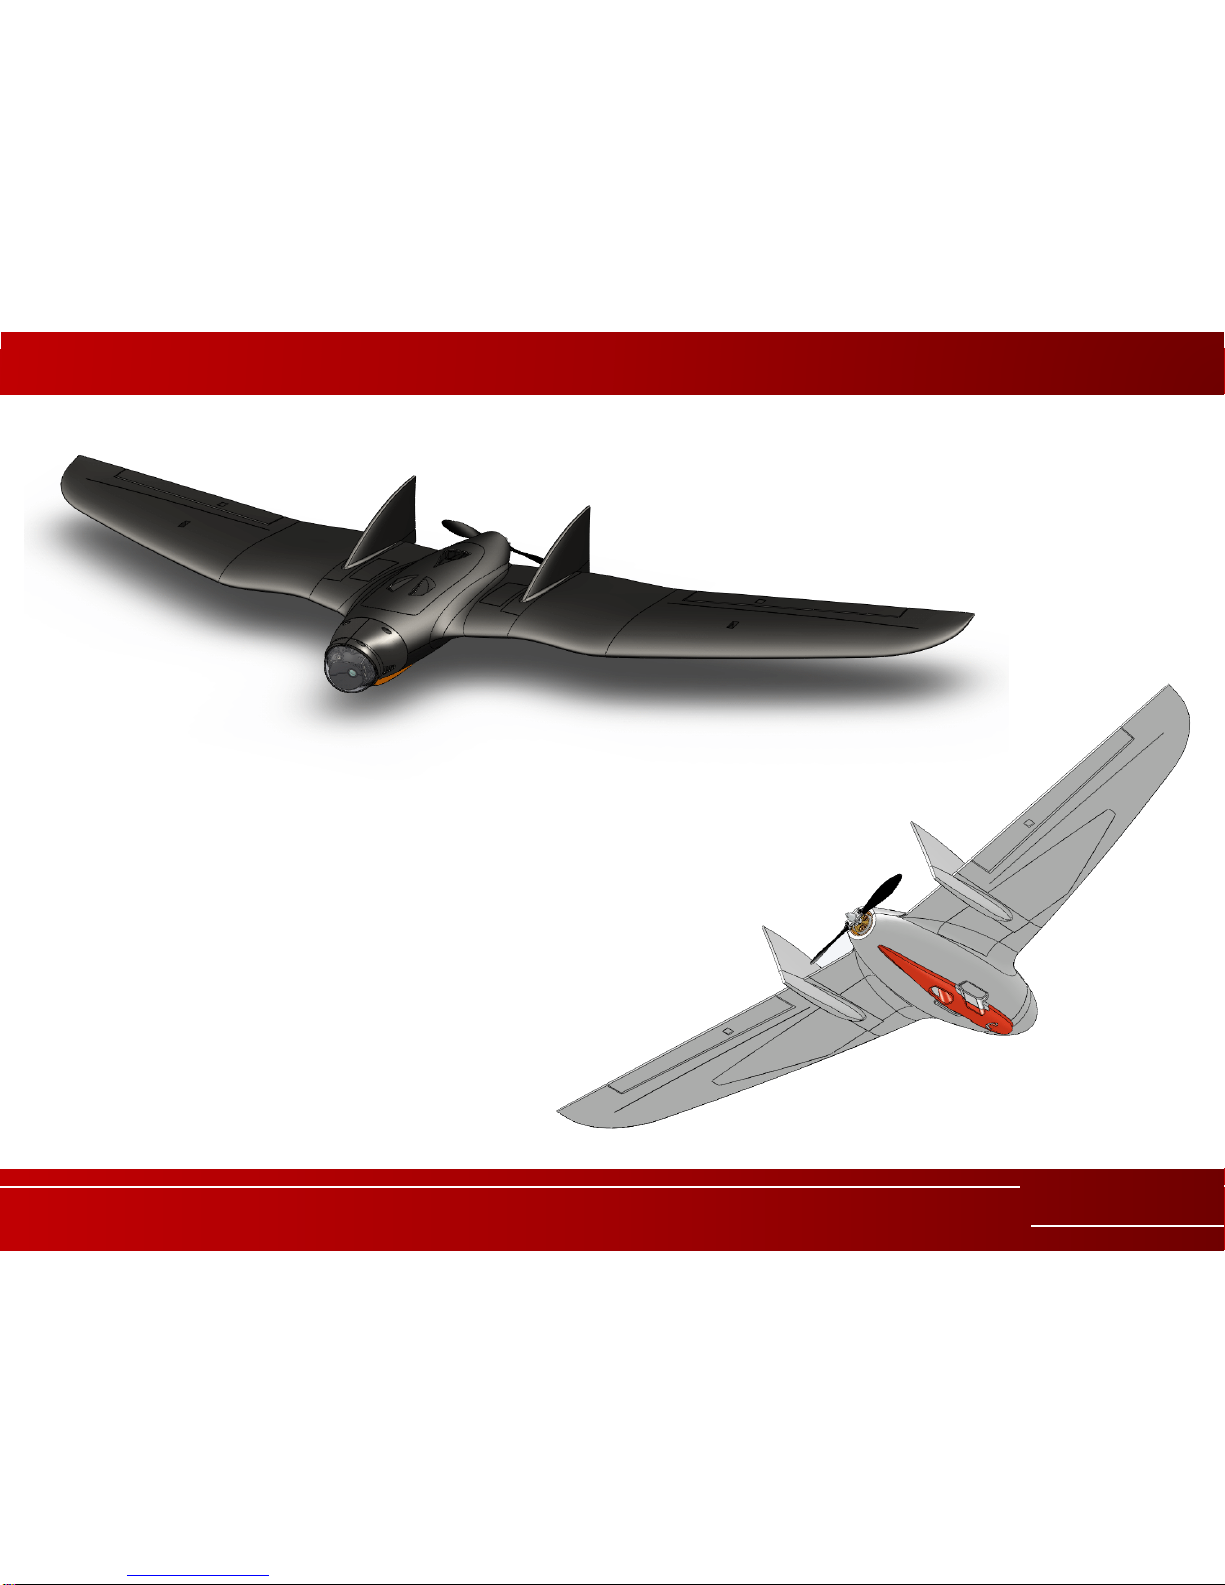
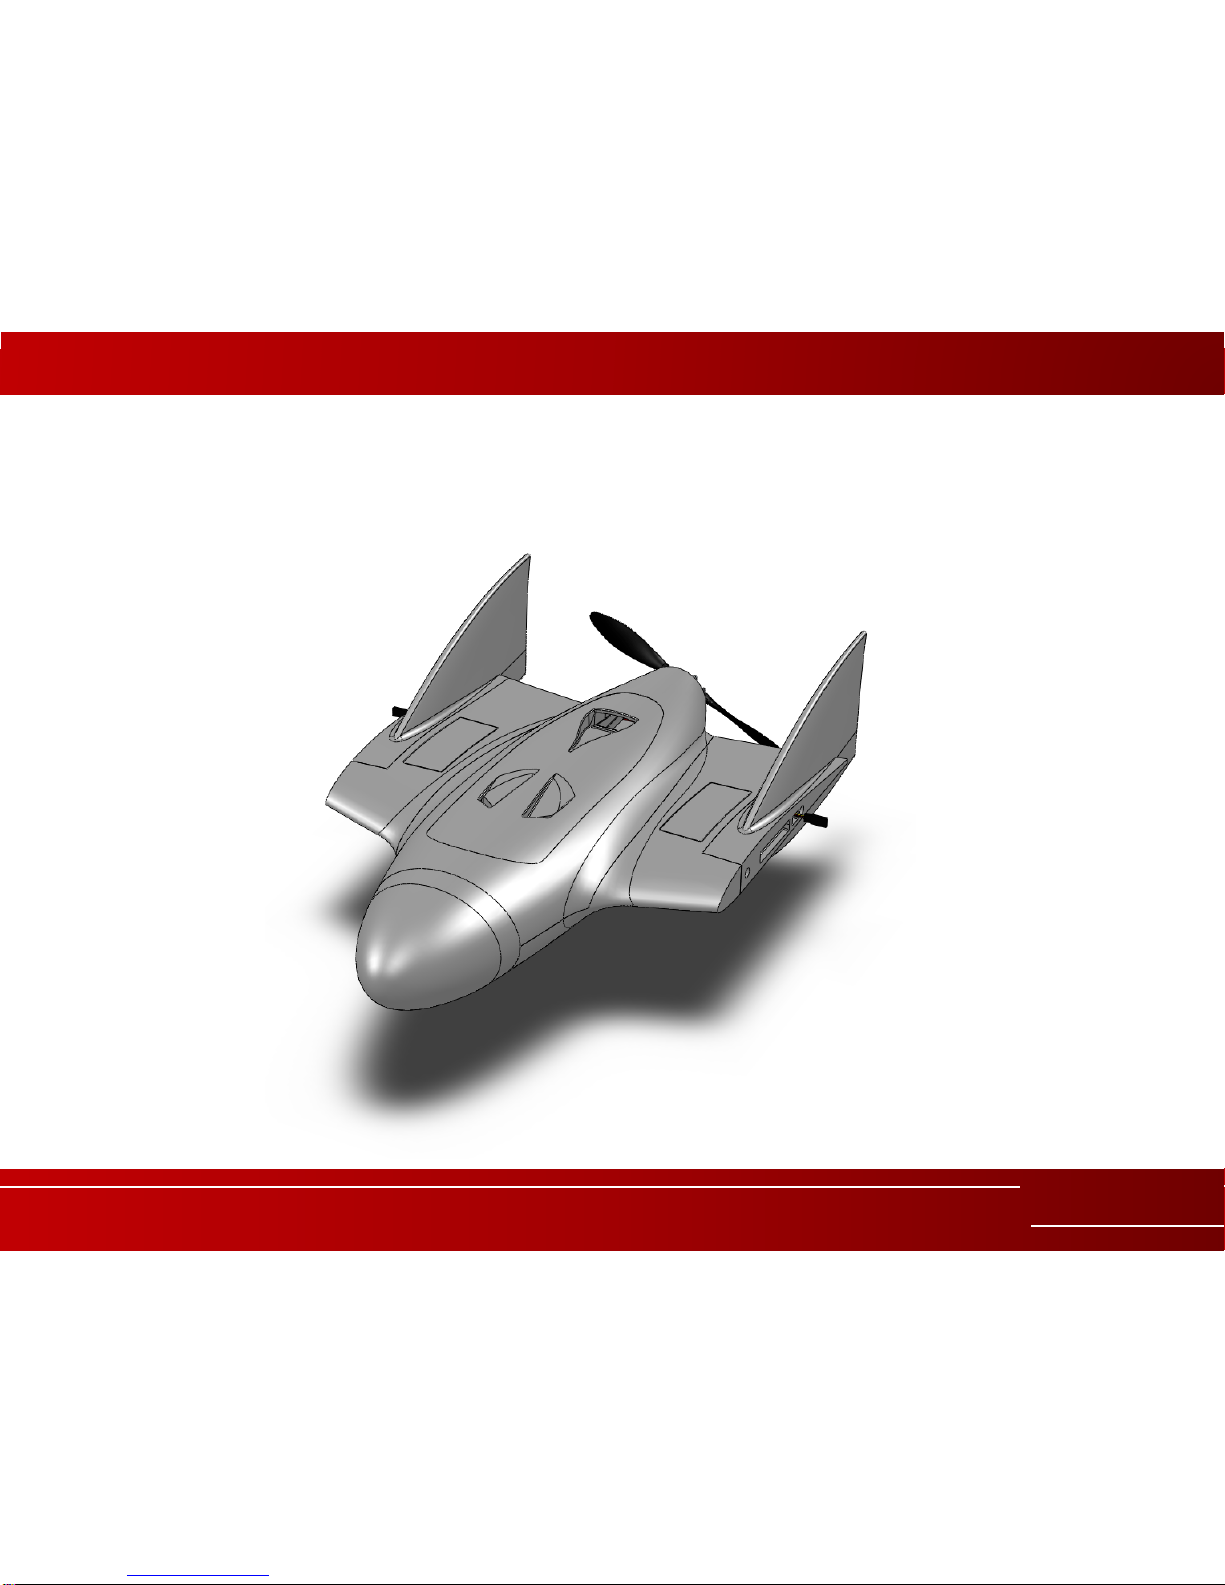
RVJET Flying wing specially designed for FPV
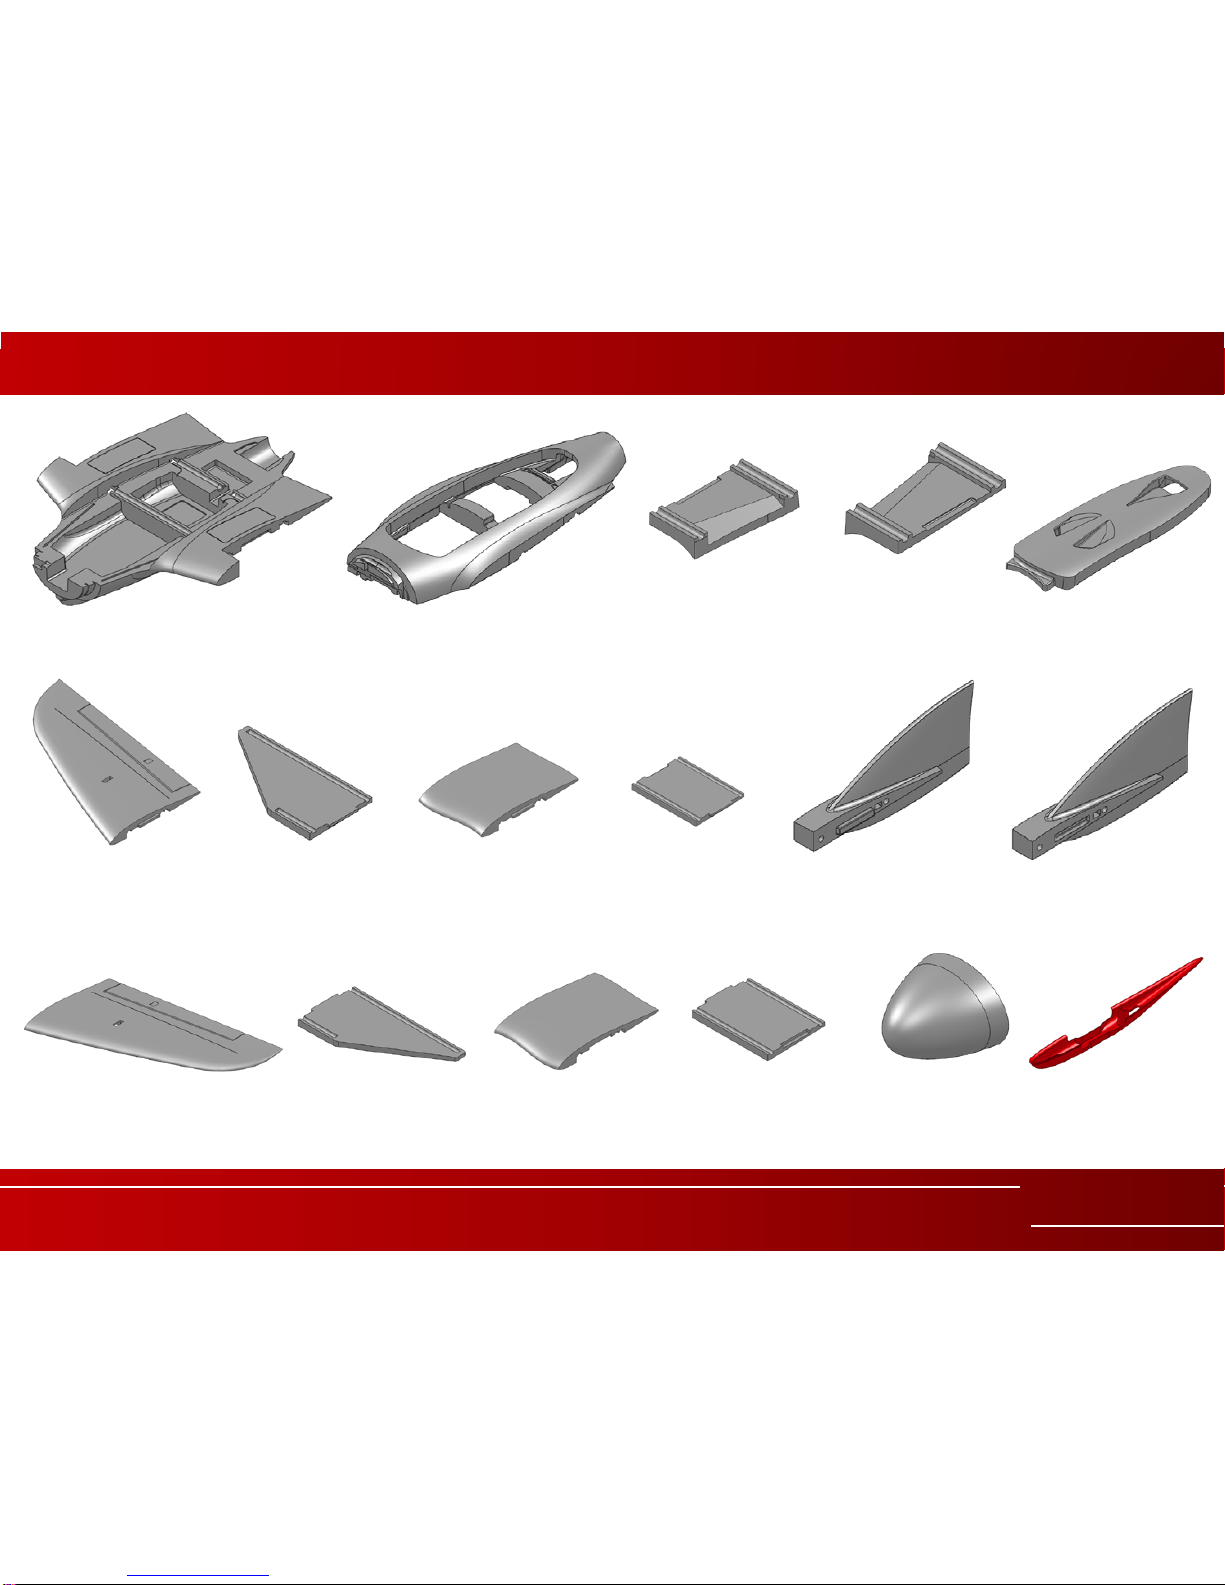
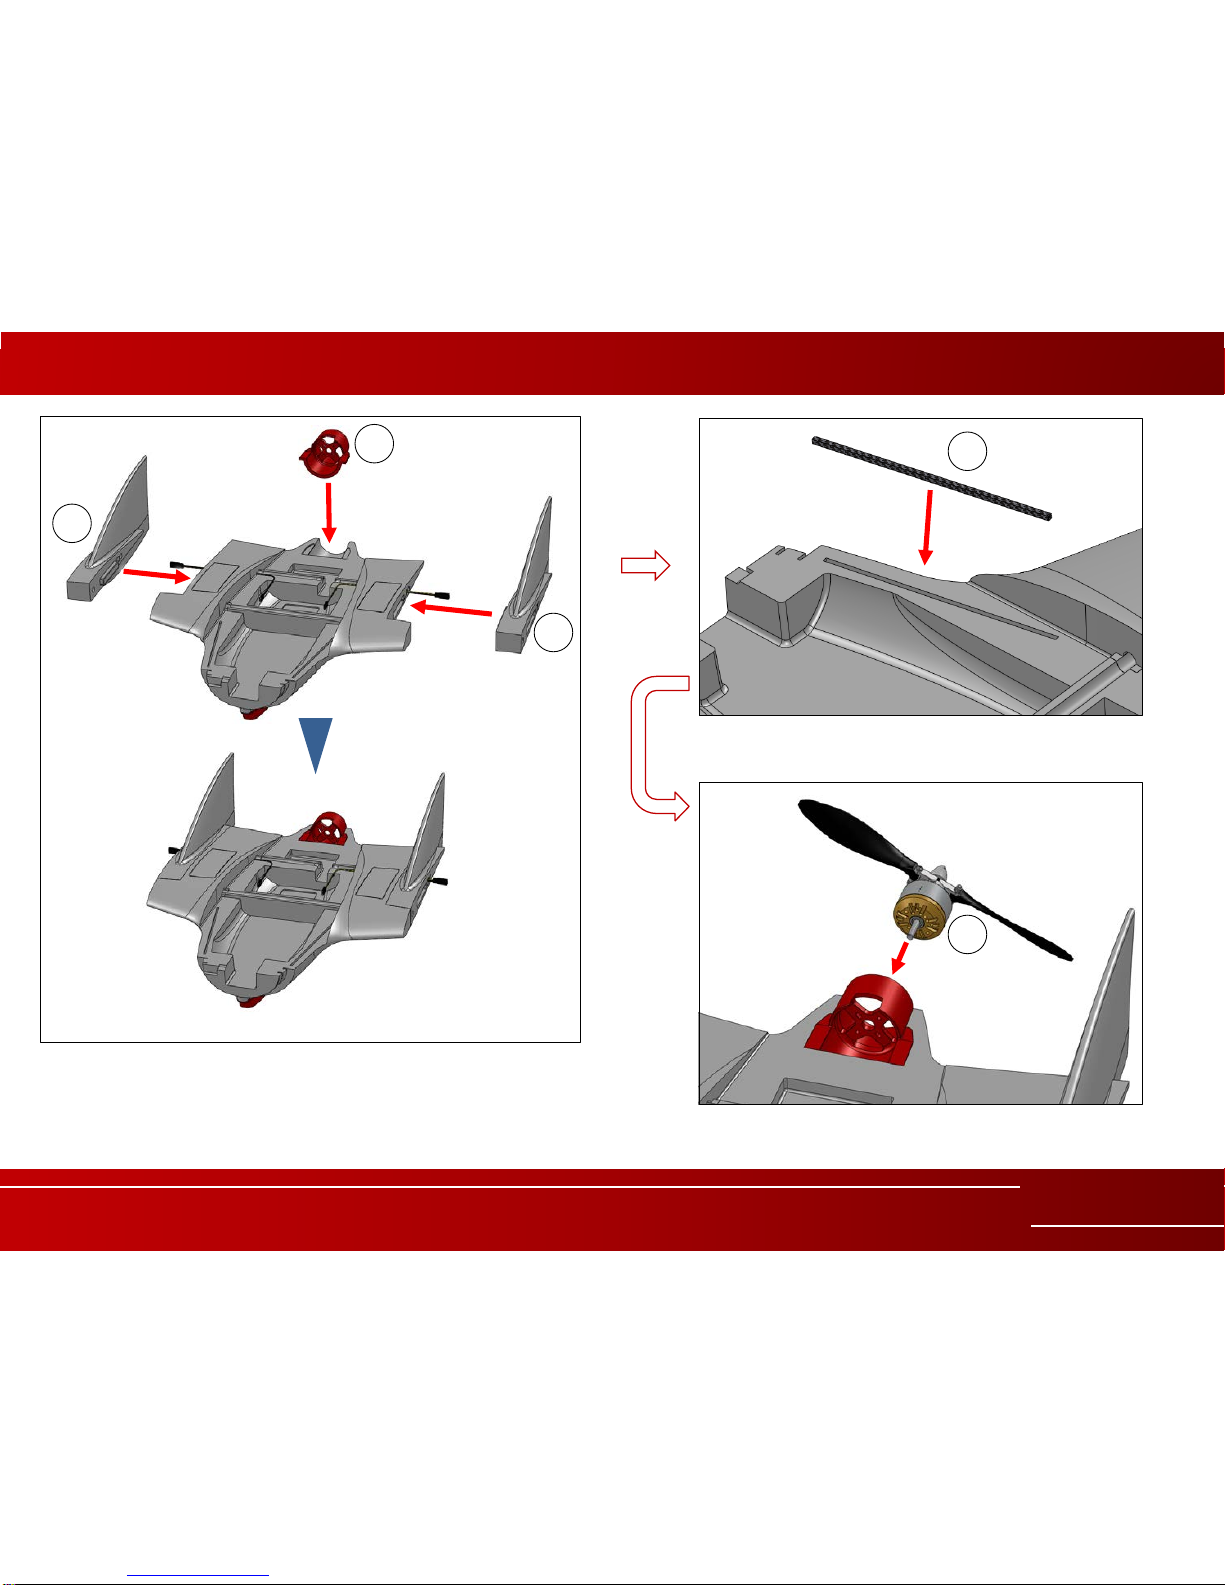
30th November 2012 RVJET Airframe Assembly Instruction
Features:
Durable EPO in black or white
Variable wing span 1.55m/1.95m
Compact during transport (original packing can be used)
Specially designed for RVOSD
Bottom wing covers enables hidden wing installations
Durable skid to protect the fuselage on rough surfaces
Large hand grip enables safer hand throws
Integrated hook for bungee launch
Advanced nose gimbal for gopro or micro cameras
Choose between EPO nose or gimbal
No plywood!