Ranger Body Scanner/ Metal Detector User manual

IMPORTANT
Read and understand instruction booklet before using scanner.
Always test scanner for proper operation before each use.
Owner’s Manual
TM
Body Scanner/Metal Detector
hh_2007356.indd 1 1/29/2007 1:38:41 PM

2
INTRODUCTION
Your Ranger Body Scanner/Metal Detector is ideal for use at airports, industrial sites,
government buildings, schools, hospitals, meetings, athletic events, or anywhere you need added
security without undue inconvenience to anyone entering the area. It's sensitive enough to detect
metal objects the size of a 25-cent piece, so you can use it for special applications, such as
locating a listening device in a room. The Body Scanner sounds a high-pitched tone whenever it
detects metal–a longer tone for larger objects, and a shorter one for smaller objects.
You can use a rechargeable nickel-cadmium battery for power, and recharge it in the Body
Scanner.
Its features include:
Red LED Indicator lights when the Body Scanner detects metal.
De-Sense Button reduces the Body Scanner's sensitivity to metal by about 50 percent, so
you can scan near oors which contain large amounts of steel reinforcement, or only scan
for larger objects.
Earphone Jack lets you connect an optional earphone to the security wand so you can scan
in privacy.
hh_2007356.indd 2 1/29/2007 1:38:41 PM

3
TABLE OF CONTENTS
A LOOK AT YOUR RANGER BODY SCANNER ...................................... 4
POWERING THE BODY SCANNER/METAL DETECTOR ....................... 6
Installing the Battery .................................................................. 6
Charging a Nickel-Cadmium Battery ......................................... 8
OPERATION ............................................................................................ 10
Turning the Body Scanner On and Off .................................... 10
Testing the Body Scanner ....................................................... 10
Body Scanning .........................................................................11
Adjusting the Body Scanner’s Sensitivity ................................ 12
Using an Earphone .................................................................. 13
MAINTENANCE ....................................................................................... 14
SPECIFICATIONS ................................................................................... 15
hh_2007356.indd 3 1/29/2007 1:38:42 PM

4
A LOOK AT YOUR BODY SCANNER
Scan Area
hh_2007356.indd 4 1/29/2007 1:38:42 PM

5
Visual LED Alert Power Switch
De-Sense-Button
Snap On
Battery CoverAudio Alert
Battery Recharger
Earphone Jack
Sensitivity
Adjust
hh_2007356.indd 5 1/29/2007 1:38:42 PM

6
POWERING THE BODY SCANNER
INSTALLING THE BATTERY
Your Ranger Body Scanner/Metal Detector requires one 9V battery for power. We recommend
using an alkaline battery. You can also use a rechargeable nickel-cadmium battery with a proper
AC adapter.
Notes:
• If you use a rechargeable nickel-cadmium battery, you must charge it before operating the
security wand. See "Charging a Nickel-Cadmium Battery."
• If your Body Scanner requires continuous use, you might consider keeping a spare nickel-
cadmium battery charged.
• Use only a fresh battery of the required size and type.
• Never leave a dead or weak battery in the Body Scanner.
• If you do not plan to use the Body Scanner for several days, remove the battery.
hh_2007356.indd 6 1/29/2007 1:38:42 PM

7
Follow these steps to install the battery:
Grip the snap on battery cover and pull back to
slide open the battery compartment.
Remove the old battery from the battery
compartment.
Place a new battery into the battery compartment.
Check for proper + positive and - negative polarity
battery positioning. Polarity marks are located
inside the battery compartment.
1.
2.
3.
4.
When the battery starts to get low, the Body Scanner makes a "chirping" sound instead of a smooth
steady sound, and the indicator blinks on and off rapidly when it detects metal. Replace the battery,
or recharge it if you inserted a rechargeable nickel-cadmium battery (see “Charging a Nickel-
Cadmium Battery”).
hh_2007356.indd 7 1/29/2007 1:38:46 PM

8
CHARGING A NICKEL-CADMIUM BATTERY
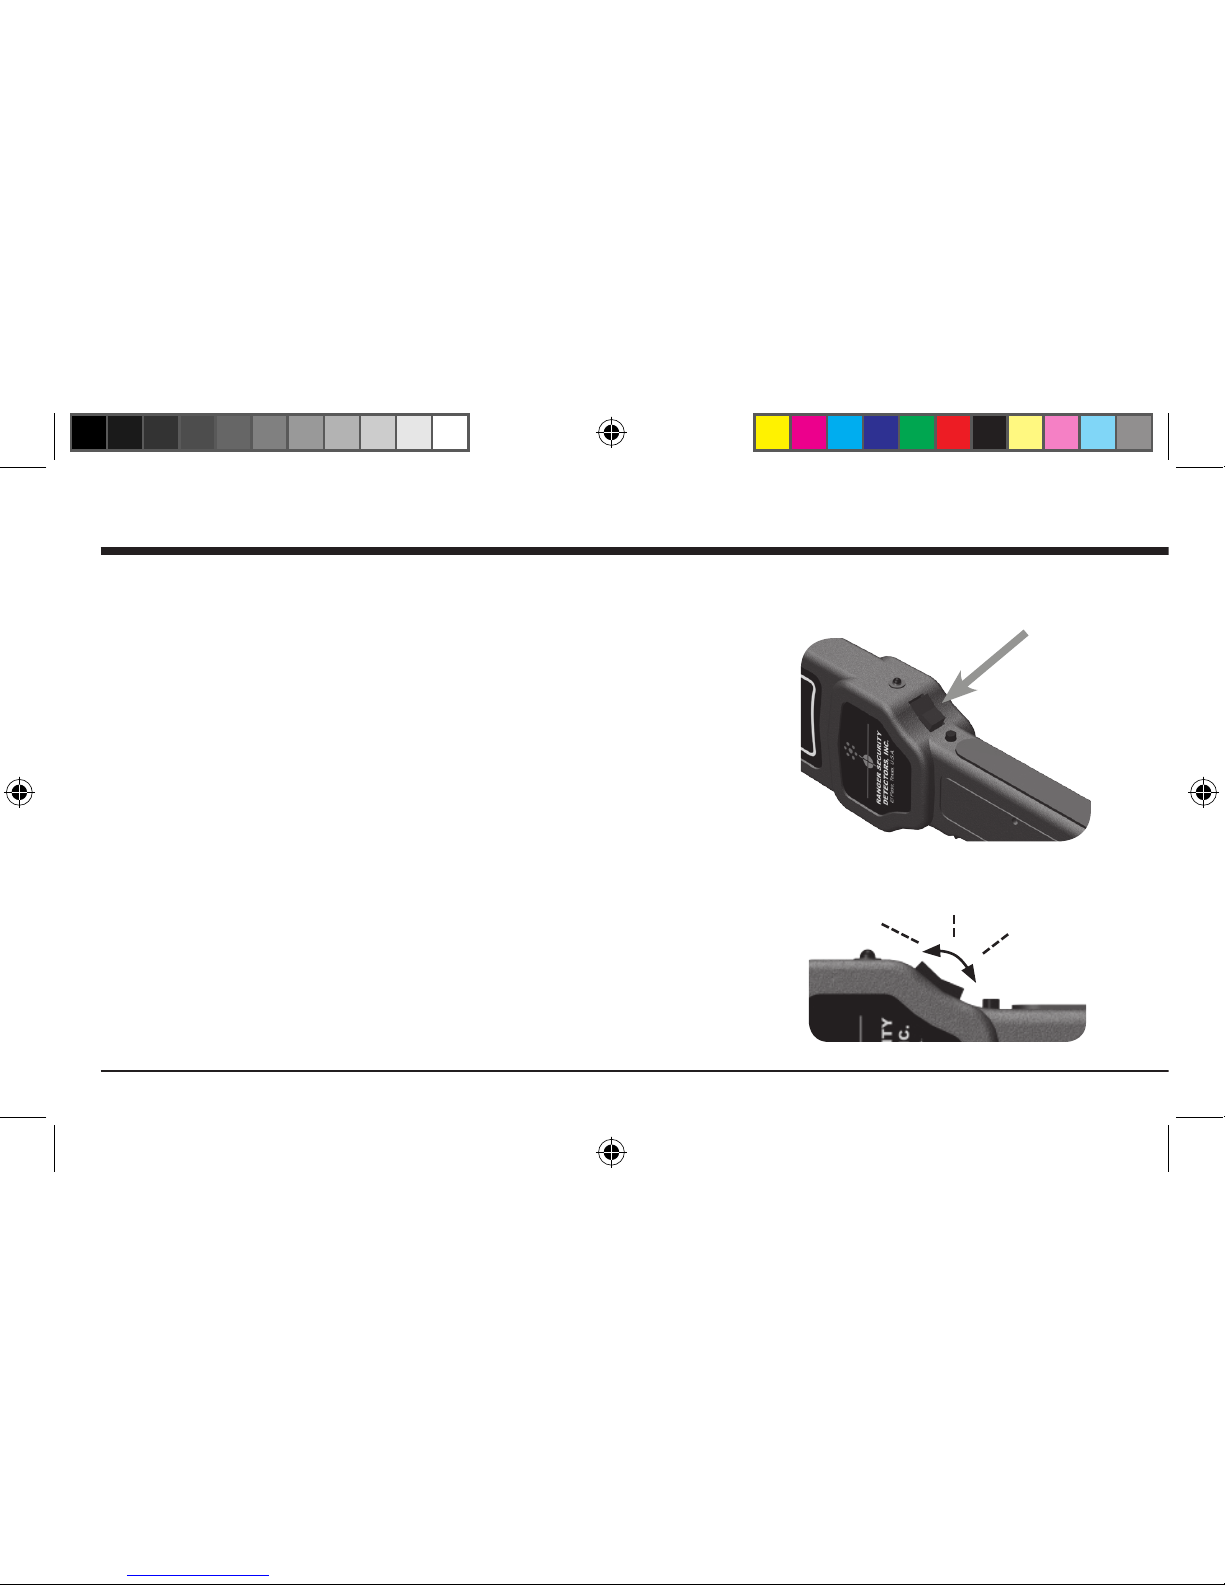
You must charge a rechargeable nickel-cadmium battery before you can use it to power the
security wand. To charge it in the security wand, you need an AC adapter. AC adapters are
available from Ranger Security.
Warning: Do not try to recharge alkaline or other non-rechargeable batteries. They might
explode.
Caution: The AC adapter must supply 12 volts DC, its center tip must be set to positive, it
must deliver at least 10 milliamps, and its plug must correctly t the security wand's recharger/
earphone jack. The recommended Radio Shack AC adapter meets these requirements. Using
an AC adapter that does not meet these requirements could damage the security wand or the
AC adapter.
Important: Your Body Scanner is capable of using a rechargeable nickel-cadmium battery. At
the end of the battery's useful life, it must be recycled or disposed of properly. Contact your
local, county or state hazardous waste management authorities for information on recycling or
disposal programs in your area. Some options that might be available are municipal curbside
collection, drop-off boxes at retailers, recycling collection centers, and mail-back programs.
hh_2007356.indd 8 1/29/2007 1:38:46 PM

9
Set ON/OFF to OFF and
install the battery in the
Body Scanner.
Insert the AC adapter's plug
into the Body Scanner's
recharger/earphone jack,
on the side of the wand.
Plug the AC adapter's other
end into a standard AC
outlet.
Charge the battery for 14 to 16 hours.
Unplug the AC adapter from the AC outlet rst. Then unplug it from the charging jack.
Note: Let the nickel-cadmium battery fully discharge once in a while before you recharge it.
1.
2.
3.
4.
5.
hh_2007356.indd 9 1/29/2007 1:38:49 PM

10
OPERATION
TURNING THE BODY SCANNER ON AND OFF
Set ON/OFF to ON to turn the Body Scanner on, or to OFF to
turn it off.
To conserve battery life, always make sure the Body Scanner
is off when not in use.
TESTING THE BODY SCANNER
The Body Scanner sounds a high-pitched tone whenever it
detects metal — a longer tone for larger objects, and a shorter
one for smaller objects.
Before using the Body Scanner, always test it by turning it
on and scanning a small metal object (such as a quarter) to
make sure the tone sounds and the indicator lights.
*
Silent Alarm Vibration Mode is a feature exclusive to Model
1500, please note that Model 1000 does not have Silent Alarm
Vibration. Mode
ON/OFF
Rocker
Switch
ON/OFF is located on the top side of
the Security Wand for easy thumb
access.
Forward
ON
Middle
OFF Back
VIBRATE
ROCKER SWITCH MODES
*
hh_2007356.indd 10 1/29/2007 1:38:51 PM

11
BODY SCANNING
1.Ask the person to face you with their arms and legs slightly extended.
2.Using a smooth, even speed, begin the body scan
at the upper left shoulder, holding the Body Scanner’s at surface to the
person’s prole, about one inch from their body.
3.Using a smooth, even motion, scan:
a.Down the length of one arm b.Back up underneath the arm
c.Down the full body length to the feet. d.Up the inner leg from the ankle
Note: If large amounts of metal reinforcement in the oor cause
interference at ankle level, push and hold
De-Sense while scanning the ankles.
e.Back down the inner leg to the opposite ankle.
f.Up the other side of the body, and over the arm.
4.Scan the front torso, including the shoulder area.
5.Scan the back torso, including the small of the back at the belt area.
De-Sense is located on top
of the handle.
hh_2007356.indd 11 1/29/2007 1:38:52 PM

12
ADJUSTING THE BODY SCANNER’S SENSITIVITY
Your Body Scanner is set to the optimum sensitivity level for most security screening applications.
You can adjust the sensitivity level for specialized applications which require more or less
sensitivity.
1. Insert the tip of a small screwdriver through the 1/8-
inch hole in the handle until it touches the adjustment
control inside
2. Turn the screwdriver slowly until its tip ts in the
control’s slot..
3. Using a test object, adjust the control for the
desired sensitivity — clockwise to increase or
counterclockwise to decrease sensitivity
Note: The further you move the control, the greater
the change in sensitivity.
The sensitivity control trimpot is
located on the scanner’s handle.
TURN CLOCKWISE
TO INCREASE
SENSITIVITY
TURN COUNTER
CLOCKWISE TO
DECREASE SENSITIVITY
hh_2007356.indd 12 1/29/2007 1:38:53 PM

13
USING AN EARPHONE
You can use your Body Scanner
with an earphone that has 1/8-inch
plug so you can hear the alarm
through the earphones. Insert the
earphone’s plug into the Body
Scanner’s recharger/earphone
jack on the bottom of the wand.
The external sound cuts off
automatically.
The headphone jack is located on
the underside of the body scanner
directly opposite the ON/OFF switch.
hh_2007356.indd 13 1/29/2007 1:38:56 PM

14
MAINTENANCE
The following suggestions will help you care for the Body Scanner so you can enjoy it for
years.
Keep the Body Scanner dry. If it gets wet, wipe it dry immediately. Liquids can contain
minerals that can corrode the electronic circuits.
Handle the Body Scanner gently and carefully. Dropping it can damage the circuit boards and
case and can cause the Body Scanner to work improperly.
Use and store the Body Scanner only in normal temperature environments. Temperature
extremes can shorten the life of electronic devices and distort or melt plastic parts
Keep the Body Scanner away from dust and dirt, which can cause premature wear of parts.
Wipe the Body Scanner with a damp cloth occasionally to keep it looking new. Do not use
harsh chemicals, cleaning solvents, or strong detergents to clean the security wand.
Modifying or tampering with the Body Scanner’s internal parts can cause a malfunction and
might invalidate your Body Scanner’s warranty. If your Body Scanner is not operating as it
should, send it to the address on the back of this manual along with your proof-of-purchase.
•
•
•
•
•
hh_2007356.indd 14 1/29/2007 1:38:56 PM

15
SPECIFICATIONS
Operating Frequency ............................................................13 kHz.
Weight ...................................................................................... 14 oz.
Dimensions .........................................3 x 15¾ x 1⅜ Inches (HWD)
Tuning ................................................................................ Automatic
Alert ......................................................................... Audio, LED Light
Specications are typical; individual units might vary. Specications are subject
to change and improvement without notice
hh_2007356.indd 15 1/29/2007 1:38:56 PM

Ranger Security Detectors, Inc. RANGER Hand-Held Body
Scanner is warranted against defects in workmanship
or materials under normal use for 2 years from date of
purchase to the original user. Liability in all events is limited
to the purchase price paid. Liability under the aforesaid
warranty is limited to replacing or repairing at our option
any RANGER Hand-Held Body Scanner returned, shipping
cost prepaid, to Ranger Security Detectors, Inc.
Limited
2 Year Warranty
11900 MONTANA AVENUE. • EL PASO, TEXAS 79936 • TEL. (915) 590-4441
RANGER SECURITY
DETECTORS, Inc.
hh_2007356.indd 16 1/29/2007 1:38:56 PM
Table of contents
Other Ranger Metal Detector manuals
Popular Metal Detector manuals by other brands

HZ Security
HZ Security HZ-WT-ADV-24 user manual

Treasure Cove
Treasure Cove TC3X operating manual

Schonstedt Instrument
Schonstedt Instrument GA-92 XT instruction manual

Waldbeck
Waldbeck Azteca manual

KTS-Electronic
KTS-Electronic PULSE AR III instruction manual

Harbor Freight Tools
Harbor Freight Tools 43150 Assembly and operating instructions