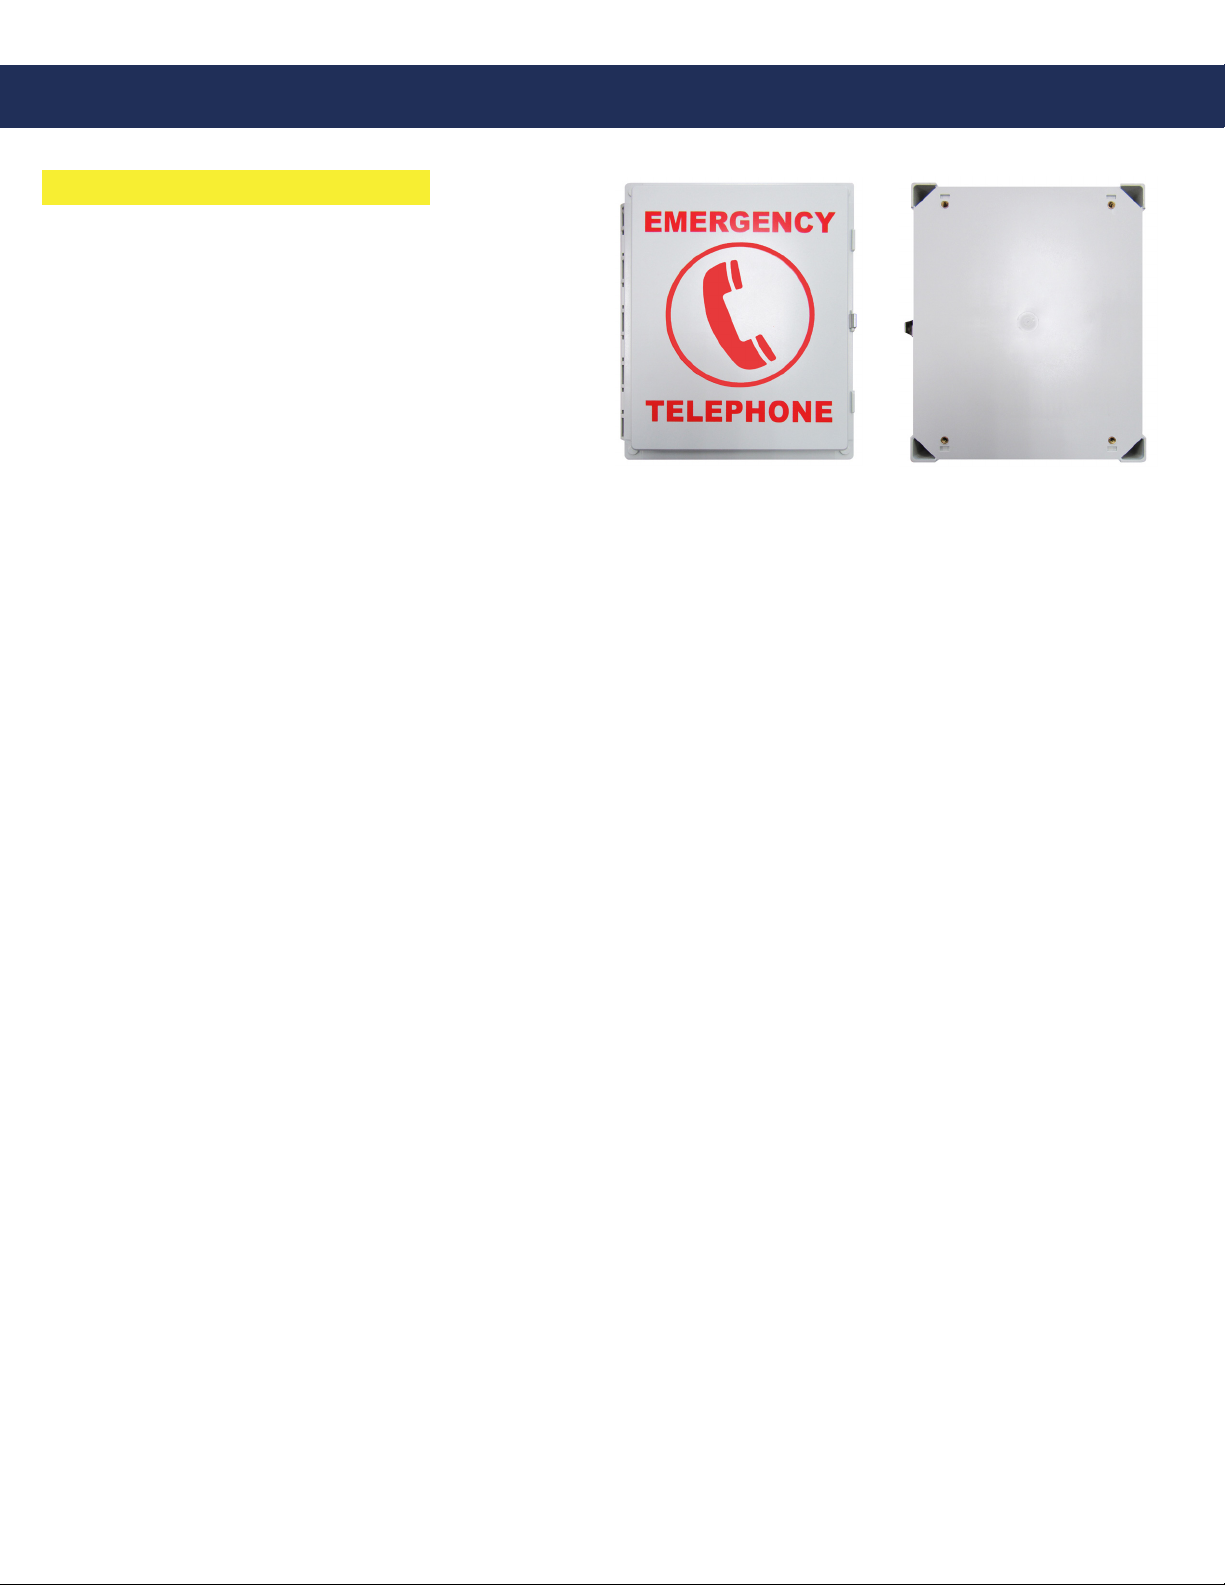
Rath 624POOLD User manual

Digital Pool Phones
Installation & Operations Manual
N56W24720 N. Corporate Circle Sussex, WI 53089
800-451-1460 www.rathcommunications.com
RP8500DIG
Ver. 1
07/19
Made in the USA
3 Year Warranty
624POOLD, 624MPOOL, 610POOLD, 646POOLD, 690SYPOOLD,
690RDPOOLD, 984LPOOL, 984LPOOLC1, 978POOLD,
998SYPOOLD, 998RDPOOLD, 2100-986DA

Thank you for purchasing a RATH® Digital Pool Phone. We are the largest Emergency Communication
Manufacturer in North America and have been in business for over 35 years.
We take great pride in our products, service, and support. Our Emergency Products are of the highest quality.
Our experienced customer support teams are available to remotely assist with site preparation, installation,
and maintenance. It is our sincere hope that your experience with us has and will continue to surpass your
expectations.
Thank you for your business,
®
N56W24720 N. Corporate Circle Sussex, WI 53089
800-451-1460 www.rathcommunications.com
Table of Contents
Mounting . . . . . . . . . . . . . . . . . . . . . . . . . . . . . . . . . . .
Programming . . . . . . . . . . . . . . . . . . . . . . . . . . . . . . .
Adjusting the Volume . . . . . . . . . . . . . . . . . . . . . . . .
Wiring . . . . . . . . . . . . . . . . . . . . . . . . . . . . . . . . . . . . .
Page 3-6
Page 6
Page 7
Page 7

Page 3
Mounting
624POOLD, 624MPOOL, 978POOLD
Items Needed:
• Live digital phone line
• Drill
• Drill bit or knockout set
• Biscuit jack (provided with 624POOLD & 624MPOOL)
• Mounting screws
• Conduit with water tight connector
• 1/8” Allen wrench (provided)
• Screwdriver
• Mounting feet (provided)
• 120vac power (978POOLD only)
• Conduit with (2) water tight connectors (978POOLD only)
Installation:
1. After opening door on unit, use the Allen wrench to remove the 4 screws securing the internal plate.
2. Completely remove the internal plate.
3. Using a drill bit or knockout set, drill a hole in the bottom of the enclosure large enough for the water tight
connector.
Note: Be sure the hole sits far enough back so it doesn’t interfere with the internal plate when it’s reinstalled.
4. Turn enclosure over and screw 1 mounting foot onto each mounting hole on the back of the enclosure using
provided screws.
5. Using appropriate mounting screws, screw enclosure to the wall using the other side of the mounting feet.
6. 624POOLD & 624MPOOL: Run telephone line in conduit, bring line into the enclosure through the water tight
connector, and tighten conduit to connector.
7. 624POOLD & 624MPOOL: Connect incoming line to the biscuit jack, then plug the line cord connected to circuit
board to the RJ11 jack on the biscuit jack.
Note: Do not cut RJ11 jack of supplied line cord and splice phone line onto it.
8. 978POOLD: Run 120vac in the other conduit and water tight connector. Connect 120vac to the supplied
transformer in the enclosure using proper wire nuts. Red is hot, black is neutral, and green is ground (see
page 8 for a more detailed wiring diagram).
Note: The transformer is wrapped separately in the box.
9. 978POOLD: Locate the green battery backup pack in the enclosure. Plug the white connector located on the
battery pack into the “BATTERY” connector in the bottom left corner of the yellow board.
10. 978POOLD: Turn on electrical power.
11. Phone is preset to dial 911. If required to call an alternate number not given to RATH® at time of purchase,
please follow programming instructions on page 7. If phone is calling 911, screw internal plate back into place.
Unit is ready for testing. The 624MPOOL is a manual dial phone and will not have a preset number.
Note: If phone does not have a dial tone when the handset is lifted, please reverse polarity of the incoming
phone line.

Installation:
1. Using the supplied spanner bit, remove the 4 screws holding the front cover in place and then remove the cover.
2. Using a drill bit or knockout set, drill a hole in the bottom of the enclosure large enough for the water tight connector.
3. Using appropriate mounting screws, screw enclosure onto the wall.
4. Run telephone line in conduit, bring line into the enclosure through the water tight connector, and tighten conduit
to connector.
5. Connect the incoming line to the RJ11 connector and plug into the RJ11 jack on board. Or, obtain a biscuit jack,
terminate your incoming line to the biscuit jack, and plug the included phone line into the RJ11 connector on the
biscuit jack.
Note: Do not cut RJ11 jack of supplied line cord and splice phone line onto it.
6. Run 120vac in the other conduit and water tight connector. Connect 120vac to the supplied transformer in the
enclosure using proper wire nuts. Red is hot, black is neutral, and green is ground (see page 8 for a more
detailed wiring diagram).
Note: The transformer is wrapped separately in the box.
7. Locate the green battery backup pack in the enclosure. Plug the white connector located on the battery pack into
the “BATTERY” connector in the bottom left corner of the yellow board.
8. Turn on electrical power.
9. Phone is preset to dial 911. If required to call an alternate number not given to RATH® at time of purchase, please
follow programming instructions on page 7. If phone is calling 911, screw internal plate back into place. Unit is
ready for testing.
Items Needed:
• Live digital phone line
• Drill
• Metal capable drill bit or knockout set
• Biscuit jack (provided)
• Mounting screws
• Wall anchors
• Conduit with water tight connector
• 3/32 Allen wrench (provided)
• Screwdriver
690RDPOOLD, 690SYPOOLD (YELLOW)
Page 4
Items Needed:
• Live digital phone line
• 120vac power
• Drill
• Drill bit or knockout set
• Biscuit jack
• Mounting screws
• #10 spanner bit (provided)
• Conduit with (2) water tight connectors
• Wire nuts
• Screwdriver
984LPOOL, 984LPOOLC1

Installation:
1. After opening the door on the enclosure, use the provided Allen wrench to remove all 4 screws securing the
internal plate.
2. Completely remove the internal plate.
3. Using a drill bit or knockout set, drill a hole in the bottom of the enclosure large enough for the water tight
connector.
Note: Be sure the hole sits far enough back so it doesn’t interfere with the internal plate when it’s reinstalled.
4. Using appropriate mounting screws and anchors, screw enclosure to the wall.
5. Run telephone line in conduit, bring line into the enclosure through the water tight connector, and tighten conduit
to connector.
6. Connect incoming line to the biscuit jack, then plug the line cord connected to the circuit board to the RJ11 jack on
the biscuit jack.
7. Phone is preset to dial 911. If required to call an alternate number not given to RATH® at time of purchase, please
follow programming instructions on page 7. If phone is calling 911, screw internal plate back into place. Unit is
ready for testing.
Items Needed:
• Live digital phone line
• 120vac power
• Drill
• Metal capable drill bit or knockout set
• Biscuit jack
• Mounting screws
• Wall anchors
• Conduit with (2) water tight connectors
• 3/32 Allen wrench (provided)
• Screwdriver
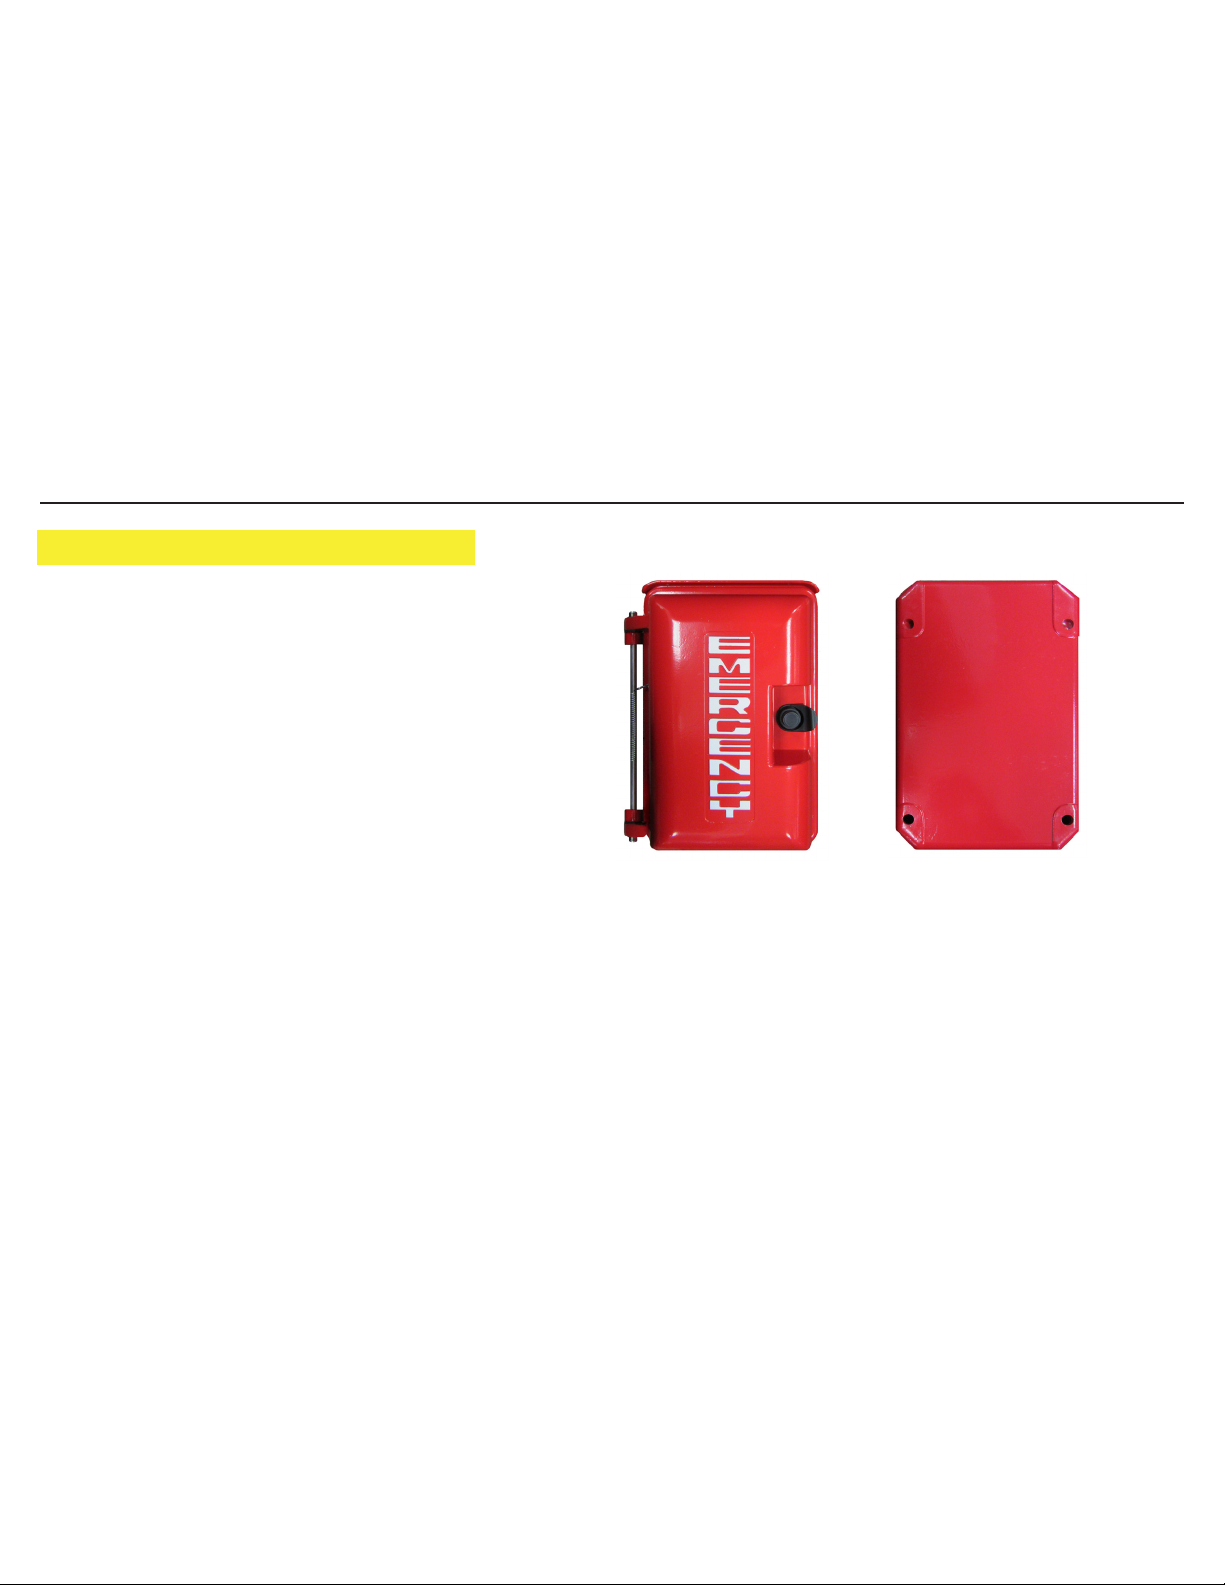
998RDPOOLD, 998SYPOOLD (YELLOW)
Installation:
1. After opening the door on the enclosure, use the provided Allen wrench to remove all 4 screws securing the
internal plate.
2. Completely remove the internal plate.
3. Using a drill bit or knockout set, drill a hole in the bottom of the enclosure large enough for the water tight
connector.
Note: Be sure the hole sits far enough back so it doesn’t interfere with the internal plate when it’s reinstalled.
4. Using appropriate mounting screws and anchors, screw enclosure to the wall.
5. Run telephone line in conduit, bring line into the enclosure through the water tight connector, and tighten conduit
to connector.
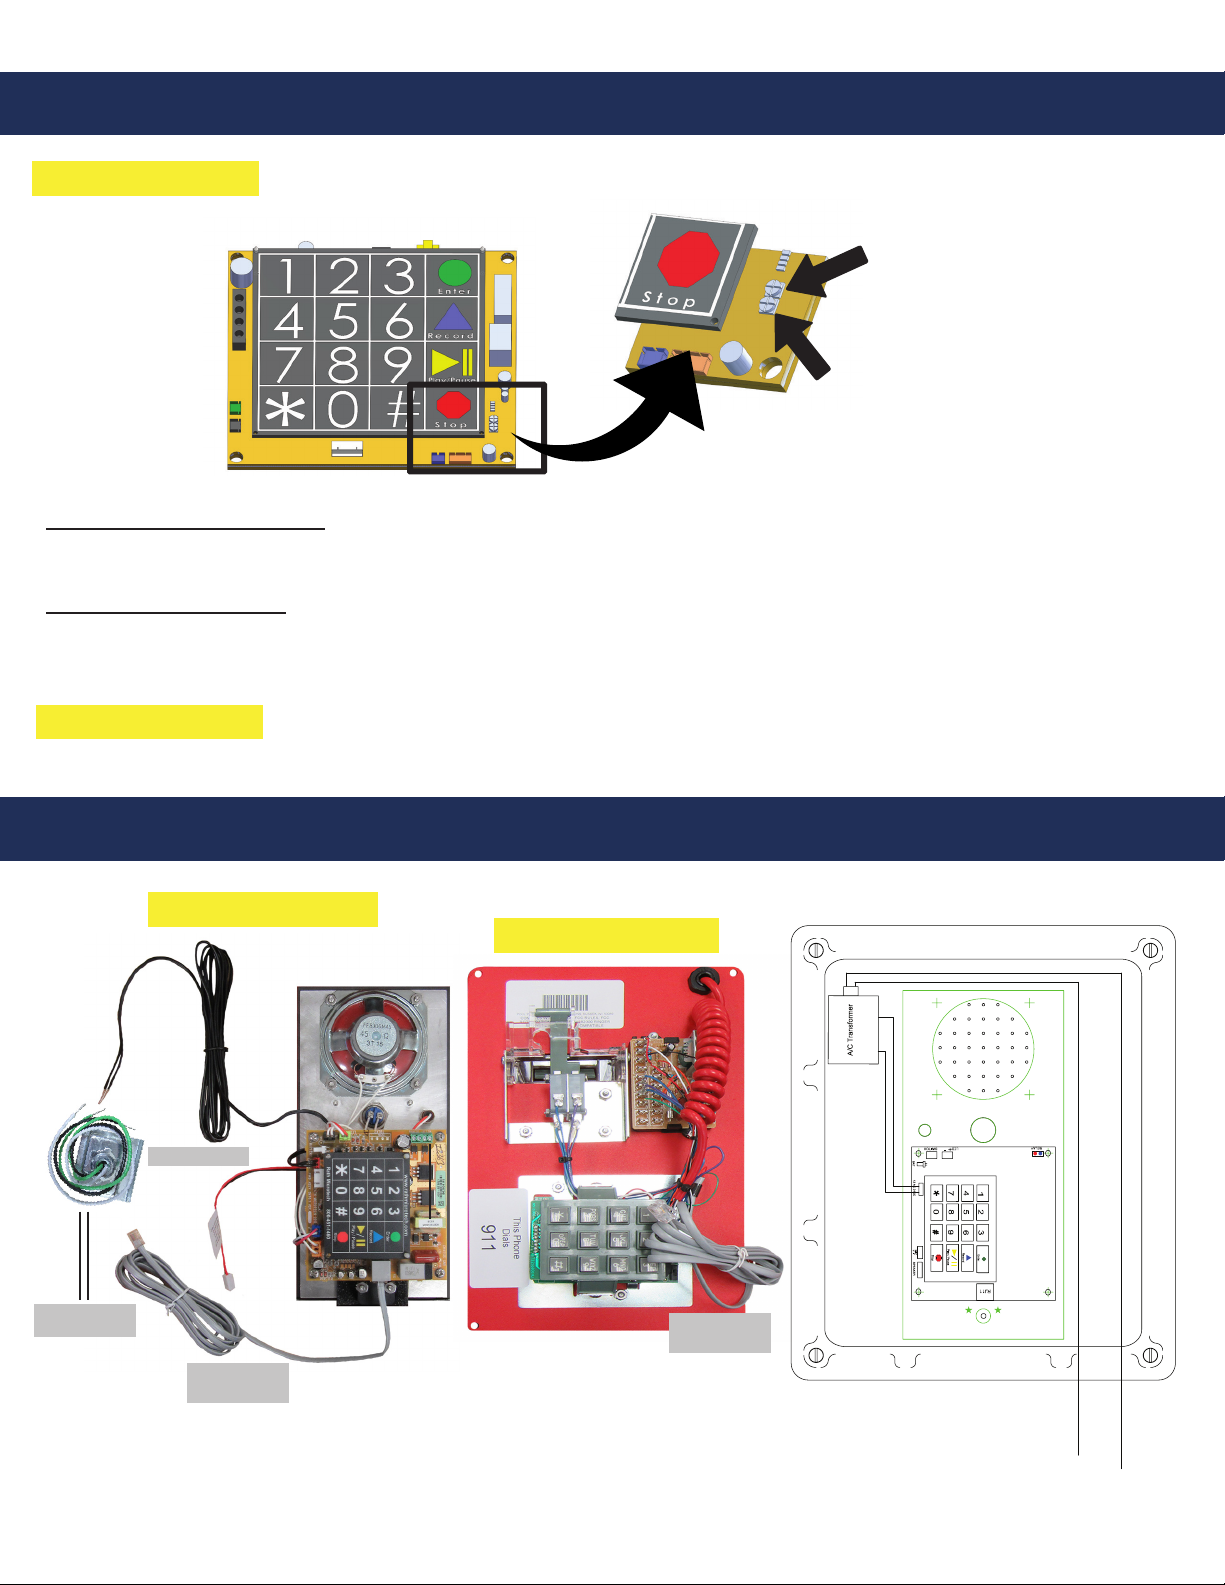
6. Connect incoming line to RJ11 connector and plug into RJ11 jack on board. Or, obtain a biscuit jack, terminate
incoming line to the biscuit jack, and plug the included phone line into the RJ11 connector on the biscuit jack.
Note: Do not cut RJ11 jack of supplied line cord and splice phone line onto it.
7. Run 120vac into the other conduit and water tight connector. Connect 120vac to the supplied transformer in the
enclosure using proper wire nuts. Red is hot, black is neutral, and green is ground (see page 8 for a more detailed
wiring diagram).
Note: The transformer is wrapped separately in the box.
8. Locate the green battery backup pack in the enclosure. Plug the white connector located on the battery pack into
the “BATTERY” connector in the bottom left corner of the yellow board.
9. Turn on the electrical power.
10. Phone is preset to dial 911. If required to call an alternate number not given to RATH® at time of purchase,
please follow programming instructions on page 7. If phone is calling 911, screw internal plate back into place.
Unit is ready for testing.
Page 5

Items Needed:
• Live digital phone line
• Female RJ11 wall plate
• Screwdriver
610POOLD, 646POOLD 610POOLD 646POOLD
Page 6
Installation:
1. On the back of the unit, plug the line cord into the female RJ11 wall plate.
2. Phone should slide onto wall plate and clip itself into place.
3. Phone is preset to dial 911. If required to call an alternate number not given to RATH® at time of purchase, please
follow programming instructions on page 7. If phone is calling 911, unit is ready for testing.
Note: To open unit up for programming, use a small at head screwdriver to gently lift the plastic covering window
on the front of the unit. Lift the logo after plastic is removed. Use a screwdriver to remove the 2 screws. Once
screws are loosened, gently lift up and out the red plastic housing on the underside of the phone. The red housing
should come off completely exposing the keypad.
Programming
Most Pool Phones are already pre-programmed to call 911. Only perform the following if you want the phone to
call somewhere other than 911.
Speaker Phones
Please choose one of the options below that matches the type of line that the phone is installed on:
1. Standard Telephone Line Programming
a. Press ENTER to begin programming
b. Press 1, ENTER, (phone number you want the phone to dial), STOP
c. Press and hold STOP for 3 seconds to exit programming
2. Switchboard Telephone Line Programming (Hotel Industry)
a. Press ENTER to begin programming
b. Press 1, ENTER, key in access code (usually 8 or 9), PLAY/PAUSE, (phone number you want the phone to
dial), STOP
c. Press and hold STOP for 3 seconds to exit programming
3. Ring-Down Telephone Line Programming
a. Press ENTER to begin programming
b. Press 1, 9, ENTER, 2
c. Press and hold STOP for 3 seconds to exit programming
Handset Phones
Contact RATH® Technical Support at 800-451-1460 ext. 3 if you need to re-program a digital handset phone.

Page 6 Page 7
Adjusting the Volume
On underside of handset, turn volume wheel to increase or decrease volume.
Volume Adjust VR1
Mic Sensitivity VR2
Adjusting the Microphone:
If the person you are calling reports your voice is not loud enough, increase the Microphone Sensitivity by adjusting
VR2 a 1/4 turn clockwise (requires a small Phillips screwdriver).
Adjusting the Speaker:
If the voice of the person you call is not loud enough in the phone speaker, increase the volume by adjusting VR1 a
1/4 turn clockwise.
RATH® SmartPhone
Handset Phones
Speaker Phones
Speaker Phones
Handset Phones
Black Wire, Hot
White Wire, Neutral
Wiring
120v into
Transformer
Transformer
Phone Line
Cord
Phone Line
Cord
This manual suits for next models
11
Table of contents
Other Rath Telephone manuals