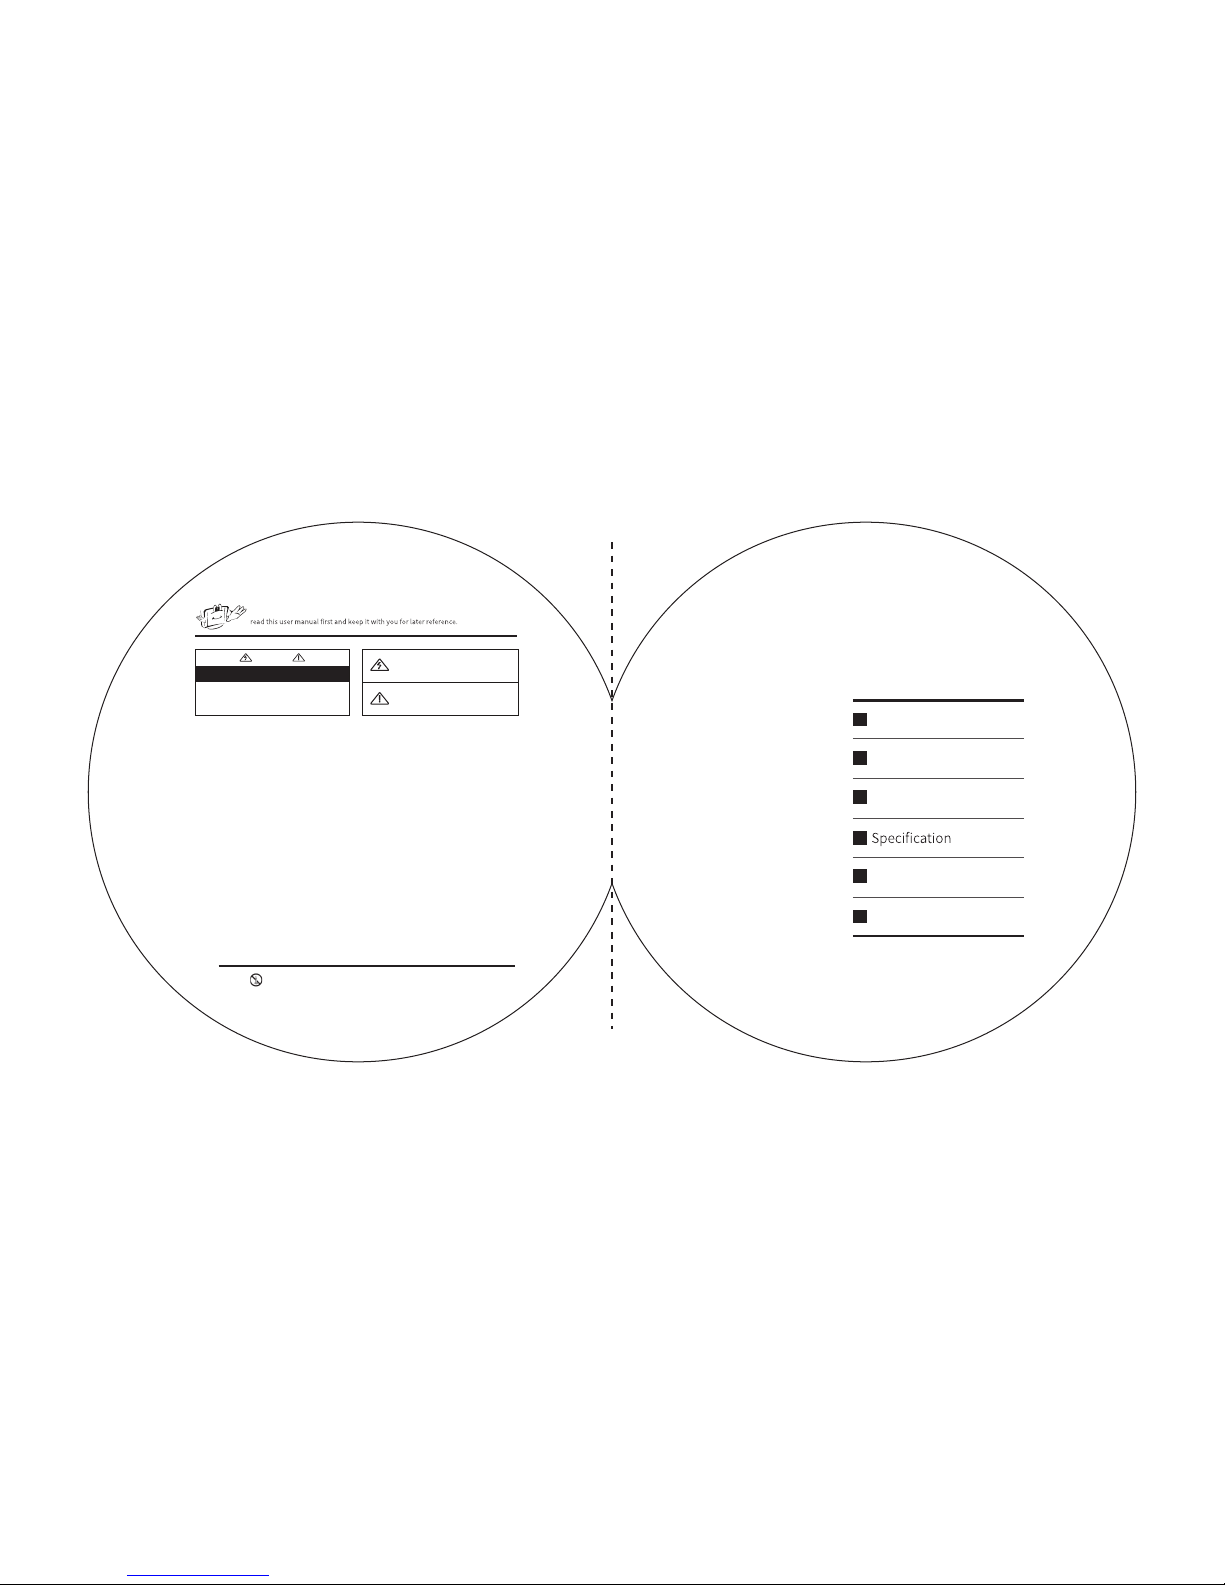
Thank you for purchasing this RAYSGEM smart mirror. Before installation, please
Note: In case of electric shock, please do not try to open the
mirror.
When malfunction happens, please consult a profession before
you open the mirror.
This is a sign of high voltage danger. Any contact with
the internal parts can be extremely dangerous.
This is for important notes of how to maintain the
mirror.
Warning
Do not tryto open the mirror in case of electric shock
·Please keep the mirror away from any heat or under direct sun light.
·Please keep the mirror away from anything that can generate heat, such as candles, ashtrays, incensation,
combustible gas or explosive substance.
·Please do not overload your wall sockets, extension power cables.
·Please place the power cable properly without anything pressing again the power cable.
·For safety reasons, please unplug mirror power in storm weather or when you won't be using mirror for a long
time.
·Please use proper direct current supply for the mirror. Make sure your local DC power is within safety range.
·In case of any electric shock, please do not insert any metal object into mirror sockets.
·Please make sure power jack is plugged in tightly into your power socket. Unplug power jack when you
disconnect the mirror.
·Please do not touch mirror's power cable with wet hands.
·In case of any malfunction, especially when there's unusual sound or smell coming out of the mirror, please
unplug the power and contact your supplier immediately.
·If you'll be leaving the mirror unused for a very long time or traveling with our senior family members, children
and people with disabilities at home, please make sure to unplug the mirror.
·Too much dirt on the power socket or cable might generate heat and cause insulation aging, please keep it clean
in case of electric shock and fire.
·Please make sure your power socket is well grounded in case of electric shock or damage to the mirror.
·To unplug the mirror is to unplug from your power socket, for convenience, we recommend you to use power
socket with its own ON/OFF switch.
·Please do not allow children to play with the mirror.
·Please install the mirror in a safe place, any wobble or tilt installation puts mirror in a vulnerable position.
·In case of fall and damage to the mirror, please unplug the power and contact your local supplier immediately.
·Unplug the mirror before you clean it. Use soft and dry cloth to wipe it clean. Do not use any chemical solution
on the mirror surface for it might erode the mirror.
Warning- In case of fire, please keep the mirror away from candles or any other fire or heat.
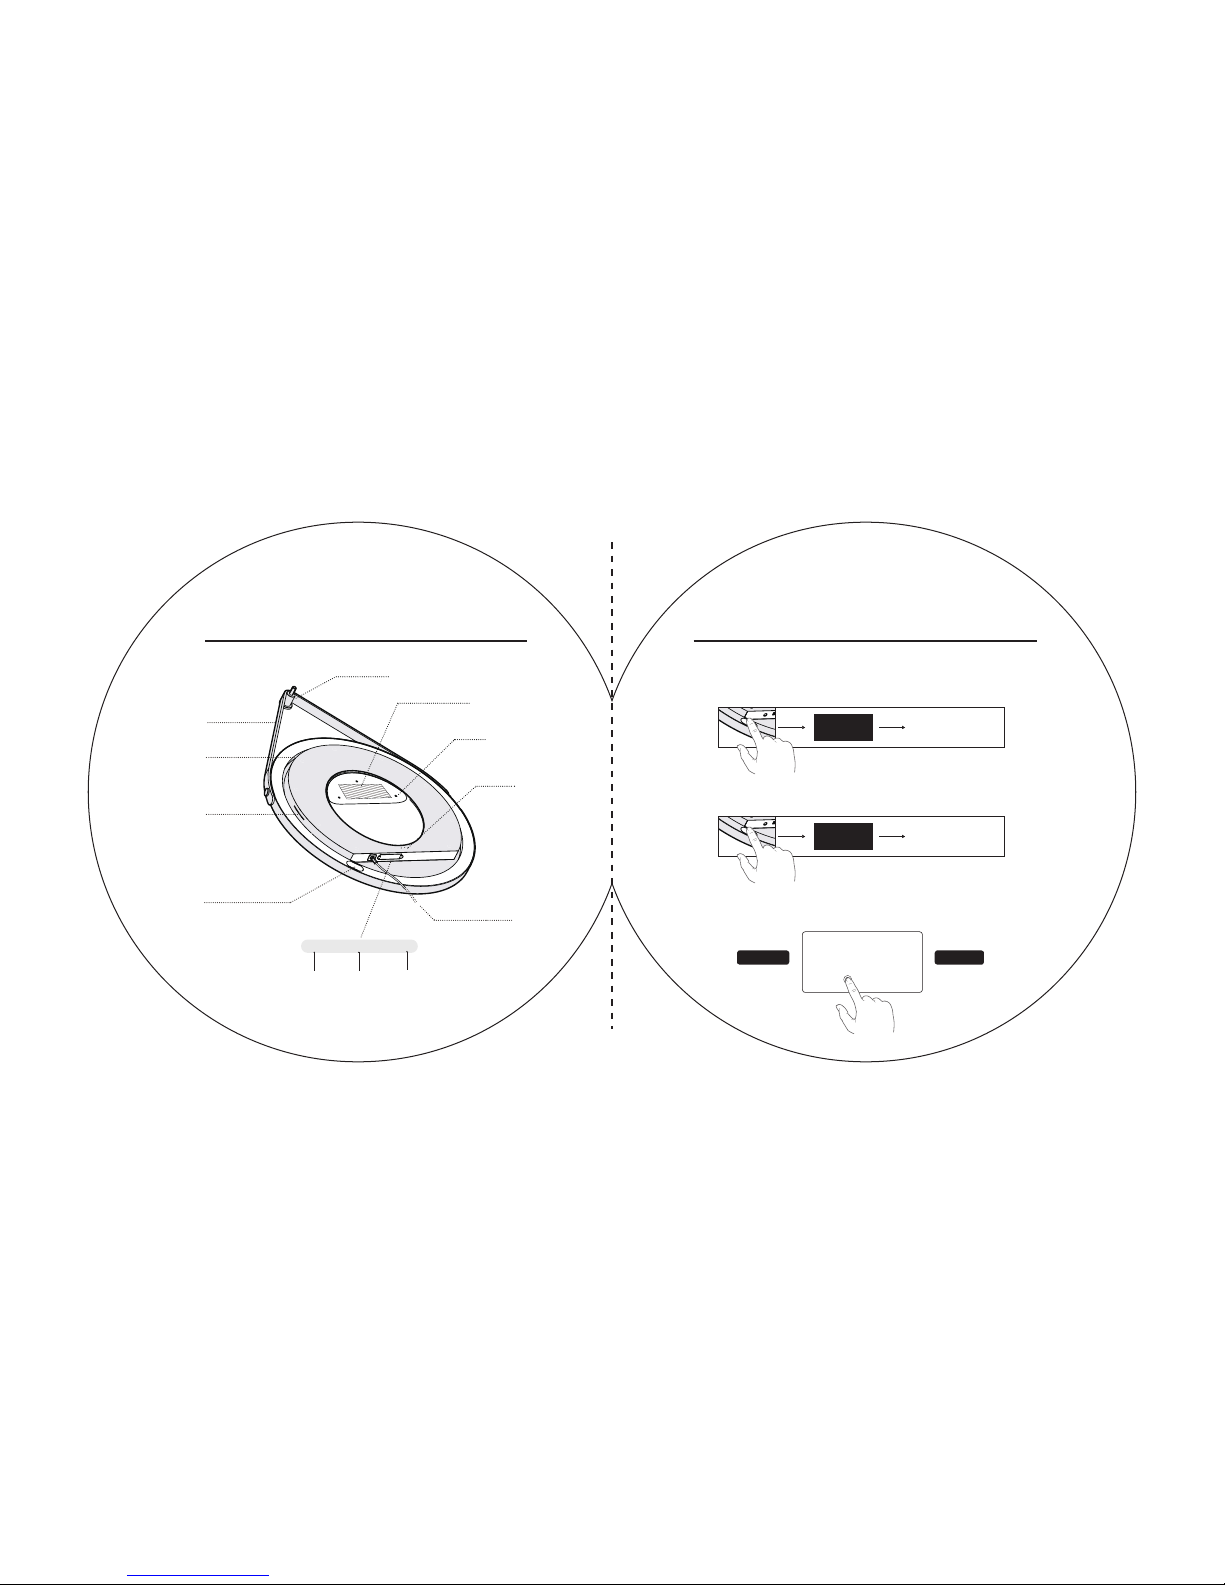
Quick Guide
1
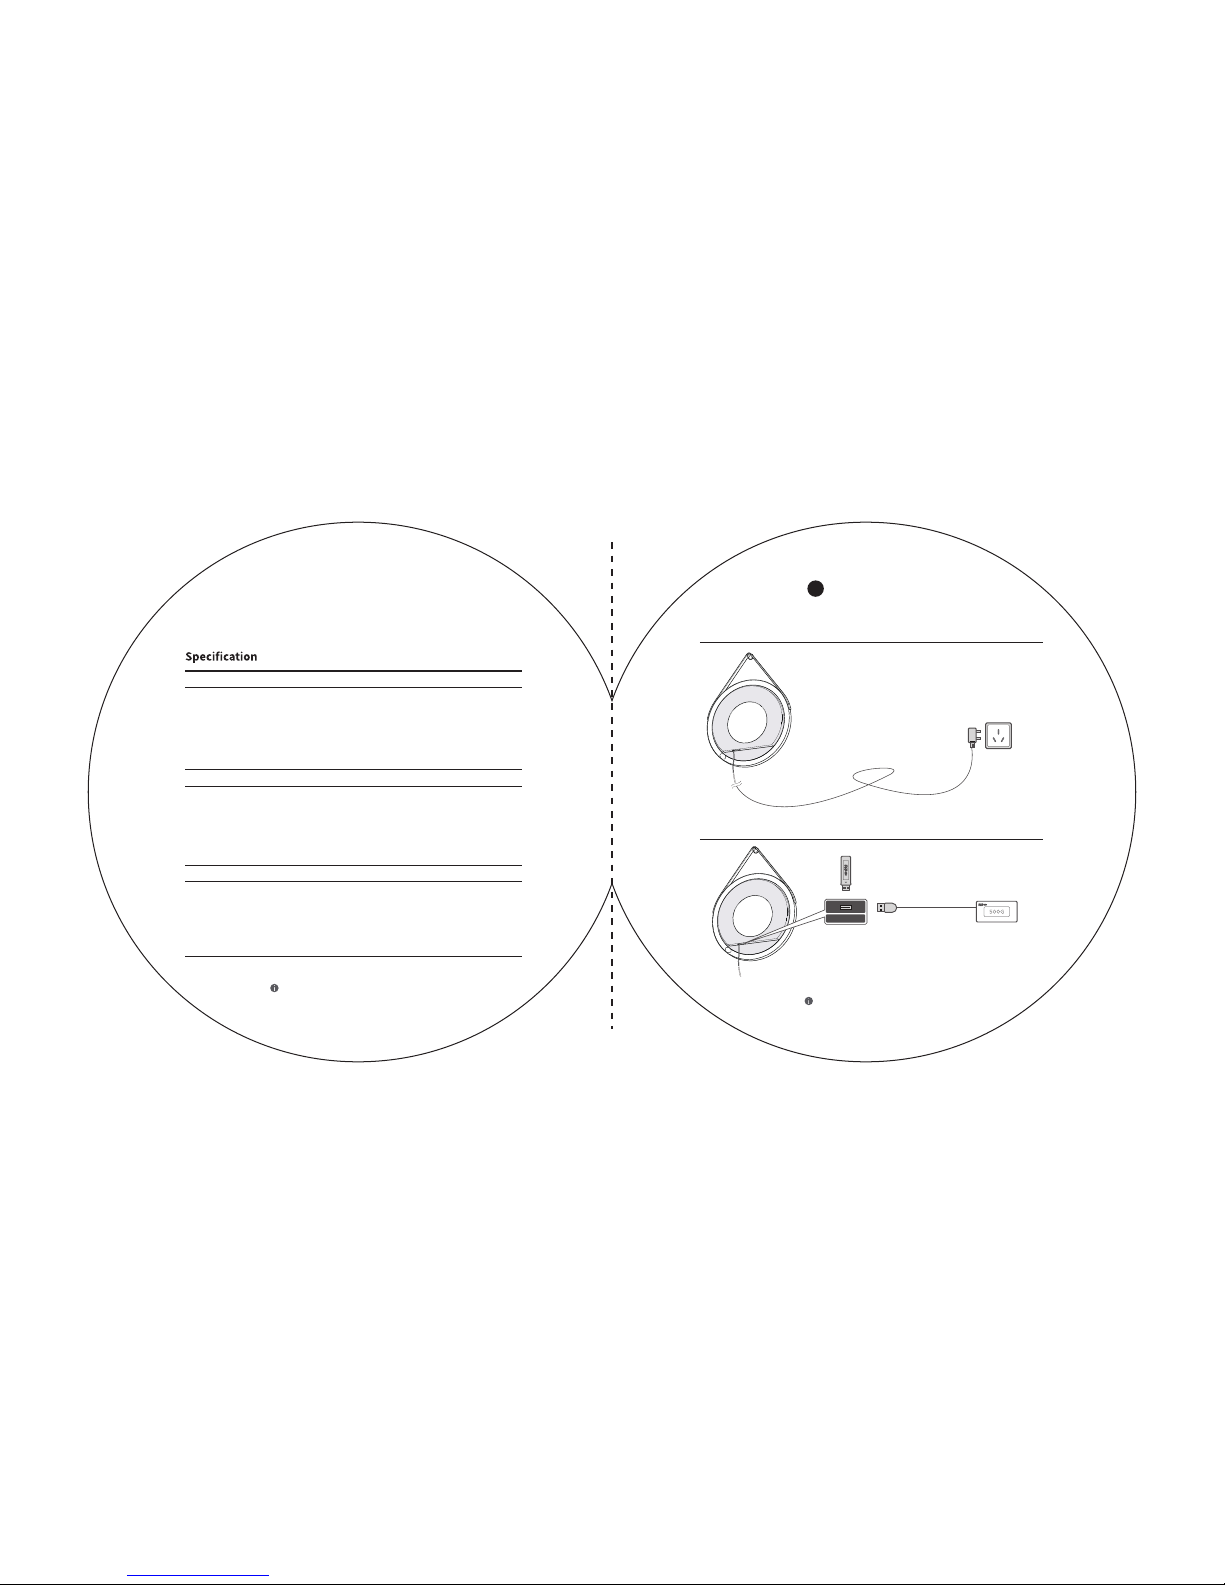
Installation
2
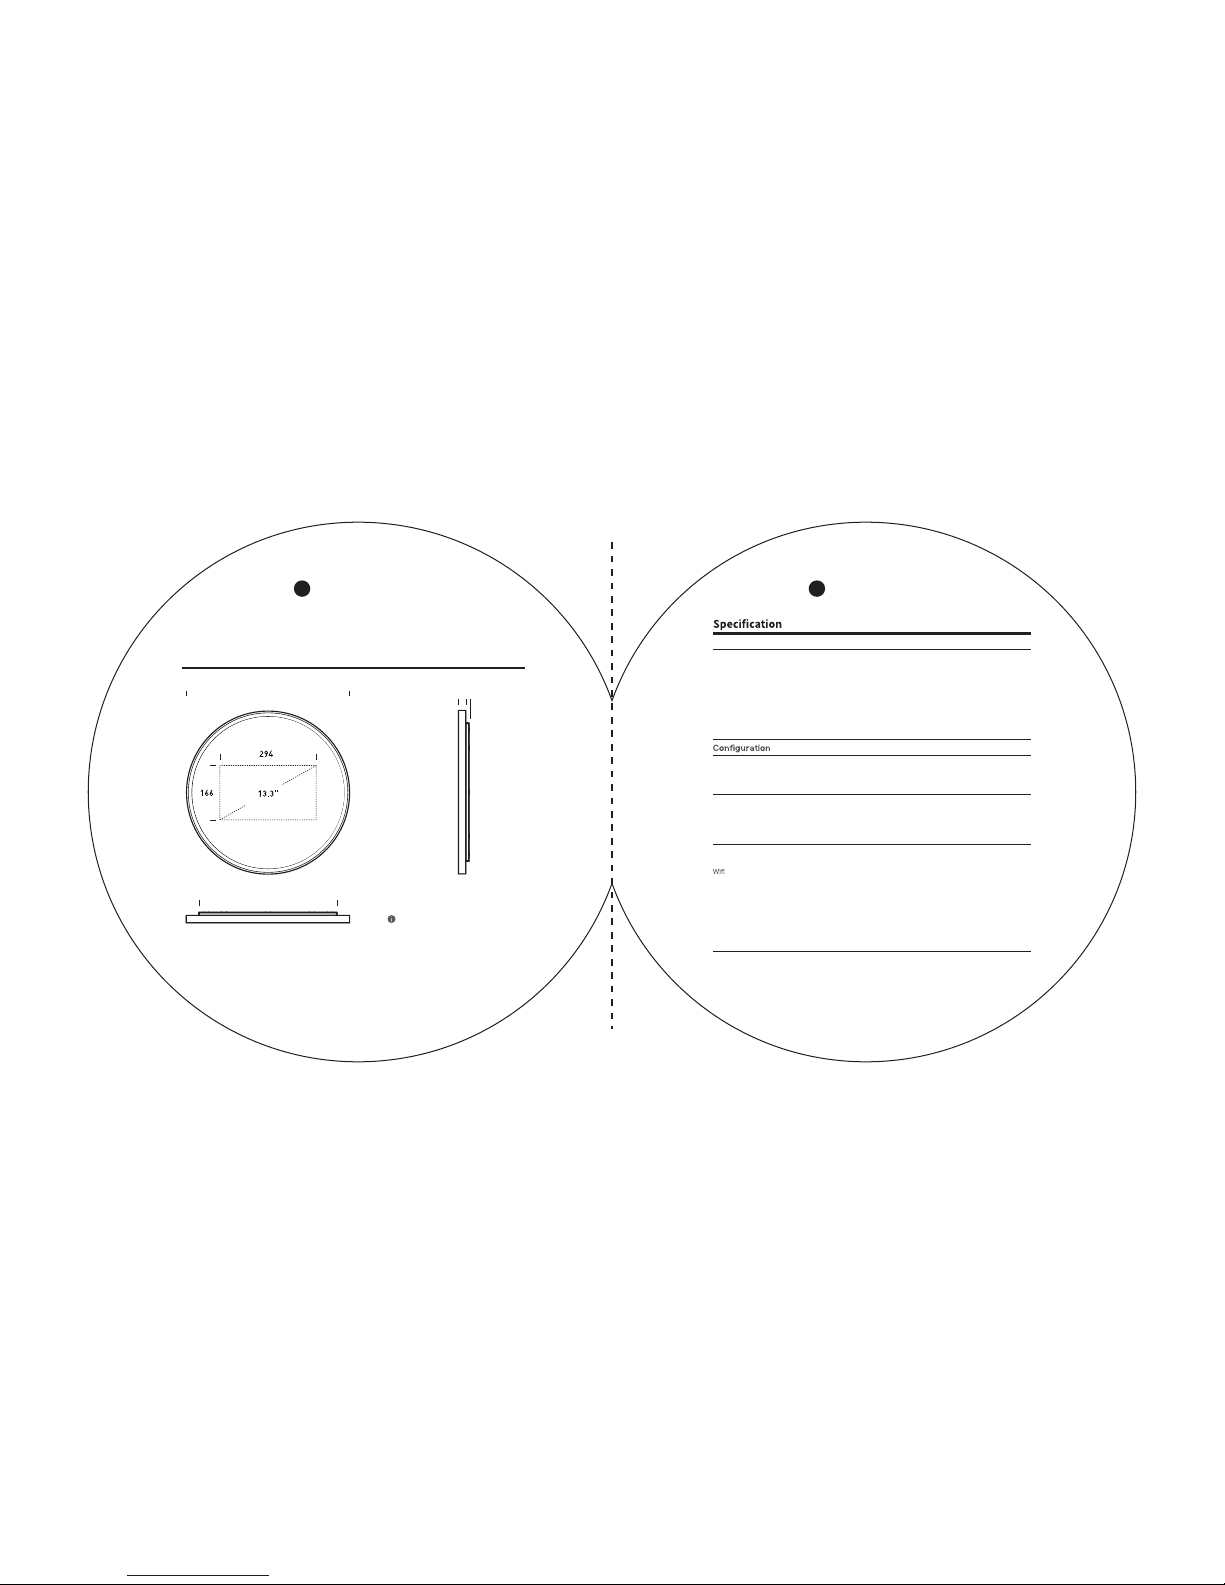
Dimension
3
4
Network
5
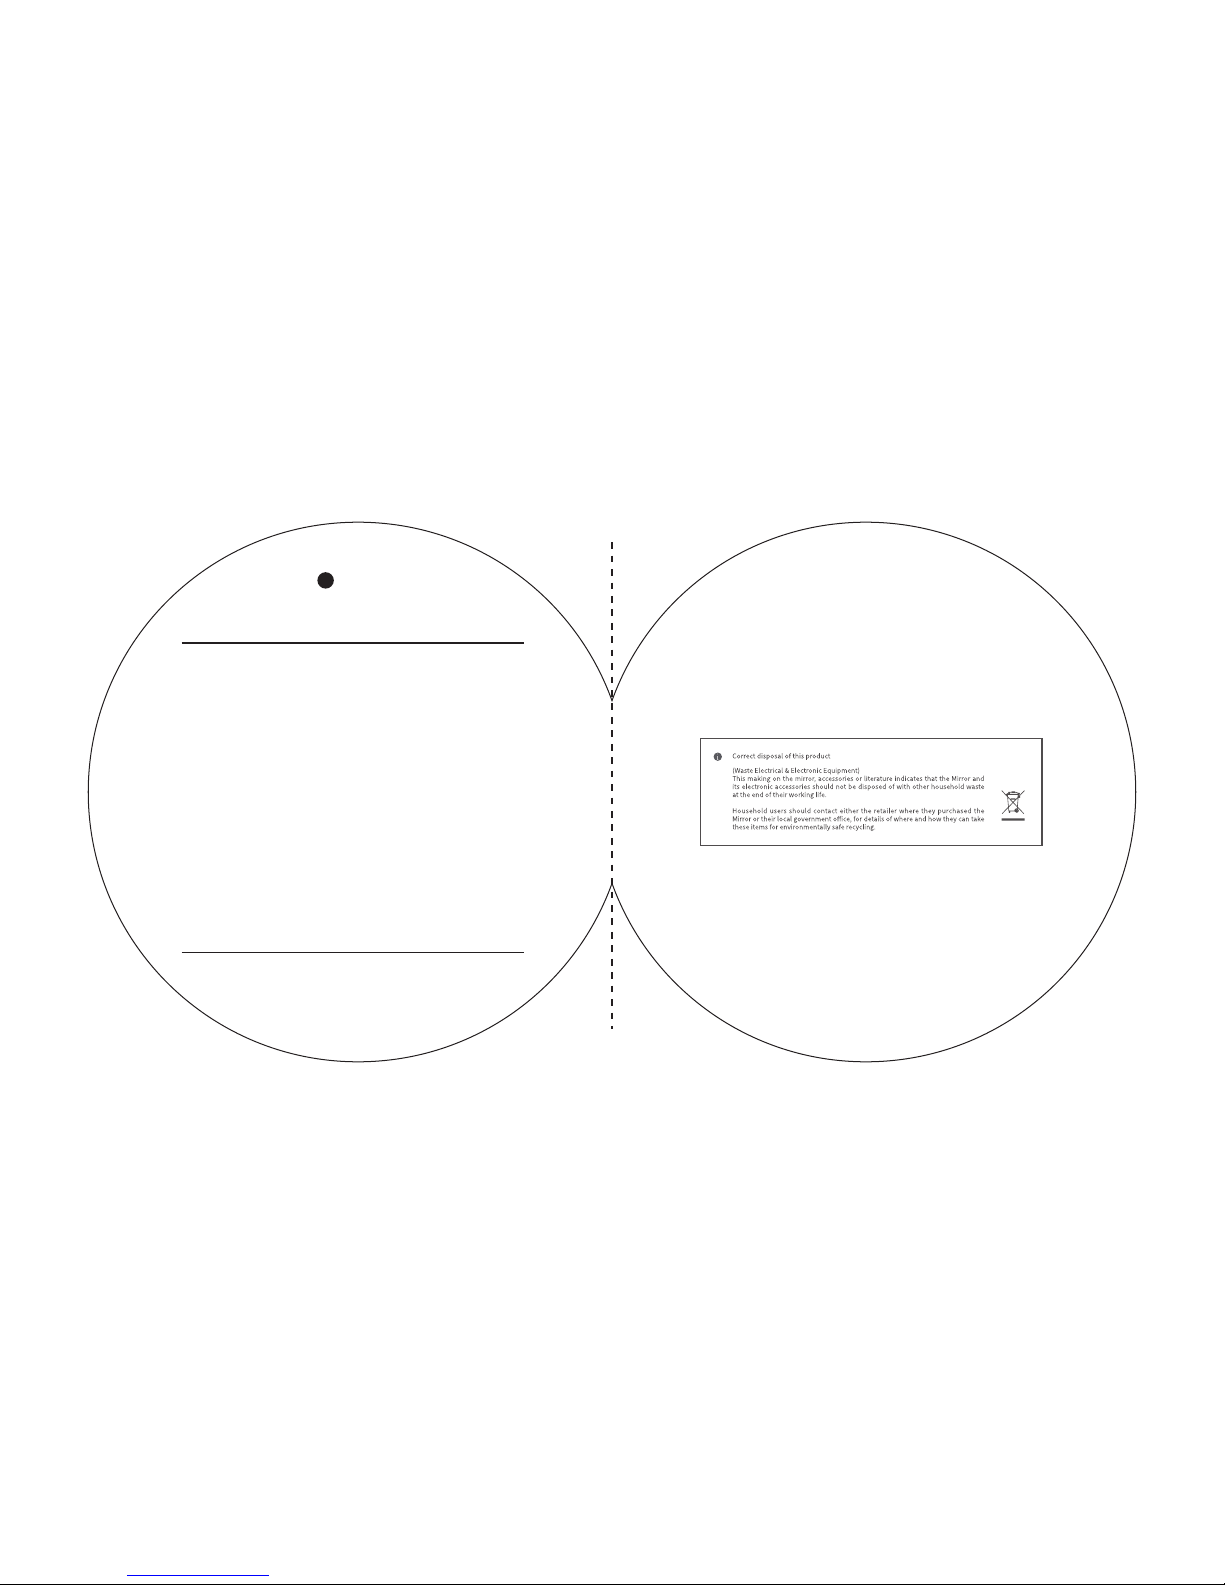
Others
6
01
02~07
08~09
10
11-12
13
14
INDEX
01