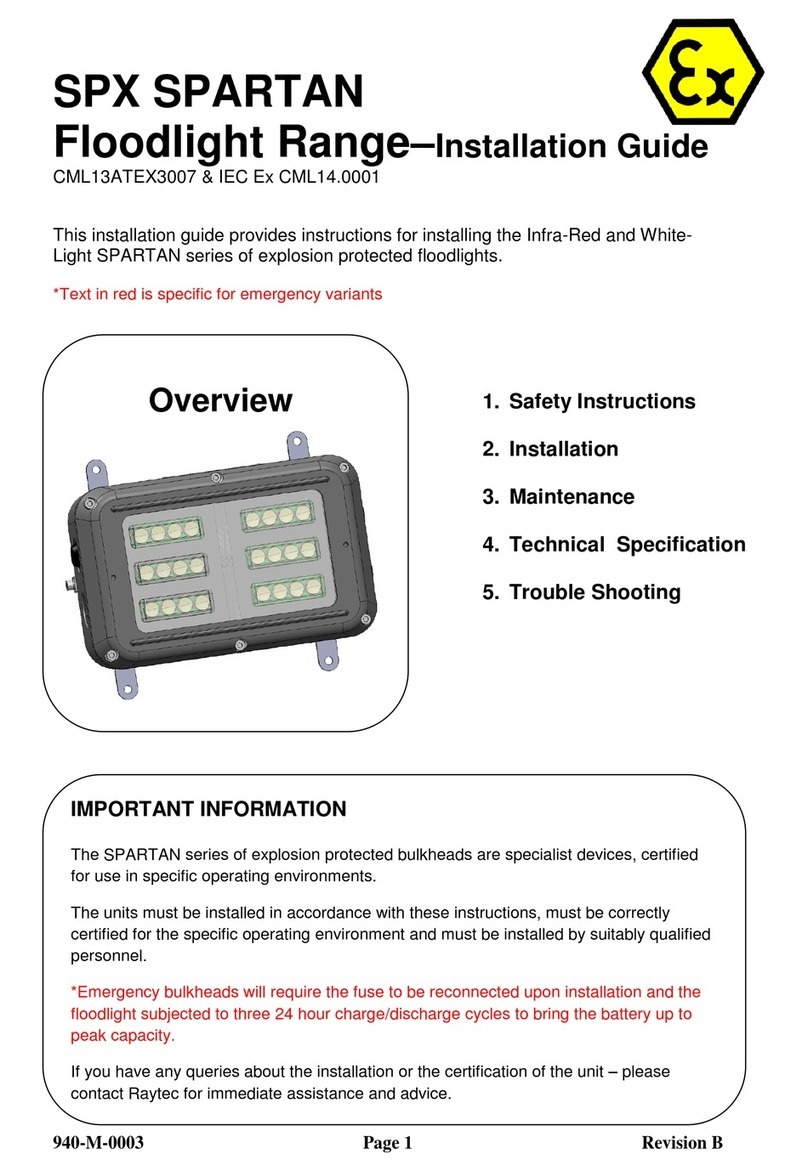
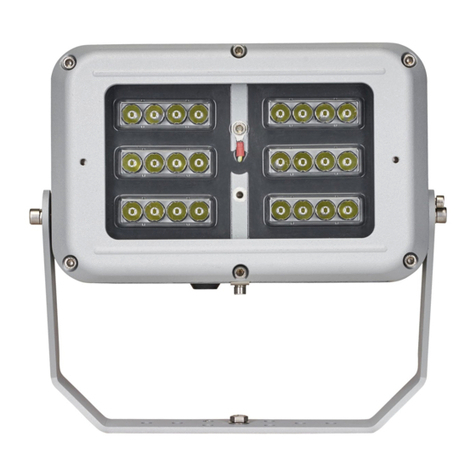
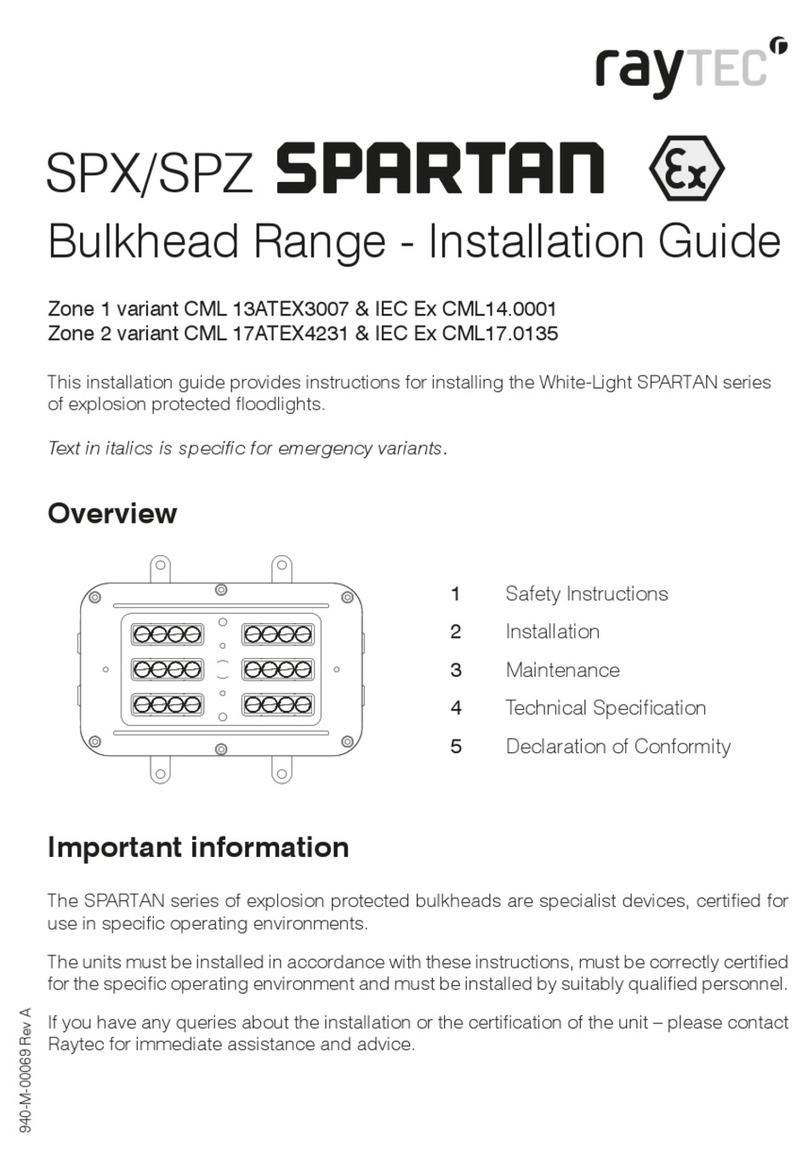
Raytec Spartan Series User manual

SPARTAN
Floodlight Range Installation Guide
Zone 1 variant CML13ATEX3007 or IEC Ex CML14.0001 or CML 21UKEX3099
Zone 2 variant CML17ATEX4231 or IEC Ex CML 17.0135 or CML 21UKEX4106
This installation guide provides instructions for installing the Infra-Red and
White-Light SPARTAN series of explosion protected oodlights.
Text in Bold is specic for emergency variants
Overview
1 Safety Instructions
2Installation
3Maintenance
4 Technical Specication
5Trouble Shooting
The SPARTAN series of explosion protected oodlights are specialist devices,
certied for use in specic operating environments.
The units must be installed in accordance with these instructions, must be correctly
certied for the specic operating environment and must be installed by suitably
qualied personnel.
Emergency oodlights will require the fuse to be reconnected upon
installation and the oodlight subjected to three 24 hour charge/discharge
cycles to bring the battery up to peak capacity.
If you have any queries about the installation or the certication of the unit – please
contact Raytec for immediate assistance and advice.
910-D-00027 Rev 1
Important information

2www.raytecled.com UK / Europe Tel: +44 (0) 1670 520055
Americas Tel: +1 613 270 9990
1. Safety instructions
1. Read this leaet carefully before commencing to install the SPARTAN unit and retain
it for future use. Installation can only be carried out by suitably qualied personnel.
2. Check the certication and “T” rating to ensure that the mains supply and the
ambient temperature present is suitable for the unit being installed.
3. If the SPARTAN unit is to be installed in areas of high vibration, please consult
with Raytec.
4. Externally the SPARTAN unit housing is constructed from marine grade
aluminium, and toughened glass, stainless steel brackets/fasteners and
silicone gaskets, internally there are many non metallic components. The end
user must ensure that these materials are suitable for the environment the
SPARTAN unit will be installed in; Zone 1 and Zone 2 Hazardous areas.
5. Check certication nameplate on side of oodlight to ascertain type of threaded
cable entry on the luminaire. Select suitably certied ATEX/IEC Ex /UKEX cable
glands and stopper plugs, these must be parallel thread, have a minium of 5 full
thread engagement and be of a medium/ne tolerance to ISO965-1 and ISO965-
3. The cable entry devices selected must maintain the IP rating of the luminaire
6. The incoming mains cable should not exceed a temperature rise of 20°C above
the ambient conditions; select suitable cable.
7. When the unit is installed correctly and in accordance with these installation
instructions it will not harm humans or animals.
8. Before installing emergency luminaires please check the last charge date of
the battery. This is shown on the external product packaging and also on the
battery label, alternatively consult date shown on the declaration at the back of
this leaet. If the last charge date was in excess of 3 months (if stored at 5°C to
25°C) or 1 month (if stored outside this range) from date of installation, please
consult Raytec document 0010-D-00001 Battery Handling Guide
!
Install in a well
ventilated area
Do not continually
stare at lamp
Isolate mains before
removing cover
1.5m

3www.raytecled.comUK / Europe Tel: +44 (0) 1670 520055
Americas Tel: +1 613 270 9990
2. Installation
Mounting SPARTAN Unit
1. To meet the requirements of certication a MINIMUM of 2 xing points must
be used, the xing points must be suitable for the conditions of use. Raytec
recommend using M8 Marine Grade A4 Stainless Steel xings (not supplied)
Spartan 12 Floodlight
Spartan 24 (Emergency Variant Shown)

4www.raytecled.com UK / Europe Tel: +44 (0) 1670 520055
Americas Tel: +1 613 270 9990
Spartan 48
2. The SPARTAN oodlight and the mounting bracket is supplied together as a
unit. The bolts in the side of the housing shall be removed and used to secure
the bracket to the SPARTAN housing, the bracket can be attached in the top
or bottom position depending on the mounting application, where possible the
cable glands should be kept to the bottom of the oodlight. It is very important
that the red bre washers are tted between the SPARTAN housing and the
mounting bracket. The unit must be aligned rst before securing the bracket,
and bolts tightened to 15Nm. On SPARTAN 24 and 48 units a locking screw is
provided to lock the luminaire at various angles, which should be tightened to
4Nm. The unit can be mounted horizontally or vertically allowing the unit to point
up/down or left/right.

5www.raytecled.comUK / Europe Tel: +44 (0) 1670 520055
Americas Tel: +1 613 270 9990
Typical wiring diagram – standard luminaires
Typical wiring diagram – emergency luminaires
WHITE/ REDWHITE/ RED
WHITE/ RED
WHITE/ RED

6www.raytecled.com UK / Europe Tel: +44 (0) 1670 520055
Americas Tel: +1 613 270 9990
3. Open the rear compartment to access terminal block. Wire the Mains cable
into the terminal block. Provision has been made for this and identied as the
E (Earth), L1 (swiched live) and L2 (permanent live) and N (Neutral) terminals.
There are two pairs of contacts for each of these to facilitate a mains cable that
can be looped in and out of the unit. The L2 terminals on a standard unit is
not electrically connected but allows them to be used on the same circuits as
emergency oodlights.
4. Installer should earth the unit separately – an internal and external earth point
are provided as standard.
5. Connect wires to mains supply.
6. If the unit is opened for any reason, disconnect mains – On emergency
luminaires there may be more than one mains supply.
7. All SPARTAN oodlights have terminal blocks suitable for looping 4mm2 cable,
only one cable should be connected to each terminal block connection.
8. Emergency SPARTAN oodlights may have a single green LED tted
adjacent to the incoming cable glands, when illuminated the green LED
indicates that the emergency system is healthy.
9. The battery fuse located in the power supply lid on emergency variants
is disconnected after nal manufacturing testing. When installing the
oodlight the battery fuse will need to be reconnected and the unit
charged for 24 hours and then discharged (repeated 3 times) to bring
the battery up to peak capacity.
10. If a 4 core cable is used on emergency luminaires – L1, L2, N and E the
link cable at the front of the terminal block between L1 and L2 should be
removed.
11. During emergency operation the light output and duration will be
determined by the variant purchased.
12. Once wiring is complete replace rear cover. Ensure gasket is located neatly
in channel and no wires are trapped between cover and body. Tighten cover
screws to 3Nm.
13. If carrying out Insulation Resistance tests the normal method of insulation
testing is to connect Live and Neutral together and test between this point and
Earth to prevent the risk of damage to the electronic control gear.
7www.raytecled.comUK / Europe Tel: +44 (0) 1670 520055
Americas Tel: +1 613 270 9990
3. Maintenance
1. It is essential that all SPARTAN units are maintained in accordance with the
requirements of the EN60079-17 standard: (Electrical apparatus for explosive
gas atmospheres – other than mines).
2. IMPORTANT. No modications are permitted to the unit, all spare parts must
be purchased from the manufacturer, unauthorized modications or spare parts
will invalidate certication and make the equipment dangerous.
3. Isolate the SPARTAN unit from the mains supply and allow to cool before
carrying out any maintenance work.
4. The unit has 2 independent power supplies, in the event that a power supply
needs to be replaced the cables to the LED and mains terminal block will need
to be disconnected, the four M6 bolts released the power supply can then be
removed. Fitting a new power supply is a reversal of the above procedure.
5. Disposal of packaging, SPARTAN unit and old LED assemblies should be
carried out in accordance with national regulations.

8www.raytecled.com UK / Europe Tel: +44 (0) 1670 520055
Americas Tel: +1 613 270 9990
4. Technical Specication
Spartan 12 Spartan 24 Spartan 48
Input Voltage 110-254V AC or 18-48V AC/18-69V DC or 12V DC
Consumption 34W max 68W max 136W max
Consumption
(Emergency variant) N/A 71W max 139W max
Power Factor >0.95
Mains Frequency 50/60Hz
Inrush Current (Ipeak @ 50%) 40A ∆t < 300µs
Total Harmonic Distortion (230Vac full load) <10%
IP Rating IP66/67
Weight Environment 5kg (11lbs) Standard - 8kg (17.6lbs)
Emergency - 10Kg (22lbs)
Standard - 16kg (35.2lbs)
Emergency - 20Kg (44lbs)
Weight Environment
(Emergency variant) N/A 11.5kg (25.3lbs) 21kg (46.3lbs)
Dimensions Dimensions See previous pages for line diagrams
ATEX and IECEx and UKEX Rating See below
CML13ATEX3007 or IEC Ex CML14.0001 or
CML 21UKEX3099
II 2 GD Ex eb mb IIC T4/T5 Gb
Ta -52°C to +55°C (standard variants)
II 2 GD Ex eb mb IIC T6 Gb
Ta -52°C to +48°C
II 2 GD Ex eb mb IIC T4 Gb
Ta -20°C to +55°C (emergency variants)
Ex tb IIIC T82°C Db
IP66 & IP67 Ta = -52°C to +55°C
110V-254 AC or 18-48V AC/18-69V DC
CML17ATEX4231 or IECEx CML 17.0135 or
CML 21UKEX4106
II 3 GD Ex ec mc IIC T4 Gc
Ta -50°C to +55°C (standard variants)
II 3 GD Ex ec mc IIC T4 Gc
Ta -20°C to +55°C (emergency variants)
Ex tb IIIC T82°C Dc
IP66 & IP67 Ta = -50°C to +55°C
110V-254V AC or 18-48V AC/18-69V DC
Protection/Certication

9www.raytecled.comUK / Europe Tel: +44 (0) 1670 520055
Americas Tel: +1 613 270 9990
5. Trouble Shooting
1. Ensure the two LED boards are correctly wired to terminal block.
White to White : White/Red to White/Red
2. Ensure Mains input is correctly connected.
3. Ensure Mains Input is turned on at the source
4. On emergency variants check fuse to ensure it has not blown
5. If LED panel fails to light is it possible to identify if problem is with LED panel
or power supply by swapping LED cables to opposite power supply to help
identify problem.
Max number of ttings allowed per MCB
(Based on 230V)
MCB Type Rating FL12 FL24 FL48
B 10A 11 5 2
B16A 17 8 4
B 20A 25 12 8
B 25A 35 17 8
C10A 24 12 6
C 16A 34 17 8
C20A 49 24 12
C25A 58 29 14

10 www.raytecled.com UK / Europe Tel: +44 (0) 1670 520055
Americas Tel: +1 613 270 9990
Declaration Of Conformity
With The Atex Directive 2014/34/EU
& UK Directive SI 2016 No. 1107 (as amended)
Raytec Ltd. declares under our sole responsibility that the product(s) listed below
conform with the relevant provisions of directive 2014/34/EU of 20th April 2016 and
UK Directive SI 2016 No. 1107 (as amended)
Manufacturer Raytec Ltd
Unit 15, Wansbeck Business Park
Rotary Parkway
Ashington
Northumberland, NE63 8QW
United Kingdom
Description Spartan range of oodlights – standard and
of Equipment emergency
Certication CML
Body New Port Road
Ellesmere Port, CH65 4LZ
Certicate Zone 1 - CML13ATEX3007, IEC Ex CML14.0001 & CML21UKEX3099
Zone 2 - CML17ATEX4231, IEC Ex CML17.0135 & CML21UKEX4106
ATEX Quality Assurance Notication CSA BV (2813)
UKCA Quality Assurance Notication CSA UK (0518)
Equipment II 2 GD Ex eb mb IIC T4/T5 Gb
Marking Ta -52oC to +55oC (standard variants)
II 2 GD Ex eb mb IIC T6 Gb
Ta -52°C to +48oC
II 2 GD Ex eb mb IIC T4 Gb
Ta -20oC to +55oC (emergency variants)
Ex tb IIIC T82°C Db
IP66 & IP67 Ta = -52°C to +55°C
110V-254V AC or 18-48V AC/18-69V DC
II 3 GD Ex ec mc IIC T4 Gc
Ta -50oC to +55oC (standard variants)
II 3 GD Ex ec mc IIC T4 Gc
Ta -20oC to +55oC (emergency variants)
Ex tb IIIC T82°C Dc
IP66 & IP67 Ta = -50°C to +55°C
110V-254V AC or 18-48V AC/18-69V DC

11www.raytecled.comUK / Europe Tel: +44 (0) 1670 520055
Americas Tel: +1 613 270 9990
Compliance with the Essential Health and Safety Requirements has been assessed
by reference to the following harmonised/designated standards -
EN 60079-0 : 2018 EN 60079-7 : 2015 + A1 : 2018
EN 60079-18 : 2015 + A1 : 2017 EN 60079-31 : 2014
EN 60079-1 : 2014
And also 2014/35/EU - Low Voltage Directive, 2014/30/EU - EMC Directive
Signed
Name Barry Thompson
Position Director
Dated
Serial number

UK / Europe
T: +44 (0) 1670 520055
F: +44 (0) 1670 819760
Americas (Toll Free)
T: +1 888 505 8335
www.raytecled.com
Other manuals for Spartan Series
2
This manual suits for next models
3
Table of contents
Other Raytec Floodlight manuals

Raytec
Raytec Spartan Series User manual

Raytec
Raytec SPARTAN SPX Series User manual

Raytec
Raytec Spartan Series User manual

Raytec
Raytec SPARTAN SPX-HP15K User manual

Raytec
Raytec SPARTAN MP Series User manual

Raytec
Raytec WARRIOR 24 User manual

Raytec
Raytec Raymax 25 PoE series User manual

Raytec
Raytec VARIO2 series User manual
Popular Floodlight manuals by other brands

Collingwood Lighting
Collingwood Lighting FL05BPCS installation instructions

BEGA
BEGA 84 378 Instructions for use

LumX
LumX LM 32060 instruction manual

Bartec
Bartec FEAM RCDE500L Instructions for use

Lumary
Lumary STAR LK20110001/2 Start guide

Philips
Philips BVP158 LED24/WW NW CW PSU 20W SWB CN Mounting instructions