RCA RT2412-C User manual

Model:RT2412-C

Digital Audio Output Connection
/
Standard
15
15

CONTENTS
32
12
34
13
14 35
DISPLAY
MODE
SPECIFICA TION
TROU BLE-
SH OOTI N G
GUIDE
PC Formats
Video Formats
TV Symptom
33
30
16
17
19
21
22
25
28
10 TV SETUP
TV Se t up
Picture Menu
Sound
TV Channel Menu
Menu
Time Menu
Setup Menu
LOCK(Parental) Menu
USB Media
Player

*SAFETY PRECAUTIONCAUTION
•••
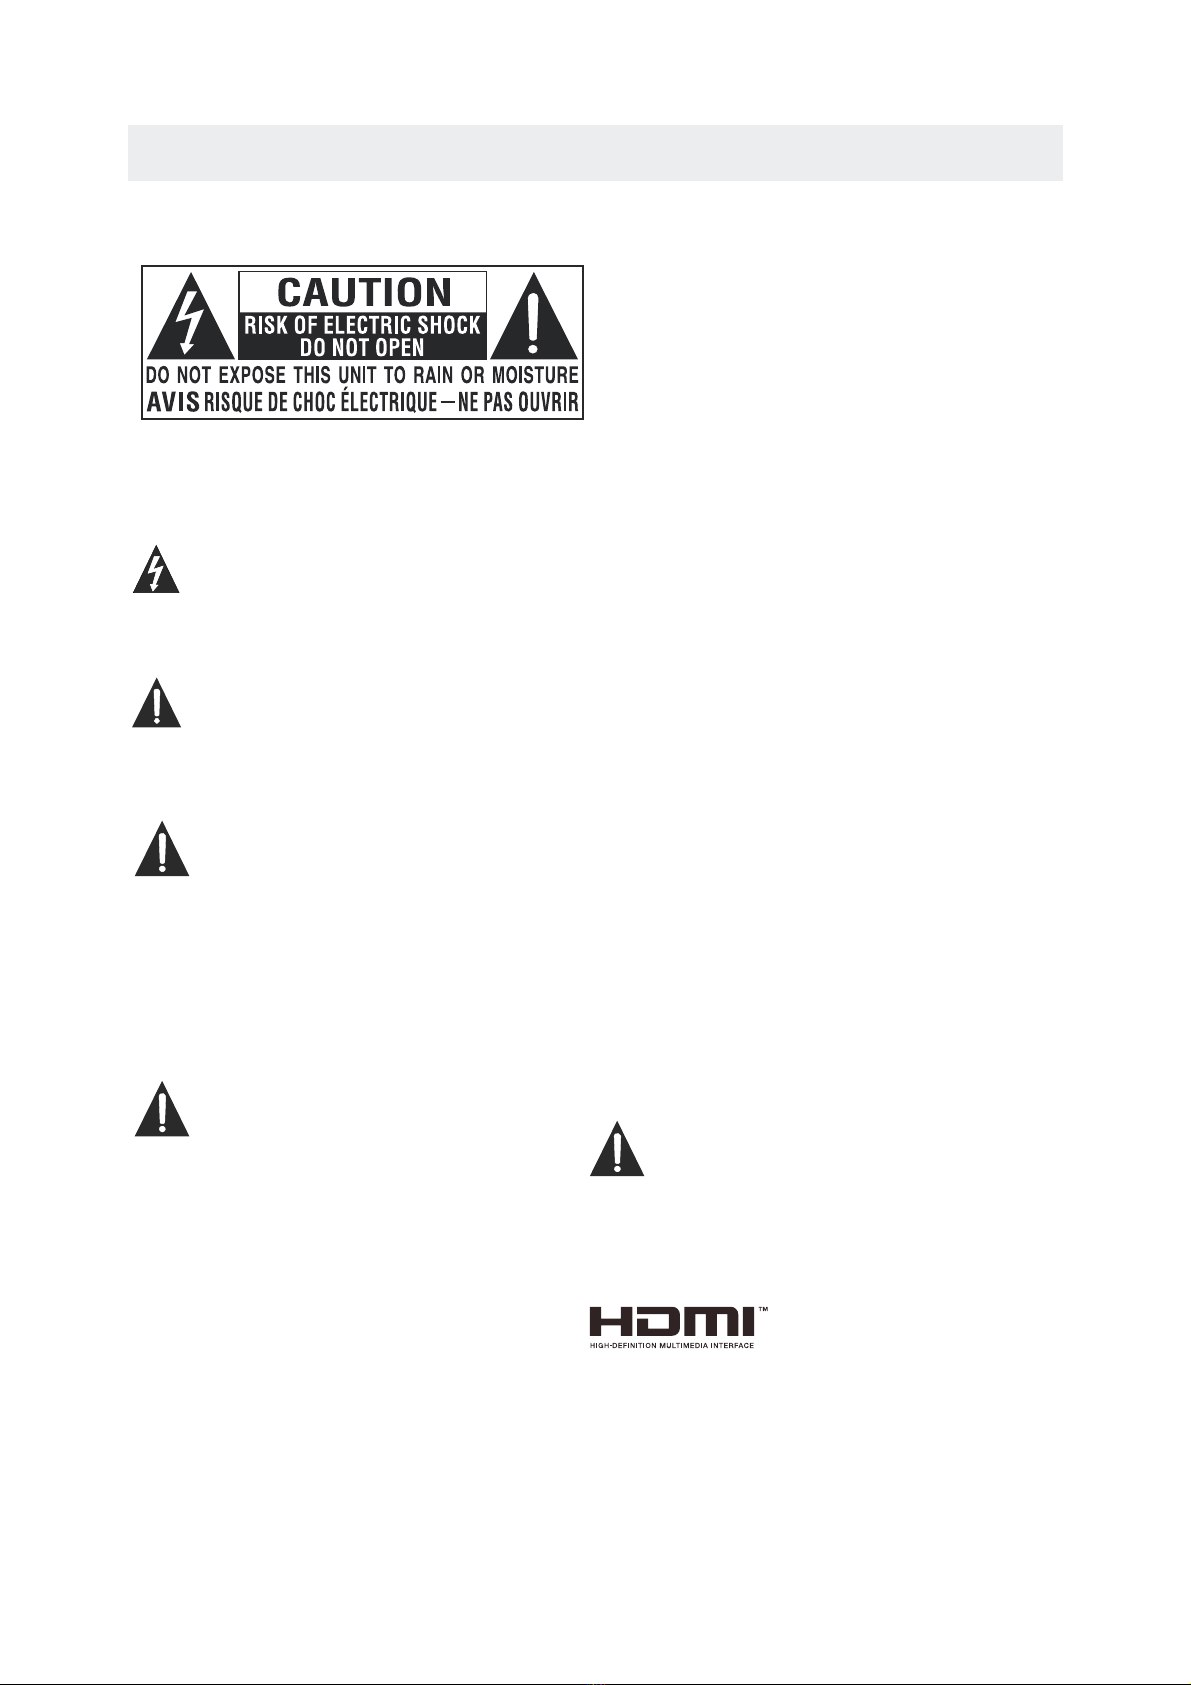
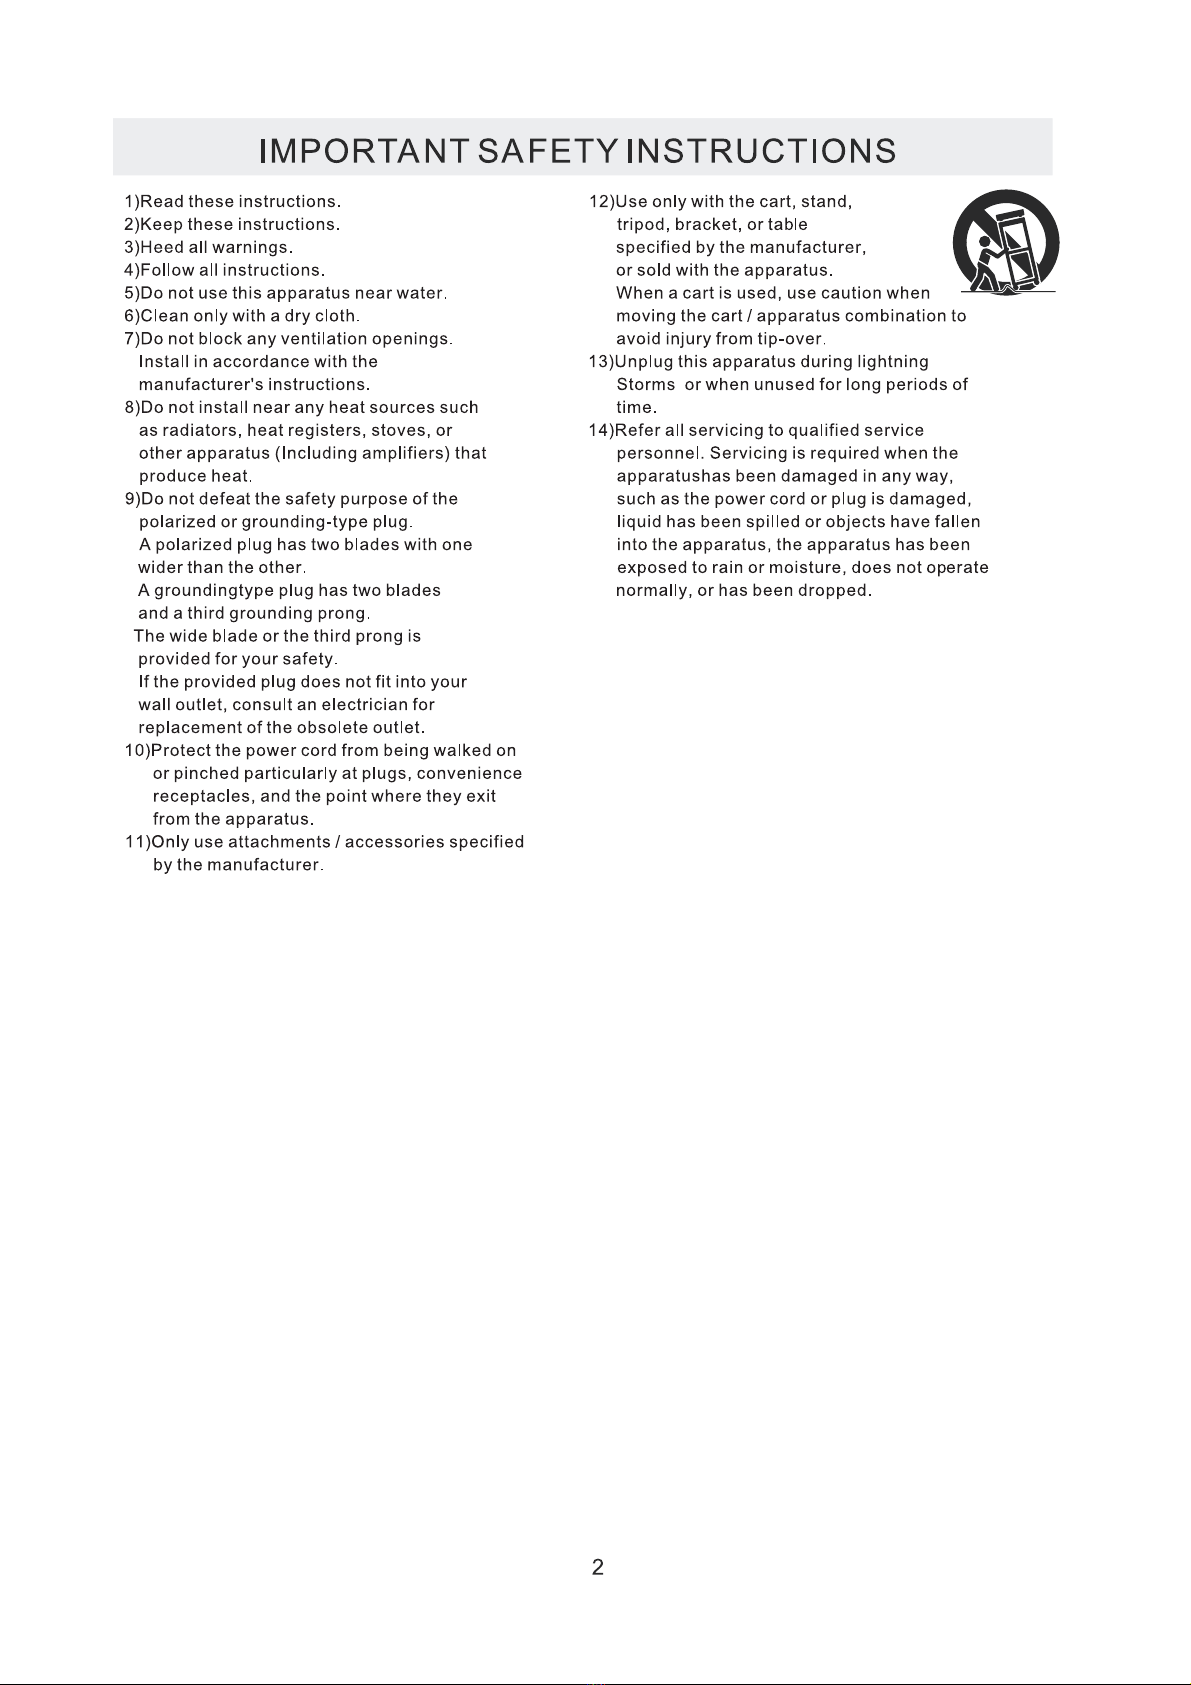
WARNING:PLACEMENT INFORMATIONSAFETY INFORMATIONRATING PLATE LOCATIONFCC STATEMENTSWARNING:1CAUTION MARKING WAS LOCATED AT THE REAR OF THE APPARATUS.WARNING: TO REDUCE THE RISK OF ELECTRICSHOCK,DO NOT REMOVE COVER(OR BACK)NO USER SERVICEABLE PARTS INSIDE.REFER SERVICING TO QUALIFIED SERVICEPERSONNEL.The lightning flash with arrowhead symbol, within an equilateral triangle,is intended to alert the user to the presence of uninsulated“dangerous voltage”within the product's enclosure that may beof sufficient magnitude to constitute a risk of electric shock to persons.The exclamation point within an equilateral Triangle is intended to alert the user toThe presence of important operating andmaintenance (servicing) instructions in the literatureaccompanying the appliance.DANGER OF EXPLOSION IF BATTERY IS INCORRECTLY REPLACED. REPLACE ONLY WITH THE SAME OR EQUIVALENT TYPE. USE OF CONTROLS OR ADJUSTMENTS ORPERFORMANCE OF PROCEDURES OTHERTHAN THOSE SPECIFIED MAY RESULT INHAZARDOUS RADIATION EXPOSURE.
••
TO REDUCE THE RISK OF FIRE OR ELECTRICSHOCK, DO NOT EXPOSE THIS APPLIANCE TORAIN OR MOISTURE.TO REVENT FIRE OR SHOCK HAZARD, DO NOTEXPOSE THIS UNIT TO RAIN OR MOISTURE. DONOT PLACE OBJECTS FILLED WITH LIQUIDS ONOR NEAR THIS UNIT. SHOULD ANY TROUBLE OCCUR, DISCONNECTTHE AC POWER CORD AND REFER SERVICINGTO A QUALIFIED TECHNICIAN.Do not use this unit in places that are extremely hot, cold, dusty or humid. Do not restrict the airflow of this unit by placing itsomewhere with poor airflow, by covering it with a cloth, by placing it on bedding or carpeting. When connecting or disconnecting the AC power cord, grip the plug and not the cord itself. Pulling the cord may damage it and create a hazard. When you are not going to use the unit for a long period of time, disconnect the AC power cord. The rating plate is located on the rear of the unit.NOTE: This unit has been tested and found to comply with the limits for a Class B digital device, pursuantto Part 15 of the FCC Rules. These limits are designedto provide reasonable protection against harmful interference in a residential installation. This unit generates, uses and can radiate radiofrequency energy and, if not installed and used in accordance with the instructions, may cause harmful interference to radio communication. However, thereis no guarantee that interference will not occur in a particular installation. If this unit does cause harmful interference to radio or television reception, whichcan be determined by turning the unit off and on, the user is encouraged to try to correct the interference by one or more of the following measures: - Reorient or relocate the receiving antenna. - Increase the separation between the unit and receiver. -Connect the unit into an outlet on a circuit different from that to which the receiver is connected. - Consult the dealer or an experienced radio/TV technician for help.Changes or modifications to thisunit not expressly approved by the party responsible for compliance could void the user authorityto operate the unit.
••••
“HDMI, the HDMI logo and High-Definition Multimedia Interface are trademarks or registered trademarks of HDMI Licensing LLC.”


ACCESSORIES
Please check and identify the supplied accessories............................................................................................................................................................................................................................
GETTING STARTED
USING THE REMOTE CONTROLBATTERY REPLACEMENTCAUTION: Danger of explosion if battery is incorrectly replaced.NOTESWARNING :3x 2x 1x 1x 1Remote control .................................................................................................................Remote controlBattery(AAA)Warranty CardInstruction Manual·Point the remote control at the remote sensor located on the unit.·When there is a strong ambient light source, the performance of the infrared remote sensor·may be degraded, causing unreliable operation.·The recommended effective distance for remote operation is about 16 feet (5 meters).When the batteries become weak, the operating distance of the remote control is greatlyreduced and you will need to replace the batteries.·If the remote control is not going to be used for a long time, remove the batteries to avoiddamage caused by battery leakage corrosion.·Do not mix old and new batteries. Do not mix ALKALINE, standard (CARBON-ZINC) orrechargeable (NICKEL-CADMIUM) batteries.·Always remove batteries as soon as they become weak.·Weak batteries can leak and severely damage the remote control. Do not dispose batteries in a fire. Batteries may explode or leak. Batteries shall not be exposed to excessive heat such as sunshine, fire or the like.2Base stands and 4 screwsbase stand
..........................................................................
x 1...................................................................................................................

CC
FAV FAV+
FAV-
EN TER
EP G
AU TO
CH .LI ST
AD D/D EL
REPEAT AB
RT2412-C

CC
FAV FAV+
FAV-
EN TER
EP G
AU TO
CH.LIS T
AD D/D EL
REPEAT AB
RT2412-C
USB
USB
USB
USB
USB
USB

1.Color Screen
2.Remote Sensor
Do not block this sensor or the
remote control will not work.
3.Standby Indicator
Indicates whether the unit is ON
or in STANDBY (OFF) mode.
Light in red he unit is in STANDBY.
Light in blue The unit is turned ON.
4. Speakers
Digital
Audio out
USB Media Player

VOL
CH
MENU SOURCE
STANDBY

To AUDIO / VIDEO
IN jacks
To AUDIO / VIDEO
OUT jacks

NOTE
High-Definition (HD) Devices with component video output must be connected to the Y input.
Connect the component video cable and audio cable (not included) as shown.
Make sure you connect the component video cable and audio cable from the other equipment
When connecting a DVD player to the television,
the picture resolution is solely dependent upon
the resolution supported by the DVD player attached.
DVD player resolutions vary from 480i to 1080i.
and this television can support DVD players up to
a maximum resolution of 1080i.
PbPr
* May require a subscription
for receiving HD channels,
check with your cable/satellite
service provider for details.
To COMPONENT
VIDEO OUT jacks
HDMI (High Definition Multimedia Interface) supports both video and audio on a single digital connection
for use with DVD players, DTV, set-top boxes and other digital AV devices. HDMI was developed to provide
the technologies of High Bandwidth Digital Content Protection (HDCP) as well as Digital Visual Interface
(DVI) in one specification. HDCP is used to protect digital content transmitted and received by
DVI-compliant or HDMIcompliant displays.
HDMI has the capability to support standard, enhanced or high-definition video plus standard to
multi-channel surround-sound audio. HDMI features include uncompressed digital video, a bandwidth of
up to 2.2 gigabytes per second (with HDTV signals), one connector (instead of several cables and
connectors), and communication between the AV source and AV devices such as DTVs.
To HDMI
IN jack To HDMI
jackOUT
To COMPONENT
VIDEO IN jacks
AUDIO IN jacks
To COMPONENT AUDIO
OUT jacks
Connect the HDMI cable (not included) as
shown:
Make sure you connect the cable from the
source equipment ( ) to this unit
( ).
HDMI OUT
HDMI IN
HDMI CABLE
(NOT INCLUDED)
˄COMPONENT OUT and AUDIO OUT˅to the unit COMPONENT IN.
COMPONENT IN
9
To COMPONENT

AUDIO - PC OUT
VGA AUDIO - PC IN
VGA
Connect the 15-pin D-SUB PC/VGA connector
from your computer to the 15-pin D-SUB PC/VGA
input on this unit using a monitor cable and an
audio cable (not included) as shown.
Make sure you connect the cable from the computer
( and ) to this unit
( and ).
TO PC Connector
TO AUDIO OUT jacks
NOTE
Insert the power plug fully into the socket outlet
If the power plug is loose it could generate heat and
cause fire
Do not touch the power plug with a wet hand
This may cause electrical shock
Do not use any power cord other than that provided
with this TV This may cause fireor electrical shock
Do not damage the power cord
A damaged cord may cause fire or electrical shock
Do not move the TV with the cordplugged in the
socket outlet.
Do not place a heavy object on the cord or place
the cordnear a high-temperatureobject.
Do not twist the cord,bend it excessively,or stretch it.
Do not pull on the cord.Hold onto the power plug body when disconnecting cord.
Do not use a damaged power plug or socket outlet.
.
( ,
.)
.
.
connected to prevent electrical shock.
Ensure that the power plug is easily accessible.
Ensure the earth pin on the power plug is securely
10
.)

Accessibility
RAW

8
4


When you turn on your television set for
the first time, be sure to place it on a solid
stable surface.
To avoid danger, do not expose the TV
to water, or a heat source
(e.g. lamp, candle, radiator).
Do not obstruct the ventilation grid
at the rear and be sure to leave sufficient
gaps around the unit.
PUTTING THE UNIT ON A PROPER PLACE
1.Press the button on the remote control.
2.
and select any of them using the button or
the button.
ource
Note:
Before watching please make sure all necessary
cables and devices are connected.
ENTER
Use or button to select the optionsthe
(The screen will change to your desired s ).
(TV,AV,Component,HDMI ,VGA,USB Media Player)
14
TU RN I N G TH E U N I T ON FOR T H E FI RST TI M E
After you have initially connected your TV
antenna or cable,
turn the television ON.
A screen will display asking you to run a
to search and receive
available local digital channels.
It is here where you will select antenna options
and run .
Channels will be stored in the TV tuner.
Press the button on the remote control.
Press the button to highlight AIR/CABLE.
Ch a n n e l Au t o Sca n
Ch a n ne l Au t o Sca n
M EN U
Using the buttons, scroll to highlight channel mode.
Input Select
TV
AV
Component
HDMI
VGA
USB Media Player

INITIAL SETUP
15
Home Mode(Energy Saving): Select Home Mode to maximize energy efficiency.Please note if you select
Home Mode the picture will be darker.This mode meets the requirements of Energy Star Qualification.
Standard Mode: Select standard Mode if you would like your picture to be brighter. At times this mode may
use more energy to operate the V olume/Sound Mode and the Picture Mode.In this setting,the power
consumption may possibly exceed the limited requirement of Energy Star Qualification.

Good14C ha nne l L is t C ha nne l L is t

temp.
ENERGY SAVING.
5
User
User
User
Other manuals for RT2412-C
1
This manual suits for next models
1
Table of contents
Other RCA LED TV manuals