II ÷ II
Connections and getup
Explanation of Jacks and Cables
Thissection describesthe jacks you can useto make connections. Thereare severalways to connect
components to your TV.
÷
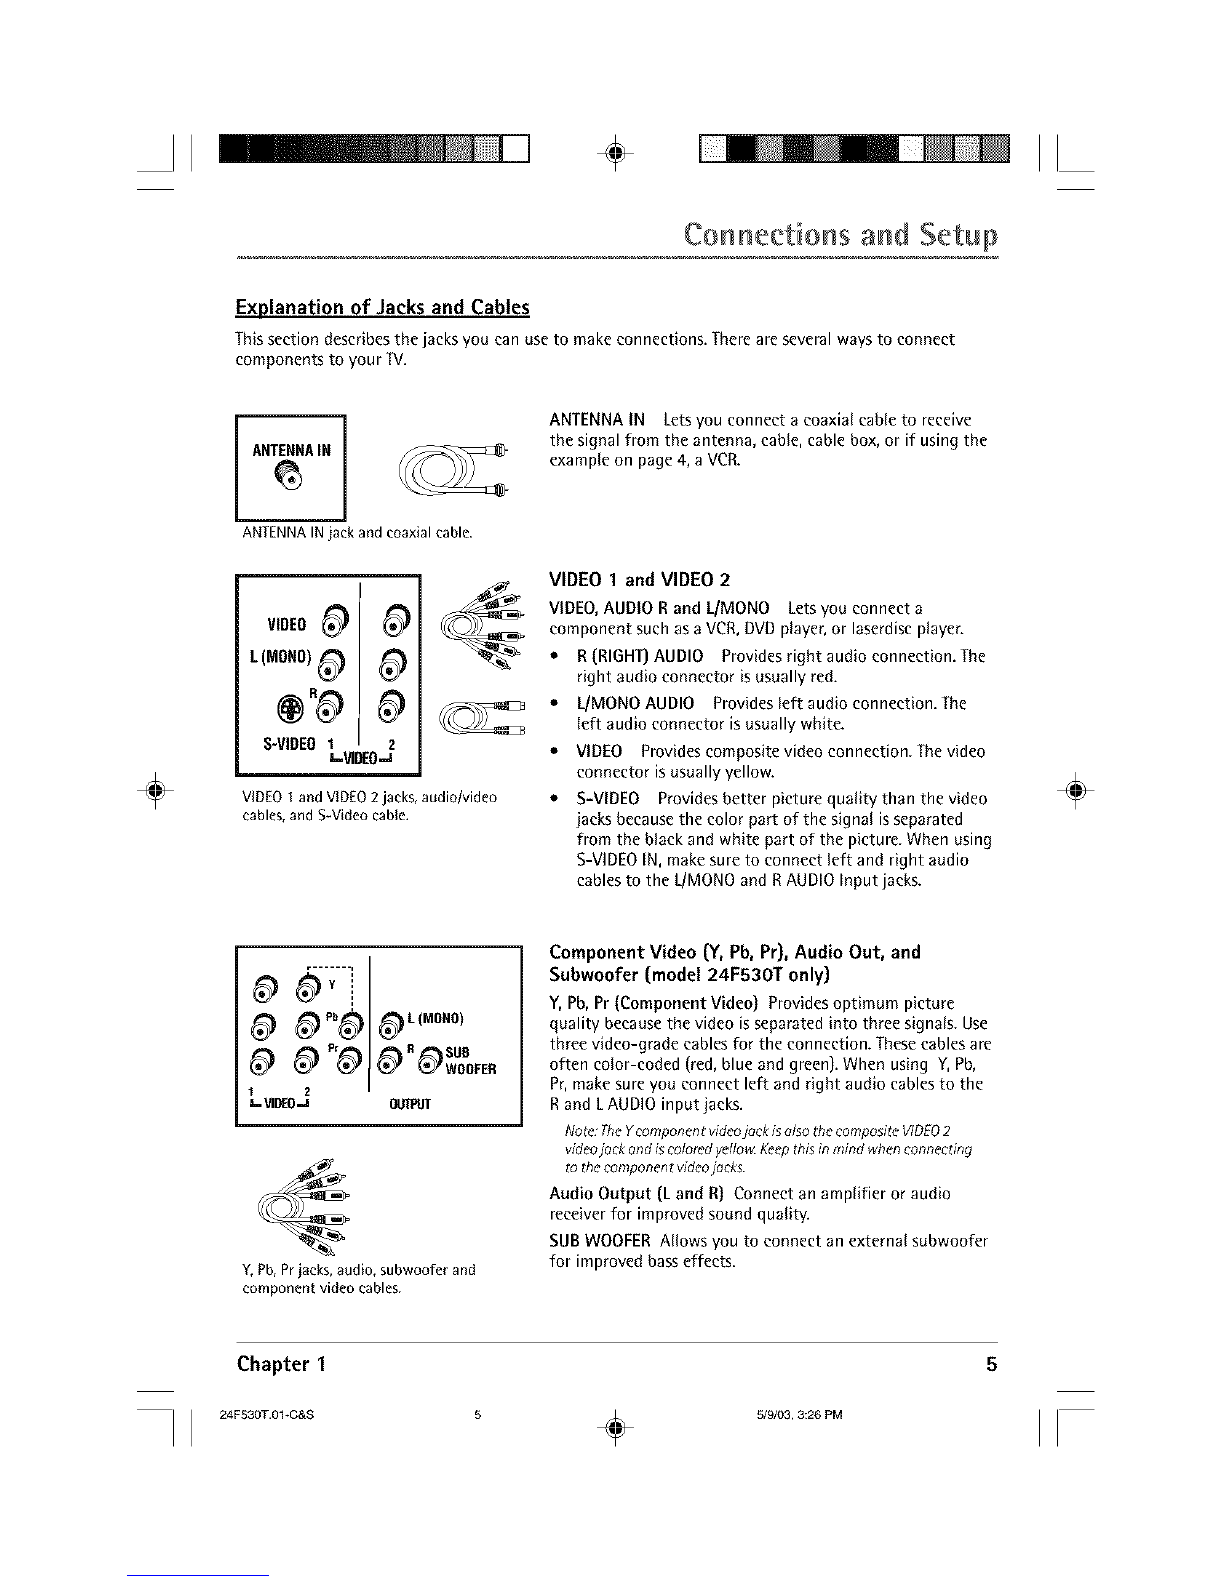
ANTENNA_IN i
ANTENNAINjack and coaxial cable.
LI.°.01 0
S-VIOEO I 2
e.-VIDEO-.z
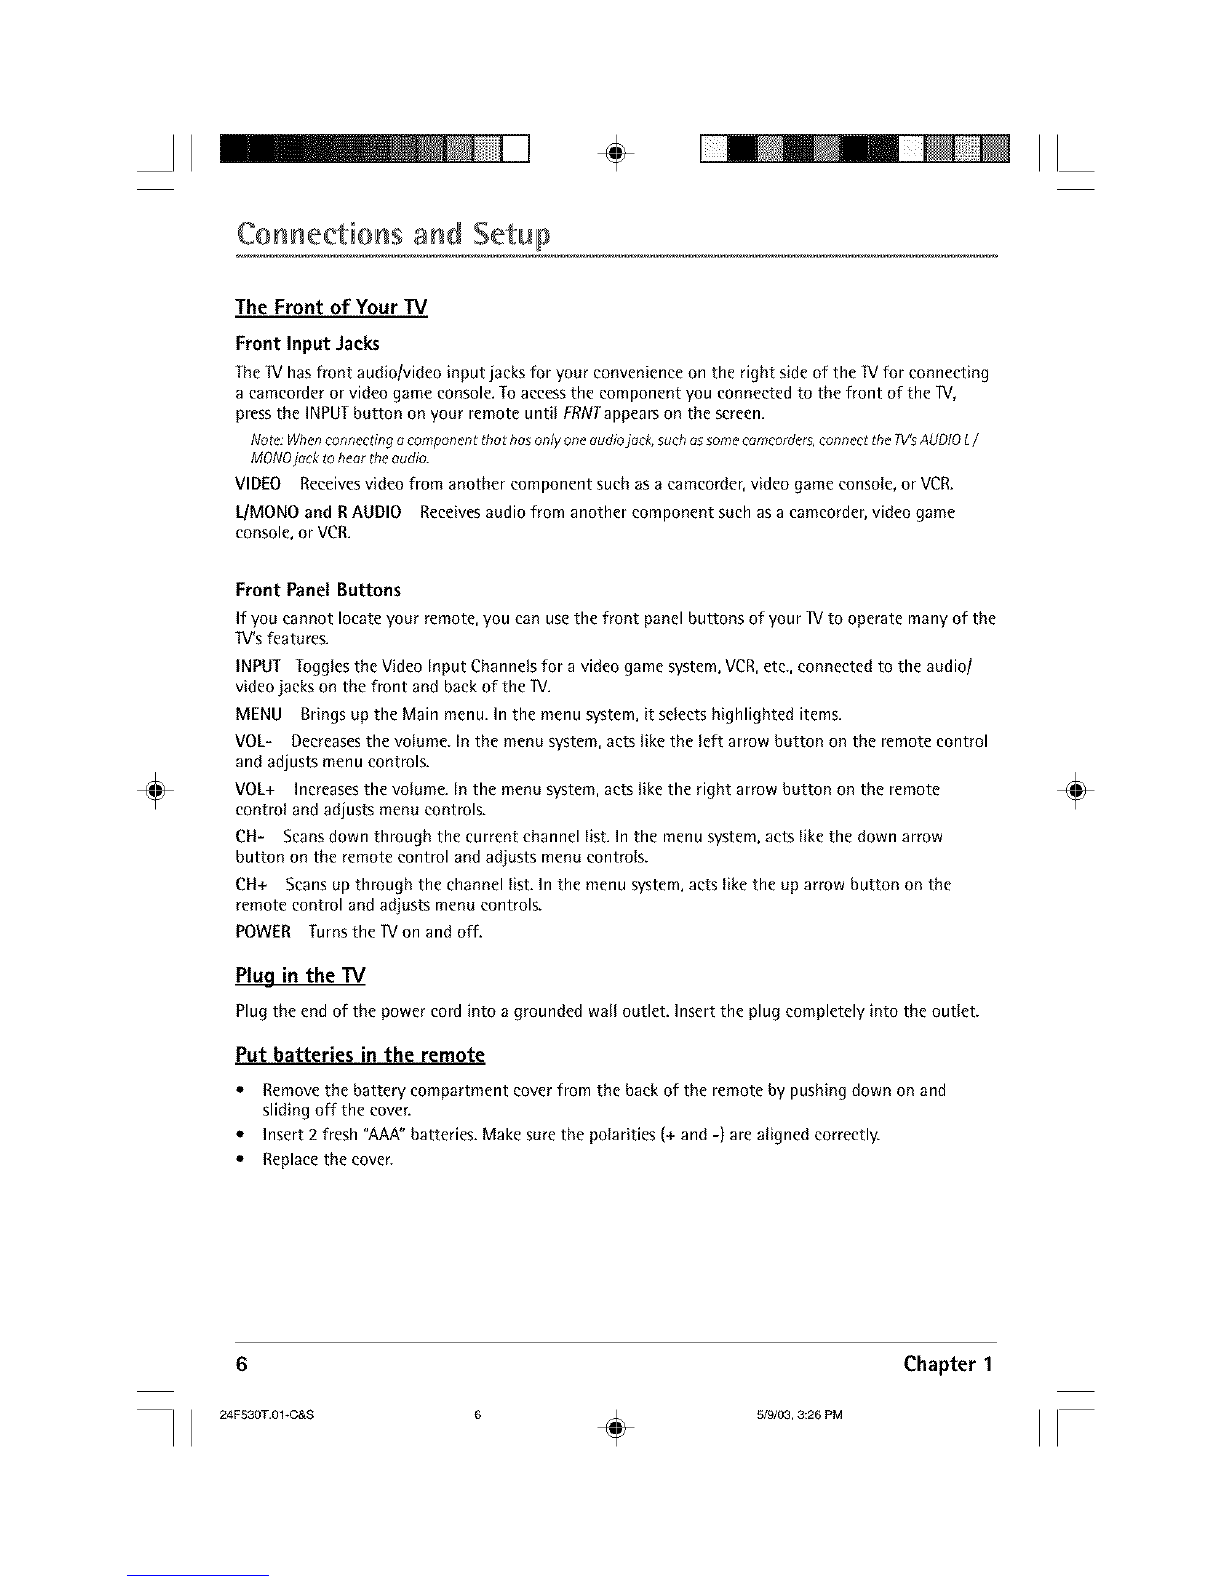
VIDEO1and VIDEO2jacks, audio/video
cables,and S-Video cable.
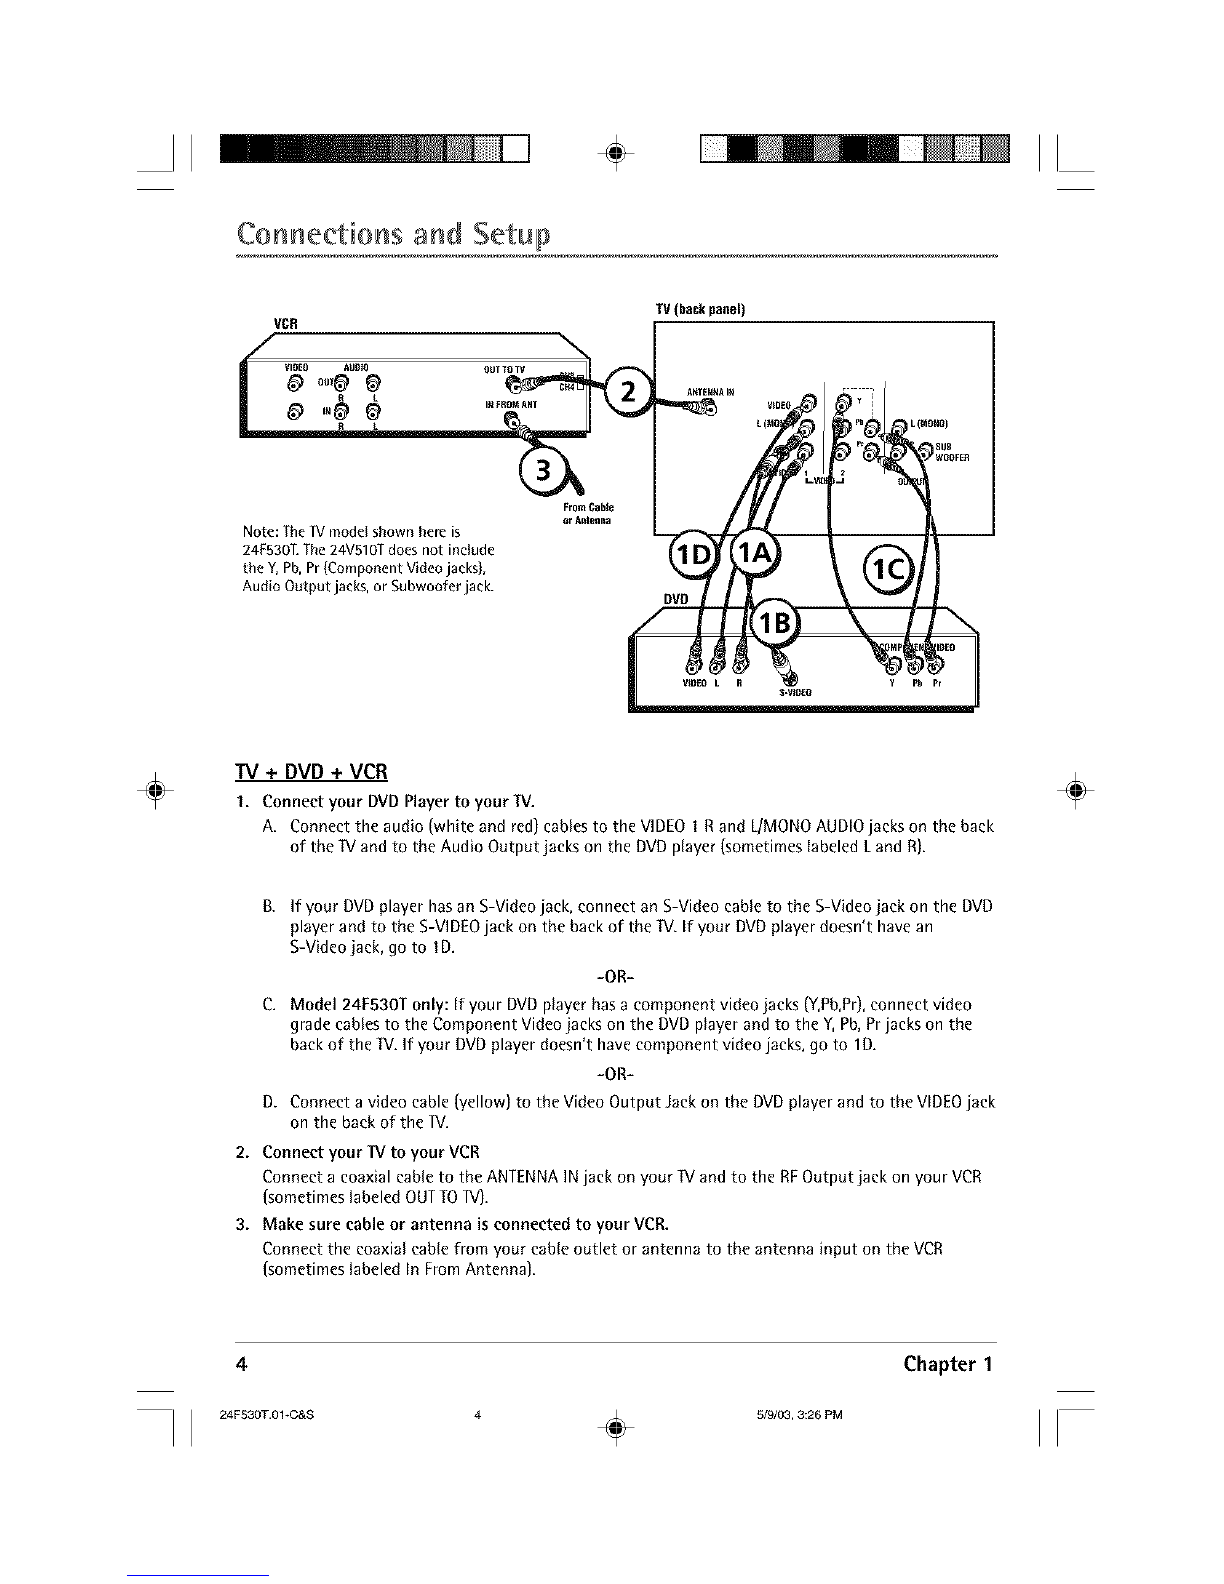
ANTENNA IN Lets you connect a coaxial cable to receive
the signal from the antenna, cable, cable box, or if using the
example on page 4, a VCR.
VIDEO 1 and VIDEO 2
VIDEO, AUDIO R and UMONO Lets you connect a
component such as a VCR, DVD player, or laserdisc player.
• R (RIGHT) AUDIO Provides right audio connection. The
right audio connector is usually red.
•UMONO AUDIO Providesleft audio connection. The
left audio connector is usually white.
VIDEO Provides composite video connection. The video
connector is usually yellow.
S-VIDEO Provides better picture quality than the video
jacks because the color part of the signal is separated
from the black and white part of the picture. When using
S-VIDEO IN, make sure to connect left and right audio
cables to the LIMONO and R AUDIO Input jacks.
÷
4)d;--[
4).0#4)..ON0,
4) pr R SUB
4) 4) 4) 4) 4)w0oFE.
1 2
J-_ll][O-J
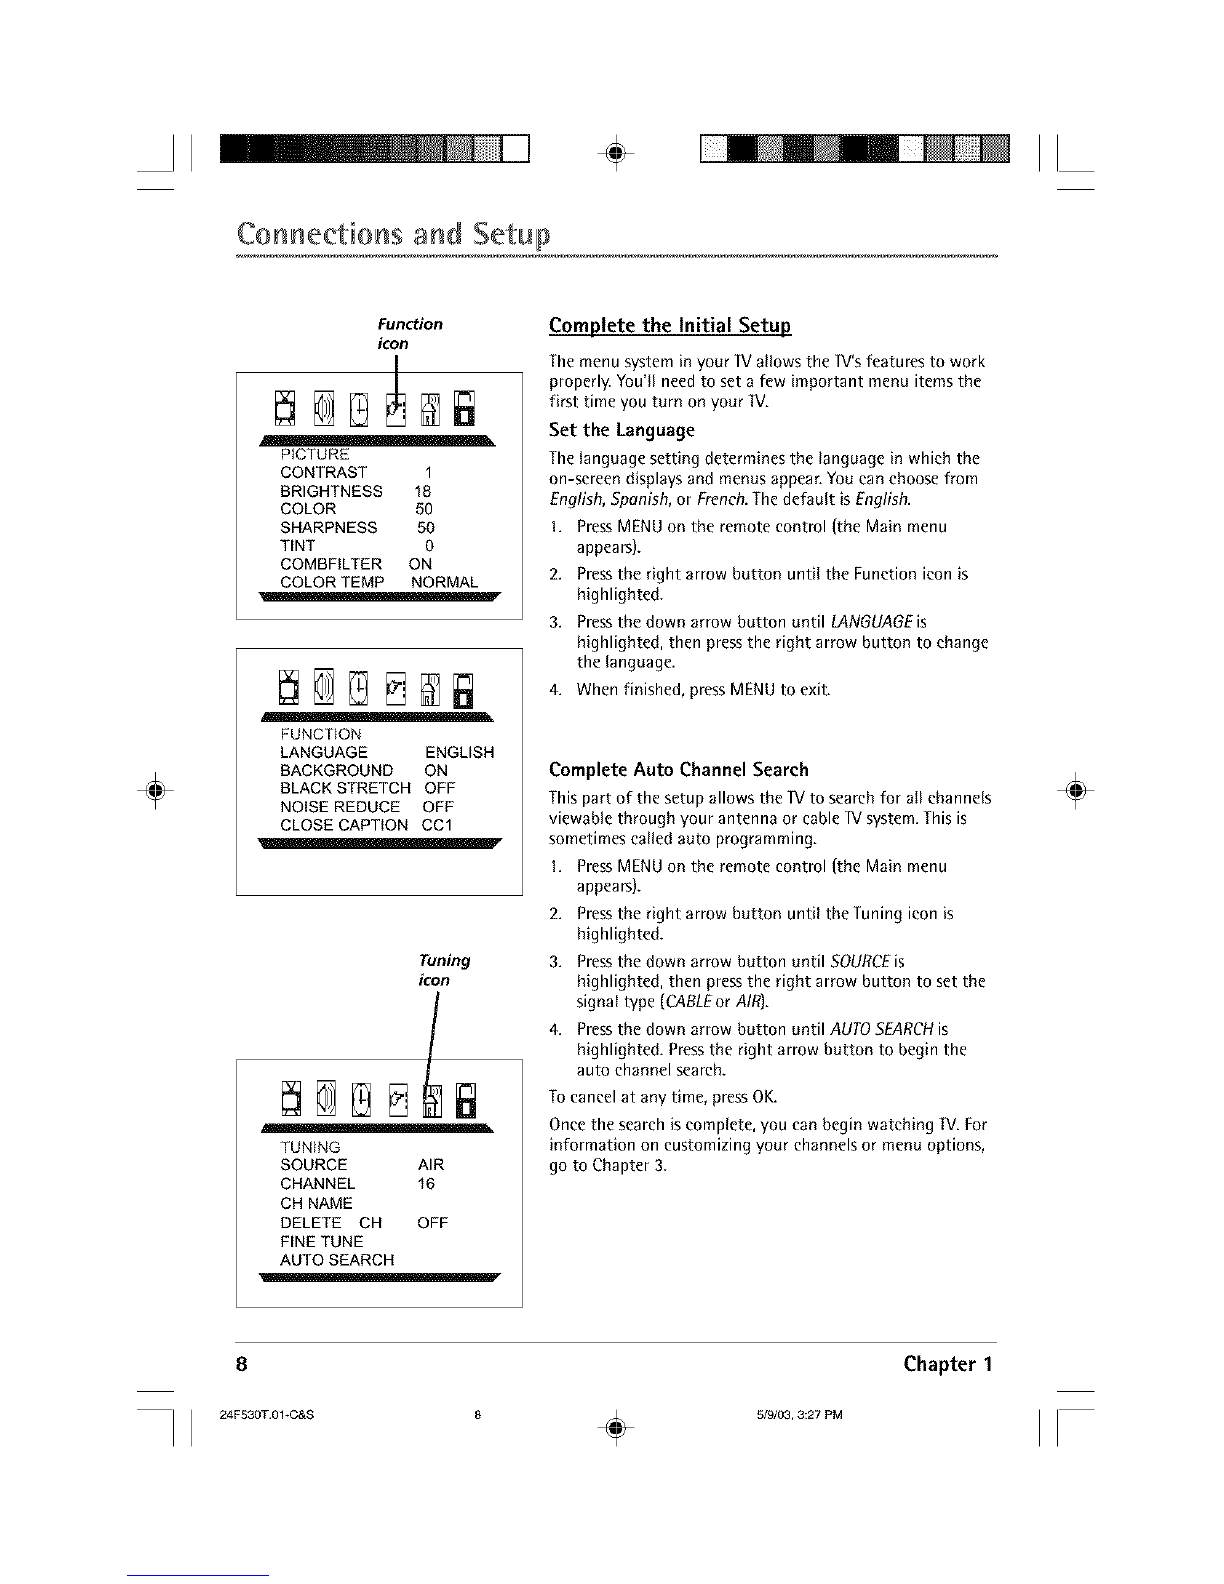
Y, Pb, Prjacks, audio, subwoofer and
component video cables.
Component Video (Y,Pb,Pr), AudioOut, and
Subwoofer (model24F530T only)
Y, Pb, Pr (Component Video) Provides optimum picture
quality because the video is separated into three signals. Use
three video-grade cables for the connection. These cables are
often color-coded (red, blue and green). When using Y, Pb,
Pr, make sure you connect left and right audio cables to the
R and LAUDIO input jacks.
Note:TheYcompr_nentvider_jock is alsothe compositeVIDEO2
videojock end iscoloredyellow.Keepthisin mind when connecting
tothecomponent videojacks.
Audio Output (L and R} Connect an amplifier or audio
receiver for improved sound quality.
SUB WOOFER Allows you to connect an external subwoofcr
for improved bass effects.
Chapter 1