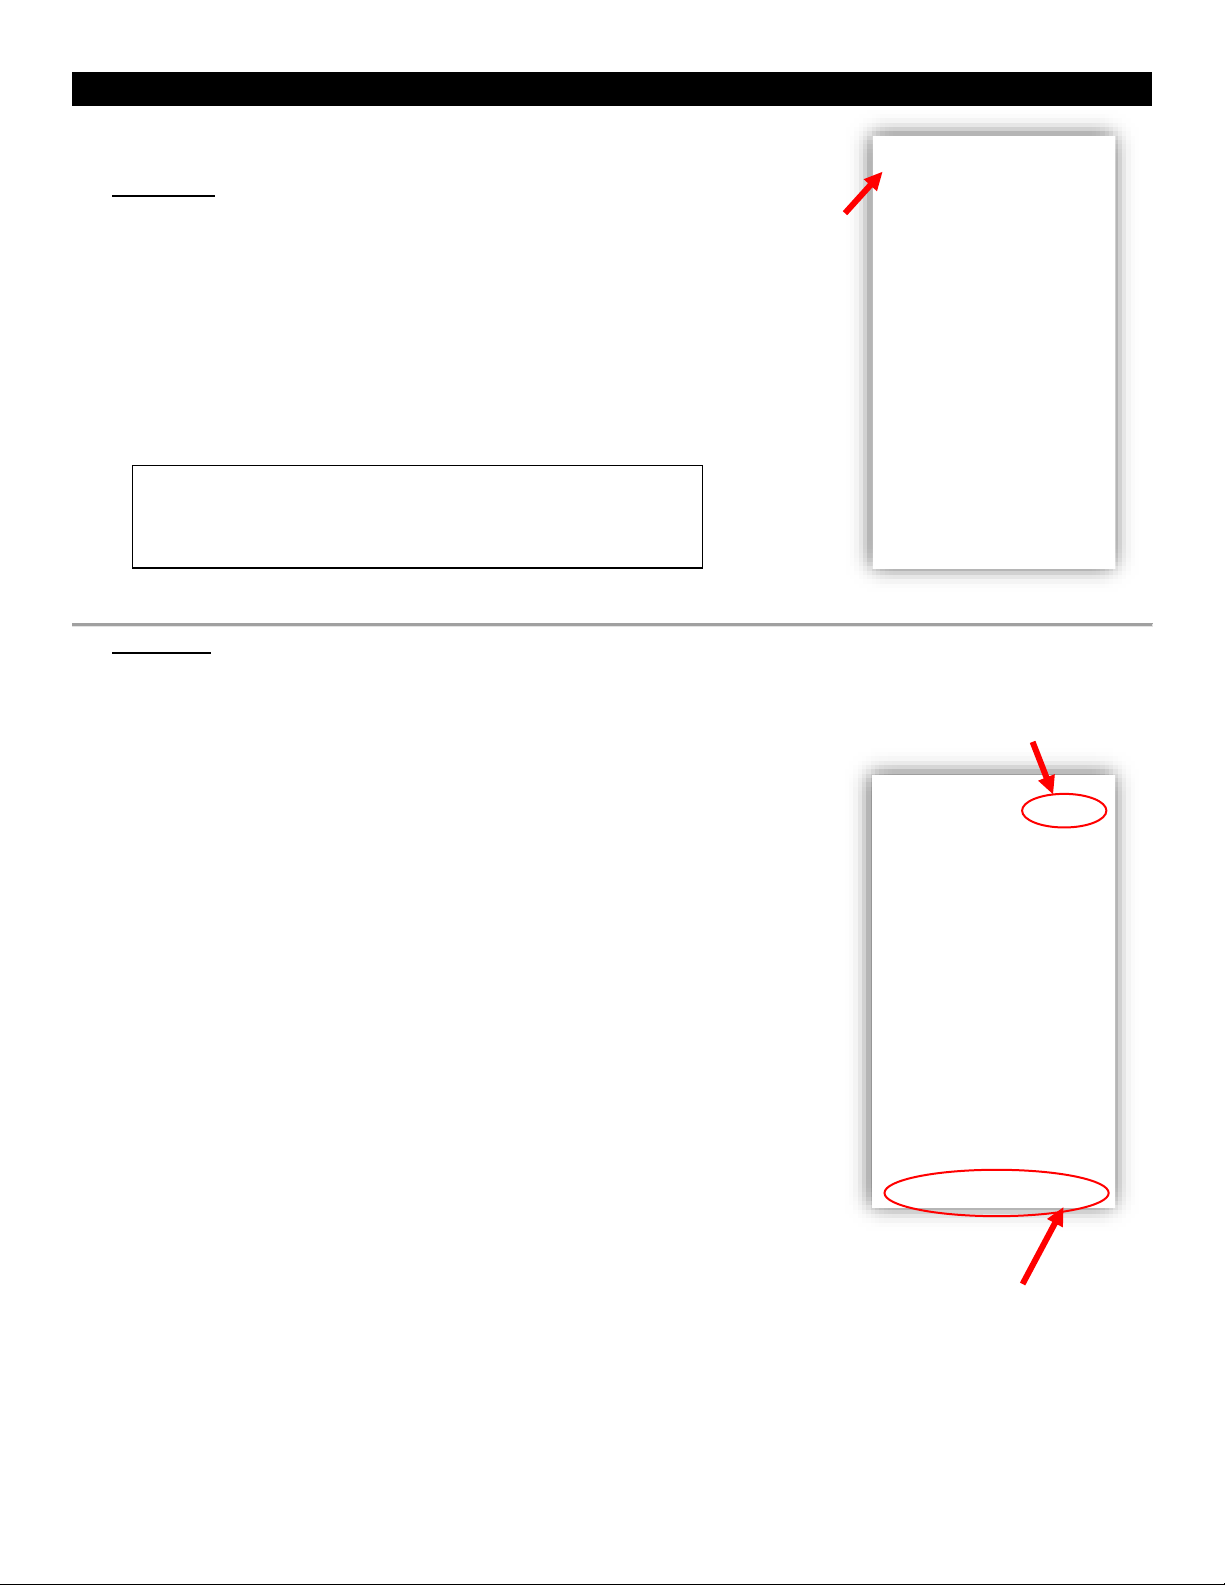
Main Menu icons:
• Manage Devices – Switch, search for, and delete Fireplaces
• Configure Fireplace – Searches for new Fireplaces to add to
list of existing Fireplaces
• Configure Virtual Assistant – Location to enter paring key
• Theme – Change the colors of the application
• Temperature Unit Switch – allows the user to choose the
temperature unit.
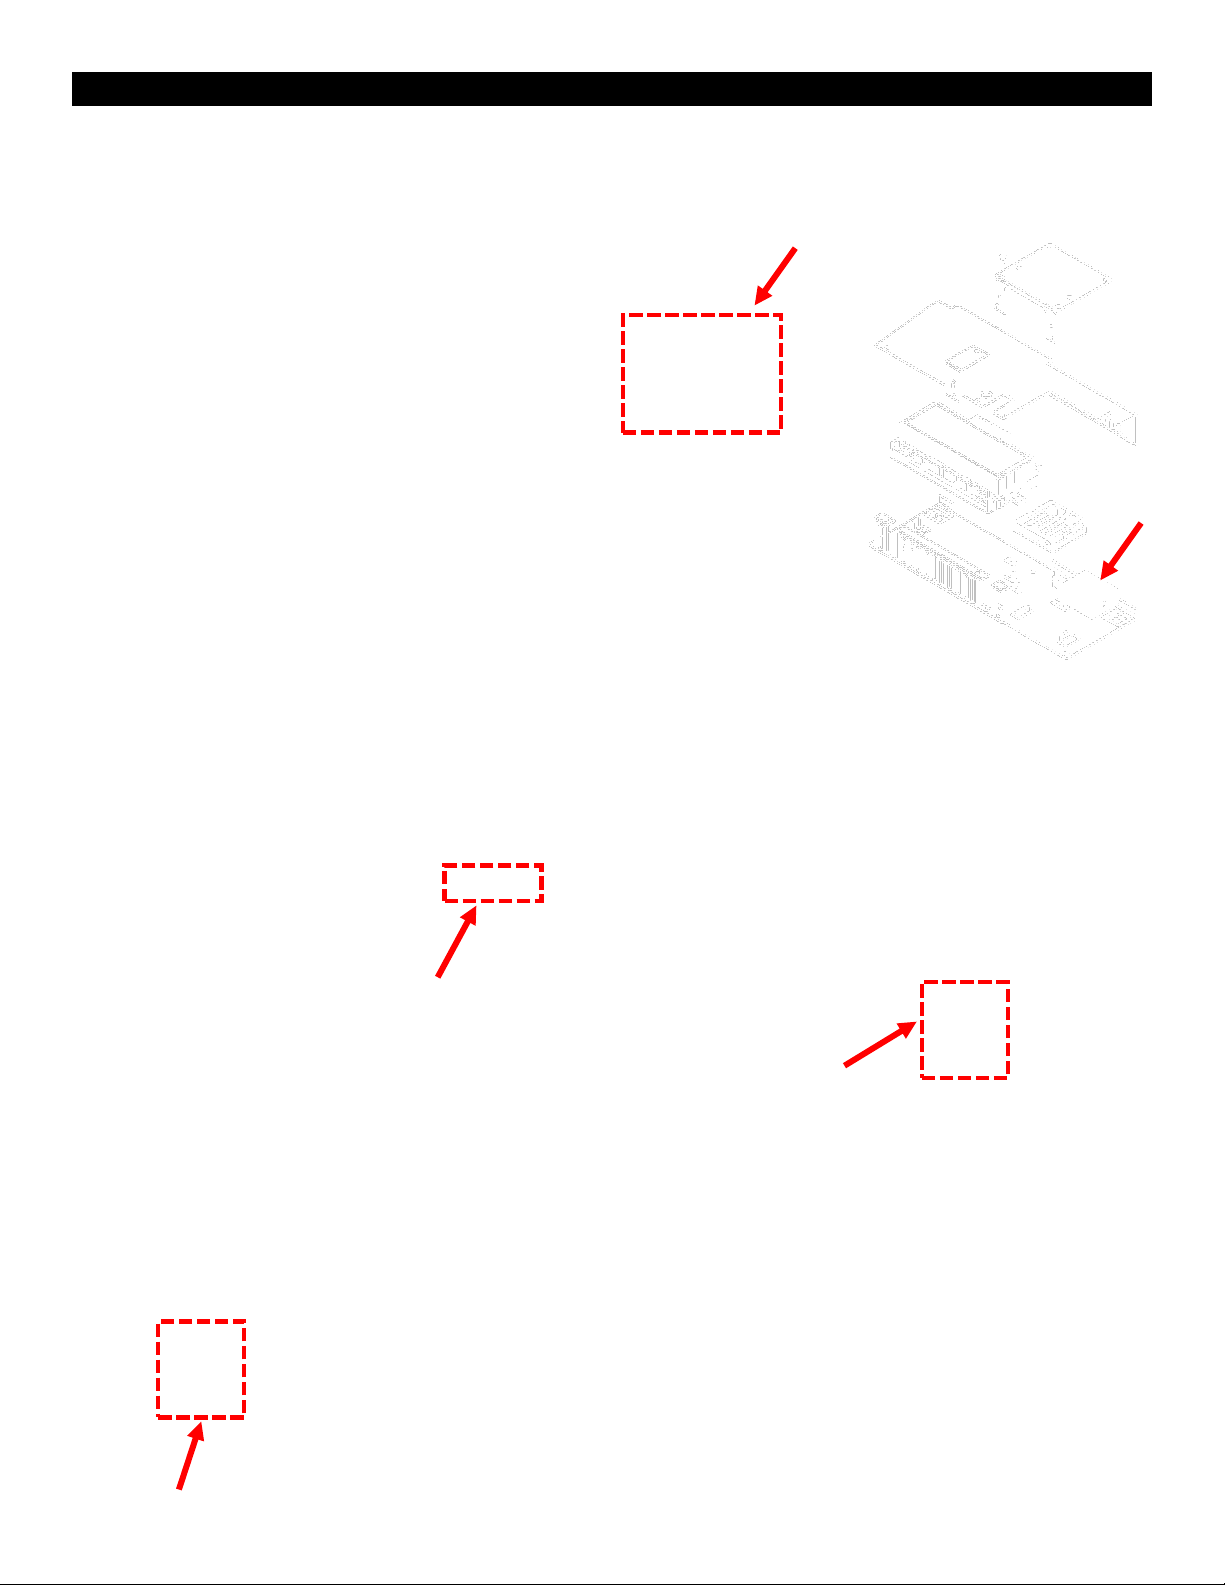
Main Page Controls:
• Main Mode – The operating mode of the Fireplace. Can be set to Off,
Manual, Thermostat, or Smart Thermostat Mode.
o Man – Manual Mode: turns fireplace main burner to “ON”,
must be turned to “OFF” mode to extinguish main burner.
o T-stat – Thermostat Mode: the fireplace will maintain the set
temperature as read from the Wall Mount Remote Control.
o Smart – Smart Thermostat Mode: modulates the flame height
down in accordance to the difference between the set point
and the room temperature, allowing the flame to be enjoyed
for a longer period of time.
• Pilot – Sets the pilot flame function.
o Intermittent Pilot - reduces gas consumption from the pilot
when your fireplace is not in regular use, in colder months you
can switch to the CPI (continuous pilot ignition)
o Continuous Pilot – CPI (continuous pilot ignition) when
you’re enjoying your fireplace more often while keeping cold
air from penetrating through the fireplace and into your living
area (recommended when outdoor temperatures drop below
freezing).
• Temperature – Temperature can be set within the following ranges:
Celsius- 5 to 35° Fahrenheit- 41 to 95°.
• Flame – This is the Flame Control. It creates a higher or lower flame
with six levels of flame height to choose from.
• Split Flow switch button is not used.
• Fan – The Fan Speed Control circulates air into your room at your
choice of six levels for more or less warmth.
• Lamp – The Accent Lighting control, with six levels of lighting within
your fireplace allows you to create the perfect ambience (LED Lights
are non-dimmable, halogen bulbs are dimmable).
• Auxiliary Output – For possible auxiliary items. Can be set to on or
off.