manuals.online logo
Brands
  1. Home
  2. •
  3. Brands
  4. •
  5. Real Fyre
  6. •
  7. Fireplace Accessories
  8. •
  9. Real Fyre LG-1 User manual

Real Fyre LG-1 User manual

RH~PETERSON
co. OWNER'S
MANUAL
~tlll~
Lighter Only Models:
LG-1
LL-1
LC-1
Lighter &Valve Models:
LG-10
LL-10
LC-10.
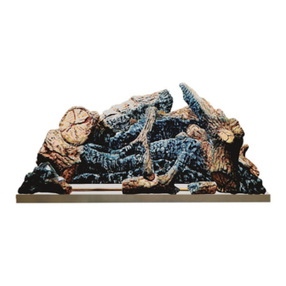
LC-1
shown
CSA CERTIFIED
(valve)
FOR INSTALLATION
IN
SOLID-FUEL BURNING
FIREPLACES
FORUSEWITH
NATURAL GAS ONLY
LOG LIGHTERS
WARNING
If the information in
this
manual
is
not
followed exactly, a fire
or
explosion
may result, causing property damage,
personal injury,
or
loss
of
life.
Do
not
store
or
use gasoline
or
other
flammable vapors and liquids in the
vicinity
of
this
or
any other appliance.
WHATTO
DO
IFYOU SMELL GAS:
•
•
•
•
•
Open a window.
Do
not
try
to
light
any appllanqe.
Do
not
touch
any electricalsw,tch;
do
not
use any phone in the building.
Immediately call the gas sup~lier
from a neighbor's phone. Follow gas
supplier's instructions.
If
you cannot reach the gas supplier,
call the fire department.
·
..
Installationandservicemust
be
performed
by a
qualilfd
professional installer,
service
agenij;or
the gas supplier.
IMPORTANT: READ THESE INSTRUCTIONS
CAREFULLY BEFORE STARTING
INSTALLATION.
The Real-Fyre
log
lighter
is
to
be
installed only
in
a solid-fuel burning fireplace with a working flue
and constructed of noncombustible material. The
installation, including provisions for combustion
and ventilation air must conform with
tl1e
National
Fuel Gas Code, ANSI Z223.
1/NFPA
54, or the CSA
8149.1, Natural Gas and Propane Installation Code,
and applicable local building codes.
The chimney damper MUST be
fully
opened when
operating
this
device. Adequate ventilation
is
absolutely necessary.
We
recommend
that our
gas
hearth
products
be
installed
and
serviced
by
profes-
sional$
who
are
certmed
in
lhe
U.S.
by
the National
Fireplace lns!ttute"
(Nfl}
as.
NA
Gas
Specialisls,
INSTALLER:
Leave
this
manual
with
the appliance.
CONSUMER:
Retain
this
manual
for
future reference.
_Robert
H.
Peterson
Co. • 14724 East Proctor
Avenue•
City of Industry, CA 91746
0-1210220735 1 L-A2-321
REPLACEMENT PARTS LIST
r------
-------,
LG-1
or
LL-1
or
LC-1
L - - - -
_J
r - - - - - -
-,
L
________
_J
REV 0- 1210220735 2 L-A2-321
INSTALLATION
FOR USE WITH NATURAL
GAS
ONLY. Installation must be performed by a qualified professional service
technician.
Fireplace
floor
must
be
level, clean,
and
smooth.
WARNING: Failure
to
position
the
parts
in
accordance
with
these
diagrams
or
failure
to
use
only
parts
specific
for
with
this
appliance
may
result
in
property
damage
or
personal
injury.
1. MAKE SURE THE FIREPLACE GAS SUPPLY IS
TURNED
OFF.
2. Removetheexistingfireplace grate.Ensurethefireplace
is cleaned of all ashes.
If your model was equipped with a gas valve, follow step
3,
if not, proceed to step
4.
3. Thegasvalve mustbe installedbyaqualifiedprofessional
servicetechnicianpertheorientationshownin Fig.3-1. All
connectionsmustbetested forleakspriortoproceeding.
4. Make sure the fireplace gas supply is turned off. Locate
the gas-supply stub inside the fireplace and remove the
cap, if attached (reference Fig. 3-2).
CAUTION: When removing the
cap,
makesurethe
stub
does
notturn, loosening the connection inside
the
wall.
5. Place the log lighterin the fireplace so that it is centered,
and the ports are facing upward (see Fig. 3-3).
Note: For
LG-1
models, the burner ports face forward.
Note: For
LL-1
models, adjust the air shutter to a 1/4"
opening.
6. The log lightermustbe secured
in
a rigid manner.
Run
1/
2"
pipefromthe gasstubtothelighter. Usea pipe compound
resistant to all gasses on all NPT connections. Tighten
securely. See Fig. 3-3.
7. LEAK TEST: Use a long-necked butane lighter, or lay
a lighted match next to the burner ports on the log
lighter, and carefully turn on the gas supply until the log
lighter ignites.Test atall connections for leaks using the
appropriatesoapywatersolution.Ifbubblesappear, aleak
ispresent.Turn offthe gasand tighten atall connections.
Repeat until no leaks are present. Ifa leakpersists, turn
off the gas supplyand contact the local gas company or
dealer.NEVERUSEA FLAMETO CHECKFOR LEAKS.
Important:
For LL-1 models,
adjust
the
air
shutter
if
needed. The flames should burn evenly along
the entire log lighterwith a steadyflame (mostly
blue with yellow tipping).
8. Turn off the gas supply and replace the fireplace grate.
REV 0- 1210220735 3
1"
diameter
cutout
r.,..,,,
/lio
Screw
q-,
(through cutout)
onto
valve
Fig.
3-1
Gas valve orientation
Gas-supply
stub
Fig. 3-2 Remove gas-supply cap
LG-1
shown
Fig. 3-3 Install log lighter
in
fireplace
L-A2-321
LIGHTING
Before operating your log lighter:
1. Be sure your fireplace is free from flammable liquids.
2. Be sure your damper is open.
3. Smell all around the gas log setfor the odor
of
escaping
gas.lFYOUSMELLGAS, FOLLOWTHEINSTRUCTIONS
ON P.1.
To
light:
1. Stack logs on the fireplace grate. Create air spaces
between the logs for quick lighting.
1. Use a long-necked butane lighter,
or
lay a lighted match
next to the burner ports on the log lighter (Fig.
4-1
).
2. Slowlyturn thefireplace remotevalve tothe
ON
position.
Your log lightershould light. Proceed to step
6.
If it does
not; follow steps 3-5.
3. Ifthe log lighterdoesnot lightbeforethe match goesout,
immediately turn the valve to the OFF position.
4. Wait approximately five (5) minutesto clearout anygas,
and repeat steps 1-3 above.
5. If your log lighterfails to light again, turn the valve to the
OFF position and contact your dealer
or
gas supplier.
6. Once the wood fire is lit, turn the valve to the OFF
position. Be sure the valve is turned fully off to avoid
any gas leakage.
MAINTENANCE
Fig.
4-1
Apply match -then turn on gas
Be sure the gas valve is completely off, the wood fire is completely extinguished (including embers), and that
the fireplace is cool. Using heat-resistant gloves, carefully remove any debris and ash from the fireplace to
avoid blockage
of
the burner ports. A brush may be used to dust the log lighter.
REV 0- 1210220735 4 L-A2-321

This manual suits for next models

5

Popular Fireplace Accessories manuals by other brands

Valor L2 1700K quick start guide

Valor

Valor L2 1700K quick start guide

Exodraft Xzense manual

Exodraft

Exodraft Xzense manual

Whalen Ruso MNFP62BF23-6 manual

Whalen

Whalen Ruso MNFP62BF23-6 manual

Woodstock Soapstone Fireview 201 manual

Woodstock Soapstone

Woodstock Soapstone Fireview 201 manual

EdilKamin SERBATOIO 250 Installation, use and maintenance

EdilKamin

EdilKamin SERBATOIO 250 Installation, use and maintenance

Bronpi KIT-1 instructions

Bronpi

Bronpi KIT-1 instructions

Town & Country Fireplaces 22150051 instructions

Town & Country Fireplaces

Town & Country Fireplaces 22150051 instructions

Travis Industries 33 DVI installation instructions

Travis Industries

Travis Industries 33 DVI installation instructions

Lopi Hearthview 864 user manual

Lopi

Lopi Hearthview 864 user manual

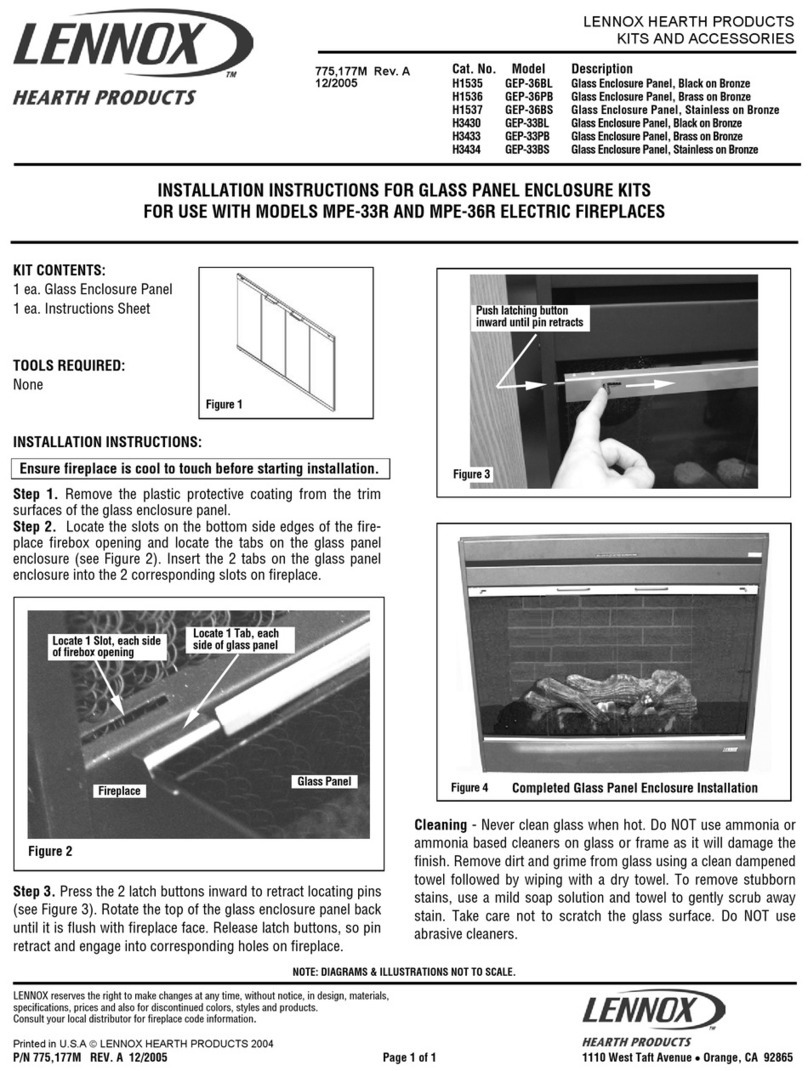
Lennox Hearth Products LENNOX MPE-33R installation instructions

Lennox Hearth Products

Lennox Hearth Products LENNOX MPE-33R installation instructions

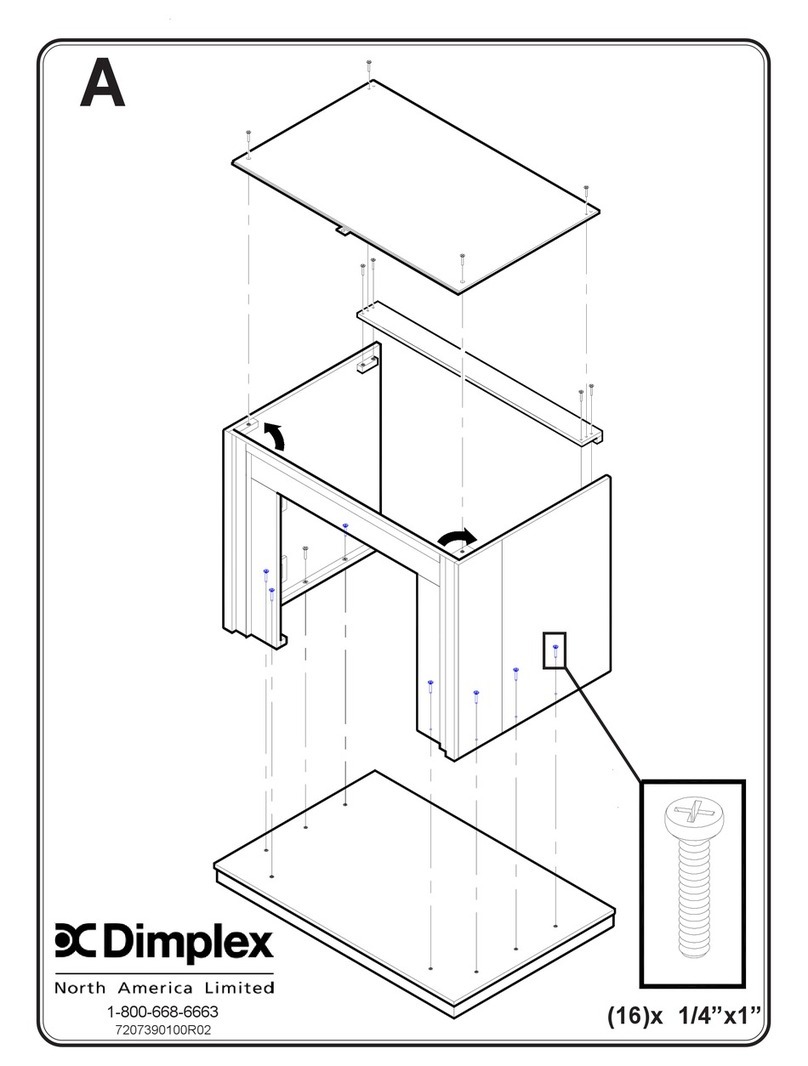
Dimplex DFP6776C install guide

Dimplex

Dimplex DFP6776C install guide

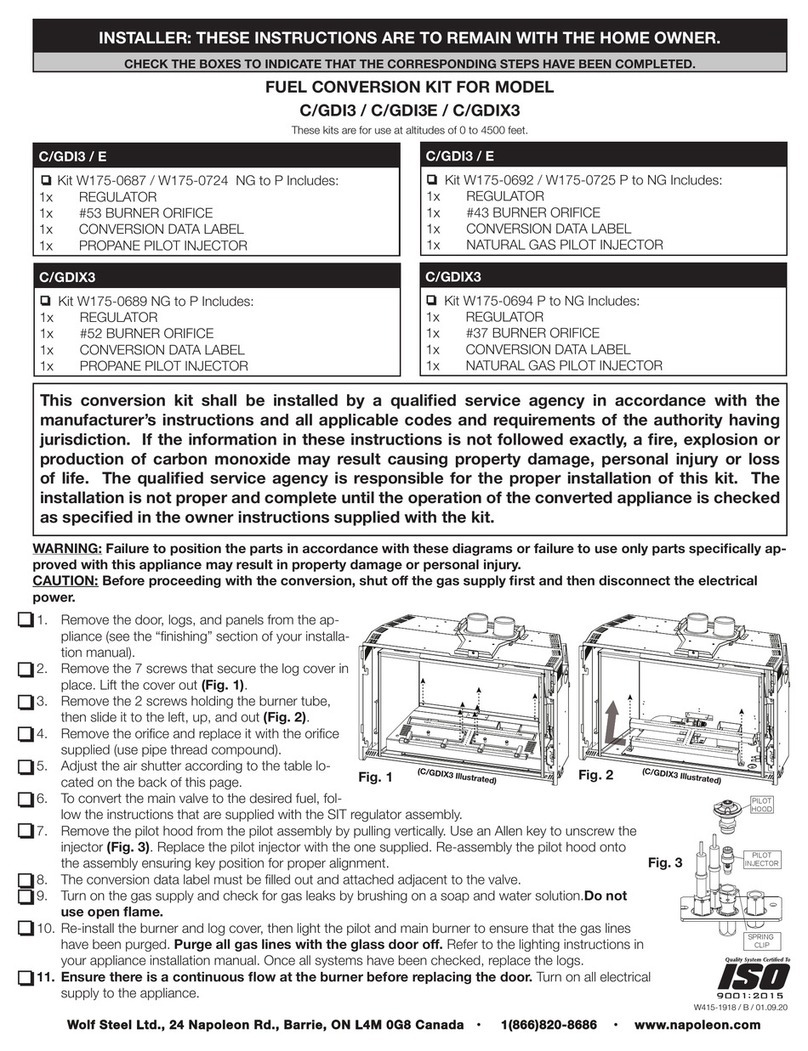
Napoleon W175-0689 instruction manual

Napoleon

Napoleon W175-0689 instruction manual

Travis Industries 95400424 installation instructions

Travis Industries

Travis Industries 95400424 installation instructions

Osburn ZERO CLEARANCE KIT installation instructions

Osburn

Osburn ZERO CLEARANCE KIT installation instructions

Majestic QUARTZPLA36IN installation instructions

Majestic

Majestic QUARTZPLA36IN installation instructions

Napoleon DBPO36 installation instructions

Napoleon

Napoleon DBPO36 installation instructions

Dimplex SMP-130-E install guide

Dimplex

Dimplex SMP-130-E install guide

Empire Comfort Systems LS50TINF installation instructions

Empire Comfort Systems

Empire Comfort Systems LS50TINF installation instructions

manuals.online logo
manuals.online logoBrands
  • About & Mission
  • Contact us
  • Privacy Policy
  • Terms and Conditions

Copyright 2025 Manuals.Online. All Rights Reserved.