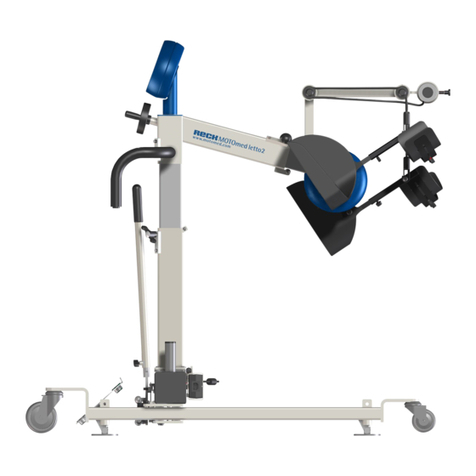
MOTOmed letto2 Short User Guide Training (valid from Software 5.03)
RECK-Technik GmbH & Co. KG, Reckstr. 1–5, 88422 Betzenweiler, GERMANY
phone +49 7374 18–85, fax +49 7374 18–480, info@motomed.com, www.motomed.com
Starting the training (standard program): Push the red button “start/stop”.
At first, the start screen (fig.1) comes up. Start your training by pushing the button “leg
trainer”. The foot shells will start moving automatically. In order to set a training time push the
button “menu” (fig. 3–7). Push the buttons / ( / ) to select line 2 “duration” and
use the buttons / ( / ) to set the desired training time (not shown). To return to your
training screen push button “back”.
Select and initialize a preset TherapyProgram: From the start screen, (fig. 1) push button 1
“programs”. Once you have accessed this menu, (fig. 2) use buttons / ( / ) to mark
the desired program and push button to “load” it. You will be transfered automatically
to the start screen (fig.1), where your selected program will be indicated. Start your training
by pushing the button “leg trainer”.
Motor-assisted (passive) movement/change of direction: By pushing button “slow” ( )
or button “fast” ( ) (fig. 3) you can increase or decrease (between 0–60 r.p.m.) the
passive speed. The button “direction” ( ) allows for changing the cycling direction from
forward to backward and vice versa.
Active cycling or motor-assisted cycling (ServoCycling): You are free to engage in active
cycling with your own muscle input at any given time during the training session. The transfer
to active training is made easier with the ServoCycling feature. Just push button to start
“ServoCycling” ( ) (fig. 3 and fig. 4). A bicycle and the note “you are cycling yourself”
appears on the display (fig. 4). With the buttons “light” ( ) and “heavy” ( ) (fig. 4) you
can shift gears from 0 to 20 according to your muscle strength.
Relaxing phases: Once the muscles fatigue the user should stop training actively.
The MOTOmed recognizes this and the motor takes over again to continue moving your
legs passively (fig. 3). After you have relaxed you can try again to cycle yourself – the
MOTOmed will take up your impulse. A bicycle and the note “you are cycling yourself”
appears on the display (fig. 4).
SymmetryTraining: The “SymmetryTraining” (fig. 5) function appears in the “you are cycling
yourself” mode. The two bar graphs show the activity of your legs in two bars with respective
percentage. Try to concentrate on cycling equally with both legs. By pushing button ( )
(fig. 3 and fig. 4) you can freeze the information displayed. Push button ( ) (fig. 5) again
to receive alternating information.
MotivationPrograms:
MOTOmax: MOTOmax will always move to the stronger pushed side. The goal is to keep
MOTOmax in the center of the green stage (fig. 6) for gaining the most jumps for joy.
TRAMPOLINEmax: By means of the blue trampoline MOTOmax reaches for the stars.
You can move the trampoline to the right or left side by pushing stronger (pedaling)
the right or left pedal crank. Try to collect as many stars as possible without MOTOmax
touching the ground (fig. 7).
SpasmControl: In case of a sudden spasm during the training, the “MovementProtector”
stops the pedal gently. After that, the special “SpasmControl” eases the spasm through a
gentle back and forth movement.
End of training/analysis:
Push twice
the
red
“start/stop”-button (fig.
1).
After 10 seconds
the training analysis will pop up automatically.
6a
6b
7
8
9
10
11
12
13
Please read chapter 11 prior to setting up and initializing the MOTOmed letto2 unit: “Safety Precautions”
in the MOTOmed instruction manual (GB 713/2559). An elaborate description of the MOTOmed letto2
features and functions can be found in the user guide (GB 713/W2558).
Fig. 4
Fig. 5
Fig. 6
Fig. 7
Fig. 3
Fig. 2
menu 11:34 3:26
ServoCycling
direction slow fast
speed [rpm]
motor is taking over again
30
10
phase 1/1
12
34 56
12
34 56
1 standard program
2 MOTOmax
3 TRAMPOLINEmax
4 strengthening program
back load 1 program menu
not specified
not specified
not specified
13:00 [min]
12
34 56
12
34 56
start/stop
Fig. 1
10.01.2012 15:00:10
programs setup
analysis
standard program
start screen 1
leg
trainer
start
leg
12
34 56
12
34 56
menu 11:32 3:28
0 10 20 30 60
48
20
phase 1/1champion points: 7stars: 9
5
2
0
12
34 56
12
34 56
menu 10:28 4:32
champion
points
jumps for joy
symmetry
55
12
2
=69 65
50 : 50
0 10 20 0 30 60
540
15
phase 1/1
12
34 56
menu 9:42 4:18
you are cycling yourself
gear
3shift gear
ServoCycling
direction light heavy
menu
3
9:48 5:12
ServoCycling
direction light heavy
left
leg
right
leg
SymmetryTraining
37% 63%


