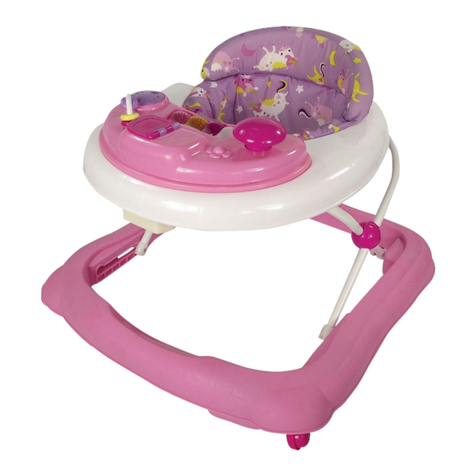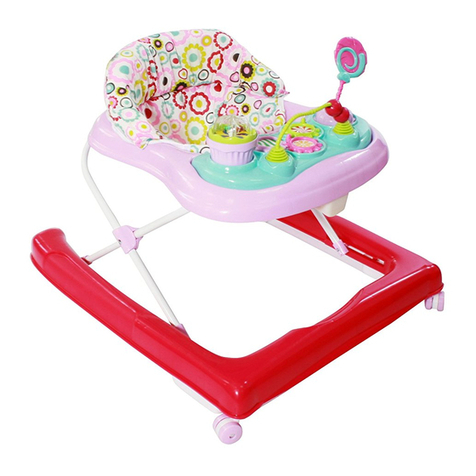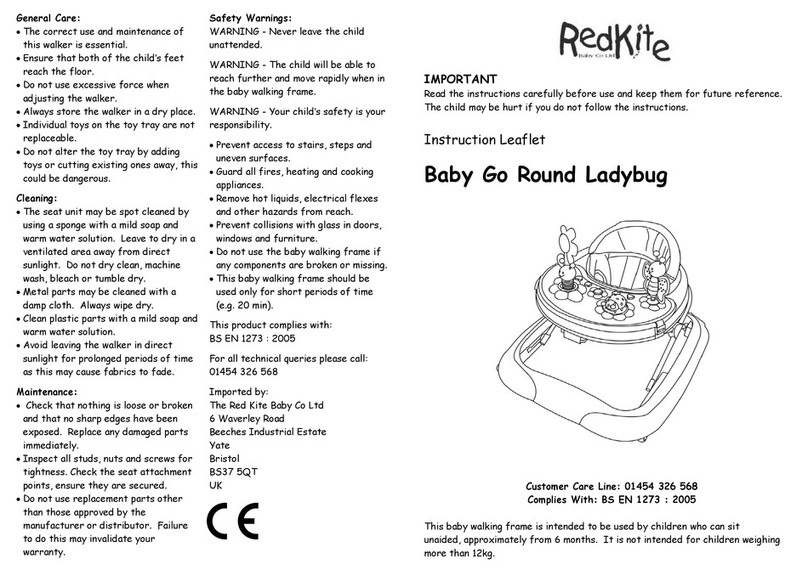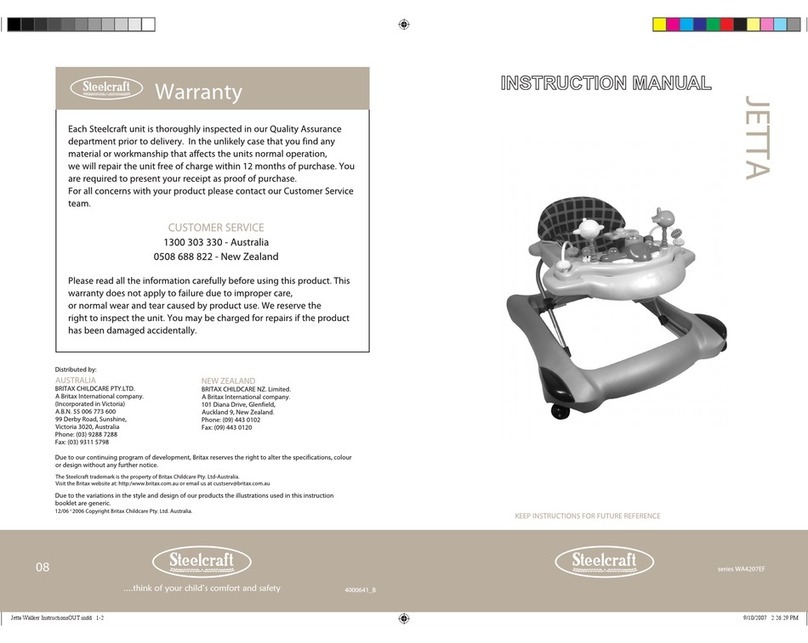
Check that you have all the parts for this model BEFORE assembling your product.
No tools required.
Assembly Instruc�ons
A. Front wheels x 2
B. Rear wheels x 2
C. Friction blocks x 6
D. Padded foot mat
E. Main walker frame
F. Handles x 2
MODE 1 To set up in WALKER mode
Install the wheels and friction blocks
Push the wheels and friction blocks rmly into the spaces shown on the frame. Fig 1.
Open the walker and install the handles
Lift the top half of the walker upwards until it locks in place and insert the handles into the corresponding holes until they
lock in place. Fig 2.
Assemble the seat unit
Thread the fabric loops on the padded seat unit through the corresponding slots running around the recess on the top of
the plastic cartridge. Pull the buckles all way the through the slots and turn them 90 degrees so they sit at. Insert the front
of the plastic cartridge into the hole on the top tray of the main walker frame. Then rmly push the back of the seat
cartridge down until both sides click into place. It is very important to check that both sides have fully locked into place.
Fig 3.
Attach the toys and musical tray
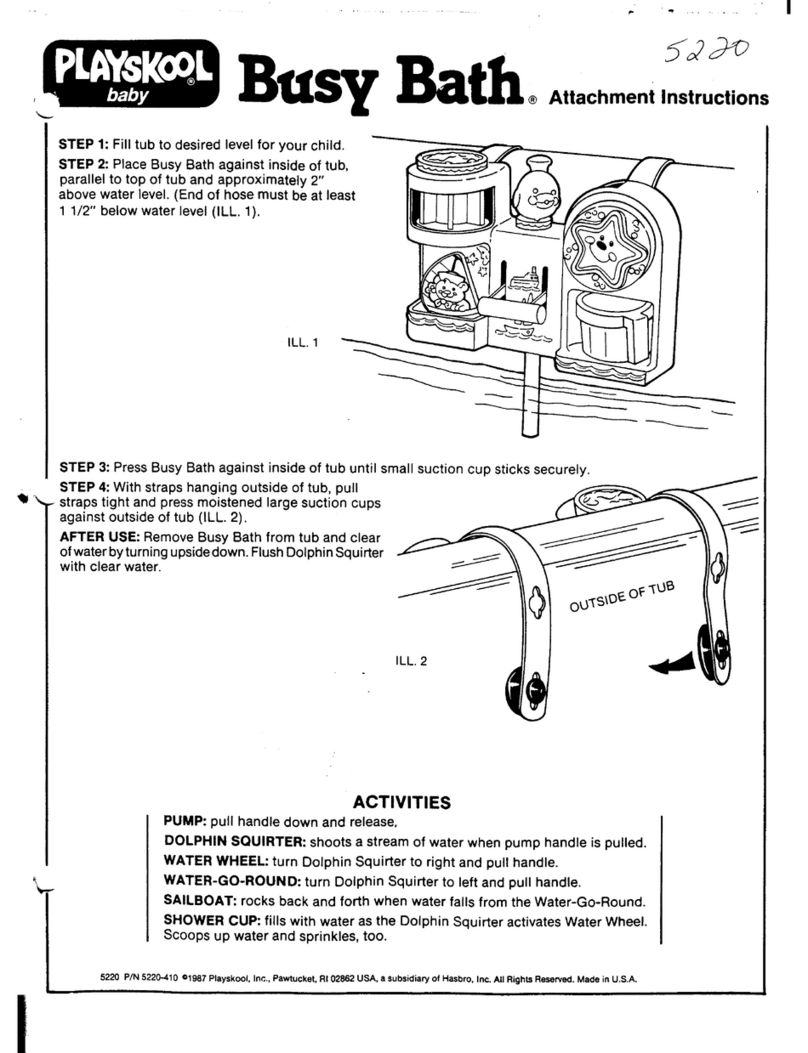
Push the toys and musical tray into the corresponding holes shown until they lock in place. To remove the musical tray, hold
the back of it and pull it forwards. Fig 4.
The assembled walker should now look like Fig 5. Note the padded foot mat is not required in this mode.
MODE 2 To convert to ROCKER mode
Attach the padded foot mat
Attach the 6 clips on the mat to the horizontal metal frame bar. It is recommended that the padded foot mat is used only in
rocker mode. Fig 6.
Convert the base
Slide the buttons on the front of the base forward and rotate the curved sides 90 degrees until they lock in place. Fig 7.
MODE 3 To convert to PUSH ALONG mode
Remove the padded foot mat. Locate the seat locks under the plastic seat cartridge, slide them inwards and lift the
complete plastic seat cartridge upwards and away from the walker. Fig 8.
Rotate the curved sides to the rocking mode to expose the rear frame locking tabs. Push the tabs sideways and lift the rear
frame up and away from the base. Return the curved sides so the wheels are on the ground. The rear wheels have a nut that
can be tightened to add friction to the wheels so it doesn’t move too quickly. Fig 9.
IMPORTANT When returning the product from PUSH ALONG mode to WALKER / ROCKER mode,
ensure the whole section has audibly “clicked” in place. To check that the assembly has been
fully completed, pull the rear of the seat cartridge upwards to ensure it is correctly locked into
place. If assembled correctly, it is not possible to lift the seat out.
Height selection
Turn the red folding button located under the top frame 90 degrees and then push the front of the button upwards. Whilst
keeping the button pressed in, you can raise or lower the walker to a dierent height. There are three available to choose
from. Release the red button and ensure it turns back to the locked position. Fig 10.
Folding the walker
To fold the walker, following the process for height adjustment until it’s fully folded. Fig 11.
G. Seat unit (plastic cartridge and padded seat unit)
H. Toys
I. Musical play tray
