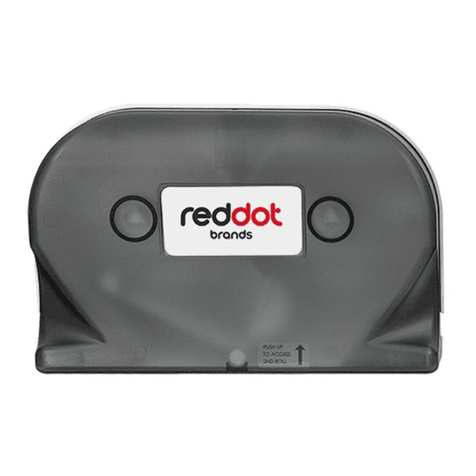
AUTOMATED HANDS-FREE
ROLL TOWEL DISPENSER WITH
7" LCD SCREEN INSTRUCTIONS
MOUNTING INSTRUCTIONS
The user is responsible for proper installation and use of this dispenser. For best results, mount the
dispenser level and on a flat surface.
Equipment Needed: Measuring Tape, Level, Screwdriver, Eye Protection, Pencil, rill and rill Bit,
Appropriate Mounting Fasteners
1. Position the unit on wall with front cover open. Use a pencil to mark mounting locations through
the holes on the back of the unit. Make sure unit is level before marking holes.
WARNING: Proper function of this dispenser requires level mounting. Use mounting holes
closest to the outer edges for best results.
2. rill the marked spots on the wall with an appropriate sized drill bit for the wall material and
mounting hardware.
3. To complete the installation, use mounting hardware appropriate for the wall on which the
dispenser will be mounted. A flat washer should be used between the head of the fastener
and the inside of the dispenser.
CONNECTING POWER TO THE UNIT
The unit requires 12V C power connected to the C jack, found in the bottom rear of the unit. The
customer can choose to power the unit by using the included 12V C wall adaptor, or by using a
transformer (not included) and the included C jack w/ “pigtail” wires. WARNING: Please consult a
licensed contractor to insure proper installation of any electrical system used to power this unit.
Once the unit is powered, follow the instructions on the LC screen for loading a video onto the unit.
PAPER LOADING
1. Open cover and place paper roll onto roll holders
2. Orientate so that paper is hanging off the front of the roll
3. Pinch paper between two rollers by manually rotating the front roller
4. Close the front cover and dispenser will feed the first sheet and is ready for use


