manuals.online logo
Brands
  1. Home
  2. •
  3. Brands
  4. •
  5. Redgum
  6. •
  7. Amplifier
  8. •
  9. Redgum RGH900 User manual

Redgum RGH900 User manual

Operating Instructions
for
REDGUM RGH900
Home Theatre
6 Ch Power Amplifier
Lost keys can be replaced. Information is kept on file at the
factory about every REDGUM amplifier manufactured.
From the Serial No. (Underneath your amplifier, on the
carton or on the Final test report) another key can be
provided.
Just Fax a request for a new key and your FINAL TEST
REPORT (with any change of address) to:
REDGUM Australia +61 3 9897 1399.
A replacement key will be sent by Air Mail the same day.
*****
When turning the power ‘on’, a slight ‘pop’ may be heard
from the speakers. This is normal and will not damage your
loudspeakers. When turning power ‘off’, the amplifier will
continue to operate until the reservoir capacitors are
exhausted; during this time odd sounds may be heard they
also are normal and will not harm your speakers.
*****
DO NOT REMOVE THE COVER on your REDGUM amplifier,
there is the RISK of a FATAL ELECTRIC SHOCK.
The only fuse used is the mains fuse located outside the
cabinet in a small compartment of the IEC mains input
connector. This connector is found where the mains power
cord plugs in at the rear of the amplifier. To check for a
‘blown’ fuse, turn off the power at the wall socket and
remove the plug. Pull the power cord from the IEC socket
and locate the small drawer near the opening. Remove the
drawer by pulling straight out. Pull the fuse from the holder
and check the fine internal wire. If it is incomplete replace
it with the spare fuse located in the body of the draw.
The fuse is a SAFETY device. DO NOT experiment with
other sized fuses. Severe damage and/or a FATAL
Electric Shock could result. REDGUM fuse values are as
follows:
RGH900 amplifier used on 220-250v - 2Amp
RGH900 amplifier used on 100-120v - 4Amp
The fuse should be of a slow-blow type. (otherwise the fuse
may ‘blow’ at the very instant of switch-on)
If in any doubt whatsoever - consult your dealer.
*****
Before returning your amplifier for repair service you
should try the following test. Disconnect all connectors
from inputs, tape out and speaker terminals. Connect a
pair of speakers (with attached leads) from another
system that you know is working. Also connect a CD
player (with its leads) that you know is working. By doing
this, you can establish whether the fault lies with the
Complete for Warranty Registration :
Name __________________________________________
Address ________________________________________
City ____________________________ Zip code________
Country ______________ Date of purchase__________
Place of purchase _______________________________
Model No._______________________________________
Serial No. (if any) ________________________________
Fax this page to the REDGUM Audio factory at
+613 9897 1399
or Email details (incl. S.N.) to
<[email protected]>
Make sure that yourREDGUM Amplifier is disconnected
from mains power before making any connection to
speaker terminals - Failure to do so may result in an
electric shock and/or damage to the amplifier.
Using heavy speaker cable (2mm minimum), hook up the
speakers as shown on the above diagram.
Before turning on power, check that wiring terminations
look neat and that no loose strands of wire are touching
another terminal. Failure to make neat connections may
result in poor sound or amplifier damage.
REDGUM Amplifiers
The power switch is on the left of the front panel
and is operated by the key provided. The power is
off when the key vertical.
To turn on power, rotate the key clockwise 1/4
turn. The key can be removed in the ‘on’ position,
but for safety reasons it is suggested that the key
be left in when the power is on. If preferred, the key
switch can be left in the ‘on’ position and the power
controlled from the wall outlet.
The Input selection and control of volume will be
done from your processor.
The REDGUM RGH900 amplifier has 6 identical
wide range channels which can be used
individually or in groups of any quantity. The
channel labelling is just to make it easier to keep
track of what you have connected.
The REDGUM amplifier uses new generation Metal
Oxide- doped Silicon, Field Effect Transistors
(MOSFET’s), which can operate into impedances
below 1 ohm without damage as they are not prone
to secondary breakdown like normal transistors.
But long-term, very high listening levels with
speaker impedances below 4 ohms may cause the
internal heatsinks to rise past 80 degrees
Centigrade. This will result in the protective thermal
cut-out operating and shutting off power to the
amplifier.
The power will automatically restore once the
amplifier cools down again.
If this occurs regularly consult your dealer about
getting a larger REDGUM Amplifier.
Make sure that your REDGUM Amplifier is
disconnected from mains power before making any
input connections to your other equipment - Failure to
do so may result in an electric shock and/or damage
to the amplifier.
Connect your Processor outputs to the inputs of the
REDGUM RGH900. All channels are identical internally,
so feel free to use the channel arrangement that suits
your setup.
You may leave any unused channels disconnected.
NOTE:
Connect any ‘Line Level’ inputs to your REDGUM input
sockets as all inputs are direct connected to the
power amplifier stages.
+
-
Right Left
FUSE
Heavy cable
gives better sound
+
-
+
-
+
-
+
-
+
-
Right Left
Front
Rear Front Rear
Centre Subwoofer
(Optional)
(Optional)
Centre RightRear RightFront Front
Left Left Rear Subwoofer

Other Redgum Amplifier manuals

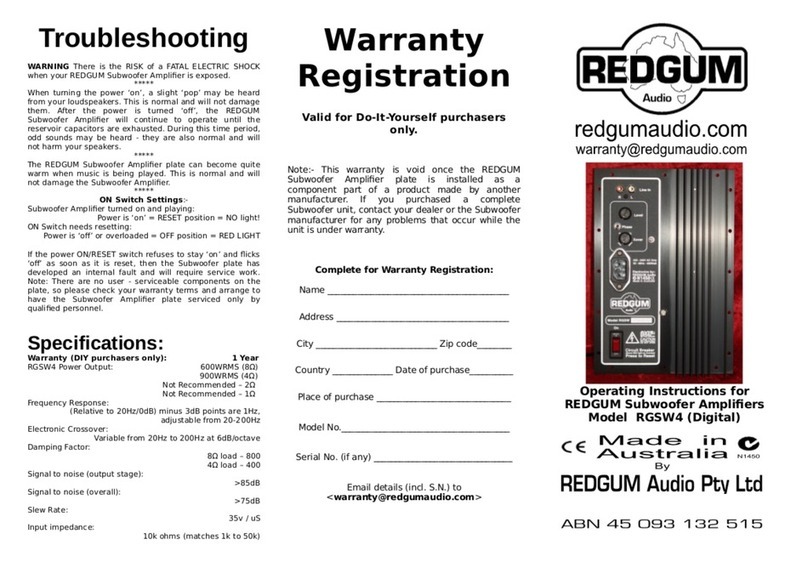
Redgum RGSW4 User manual

Redgum

Redgum RGSW4 User manual

Redgum RGi35 User manual

Redgum

Redgum RGi35 User manual

Redgum RGM175ENR User manual

Redgum

Redgum RGM175ENR User manual

Redgum Black Series User manual

Redgum

Redgum Black Series User manual

Redgum RGi35ENR User manual

Redgum

Redgum RGi35ENR User manual

Redgum RGi35ENR User manual

Redgum

Redgum RGi35ENR User manual

Redgum RGM175 User manual

Redgum

Redgum RGM175 User manual

Redgum RGPH2 User manual

Redgum

Redgum RGPH2 User manual

Redgum RGi35 / 35ENR User manual

Redgum

Redgum RGi35 / 35ENR User manual

Redgum RGi35 User manual

Redgum

Redgum RGi35 User manual

Redgum RGM175 User manual

Redgum

Redgum RGM175 User manual

Redgum RGM175 User manual

Redgum

Redgum RGM175 User manual

Popular Amplifier manuals by other brands

Randall DIAVLO Series Operation manual

Randall

Randall DIAVLO Series Operation manual

Ltc Audio ATM7000USB manual

Ltc Audio

Ltc Audio ATM7000USB manual

Reloop AMPEROR-4000 Operation manual

Reloop

Reloop AMPEROR-4000 Operation manual

Ryobi RY15122 Operator's manual

Ryobi

Ryobi RY15122 Operator's manual

Marantz PM7001 KI user manual

Marantz

Marantz PM7001 KI user manual

Dynacord PowerMax PM 2600 Brochure & specs

Dynacord

Dynacord PowerMax PM 2600 Brochure & specs

Acesonic AM-190 user manual

Acesonic

Acesonic AM-190 user manual

Denon PMA-2000 IV - Amplifier Specifications

Denon

Denon PMA-2000 IV - Amplifier Specifications

MTX TX81000D owner's manual

MTX

MTX TX81000D owner's manual

Russound CAA66K installation manual

Russound

Russound CAA66K installation manual

Hubbell GAI-TRONICS SP2 manual

Hubbell

Hubbell GAI-TRONICS SP2 manual

Onkyo P-304 instruction manual

Onkyo

Onkyo P-304 instruction manual

AMTC EQ-AMP08W instruction manual

AMTC

AMTC EQ-AMP08W instruction manual

Peavey MPE-XO manual

Peavey

Peavey MPE-XO manual

Crown CTs 8200 USP/CN Specifications

Crown

Crown CTs 8200 USP/CN Specifications

Tascam MH-40B owner's manual

Tascam

Tascam MH-40B owner's manual

Pyle Pro PQ1000 operating guide

Pyle Pro

Pyle Pro PQ1000 operating guide

Acom 2000P operating manual

Acom

Acom 2000P operating manual

manuals.online logo
manuals.online logoBrands
  • About & Mission
  • Contact us
  • Privacy Policy
  • Terms and Conditions

Copyright 2025 Manuals.Online. All Rights Reserved.