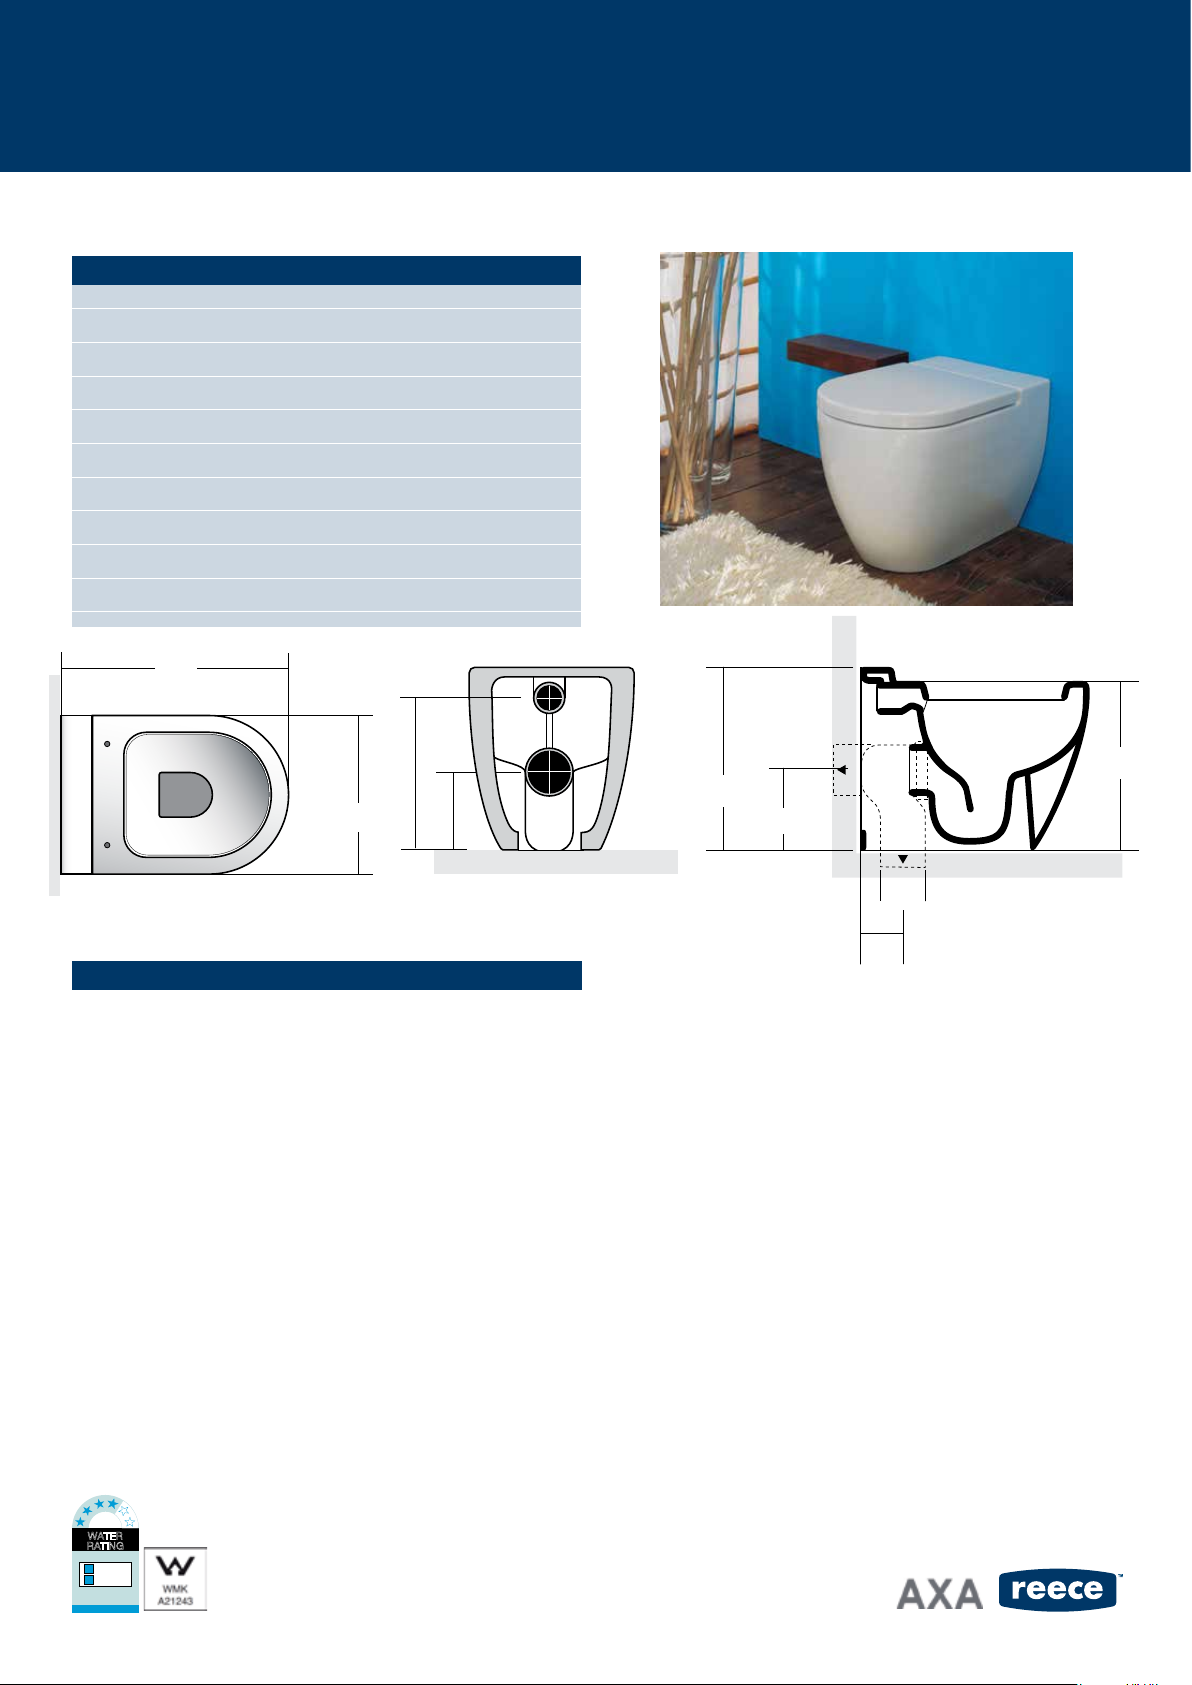
AXA - UNO BACK TO WALL PAN
REECE PRODUCT QUALITY GUARANTEE
You have purchased a quality product from Reece Pty Ltd
ABN 84 004 097 090 (“Reece”). This product is covered by a 15 year
replacement product warranty and a 12 month warranty over spare parts
and labour.
15 YEAR WARRANTY – DOMESTIC USE
This warranty covers faults in the product construction, material and
assembly. Products which are within 15 years from the date of purchase,
found upon inspection by an authorised Reece representative, to be
defective in construction, material or assembly, will be repaired or
exchanged with an equivalent product free of charge. Replaced items
become Reece’s property.
All replacement products will be available for collection without charge to
the customer at the nearest Reece branch to the customer’s location, or
elsewhere as agreed between the customer and Reece.
Labour and Spare Parts
The labour for the replacement of products and spare parts to which this
warranty applies will be supplied by Reece or relevant supplier using
licensed plumbers engaged by Reece or relevant supplier within 1 year
from the date of purchase.
Spare parts which are within 1 year from the date of purchase found
upon inspection by an authorised Reece representative to be defective in
construction, material or assembly, will be replaced free of charge.
Warranty Conditions
This warranty will apply only under all of the following conditions:
• The item has been installed by a licensed plumber
• The item has been installed for and subjected to domestic residential
use only
• Failure is due to a fault in the manufacture of the product
• Proof of purchase (including the date of purchase) is provided
• The installation of the product is in accordance with the
instructions provided
This warranty does not cover products purchased as an ex-display
without being fully checked and tested for sale by the manufacturer.
This warranty does not include faults caused by:
• Unsuitable or improper use
• Incorrect installation or installation not in accordance with the
instructions provided
• Installation or part installation by the purchaser or any person other
than a LICENSED PLUMBER
• Normal wear and tear
• Inadequate or complete lack of maintenance
• Chemical, electrochemical or electrical influences
• Harsh detergents or abrasive cleaners used on product finishes
1 YEAR WARRANTY – COMMERCIAL USE
‘Commercial’ use is all use other than for normal domestic residential
purposes, including use in non-business places as in public buildings,
schools, sports centres and in establishments that contain private
bathrooms with high frequency of use by many individuals, such as
hotels, motels, retirement villages and hospitals.
The Commercial warranty covers this product against manufacturing
faults in the construction, material and assembly of both the finished
products and any spare parts for a period of 1 year from the date of
purchase. Products and spare parts which are found upon inspection
by an authorised Reece representative to be defective in construction,
material or assembly will be repaired or exchanged free of charge.
Replaced items become Reece’s property. The labour for the replacement
of products and spare parts to which this warranty applies will be supplied
by Reece or relevant supplier using licensed plumbers engaged by Reece
or relevant supplier. The Warranty Conditions and exclusions which apply
to the domestic use warranty also apply to this commercial warranty.
EXCLUSIONS
To the fullest extent permitted by law, Reece excludes all liability for
damage or injury to any person, damage to any property, and any indirect
consequential or other loss or damage.
CLAIM PROCEDURE
For all warranty queries customers are to contact the branch where
the product was purchased. These details can be found on your
purchase invoice.
Our goods come with guarantees that cannot be excluded under the
Australian Consumer Law. You are entitled to a replacement or refund for
a major failure and for compensation for any other reasonably foreseeable
loss or damage. You are also entitled to have the goods repaired or
replaced if the goods fail to be of acceptable quality and the failure does
not amount to a major failure.
BASIN.T2.15YR
Don’t risk it, use a licensed plumber.™
15
YEAR
Q
U
A
L
I
T
Y
G
U
A
R
A
N
T
E
E