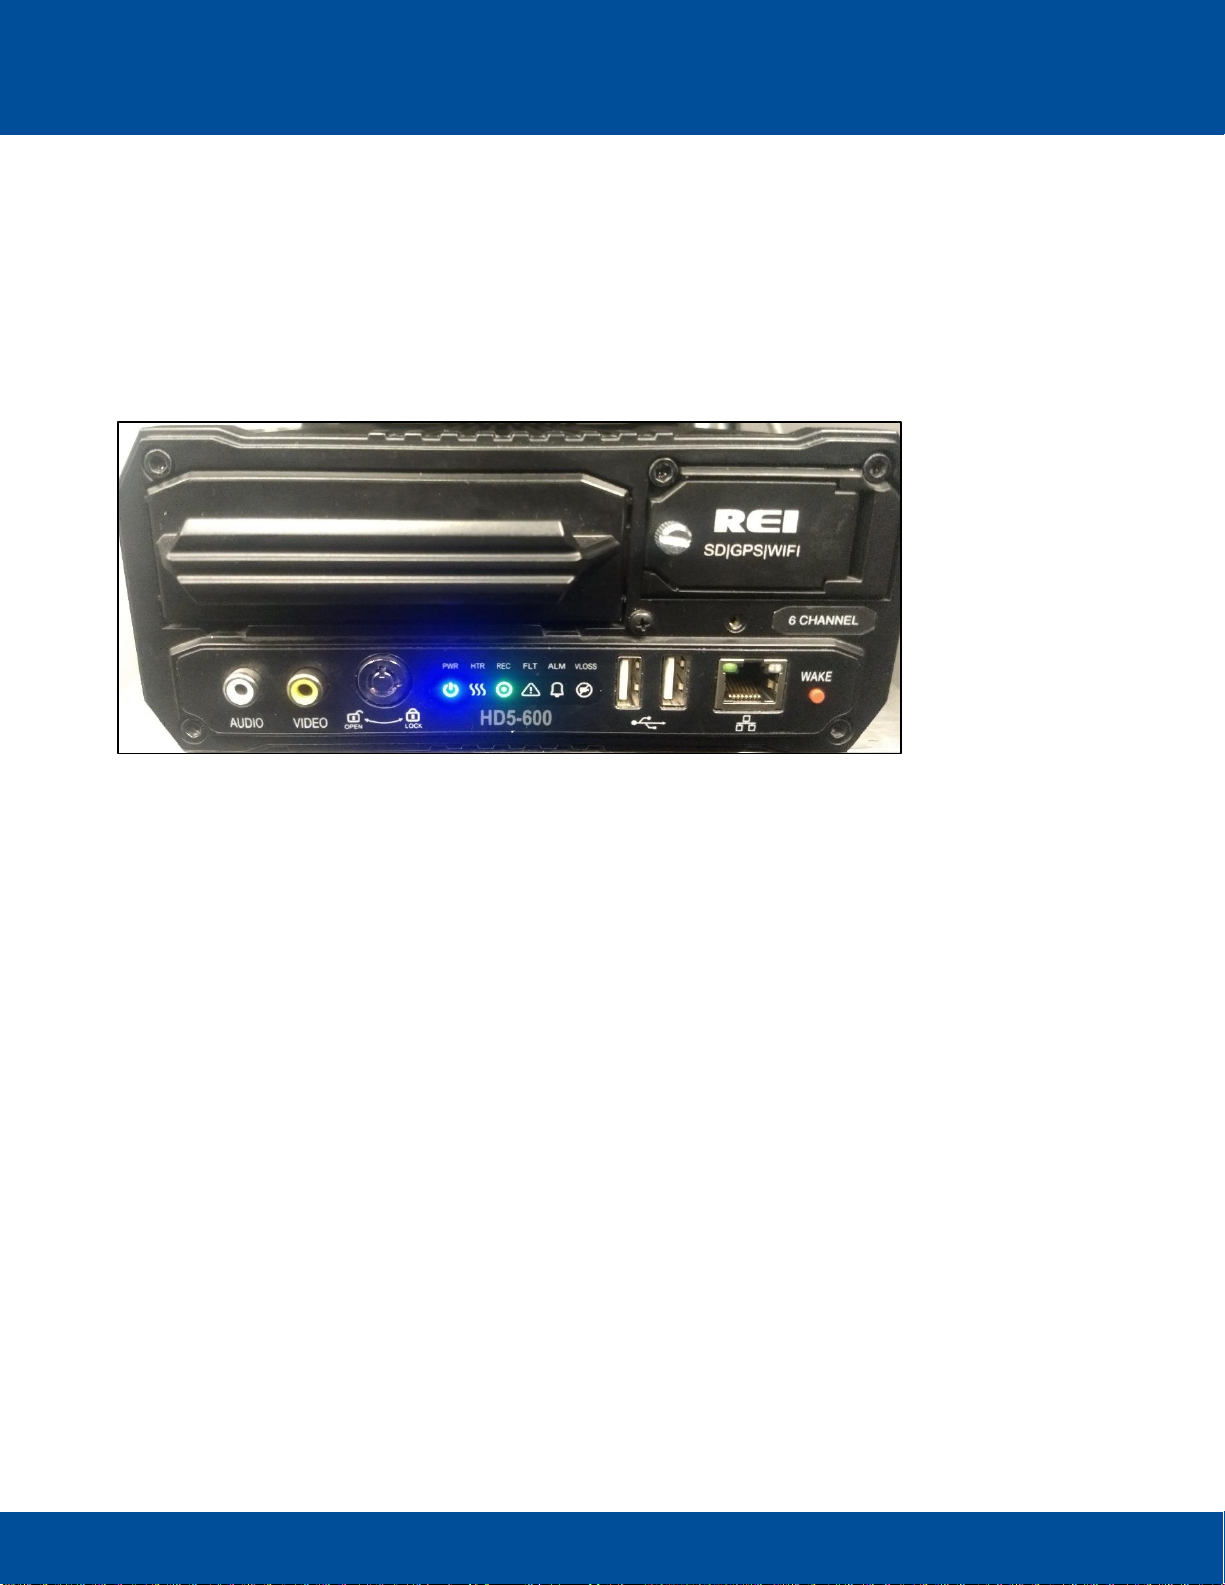
HD5 System Maintenance Check Radio Engineering Industries, Inc. | 6534 L Street | Omaha, NE 68117
© 2020 Radio Engineering Industries, Inc. 800.228.9275 | p: 402.339.2200 | f: 402.339.1704 | radioeng.com
Verify the Accelerometer is working by checking if the X:, Y:, and Z: Coordinates are visible. An
illuminated green light in the check box next to the Accelerometer indicates a good connection.
Verify if the GPS is working by checking if the LON: and LAT: data indicators are visible. An illuminated
green light in the check box next to GPS indicates a good connection.
Speed settings are made using the Speed Source drop-down menu on Setup>Speed window. The GPS
and J1939 selections are the types of speed sources used by the DVR.
3Laptop Setup when Using a Web User Interface
To configure the network adapter:
Go to the Control Panel and in the upper right corner of the panel, set the View by: field to Small Icons.
Set View By: Field to Small Icons
Go to Network and Sharing Center.
Network and Sharing Center Window
Change the adapter settings. Reset the ethernet cord to verify target adapter.