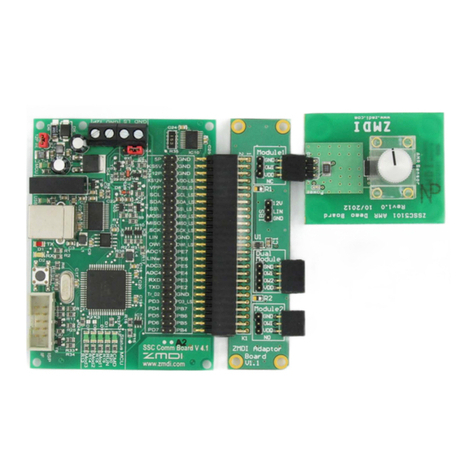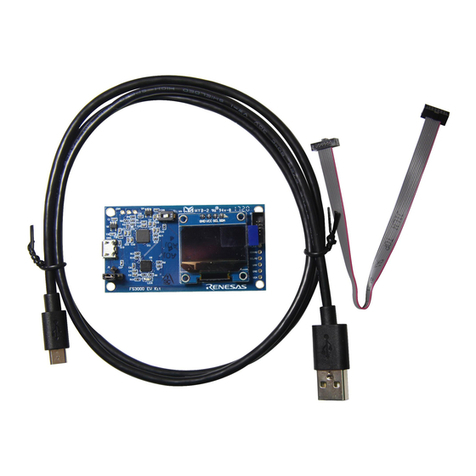
DA728x Motherboard 359-05-B
Preliminary for Use with
Evaluation Kit
3 of 59
10.2 Digital Accelerometer.......................................................................................................... 50
11 Measuring Current on VDD and VDDIO .................................................................................... 52
12 Measuring Current Going through LRA .................................................................................... 53
13 Connecting Multiple Devices on the Same I2C Bus ................................................................ 54
13.1 I2C Scan Tool ..................................................................................................................... 56
Revision History ................................................................................................................................ 57
Figures
Figure 1: Bare 359-05-B motherboard .................................................................................................. 6
Figure 2: DA728x Motherboard 359-05-B PCB Layout......................................................................... 6
Figure 3: DA728x Motherboard Operation with LRA Attached to DA7280 Daughterboard.................. 8
Figure 4: DA728x Motherboard Operation with LRA Attached to DA728x Motherboard...................... 9
Figure 5: Placement of DA728x Motherboard for Optimal Haptic Feedback Measurements............. 10
Figure 6: License Agreement .............................................................................................................. 10
Figure 7: Select Installation Location ..................................................................................................11
Figure 8: Select Start Menu Folder ..................................................................................................... 11
Figure 9: Create a Desktop Item .........................................................................................................12
Figure 10: Install the SmartCanvas DA728x GUI................................................................................12
Figure 11: Finish Setup ....................................................................................................................... 13
Figure 12: Installing Driver Windows Notification................................................................................ 13
Figure 13: Installation Complete.......................................................................................................... 13
Figure 14: Desktop Icon ......................................................................................................................13
Figure 15: DA728X Motherboard Functionality................................................................................... 14
Figure 16: Daughterboard Insertion .................................................................................................... 16
Figure 17: Daughterboard Fully Inserted with Release Tabs Shown.................................................. 17
Figure 18: DA7280 Daughterboard .....................................................................................................17
Figure 19: DA7281 Daughterboard .....................................................................................................18
Figure 20: DA7282 Daughterboard .....................................................................................................19
Figure 21: DA7283 Daughterboard .....................................................................................................20
Figure 22: DA728x Motherboard PCB Combined with Plastic Mass as 100 g ................................... 23
Figure 23: DA728x Motherboard Board Setup with DA7280 Daughterboard Connected................... 25
Figure 24: Main SmartCanvas DA728x GUI Window ......................................................................... 25
Figure 25: File I/O................................................................................................................................27
Figure 26: Load Register Dump..........................................................................................................27
Figure 27: Old and New Format Script Files....................................................................................... 28
Figure 28: JAHWA 1040 LRA Characteristics Graph..........................................................................29
Figure 29: JAHWA_1040_FREQ_TRACK_ON Parameters...........................................................................30
Figure 30: JAHWA_1040_FREQ_TRACK_ON Sequences...........................................................................31
Figure 31: JAHWA_1040_FREQ_TRACK_ON_RS_ON Parameters ...............................................................32
Figure 32: JAHWA_1040_FREQ_TRACK_ON_RS_ON Sequences................................................................33
Figure 33: JAHWA_1040_FREQ_TRACK_OFF_SINE Parameters ...............................................................34
Figure 34: JAHWA_1040_FREQ_TRACK_OFF_SINE Sequences................................................................35
Figure 35: JAHWA_1040_FREQ_TRACK_ON(2xLRA-IN-PARALLEL) Sequences ....................................... 36
Figure 36: Drive Type.......................................................................................................................... 37
Figure 37: Operation Mode.................................................................................................................. 37
Figure 38: SmartCanvas DA728x GUI in DRO Mode .........................................................................38
Figure 39: SmartCanvas DA728x GUI in RTWM Mode...................................................................... 39
Figure 40: GPI Registers.....................................................................................................................40
Figure 41: Enabling the Waveform Memory Editor in DA728x GUI .................................................... 40
Figure 42: Register Syncing from DA728x Memory............................................................................41
Figure 43: Waveform Memory Editor Snippets Tab............................................................................41
Figure 44: Waveform Memory Editor Sequences Tab........................................................................ 42
Revision 1.1 - DRAFT 08-Jun-2022
© 2022 Renesas Electronics

