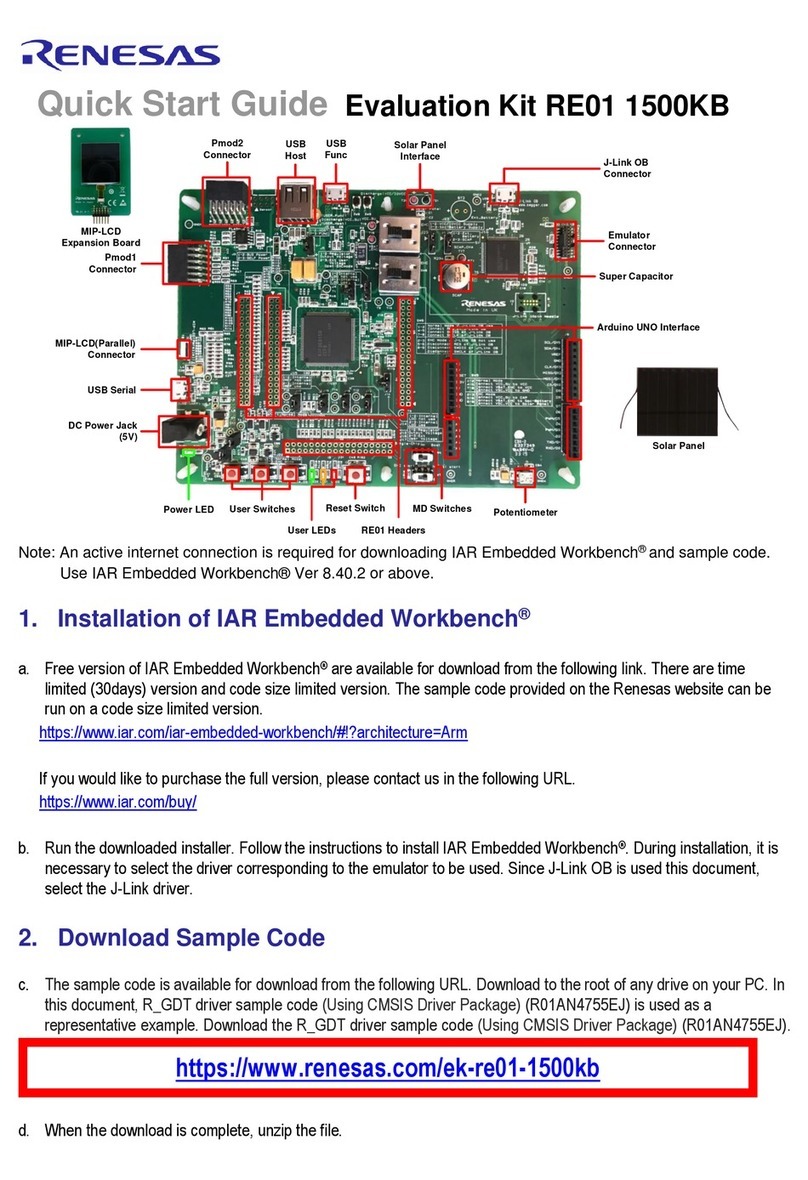
RL78/G14 RDK Quick Start Guide
SOFTWARE INSTALLATION
*NOTE: You need an internet connection in order to installthe software included in the DVD
Insert the companion DVD into the DVD drive and proceed with the automatic installation. If the installer doesn’t start automatically, look
for the “Autorun.exe” file and launch this file manually.
If you don’t have a copy of the DVD or want the latest version, please visit the Renesas web site at:
http://www.renesas.com/RDKRL78G14 and download the latest installation package (ZIP file). Please note that this file is quite large
(around 1.6GB). Extract the file into a temporary directory and launch the “Autorun.exe” file located in the root directory.
At this point you will be required to go through a quick registration online. After logging into or creating a new ‘MyRenesas’ account and
obtaining your activation key, proceed with the installation of the software. We recommend you select the default installation options,
unless you have some of the software (same versions) already installed or you are an advanced user. Please be aware that the full
installation may take up to 1 hour, depending on the performance of your PC.
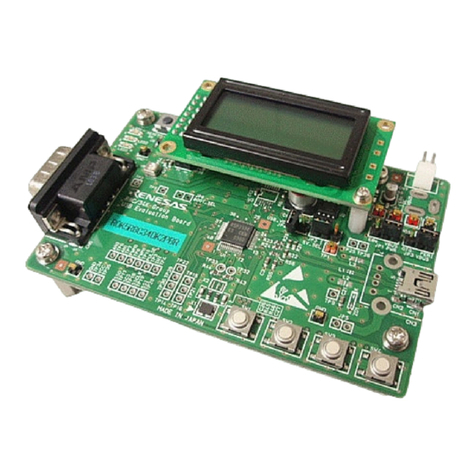
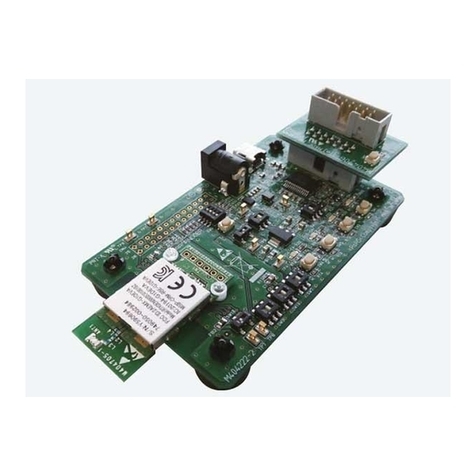
At the end of the installation, please check the hardware version of your board on the white sticker right above the RL78 MCU; it should
report “YRDKRL78-G14 REV 2.1”. If you have an older version, please upgrade the RL78G14 firmware to version 3.7 of the factory demo
by following the instructions on page 12 (How to restore Factory Demo).
TOOLCHAIN INSTALLATION (USING THE E2STUDIO ECLIPSE-BASED IDE)
This section of the Quick Start Guide gets you started with the YRDKRL78G14 using both the IAR and GNU toolchain in the e²studio IDE.
Make sure you installed the e2Studio IDE as well as the IAR tools or GNU during the software installation.
If you don’t have these components installed, please install them now.
During IAR installation, you will be asked to choose between “Size-limited” or “Time-limited” license: with the first, the license will never
expire, but the size of your projects will be limited to 16KB; with the second, you will be able to use the tools with no limitations for 30 days.
Connection:
On the RDK, ensure the MCU Mode DIP switch, SW5, is set to “DEBUG” (ON, OFF, ON, ON) as shown on the right.
Connect one end of the included USB cable to your computer and the other end to debugger USB connector of the
RDK, the debugger USB connector (J19) is above the LCD between the DB9 for the serial port and the power jack.
This is the debug interface and where we power the board from.
The ‘Found New Hardware’ Wizard may appear. Please follow the steps below to install the drivers. Note that administrator privileges are
required for Windows® 2000/XP/Vista/Win7 machines.
Windows Vista / Windows 7 (32 or 64)
Select option ‘No, not this time’ in “Found New Hardware”
Wizard dialog, and click <Next> button.
Select “Locate and install driver software (recommended).”
Verify the “Recommended” option is selected and click <Next>.
“User Account Control” dialog box will appear. If applicable, enter
administrator password and click <OK>.
If using Windows XP, go to step ‘e’; otherwise, click <Next>.
Driver installation will start. After couple of minutes, a “Windows
security” dialog box will appear. Select “install this driver software
Click <Next> to install the driver.
“Device driver software installed successfully” pop-up will appear in
the windows toolbar and installation will complete.
Click <Finish> to close the wizard.
V1.36 (OCT.2013) © 2013 RENESAS ELECTRONICS CORP. ALL RIGHTS RESERVED. 9
R20UW0117EU0200
