7 Installation
Hook the snap hook (included) into the eyelet (15). You can also use other means to secure
the radio in place. This gives you the option of either hanging the radio in your desired
location or securing it in other ways.
It is also possible to screw the radio onto a tripod. To do this, use the tripod screw thread
on the bottom of the device.
Open the rubber water protection cap to reveal the USB Type-C®charging port (16), the
Micro SD card slot (17) and the USB-A port (18), and to plug in a USB cable or insert a
microSD card. Attention! Please note that in this case (water protection cap open), the IPX5
protection rating does not apply.
8 Setup
The battery can be charged by turning the hand crank clockwise, by connecting a suitable
USB power source with the correct connection specications (see "Technical Data"), or via
the solar panel.
Press and hold the button (6) to switch the device on/off.
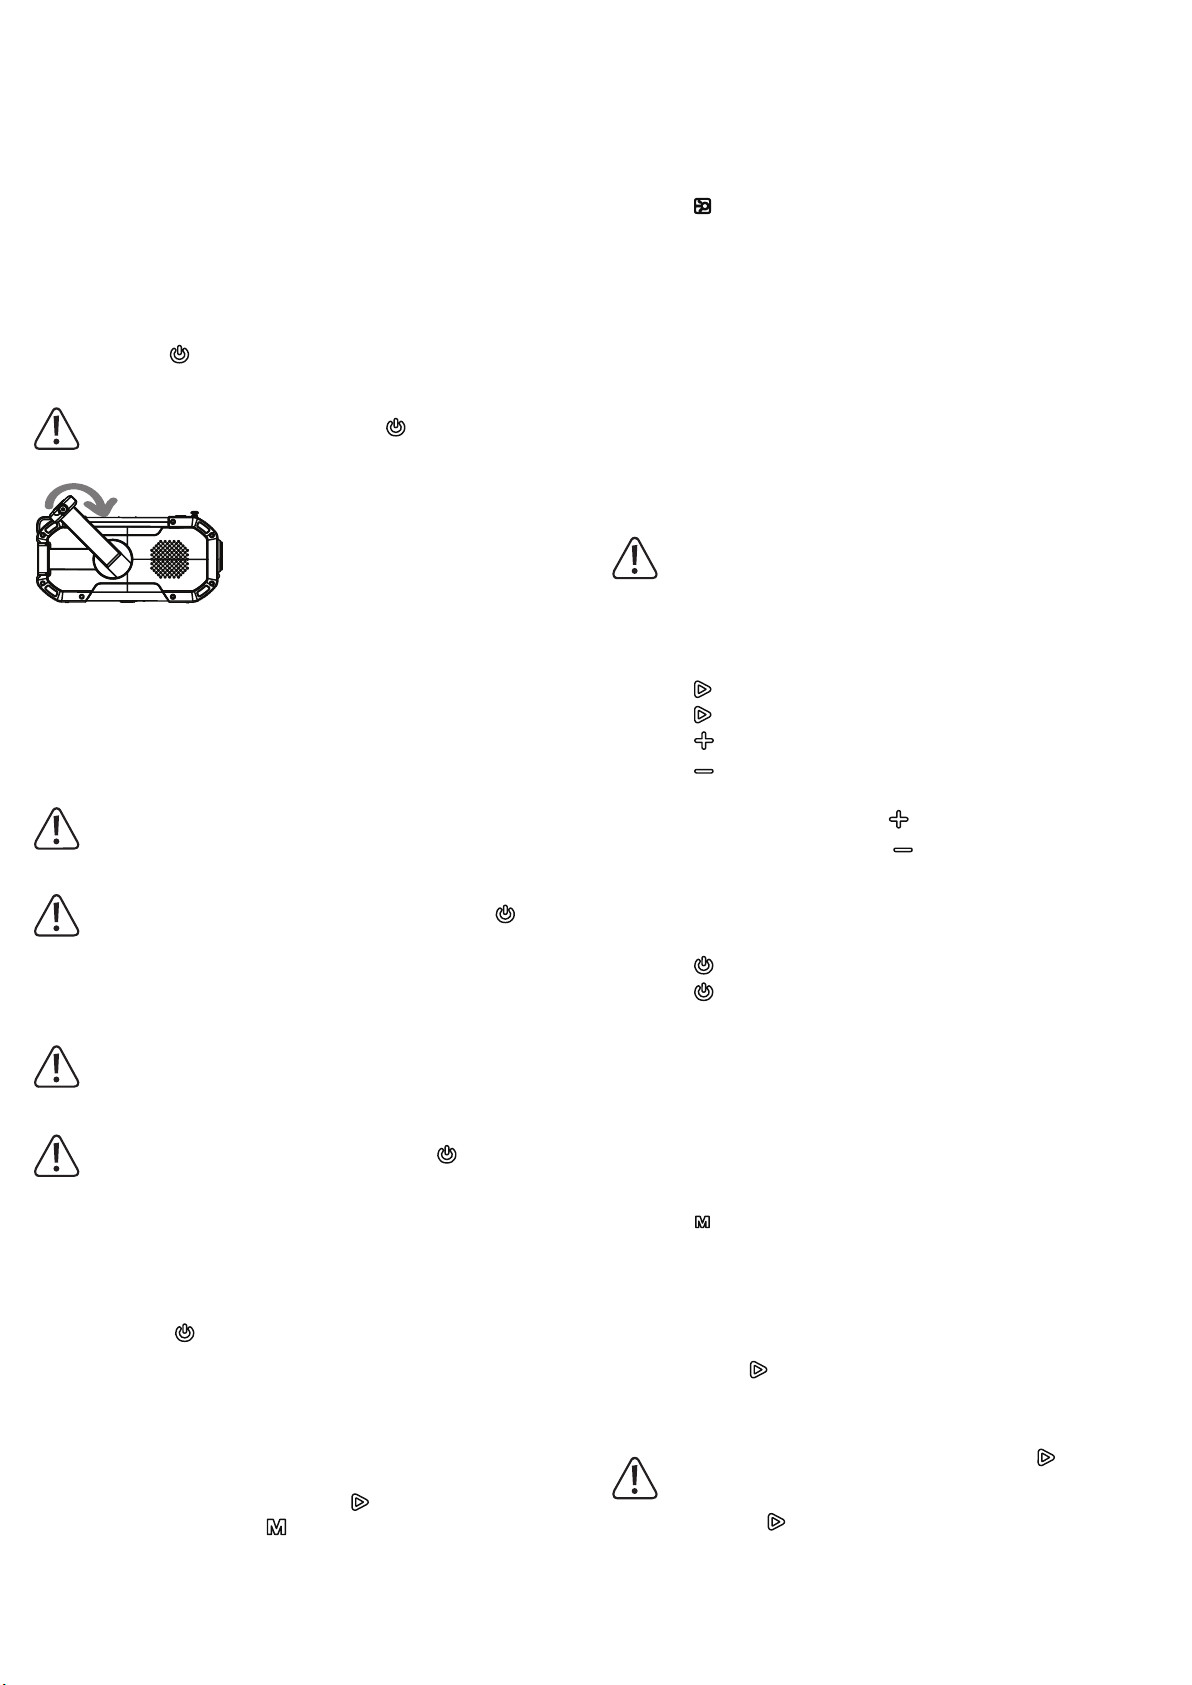
8.1 Charging the radio with the hand crank
Before charging the device, switch it off using the button (6).
Fold out the crank handle (19) and turn it clockwise.
The battery indicator (11) will light up red when the battery is charging. Turning the crank
handle (19) at speeds of 130 to 150 rpm generates sufcient current for charging the
battery. When charging a completely empty battery, the radio will be ready for use after
approx. 3 to 5 minutes.
After approx. 30 minutes of turning the crank handle, the battery will have a charge of up
to 300 mAh. The battery indicator (11) (battery symbol) lights up red when the battery is
charging.
The battery indicator will switch off when the battery is fully charged. The numeric battery
level indicator (12) will then show a full charge (full charge equals 99%).
Manual charging by turning the crank handle is only intended for emergencies.
8.2 Charging via the solar panel
Before charging the device via the solar panel, switch it off using the button (6).
1. Place the panel in the sun and align it at a 90º angle to the sun.
2. The battery indicator (11) will light up red when the battery is charging.
3. The battery indicator will switch off when the battery is fully charged. The numeric battery
level indicator (12) will then show a full charge (full charge equals 99%).
This charging method is only suitable for the radio and the SOS function, as the
charging power is comparatively low. It is generally intended to extend the battery
life or to charge the battery in an emergency.
8.3 Charging via USB
Before charging the device via USB, switch it off using the button (6).
1. Insert the USB charging cable into the USB Type-C®charging port (16). Charging will start
automatically.
2. The battery indicator (11) will light up red when the battery is charging.
3. The battery indicator will switch off when the battery is fully charged. The numeric battery
level indicator (12) will then show a full charge (full charge equals 99%).
8.4 Connecting the Bluetooth speaker
1. Press and hold the button (6) to switch the device on. The device will automatically
enter pairing mode. The BT/FM/AM/Micro SD function selection display (13) will indicate
that the Bluetooth function ("BT") is enabled.
2. Enable Bluetooth on a Bluetooth-enabled device (speaker, smartphone, etc.).
3. Find the Bluetooth ID "DF-580" and follow the instructions for your device to pair it with
the radio. An acoustic prompt will be played to conrm that the devices have successfully
paired. Once pairing is complete, the audio signal from the radio will be played on the
paired device.
4. To stop playback via a Bluetooth device, press the button (3).
5. To switch to other modes, press the switch button (1).
8.5 Restoring factory settings
If the radio stops functioning or crashes, restore the factory settings.
Use a pointed object to press the reset button (20). The radio will switch off, after which you
can switch it back on again.
9 Operation
9.1 Power bank function
If the radio's battery is sufciently charged, it can be used as a power bank for charging
small devices, e.g. mobile phones.
To charge a mobile phone or similar device, plug the USB charging cable into the USB-A
port (18)
9.2 Using the torch function
Press the button (8) to switch the built-in torch on/off.
9.3 Using the reading light
1. Fold out the solar cell. The reading light will switch on.
2. To switch off the reading light, fold the solar cell back into place again after use.
9.4 Using the compass
Read the compass directions from the compass. The basic directions are: N=North E=East
S=South and W=West (in addition to intercardinal directions, e.g. SSW). The north direction
is magnetic north.
9.5 SOS function (emergency alarm)
The radio features an SOS function to call for help in the event of an emergency.
1. To trigger the SOS alarm, press and hold the SOS button (5) on the bottom of the radio for
1 second. The SOS alarm will go off.
2. To switch off the SOS alarm, press and hold the SOS button (5) on the bottom of the radio
for 1 second. The SOS alarm will stop.
Please note that switching on the SOS function also resets the device to factory
settings. Any previous Bluetooth connections must be re-established and radio
stations must be reset using the automatic channel search.
9.6 Playing audio from microSD cards
1. Insert a suitable Micro SD card up to 32 GB into the Micro SD card slot (17). If compatible
audio les are stored on the card, playback will start automatically. Compatible le formats
are MP3 and m4a audio les.
2. Press the button (3) to stop the playback of an audio le.
3. Press the button (3) to restart the playback of an audio le.
4. Press the button (2) to skip to the next audio le.
5. Press the button (4) to play the previous audio le.
9.7 Adjusting the volume
1. To increase the volume, press and hold the button (2) for 3 seconds.
2. To decrease the volume, press and hold the button (4) for 3 seconds.
3. The volume setting is displayed on the multifunctional display (10). The volume can be set
from levels 0 to 27.
9.8 Using/listening to the radio
9.8.1 Turning the radio on/off
1. Press the button (6) to switch the radio on.
2. Press the button (6) to switch the radio off.
9.8.2 Using the antenna
FM radio
Pull out the FM antenna (7) and change its length and orientation to receive the best signal. If
there is strong interference and two or more stations are being received at once, shorten the
antenna.
AM radio
A built-in magnetic antenna is used to receive medium-wave radio. To receive the best possible
signal, turn the radio itself and not the antenna.
9.8.3 Setting the reception mode
1. Press the switch button (1) to select the frequency band (FM, ON) for radio reception.
The BT/FM/AM/Micro SD function selection display (13) will display "AM" or "FM"
accordingly. Each additional press of the button switches between the frequency bands
or the Bluetooth function.
2. The currently selected function is displayed in the BT/FM/AM/Micro SD function selection
display (13). The corresponding symbol will light up.
9.8.4 Automatic station search and station selection
1. Press and hold the button (3) for 3 seconds to start the automatic station search. The
radio will automatically searches for available stations in the currently selected frequency
band. The detected stations will be automatically saved by the radio. It is not necessary to
save the stations manually.
During the station search, you cannot select a station with the button (3), as this
button will be locked. Wait until the automatic station search has nished and the
stations have been saved.
2. Short press the button (3) to switch through the saved stations.
3. The selected station will be displayed on the multifunctional display (10).