RGBlink mini-mx User manual

Quick Start
mini-mx

mini-mx Quick Start
1
Content
About Your Product ............................................................................................... 2
Product Overview...................................................................................................2
Key Features ...........................................................................................................3
Hardware Orientation ............................................................................................4
Interface Panel ....................................................................................................... 6
Dimension ..............................................................................................................8
Use Your Product ................................................................................................... 9
Preview Interface ................................................................................................... 9
Main Interface ......................................................................................................10
MENU ...................................................................................................................11
Switch Effect Setting .............................................................................................12
PIP ........................................................................................................................12
PTZ Control ...........................................................................................................13
Load and Save ...................................................................................................... 14
Chroma Key..........................................................................................................14
Audio Setting ........................................................................................................15
Video Output ....................................................................................................... 15
Settings ................................................................................................................ 16
Contact Information .............................................................................................18

mini-mx Quick Start
2
About Your Product
Product Overview
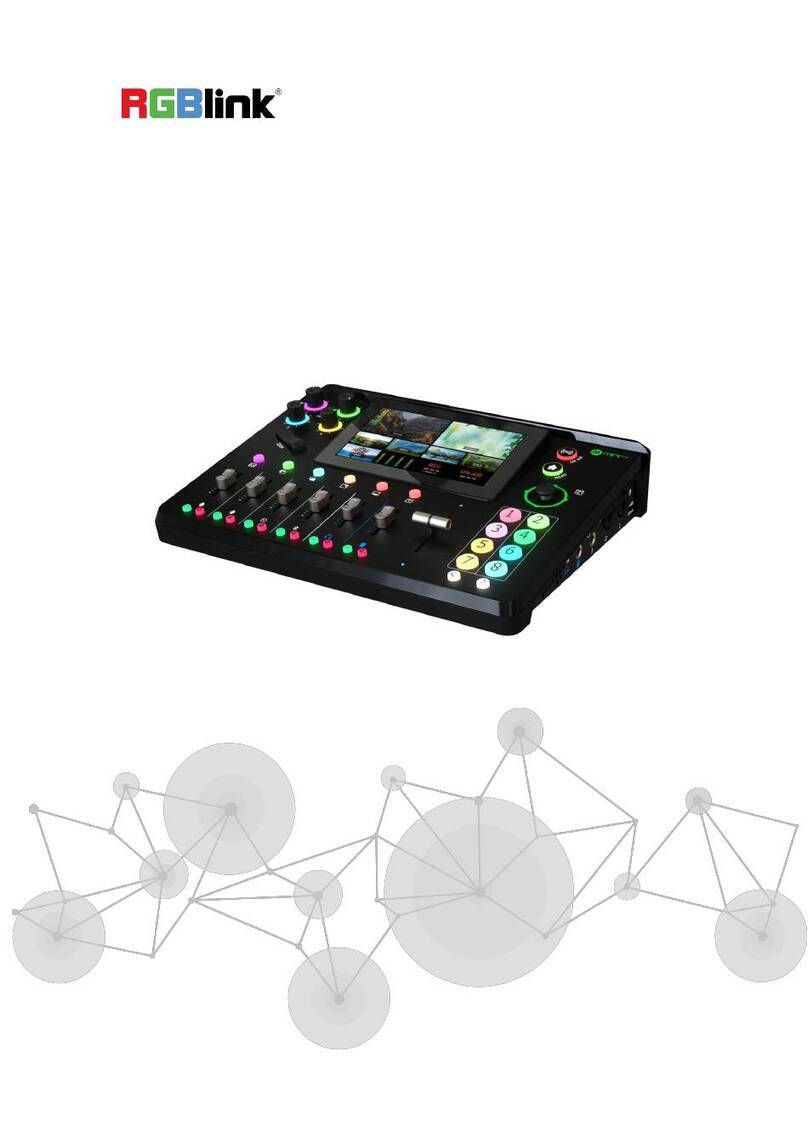
Mix to the max. The all-in-one mini-mx video enables accessible
professional multi-source video productions with cameras, laptops and
multiple audio sources. For live presentation and streaming, do it all with
ease from the unique and fully featured mini-mx.
mini-mx System Connection Diagram

mini-mx Quick Start
3
Key Features
● 4K multi-channel streaming video mixer
● Built-in 5.5 inch touch screen for menu operation
● Quad HDMI 2.0 inputs, resolutions up to 4K@60
● Dual HDMI 1.3 outputs for monitoring of multi-window PVW and
PGM
● Dual MIC In, Dual Audio Out for audio monitoring
● Mix for HDMI embedded and external audio
● One-key recording. Recording capacity of hard drive is up to 2T
● Stream to up to 4 platforms simultaneously over IP and 32 platforms
via TAO APP
● Support multi-layer overlay, layer scaling and cropping
● 15 switch effect modes
● 5-direction joystick for controlling up to 4 PTZ cameras
● Save and store up to 16 scene presets. One-click for preset recall
● Control via computer and software
● Support Chroma Key
● One-key quick switch between portrait and landscape screen

mini-mx Quick Start
4
Hardware Orientation
Front Panel
No.
Name
Description
1
Audio Volume
Control Knob
●Embedded audio volume adjustment of HDMI 1-4
input signals. User can check audio status via touch
screen.
●Knob color adjustable.
2
Adjuster
●Zoom in/out when PTZ control is enabled.
●Adjust size of sub-picture when it is under position

mini-mx Quick Start
5
and scale adjustment.
3
Layer Selection
Button
●Indicate BG, Layer A, Layer B, STILL, LOGO and TEXT
from left to right.
● Layer are all closed by default with white button
light.
●Press button to open this layer; light in green
indicates the layer is in editing state; light in blue
indicates the layer is in PVW.
● To close the opened layer, press the button first,
wait for button light turns into green, then press the
button again to close the layer.
4
Channel Fader
●To control audio volume level for each channel.
●Indicate MIC1/MIC2/LINE IN/Bluetooth/PREVIEW/
PROGRAM from left to right.
5
Monitoring &
Mute Button
●Monitoring button: For audio management of the
monitoring port. Button light in green allows users to
monitor the audio from a channel ; no button light
indicates the monitoring function is OFF.
●Mute button: Mute that channel on the PGM port.
When a channel is muted, the button will be
illuminated red; no button light indicates the channel
is ON at PGM port.
6
T-Bar
●PVW and PGM views can be transitioned manually
by pushing the T-bar bidirectionally from the top to
the bottom or from the bottom to the top.
7
Page UP
●Press to return to the previous page.
8
Page Down
●Press to enter the next page.

mini-mx Quick Start
6
2
3
4
5
6
7
8
9
Interface Panel
9
Buttons 1-8
● Button 1-8 indicate 8 selections in Main Menu
correspondingly with button light in white.
● Button 1-4 can also be used as HDMI 1-4 signal
switch button. Light in red indicates the signal is in
PGM output state, Light in green indicates the signal
is in editing state.
10
5-Direction
Joystick
●Set pan, tilt, zoom for PTZ camera.
●For adjustment of layer position.
11
MENU
● Press MENU button to enter preview interface/
main interface/preset interface.
●Button color adjustable.
12
ON AIR
●Click to start or end streaming.
●Streaming status can be checked on LCD screen
through indicator light: steady red shows ON AIR;
flashing red shows unstable network ON AIR; unlit
shows streaming is finished.
13
5.5-inch Touch
Screen
For menu operation and multi-view window
monitoring.
1

mini-mx Quick Start
7
No.
Name
Description
1
UVC (WEBCAM)
●Audio and video stream output port.
●Connect mini-mx to a laptop for instant recognition
as webcam for streaming or video conference.
●Use with USB-C cable provided to share network with
mobile phone.
2
USB-C
● Insert SSD or U disk to USB 3.0 recording output
interface for recording.
●Insert a U disk to import audio, video and pictures.
3
LAN
●Gigabit network port for web streaming, PTZ control
and firmware upgrade.
4
HDMI-A
(PROGRAM)
●PROGRAM output port. Multi-view, Program, Test
Pattern optional.
5
HDMI-A
(MULTI-VIEW)
●Multi-view output port. Multi-view, Program, HDMI
1-4 optional.
6
1-4 HDMI IN
●1-4 HDMI inputs to connect HDMI video sources, up
to 4K resolution and downward compatible with all
resolution.
10
11
13
12
15
14

mini-mx Quick Start
8
7
Locking Hole
●Can be used with T-lock to fix the device.
8
Power Socket
●PD 12V, 3A USB-C power input.
9
Power Switch
●Rocker switch to power on or off your device.
10
3.5mm mini-Jack
●Audio Jack for PREVIEW or PROGRAM monitoring.
11
6.35mm TRS Jack
(AUDIO OUT)
●Balanced 6.35mm XLR Jack.
12
LINE IN
●Balanced 6.35mm XLR Jack to connect to mobile
phone, computer or audio console.
13
MIC IN 2
●XLR/TRS NEUTRIK MIC IN Port.
14
MIC IN 1
●XLR/TRS NEUTRIK MIC IN Port with 48V Phantom
Power supported.
15
+48V Dip Switch
●48V Phantom Power supported.
●Defaults to OFF.
Dimension
Following is the dimension of mini-mx for your reference:
280mm × 222.6mm × 63.5mm.

mini-mx Quick Start
9
Use Your Product
Preview Interface
No.
Area
Description
1
PREVIEW
Show PVW (Preview) monitoring screen and audio meter.
Click to enter full screen mode.
2
PROGRAM
Show PGM screen and audio meter. Click to enter full screen
mode.
3
Source Selection
●Check HDMI 1-4 signals and audio meter.
●Use【1】-【4】buttons or a single touch on the screen to
switch sources.
4
Media
Import pictures、LOGO、texts、videos and other materials.
5
Audio Status Monitoring
●Monitor 3 analog audio inputs, including MIC1、MIC2、
LINE, and 1 Bluetooth audio input.
●Tap to quickly enter audio setting interface.
6
Recording Status Display
Check recording duration.
7
Streaming Status Display
Check streaming duration.
1
2
5
3
7
6
4
Other manuals for mini-mx
7
This manual suits for next models
1
Table of contents
Other RGBlink TV Tuner manuals
