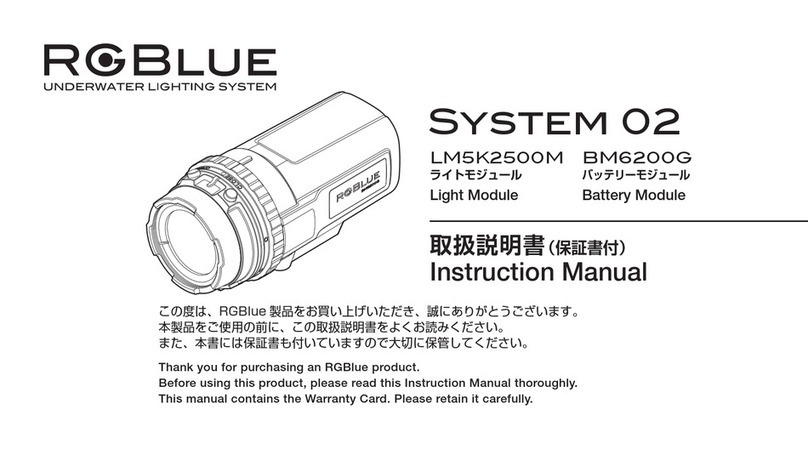
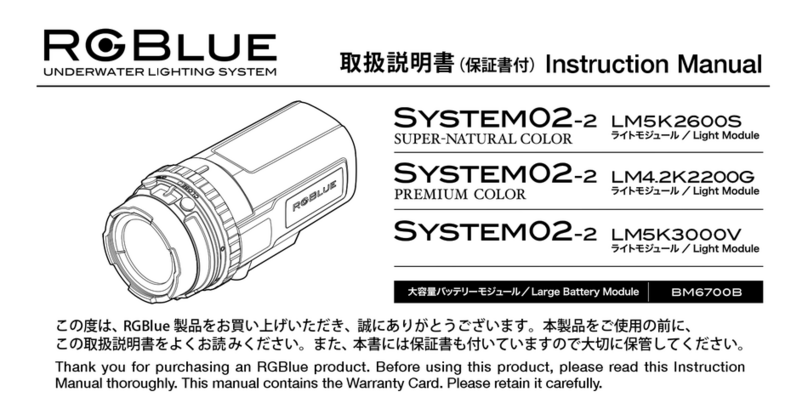
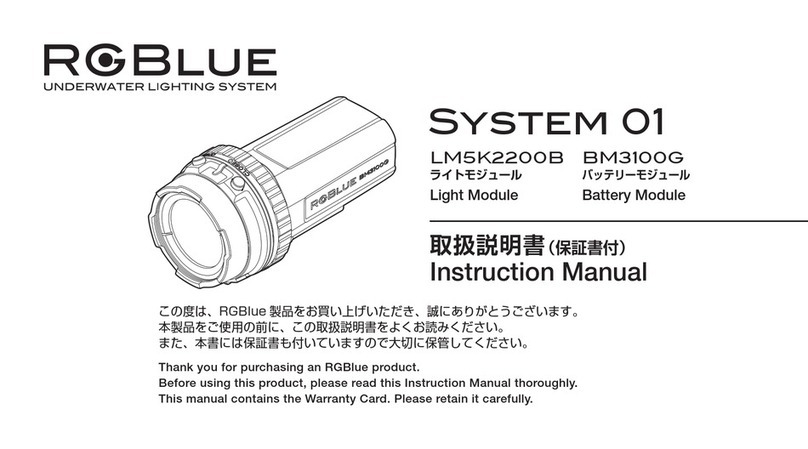
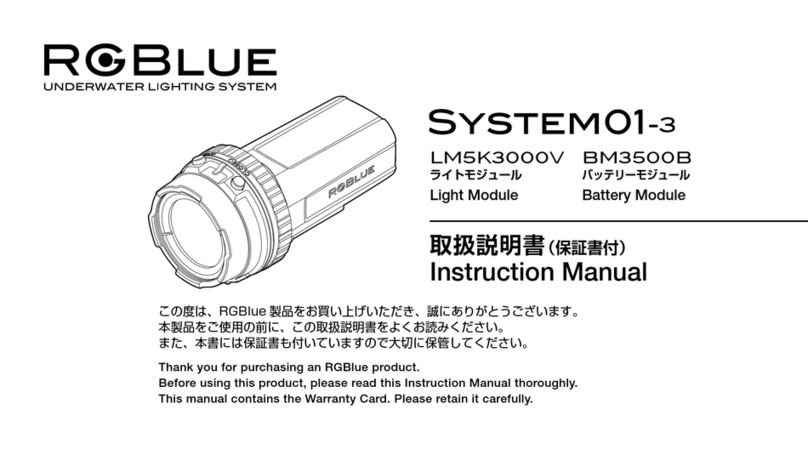
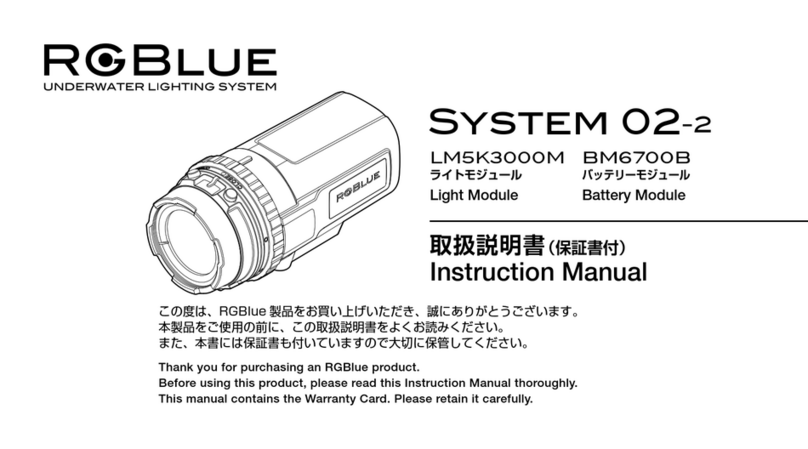
RGBlue System 01/02:re User manual

Operation
Maintenance after use
Product Number
S01RE-SNC
S01RE-PC
S02RE-SNC
S02RE-PC
S01RE-TL-SNC
S01RE-TL-PC
S02RE-TL-SNC
S02RE-TL-PC
S01RE-SB
S02RE-SB
Instruction Manual

2
Operation
Maintenance after use
Introduction
Thank you for purchasing this product — RGBlue System 01/02:re, RGBlue System 01/02:re Twin Light, or RGBlue
System 01/02:re Spot Beam.
Read this manual carefully before using this product.
• Duplication of the contents of this manual without permission from RGBlue is prohibited except for personal use.
• The contents of this manual may be subject to change without prior notice.
• RGBlue assumes no liability against any claim from a third party for any damage caused by improper use of
this product.
• RGBlue assumes no liability for any damage resulting from a malfunction of this product or any other reason
including disassembly, repair, or modication by a third party other than those parties designated by RGBlue.
WARNING : This product contains electronic circuitry and a lithium-ion battery. Do not attempt to disassemble or
modify it. This could pose a risk of electric shock or injury.
CAUTION : If any liquid or a foreign object gets inside the product, stop using it immediately, turn OFF the power
and contact your dealer or RGBlue.

3
Operation
Maintenance after use
S01RE-SNC
StandardBatteryModule BM3521S
LM5K2600S2 LM4.2K2200G2 LM5K-SP17-2
S01RE-TL-SNC
S02RE-TL-SNC
S02RE-SB
S01RE-SBS01RE-PC
S02RE-PC
S01RE-TL-PC
S02RE-TL-PC
S02RE-SNC
LargeBatteryModule BM6721L
Product Lineup

4
Operation
Maintenance after use
Contents
Operation
Safety Symbols ������������������������������������������������������������������������������������������������������������������������������������������������������������� 5
Operation【Light Mode】
■ Power ON (standby mode) ■ Power OFF ������������������������������������������������������������������������� 6
■ Light adjustment ��������������������������������������������������������������������������������������������������������������� 7
Operation【Flash Mode】■ Connecting the camera and light(s) ������������������������������������������������������������������������������������ 8
■ Setting the light to Flash Mode ■ Synchronization of light emission and shutter release �������� 9
■ How to change the brightness ■ How to change the illumination duration ���������������������� 10
Product Specications 1 SYSTEM 01/02:re �����������������������������������������������������������������������������������������������������������������11
2 SYSTEM 01/02:re TWIN LIGHT ��������������������������������������������������������������������������������������������� 12
3 SYSTEM 01/02:re SPOT BEAM ��������������������������������������������������������������������������������������������� 13
Maintenance after use
Maintenance and Storage ������������������������������������������������������������������������������������������������������������������������������������������ 14
About the Recovery Function ������������������������������������������������������������������������������������������������������������������������������������ 15

5
Operation
Operation
● This "Operation/Maintenance after use" manual contains information critical to your safety. Be sure to
carefully read all information provided here.
● The following symbols describe the degrees of risk of injury and nancial damage that may result if the
information given under each symbol is not observed.
This manual shows the levels of risk and danger by dividing them as follows.
Safety Symbols
Indicates a prohibited action.
Indicates a mandatory action that must be followed.
Followed by a description about the possibility of
equipment damage.
Followed by information on operation and maintenance
you need to know.
Indicates an imminently hazardous situation which, if not
avoided, could result in death or serious injury.
Indicates a potentially hazardous situation which, if not
avoided, may result in death or serious injury.
Indicates a potentially hazardous situation which, if not
avoided, may result in serious injury or equipment damage.
DANGER
WARNING
CAUTION

6
Operation
Operation【Light Mode】
• Inspect this product and make sure it is working properly each time you use
it� If you use this product when it is not working properly, serious injury may
result
■ Power ON (Standby mode)
1. Press and hold the UP and DOWN buttons
simultaneously. When the indicator starts to
ash, press the UP button shortly once.
2.The indicator stops ashing and starts steady
lighting, indicating that the power is on.
The color of the indicator at this time
indicates the remaining battery power.
DANGER
■ Power OFF
Press the UP and DOWN buttons simultaneously
when the power is ON (in Standby mode) to
turn OFF the power.
100%〜 50% Blue
The indication varies depending on the light intensity level. This is because of
the product specications and not a malfunction.
50%〜 20% Purple
20%〜 5% Yellow
<5% Red
Remaining battery power indication
• If the UP button is not pressed, the ashing started by simultaneous holding
of the buttons nished in about ve seconds, and the product returns to the
power o status�
• When power is on (when the indicator light is steady), battery power is used
even when the light is not on� It is recommended to switch the power o
when the light is not used for an extended period of time and switch the
power on right before diving�
7
Non-step
brightness control MIN MAX
Operation
■ Light adjustment
Singlepress
【 4-step brightness control 】
【 Blinking Mode】
luminous ux value
(lm)
800 1200 1500 2100
500 900 1300 1800
Continuous lighting
period (min�)
01:re 310 160 95 60
02:re 600 240 180 120
luminous ux value
(lm)
800 1200 1500 2100
800 1200 1400 1800
Continuous lighting
period (min�)
01:re 310 160 95 60
02:re 600 240 180 120
1m Central
illuminance(lx)
With beam attachment
9000 14000 19000 30000
Without beam attachment
12000 19000 25000 40000
Continuous lighting
period (min�)
01:re 500 200 170 70
02:re 1000 520 340 140
1m Central
illuminance(lx)
With beam attachment
7000 〜 30000
Without beam attachment
9000 〜 40000
Continuous lighting
period (min�)
01:re 700 〜 70
02:re 1400 〜 140
Press either the UP or DOWN button
when the power is ON (in Standby
mode) to adjust the brightness in 4
steps. If you want to turn o the light,
press the DOWN button several times.
With the S01RE-SB/S02RE-SB, press the DOWN button once to switch between 0.2-sec. interval and
0.7-sec. interval blinking when the power is ON (in Standby mode). Press the UP button to cancel the
blinking.
S01RE-SNC / S01RE-PC / S02RE-SNC / S02RE-PC
S01RE-TL-SNC / S01RE-TL-PC / S02RE-TL-SNC / S02RE-TL-PC
S01RE-SB / S02RE-SB
S01RE-SB / S02RE-SB
Pressandholed
【 Non-step brightness control 】
Press and hold either the UP or
DOWN button when the power is ON
(in Standby mode) for continuous,
stepless brightness adjustment.
Release the button to stop adjustment
when the desired brightness level is
reached.
luminous ux value
(lm)
400 〜 2600
300 〜 2200
Continuous lighting
period (min�)
01:re 550 〜 45
02:re 1000 〜 90
luminous ux value
(lm)
600 〜 2600
600 〜 2200
Continuous lighting
period (min�)
01:re 550 〜 45
02:re 1000 〜 90
4-step
brightness control

8
Operation
Operation【Flash Mode】
● The Flash Mode can be used to activate the light(s) for short durations in sync with the light emitted by the
camera’s built-in strobe. This mode makes it easier to photograph light-avoiding organisms that are dicult to
capture when the light is always on.
● "The light intensity level can be selected from High, Mid, or Low and the lighting duration from 0.3 seconds or
1 second. Be sure to read the following instructions before using this mode."
■ Connecting the camera and light(s)
Use a commercially available optical fiber
cable (Sea&Sea or Olympus standard), to
connect the housing's optical fiber socket
to the optical communication receiver port
on the light as shown below.
• The Flash Mode cannot be used when the RGB-RC01 Remote Controller is
used�
• The Remote Controller can be used in the Light Mode� Connect the
Remote Controller to the light(s) using the optical ber cable(s)�
< When one light is connected > < When two lights are connected >
• Since the Flash Mode uses an infrared beam, it may emit light in reaction
to sunlight� Be sure to connect an optical ber cable before switching the
power ON�

9
Operation
■ Setting the light to Flash Mode
Press and hold the DOWN button (about 2 sec.) when the power is ON (in Standby mode) until the indicator
starts blinking.
○ The power ON/OFF operations are identical to the Light Mode.
○ To return to the normal Light Mode, press the DOWN button again. The indicator is on.
○ To switch the power OFF, press the UP and DOWN buttons simultaneously.
■ Synchronization of light emission and shutter release
"The light activate in sync with the strobe light input to the optical communication receiver of the light
module.To ensure that the light is synchronized with the camera shutter release, it is recommended to use
the following strobe setting on the camera.
1. Use a mode with pre-ash capability.
2. If the system is capable of RC lighting, you can reduce battery consumption by using RC emission only."
• If the strobe is set to the manual lighting mode, pre-ash may not be
available and it will not be possible to synchronize light module activation
with the shutter release�

10
Operation
■ How to change the brightness
Press the UP button in Flash mode to switch the brightness in 3 steps (High, Mid, and Low).
○ No light is emitted while the light intensity is being selected.
○ Each time the brightness is switched, the indicator’s blinking intervals change. The tables below show how
the blinking intervals change.
Lighting
duration
Light
intensity Image of blinking indications
0�3 sec�
High
Mid
Low
Lighting
duration
Light
intensity Image of blinking indications
0�3 sec�
High
Mid
Low
■ How to change the illumination duration
Press and hold the UP button (about 1 sec.) in Flash mode to switch the illumination duration in 2 steps (0.3
sec. and 1 sec.).
○ Every time the illumination duration is switched, the indicator’s blinking intervals change. The tables below
show how the blinking intervals change.
○ When the battery is connected, the light intensity is initially set to High and the lighting duration to 0.3
sec. Any settings made by the user will be retained until the battery module is disconnected from the light
module.
Lighting
duration
Light
intensity Image of blinking indications
1 sec�
High
Mid
Low
Lighting
duration
Light
intensity Image of blinking indications
1 sec�
High
Mid
Low

11
Operation
全機種共通
Productname/number
Light LM5K2600S2 LM4.2K2200G2
Battery BM3521S BM6721L
Lightsource LED
Irradiationangle 100°
Colortemperature 5000K 4200K
Colorrenderingindex Ra95
Totalflux Productoutputat4-stepdimming Max.2100lm Max.1800lm
No-stepdimming 2600lm 2200lm
4-step:800lm/1200lm/1500lm/2100lm No-step:400lm〜2600lm
4-step:500lm/900lm/1300lm/1800lm No-step:300lm〜2200lm
4-step 310min./160min./95min./60min. 600min./240min./180min./120min.
No-step550min.〜 45min. 1000min.〜 90min.
Operatingenvironment Underwater
LEDindication Remainingbatterypower/Blue→Purple→Yellow→Red*1 ・Error/Redflashing.
Chargemethod ACadapter(USBPD,30W,15V,2Aormore)+SpecialChargeAdapter
Powersupply Rechargeablelithiumionbattery
Batterylife*2 Approx.500times
Chargingtime
Withstandingwaterdepth 100meters,IPX8(JISprotectionclass8)
Dimensions Max.dia.Φ68mmx144mm(excludingprojections)
Weight Onland
Underwater
Operatingtemperatures -5℃〜 +45℃
Storagetemperatures -5℃〜 +45℃
Storagehumidity 20%〜 60%
Materials,treatment ・Corrosion-resistantaluminumalloy:Hardanodizedaluminum,Titaniumalloy,PC
・Opticalglass:Chemicallystrengthenedglass.・Siliconrubber(Protector)
IRreceiver
Brightnesscontrolfromremotecontrol.Whentheoptionalremotecontrolunitisused.
Safetystandards CE、PSE(Battery)
Lightringthreaddiameter M49×0.75screw(JIScompliant)
AccessoryScrews 1/4-20UNCtripodscrew(JIScompliant):Bottomplate,LightModule
M5(JIScompliant):Bottomplate
SUPERNATURALCOLOR PREMIUMCOLOR
3200mA/7.2V(23Wh) 6400mA/7.2V(46Wh)
Approx.2hours Approx.4hours
440g
160g
565g
195g
“SUPERNATURALCOLOR”isaregisteredtrademarkofAOIJapanCo.
NOTE:Iflitcontinuouslyoverland,theproducttemperatureincreasessothe
safetycircuitrydimsorextinguishesthelight
*1Automaticallysettothelowestlimitwhenlightisred(5%batterylevel).Stayslitfor1hour.
*2Thebatterylifeisregardedtobeexpiredwhentherechargeablecapacitydropsbelow50%oftheoriginalbatterycapacity.
Consequently,thebatteryisstillusableafterthebatterylifeisexpired.
Module
productnumber
Continuouslighting-
period
Brightnesscontrol:
luminousfluxvalue
SYSTEM01:re
SUPERNATURALCOLOR / S01RE-SNC
SYSTEM01:re
PREMIUMCOLOR / S01RE-PC
SYSTEM02:re
SUPERNATURALCOLOR / S02RE-SNC
SYSTEM02:re
PREMIUMCOLOR / S02RE-PC
Product Specications 1

12
OperationOperation
Productname/number
Light LM5K1300S2 LM4.2K1100G2
Battery BM3521S BM6721L
Lightsource LED
Irradiationangle 100°
Colortemperature 5000K 4200K
Colorrenderingindex Ra95
Totalflux Productoutputat4-stepdimming Max.2100lm Max.1800lm
No-stepdimming 2600lm 2200lm
Brightnesscontrol:4-step:800lm/1200lm/1500lm/2100lm No-step:600lm〜2600lm
luminousfluxvalue*14-step:800lm/1200lm/1400lm/1800lm No-step:600lm〜2200lm
4-step 310min./160min./95min./60min. 600min./240min./180min./120min.
No-step 550min.〜 45min. 1000min.〜 90min.
Operatingenvironment Underwater
LEDindication Remainingbatterypower/Blue→Purple→Yellow→Red*2 ・Error/Redflashing.
Chargemethod ACadapter(USBPD,30W,15V,2Aormore)+SpecialChargeAdapter
Powersupply Rechargeablelithiumionbattery
Batterylife*3 Approx.500times
Chargingtime
Withstandingwaterdepth 100meters,IPX8(JISprotectionclass8)
Dimensions Max.dia.Φ68mmx150mm(excludingprojections)
Weight Onland
Underwater
Operatingtemperatures -5℃〜 +45℃
Storagetemperatures -5℃〜 +45℃
Storagehumidity 20%〜 60%
Materials,treatment ・Corrosion-resistantaluminumalloy:Hardanodizedaluminum,Titaniumalloy,PC
・Opticalglass:Chemicallystrengthenedglass.
IRreceiver
Brightnesscontrolfromremotecontrol.Whentheoptionalremotecontrolunitisused.
Safetystandards CE、PSE(Battery)
Lightringthreaddiameter M25×0.75screw
AccessoryScrews 1/4-20UNCtripodscrew(JIScompliant):Bottomplate,LightModule
M5(JIScompliant):Bottomplate
SUPERNATURALCOLOR PREMIUMCOLOR
3200mA/7.2V(23Wh) 6400mA/7.2V(46Wh)
Approx.2hours Approx.4hours
600g
230g
725g
250g
“SUPERNATURALCOLOR”isaregisteredtrademarkofAOIJapanCo.
NOTE:Iflitcontinuouslyoverland,theproducttemperatureincreasessothe
safetycircuitrydimsorextinguishesthelight
*1Valueper2LEDlights.
*2Automaticallysettothelowestlimitwhenlightisred(5%batterylevel).Stayslitfor1hour.
*3Thebatterylifeisregardedtobeexpiredwhentherechargeablecapacitydropsbelow50%oftheoriginalbatterycapacity.
Consequently,thebatteryisstillusableafterthebatterylifeisexpired.
Module
productnumber
Continuouslighting-
period
SYSTEM01:reTWINLIGHT
SUPERNATURALCOLOR / S01RE-TL-SNC
SYSTEM01:reTWINLIGHT
PREMIUMCOLOR / S01RE-TL-PC
SYSTEM02:reTWINLIGHT
SUPERNATURALCOLOR / S02RE-TL-SNC
SYSTEM02:reTWINLIGHT
PREMIUMCOLOR / S02RE-TL-PC
Product Specications 2

13
OperationOperation
Productname/number SYSTEM01:reSPOTBEAM / S01RE-SB SYSTEM02:reSPOTBEAM / S02RE-SB
Light LM5K-SP17-2
Battery BM3521S BM6721L
Lightsource LED
Irradiationangle*1 Withbeamattachment 5°
Withoutbeamattachment17°
Colortemperature 5000K
Colorrenderingindex Ra80
Totalflux Max.1300lm
Maximumirradiationdistance*2 400m(onland,withoutbeamattachment)
1mCentralilluminance
Withbeamattachment4-stepbrightnesscontrol(9000lx/14000lx/19000lx/30000lx)
WithbeamattachmentNo-stepbrightnesscontrol(7000lx〜30000lx)
Withoutbeamattachment4-stepbrightnesscontrol(12000lx/19000lx/25000lx/40000lx)
WithoutbeamattachmentNo-stepbrightnesscontrol(9000lx〜40000lx)
4-step 500min./260min./170min./70min. 1000min./520min./340min./140min.
No-step 700min.〜 70min. 1400min.〜 140min.
Operatingenvironment Underwater
LEDindication Remainingbatterypower/Blue→Purple→Yellow→Red*3 ・Error/Redflashing.
Chargemethod ACadapter(USBPD,30W,15V,2Aormore)+SpecialChargeAdapter
Powersupply Rechargeablelithiumionbattery
Batterylife*4 Approx.500times
Chargingtime
Withstandingwaterdepth 100meters,IPX8(JISprotectionclass8)
Dimensions Max.dia.Φ68mmx164.5mm(excludingprojections)
Weight Onland
Underwater
Operatingtemperatures -5℃〜 +45℃
Storagetemperatures -5℃〜 +45℃
Storagehumidity 20%〜 60%
Materials,treatment ・Corrosion-resistantaluminumalloy:Hardanodizedaluminum,Titaniumalloy,PC
・Opticalglass:Chemicallystrengthenedglass.・Siliconrubber(Rubberprotector)
IRreceiver
Brightnesscontrolfromremotecontrol.Whentheoptionalremotecontrolunitisused.
Safetystandards CE、PSE(Battery)
Lightringthreaddiameter M49×0.75screw(JIScompliant)
AccessoryScrews 1/4-20UNCtripodscrew(JIScompliant):Bottomplate,LightModule
M 5 ( J I S c o m p l i a n t ): Bottomplate
3200mA/7.2V(23Wh) 6400mA/7.2V(46Wh)
Approx.2hours Approx.4hours
530g
190g
655g
210g
NOTE:Iflitcontinuouslyoverland,theproducttemperatureincreasessothe
safetycircuitrydimsorextinguishesthelight
*1Lightdistributionanglewhenthelightintensitybecomes10%(one-tenth)ofthecentrallightintensity.
*2Theoreticalvalueatthedistancewhenthecentrallightintensityis0.25lux.Therangevariesdependingonoperating
environmentconditionsuchaswatertransparency.
*3Automaticallysettothelowestlimitwhenlightisred(5%batterylevel).Stayslitfor1hour.
*4Thebatterylifeisregardedtobeexpiredwhentherechargeablecapacitydropsbelow50%oftheoriginalbatterycapacity.
Consequently,thebatteryisstillusableafterthebatterylifeisexpired.
Continuouslighting-
period
Module
productnumber
Product Specications 3

14
Maintenance after use
Maintenance and Storage
• After nishing the use of the product, remove the lens, etc� (without
disconnecting the modules) and soak the product in fresh water under
normal temperature for more than one hour to eliminate the salt content�
• After taking the product out of the fresh water, wipe with a dry cloth to
eliminate moisture and let the product dry naturally in a place not exposed
to direct sunlight�
• When the product is not to be used for a long period, disconnect the Light
Module and Battery Module, and attach the module cap to the Battery
Module before storing the two modules�
• The special O-ring and special silicon grease are consumable articles� If you
run out of the spares, please purchase them�
• The battery gradually depletes even in a storage condition since the Battery
Module incorporates a control PCB� Note that it is not malfunction� It is
recommended to recharge the battery before use�
• Do not dry the product with a hair dryer or direct sunlight, as this may
cause degradation or deformation of the product and O-ring, which may
eventually lead to a failure or water penetration�
DANGER

15
■ Recovery Function
1. Detach the Light Module and Battery Module.
2. Remove any moisture inside each module with a dry, lint-free cloth. Let the modules dry completely.
3. Normal function will be restored when the system
is charged with the AC adapter and charge plug.
○An AC adapter is not included. Use the optional AC
adapter (RGB-PDAC01). A commercially available
USB PD AC adapter (30W, 15V, 2A) can also be
used.
Maintenance after use
About the Recovery Function
● If water penetrates the system, the built-in protection circuit is activated to temporarily prevent the power
from being turned on. To deactivate the protection circuit and restore normal function, follow the steps
below.
WARNING
• Do not plug or unplug the AC adapter or charger adapter with wet hands�
• If they have been exposed to salt water, wipe the salt o with a cloth
moistened with fresh water or wash the salt under running water, and then
let them dry completely�

16
● For inquiries, see contact information below.
AOI Japan Co., Ltd.
E-mail : info@aoi-jp�biz
Reception hours: 10:00–17:00, Monday–Friday,
(Closed: Saturday,Sunday and national holidays)
2F, Parktower Yokohama Portside 2-1 Kinko-cho, Kanagawa-ku,
Yokohama, Kanagawa, Japan 221-0056
Other manuals for System 01/02:re
2
This manual suits for next models
12
Table of contents
Other RGBlue Underwater Lighting manuals

RGBlue
RGBlue System 01/02:re User manual

RGBlue
RGBlue System 01-3 User manual

RGBlue
RGBlue LM4.2K2200G User manual

RGBlue
RGBlue System 01 User manual

RGBlue
RGBlue System 02 Premium Color User manual

RGBlue
RGBlue System 01/02:re User manual

RGBlue
RGBlue System 02 User manual

RGBlue
RGBlue System 02-2 User manual

RGBlue
RGBlue SYSTEM02-2 SUPER-NATURAL COLOR User manual