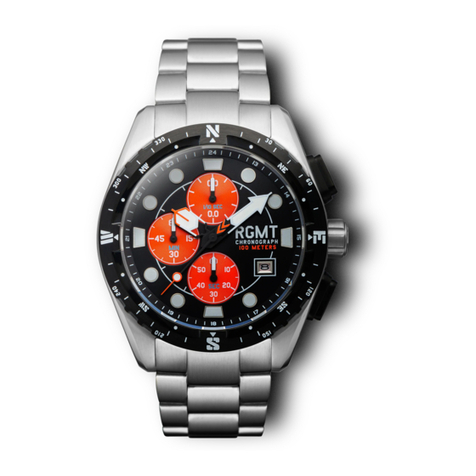
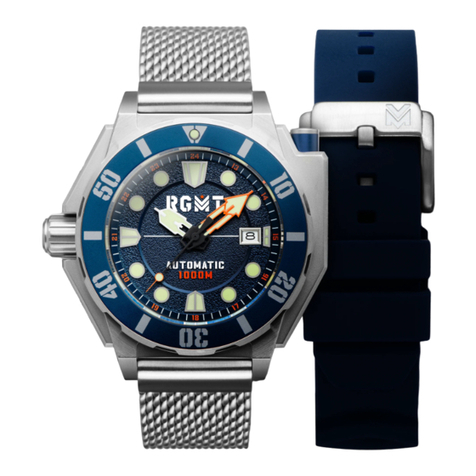
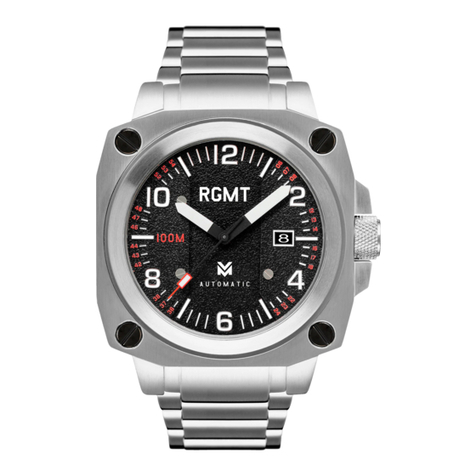
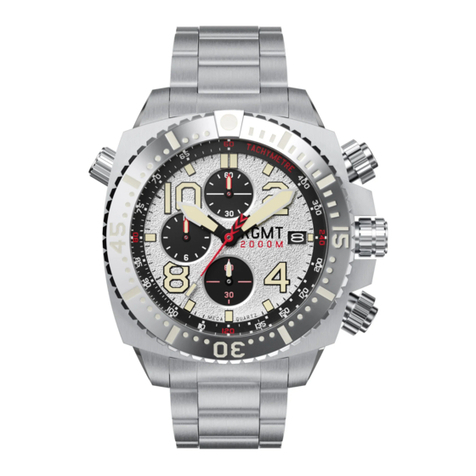
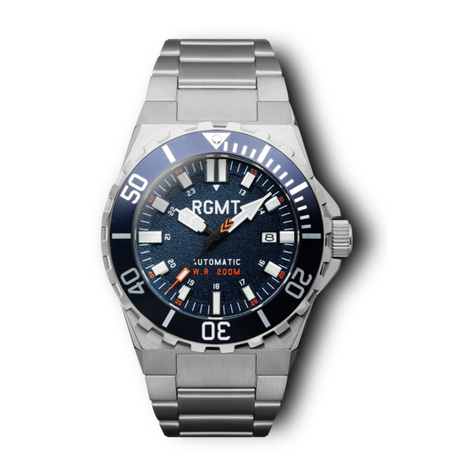
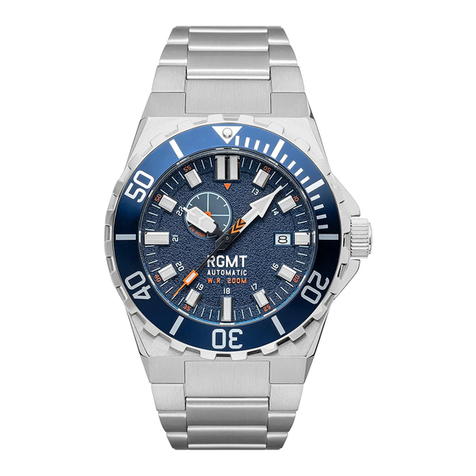
RGMT TORPEDO User manual

INSTRUCTION MANUAL
BEDIENUNGSANLEITUNG
Vol. 1.28 EN DE IM.RGMT.CO
For more details on operating this timepiece
please refer to the enclosed booklet or visit :
TORPEDO
CHRONOGRAPH
WATCH
This watch is equipped with
a quartz powered
chronograph movement.
Besides the normal time read out,
this movement enables split timing
micro measurements of time at the
push of a button, which can be utilized
in a variety of applications.

Remarks :
The measurement time indicated by the stopwatch
hands move independently of the center hands.
60
30
1050
2040
60
30
15
45
8
MINUTE HAND
DATE
SECOND HAND
PUSH
BUTTON A
PUSH
BUTTON B
CROWN
CHRONOGRAPH
SECOND HAND
CHRONOGRAPH
60 MINUTE
HAND
00
00
05
05
HOUR HAND
CHRONOGRAPH
1/10 SECOND
HAND
SCREW-DOWN
PUSH BUTTON A
SCREW-DOWN
PUSH BUTTON B
SCREW-DOWN
CROWN
HELIUM
RELEASE
VALVE
UNI-DIRECTIONAL
TURNING BEZEL

PLEASE READ THE FOLLOWING
BEFORE UNSCREWING THE CROWN:
SCREW-DOWN CROWN
Screw-down crowns are used to ensure water
resistance. ALWAYS be certain that your crown is
securely screwed down ( Position [0] is secured.
Positions [1], [2] and [3] are not secured for water
resistance ).
Do NOT unscrew your crown while you are in any
environment where moisture is present.
012
(2nd click) (1st click)
CLOSED
Securely screwed
+ Water Resistance
OPENED
Not secured
For Water Resistance
3
1
0
1
USING THE SCREW-DOWN CROWN
DO NOT PULL THE CROWN UNLESS IT IS
FIRST:
2
NOTE: Failure to SECURELY screw down the crown
after setting the watch may affect its water
resistance.
TO UNSCREW: Turn the
crown anti-clockwise until it
turns freely without tension.
GENTLY pull the crown out to
the other desired positions for
watch setting (see specific
operating instructions on the
following pages).
TO SCREW: Push the crown
ALL THE WAY IN (towards the
watch) THEN begin to turn
clockwise until it is securely
screwed down.

4
* Do not set the date between 9:00 P.M. and 3:00
A.M. , otherwise the day may not change properly.
If it is necessary to set the date during the time
period, first change the time to any time outside
it, set the date and then reset the correct time.
3
HOW TO SET THE DATE AND TIME
*Before setting the time, check that the chronograph
measurement is stopped.
1. Pull out the crown to the position [2]-(1st click).
2. Turn the crown clockwise until the previous day's
date appears.
3. Pull out the crown to the position [3]-(2nd click).
when the second hand is at the 12 o'clock position.
It will stop on the spot. Set the hands to the
desired time of the day (make sure AM/PM is set
correctly) by turning the crown.
* When the crown is at the position [3]-(2nd click),
do not press any pusher. Otherwise the
chronograph hands will move.
4. Push the crown back in the position [0] in
accordance with a time signal.

USING THE SCREW-DOWN PUSH BUTTON
This watch is equipped with screw-down push
button. The push button will not be able to be
pressed until the button are unscrewed.
To screw-down the button – turn the washer
around the button clockwise until you encounter
resistance.
To unscrew the button – turn the washer around
the button anti-clockwise until it is at its
maximum height away from the case.
You will only be able to operate the functions of the
chronograph when the buttons are unscrewed.
• The watch is only water resistant as marked to its
specified depth if the button has been screwed
down
• Buttons must never be unscrewed or be operated
underwater.
SCREW-
DOWN UNSCREW
5 6
STOPWATCH FUNCTION
• The measurement of time is indicated by the
stopwatch hands that move independently of the
center hands and 24-hour hand.
• The stopwatch can measure up to 60 minutes.
• The stopwatch measures in 1/10 second
increments.
STANDARD MEASUREMENT
START STOP RESET

8
Measurement and release of split time can be
repeated as many times as necessary by pressing
the button A.
SPLIT TIME
MEASUREMENT
STOPRESET
START SPLIT SPLIT
RELEASE
7
Restart and stop of the stopwatch can be repeated
by pressing the button B.
ACCUMULATED ELAPSED TIME
MEASUREMENT
STOPRESET
START STOP RESTART

HELIUM RELEASE VALVE
This RGMT timepiece is equipped with a
Helium Release Valve.
It provides functionality for professional
divers operating at great depths for prolonged
periods of time or under saturation.
When commercial divers operate at great depths,
they often spend prolonged hours in diving bells
under pressure breathing a breathing gas that
contains the gases helium or hydrogen. Since helium
atoms are the smallest natural gas particles found in
nature, these gas atoms are able to work their way
inside the watch, around any o-rings or other seals
the watch may feature.
This is not a problem as long as the divers stay under
pressure, but when the decompression stops during
resurfacing a pressure difference builds up between
the trapped gas inside the watch case and its
9
HELIUM
RELEASE
VALVE
10
environment. Depending on the construction of the
watch case and crystal, this effect can cause
damage to the watch, such as the crystal popping
off.
The helium release valve does not need any manual
intervention or adjustment, it automatically releases
the helium or hydrogen used in the breathing gas
mix trapped inside the watch case.
Please make sure to employ the screw-down
crown on your timepiece for maximum water
protection.

WATER RESISTANCE
The water resistance indicated on your timepiece serves
only as a guide. Actual water resistance may vary
depending on a number of important factors including
temperature, water salinity, and actual use under water.
The water resistance of your timepiece may eventually be
compromised over time with general wear and tear and
the use of your watch under adverse conditions.
Always remember to employ the screw down crown (if
available) to maintain the water resistance of your
timepiece. Warranty may be voided if the screw down
crown has not been properly employed.
Note that you should NEVER wear your watch in a jacuzzi,
hot shower or steam room where steam may enter the
case despite the watertight seals used to protect your
watch.
The steam may cause condensation inside your watch,
which may affect and damage the inner workings of your
watch – which would also not be covered by the warranty.
SIDE VIEW
11
HELIUM
RELEASE
VALVE

13
3. 4.
12
HOW TO CHANGE THE MESH STRAP
TO RUBBER STRAP
1. 2.

14
5.
15
HOW TO USE A DEPLOYANT CLASP
1. Flip the cover.
2. Press the buttons on the clasp sides.
1
2

16
HOW TO RESIZE METAL BRACELET
On the inside of the bracelet, you will see some
small arrows engraved on removeable links.
1.
2.
17
Nylon Head
Hammer
3.
4.

19
Nylon Head
Hammer
FINISH
7.
8.
18
5.
6.

9.
Micro size
adjustment
10.
20 21
11.
FINISH
12.

INSTRUCTION MANUAL
BEDIENUNGSANLEITUNG
Vol. 1.28 EN DE IM.RGMT.CO
Weitere Einzelheiten zur Bedienung dieses Zeitmessers
finden Sie in der beiliegenden Broschüre oder unter:
TORPEDO
CHRONOGRAPH
UHR
Diese Uhr ist mit einem quarzbetriebenen
Chronographenwerk ausgestattet. Neben
der normalen Zeitanzeige ermöglicht
dieses Uhrwerk eine
Zwischenzeitmessung, Mikromessungen
der Zeit auf Knopfdruck, die in einer
Vielzahl von Aufgaben eingesetzt
werden können.

KRONE
MINUTENZEIGER
DATUM
SEKUNDENZEIGER
DRUCKKNOPF
A
DRUCKKNOPF
B
CHRONOGRAPH
ZWEITE HAND
CHRONOGRAPH 60
MINUTENHAND
STUNDENZEIGER
CHRONOGRAPH
1/10 ZWEITE HAND
Anmerkungen :
Die von den Stoppuhrzeigern angezeigte Messzeit
bewegt sich unabhängig von den mittleren Zeigern.
60
30
1050
2040
60
30
15
45
8
00
00
05
05
HELIUM-
ABLASSVENTIL
UNIDIREKTIONAL
LÜNETTENRING
VERSCHRAUBTE
KRONE
VERSCHRAUBBARER
RÜCKER B
VERSCHRAUBBARER
RÜCKER A

LESEN SIE BITTE FOLGENDES, BEVOR
SIE DIE KRONE AUFSCHRAUBEN:
VERSCHRAUBTE KRONE
Verschraubte Kronen werden verwendet, um die
Wasserbeständigkeit zu gewährleisten. Achten Sie
IMMER darauf, dass Ihre Krone fest verschraubt ist
( Position [0] ist gesichert. Die Positionen [1], [2]
und [3] sind nicht wasserdicht gesichert).
Schrauben Sie Ihre Krone NICHT ab, wenn Sie sich
in einer Umgebung befinden, in der Feuchtigkeit
vorhanden ist.
012
(2nd Klick) (1st Klick)
GESCHLOSSEN
Sicher verschraubt
+ Wasserbeständig
GEÖFFNET
Nicht gesichert für
Wasserbeständigkeit
3
12
VERWENDUNG DER
VERSCHRAUBTEN KRONE
ZIEHEN SIE DIE KRONE NUR, WENN SIE
ZUERST IST:
HINWEIS: Wenn die Krone nach dem Einstellen der Uhr
nicht sicher verschraubt wird, kann die
Wasserdichtigkeit der Uhr beeinträchtigt werden.
ZUM LÖSEN: Drehen Sie die
Krone gegen den Uhrzeigersinn,
bis sie sich ohne Spannung frei
dreht. Ziehen Sie die Krone zur
Einstellung der Uhr vorsichtig in
die anderen gewünschten
Positionen heraus (siehe
spezielle Bedienungsanleitung
auf den folgenden Seiten).
ZUM VERSCHRAUBEN.:
Drücken Sie die Krone ganz
hinein (in Richtung der Uhr)
und drehen sie dann im
Uhrzeigersinn, bis sie fest
verschraubt ist.
0
1

4
4. Drücken Sie die Krone in Übereinstimmung mit
einem Zeitsignal zurück in die Position [0].
* Stellen Sie das Datum nicht zwischen 21:00 Uhr
und 15:00 Uhr ein, da sonst der Tag möglicher-
weise nicht richtig wechselt. Wenn es notwendig
ist, das Datum während der Zeitspanne
einzustellen, stellen Sie zuerst die Uhrzeit auf
eine beliebige Uhrzeit außerhalb der Zeitspanne
um, stellen Sie das Datum ein und stellen Sie dann
die korrekte Uhrzeit zurück.
3
EINSTELLEN VON UHRZEIT UND
DATUM
*Prüfen Sie vor dem Einstellen der Zeit, ob die
Chronographenmessung gestoppt ist.
1. Ziehen Sie die Krone bis zur Position
[2]-(1st Klick) heraus.
2. Drehen Sie die Krone im Uhrzeigersinn, bis das
Datum des Vorschautages erscheint.
3. Ziehen Sie die Krone bis zur Position
[3]-(2nd Klick) heraus. wenn der Sekundenzeiger
auf 12 Uhr steht Position. Es wird auf der Stelle
stehen bleiben. Stellen Sie die Zeiger durch
Drehen der Krone auf die gewünschte Tageszeit
ein (stellen Sie sicher, dass Vormittags/
Nachmittags korrekt eingestellt ist).
* Wenn sich die Krone in der Position
[3]-(2nd Klick) befindet, keinen Drücker
betätigen. Andernfalls bewegen sich die
Chronographenzeiger.

BENUTZUNG DES SCHRAUBEN-
DRÜCKSTELLERS
Diese Uhr ist mit einem verschraubten Drücker
ausgestattet. Der Drücker kann erst gedrückt
werden, wenn er aufgeschraubt wurde.
Zum Verschrauben des Drückers - drehen Sie die
Rändelmutter um den Knopf im Uhrzeigersinn, bis
Sie auf Widerstand stoßen.
Zum Aufschrauben des Drückers - drehen Sie die
Rändelmutter um den Drücker gegen den
Uhrzeigersinn, bis sie sich auf ihrer maximalen
Höhe vom Gehäuse entfernt hat.
Nur wenn die Drücker aufgeschraubt sind, können
Sie die Funktionen des Chronographen bedienen.
VERSCHRA
-UBEN AUFSCHR
-AUBEN
56
STOPPUHR-FUNKTION
• Die Zeitmessung wird durch die Stoppuhrzeiger
angezeigt, die sich unabhängig von den mittleren
Zeigern und dem 24-Stunden-Zeiger bewegen.
• Die Stoppuhr kann bis zu 60 Minuten messen.
• Die Stoppuhr misst in 1/10-Sekunden-Schritten.
STANDARDMESSUNG
START STOPP RESET

87
Die Messung und Freigabe der Zwischenzeit kann
durch Drücken der Taste Aso oft wie nötig
wiederholt werden.
ZWISCHENZEITMESSUNG
STOPPRESET
START ZWISCHENZEIT ZWISCHENZEIT-
FREIGABE
MESSUNG DER KUMULIERTEN
VERSTRICHENEN ZEIT
STOPPRESET
START STOPP NEUSTART
Neustart und Stopp der Stoppuhr können durch
Drücken der Taste Bwiederholt werden.

ein Druckunterschied zwischen dem eingeschloss-
enen Gas im Inneren des Uhrengehäuses und seiner
Umgebung auf. Abhängig von der Konstruktion des
Uhrengehäuses und des Uhrglases kann dieser
Effekt zu Schäden an der Uhr führen, z.B. zum
Abspringen des Uhrglases.
Das Helium-Ablassventil benötigt keine manuellen
Eingriffe oder Einstellungen, es gibt automatisch im
Atemgasgemisch enthaltenes Helium oder
Wasserstoff ab, das im Inneren des Uhrengehäuses
eingeschlossen ist.
Bitte stellen Sie sicher, dass die verschraubte
Krone Ihres Zeitmessers für maximalen
Wasserschutz verwendet wird.
HELIUM-
ABLASSVENTIL
10
HELIUM-ABLASSVENTIL
Dieser RGMT-Zeitmesser ist mit einem
Helium-Ablassventil ausgestattet.
Es bietet Funktionen für Berufstaucher, die in
großen Tiefen über längere Zeiträume oder
unter Sättigung arbeiten.
Wenn kommerzielle Taucher in großen Tiefen
arbeiten, verbringen sie oft über längere Stunden in
Taucherglocken unter Druck und atmen ein
Atmungsgas ein, das die Gase Helium oder
Wasserstoff enthält. Da Heliumatome die kleinsten
in der Natur vorkommenden Gasteilchen sind,
können diese Gasatome den Weg ins Innere der Uhr,
um O-Ringe oder andere Dichtungen der Uhr herum
finden.
Dies ist kein Problem, solange die Taucher unter
Druck bleiben, aber wenn die Dekompression
während des Wiederauftauchens aufhört, baut sich
9
Other manuals for TORPEDO
1
Table of contents
Languages:
Other RGMT Watch manuals

RGMT
RGMT SUPERAV AUTO 24H User manual

RGMT
RGMT SUPERAV User manual

RGMT
RGMT DEMOLITION User manual

RGMT
RGMT SURVEYOR User manual

RGMT
RGMT FIELD MASTER User manual

RGMT
RGMT TRANS-CONTINENTAL User manual

RGMT
RGMT TRENCH User manual

RGMT
RGMT Locust Compass User manual

RGMT
RGMT ARTILLERY User manual

RGMT
RGMT NAVIGATOR User manual

RGMT
RGMT BATTLEDRESS User manual

RGMT
RGMT FIELD MASTER User manual

RGMT
RGMT CONTINENTAL User manual

RGMT
RGMT ALTIMETER User manual

RGMT
RGMT SUPERAV X NSF User manual

RGMT
RGMT BATTLEDRESS User manual

RGMT
RGMT BATTLEDRESS X NSF User manual
RGMT
RGMT T-1 AUTOMATIC User manual

RGMT
RGMT DEMOLITION User manual
RGMT
RGMT ARTILLERY User manual