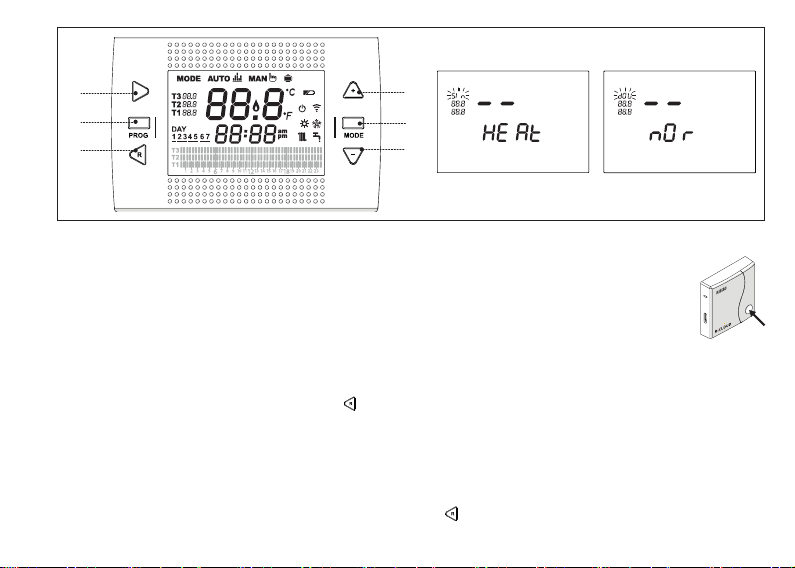
4
- press the MODE button (9) several times to select the
relay type.
Nor will be assigned to the receiver Wibox and/or RF
boiler.
Move the RF receiver in pairing mode by pressing and
holding the transparent LED button on the RF receiver
for 5 sec. The transparent LED button will simultaneously
ash green and red.
Look at the display and wait up the “- -” disappear and
a number appears (channel number), press the PROG
button (2) to enter and exit. The ashing mode on RF
receiver automatically returns to normal status conrming
the end of the pairing procedure.
RF pairing capability
It is possible to pair up to 8 devices (thermostats or boiler
receivers) to a single WiFi Box.
It is possible to pair up to 8 RF zone receivers to a single
thermostat.
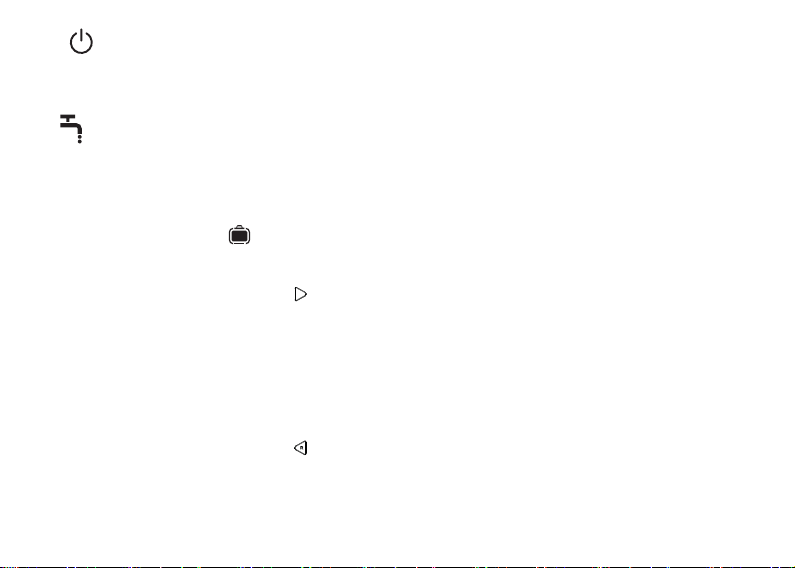
Reset of the self conguration (OT) function
The thermostat is factory set to work in an ON/OFF con-
nection. When using an OTBus connection available
(wired or wireless) the thermostat automatically detect the
BUS communication and will move to the OTBus working
mode (boiler remote control). To reset to the original facto-
ry set conguration in ON/OFF, it is necessary to remove
and replace the batteries.
RESET function
When an error code is displayed (only available if OTBus
connection is used between WiFi Box and the boiler and
if the OTBus protocol is allowed to do this), it is possible
make a reset of the alarm pressing once the button (1).
WARNING: If an error code persists, contact a qualied
service agency to perform service on your appliance.
Do not attempt to service your appliance yourself. This
may cause substantial property damage, severe per-
sonal injury or death.
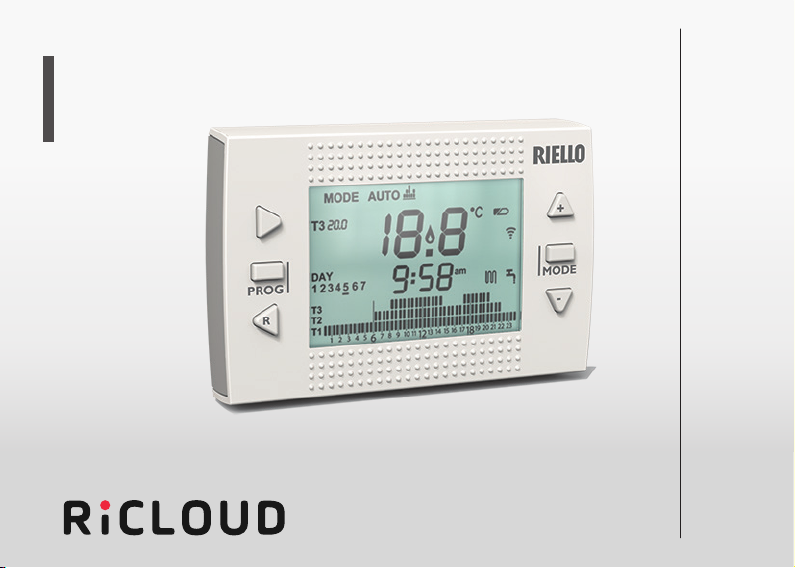
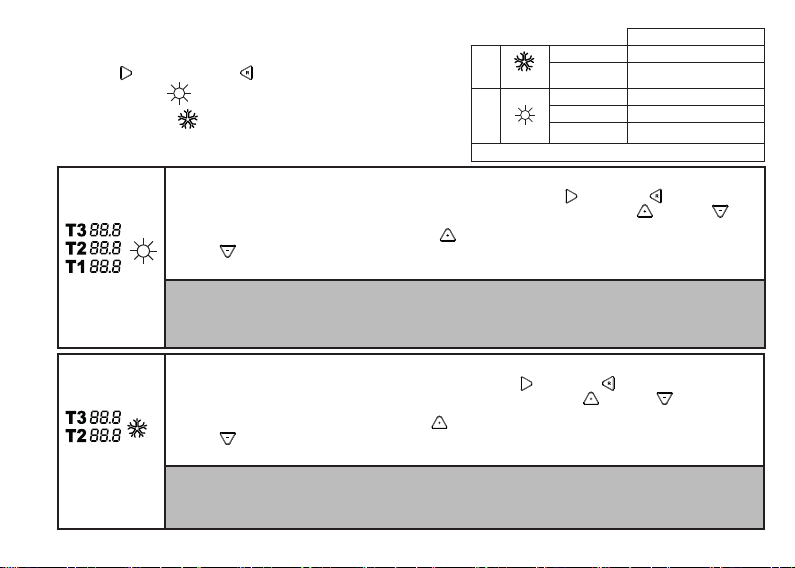
Desired room temperature
The thermostat can accept the setting of different tem-
perature levels:
T3 heat = Comfort (day temperature-occupancy)
T2 heat = Economy (night temperature- auto of home)
T1 heat = Frost protection
T2 cool = Economy (night temperature- auto of home)
T3 cool = Comfort (day temperature-occupancy)
The temperatures can be changed when active; by
moving the (8) and (10) buttons if the thermostat
is set on the mode related to this temperature level or
from the PROGRAMMING MENU – T1-T2-T3.
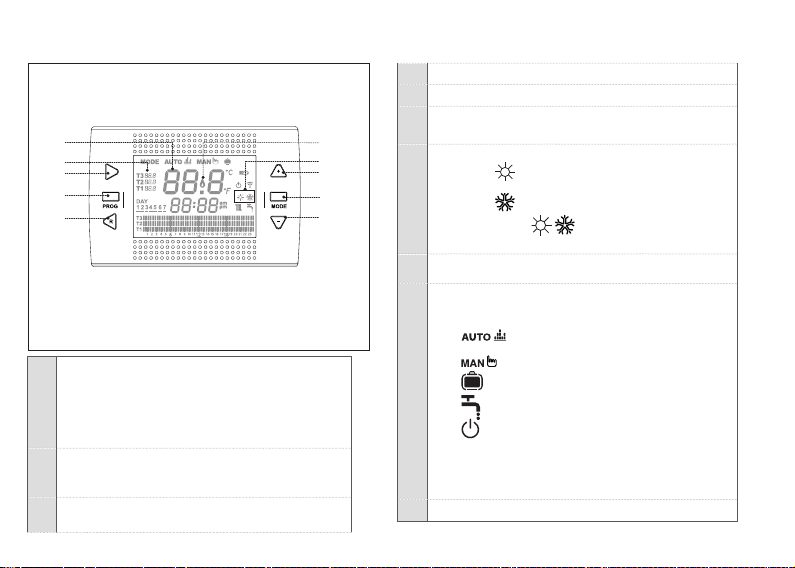
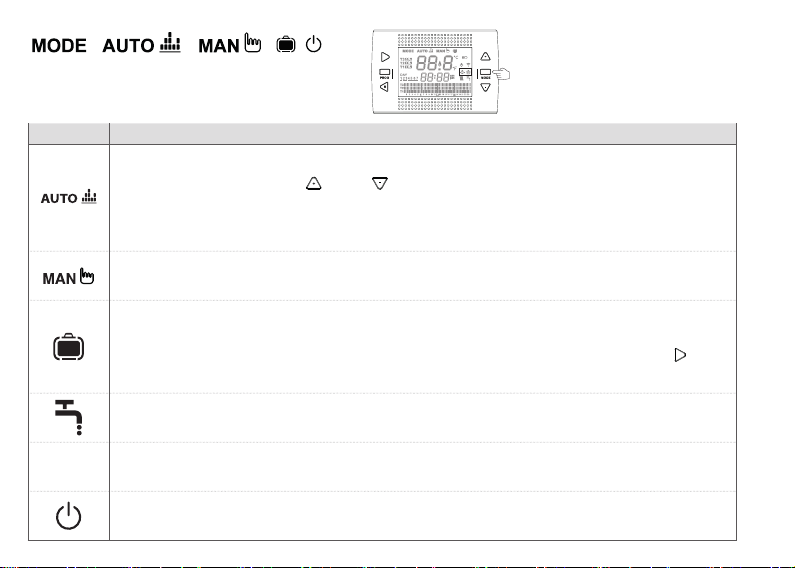
Working modes
By pressing the MODE button (9), it is possible to select
the following working mode:
t
hermostat working in heating/cooling at
temperatures level T3-T2-T1 according the
selected hours.
thermostat working in heating/cooling at
temperatures level T3 (Comfort) only, with-
out any restriction on hours.
HOLIDAY
thermostat working in heating/cooling at
temperatures level T2 (Economy) only for
the number of days set, without any restric-
tion in hours.