garden and gardening
SAFETYADVICE
RION is not responsible for the misuse oftools or parts.
It is of utmost importance to assemble all of the parts according to the directions. Please follow them closely and do not skip any of the steps.
We strongly recommend using working gloves during assembly.
If using a step ladder or power tools ensure that you follow the manufacturer's safetyadvice.
If local building codes require permits or licenses make sure that they are acquired before beginning.
Your SunRoom 8' should be secured to the prepared foundation using the recommended hardware.
Do not attempt to assemble the SunRoom 8' in windy or wet conditions.
Dispose of all plastic bags. Please keep them out of reach of small children.
Keep children away from the assembly area.
Do not lean against or push the SunRoom 8' during construction.
Do not attempt to assemble this SunRoom 8' if you are tired, have taken drugs or alcohol or if you are prone to dizzy spells.
When your SunRoom 8' is fully assembled examine it for sharp edges and trim with a razor knife if necessary.
If you live in a hot climate area, where outside temperatures exceed 46° C (115° F) under the sun or 36° C (99° F) in the shade, this may cause the
temperature inside the SunRoom 8' to exceed 55° C (131° F). Such conditions may harm your plants and will damage the SunRoom8' by warping
the structural profiles. In order to prevent damage:
- Ensure good ventilation during hot days.
- Make sure that the temperature inside the SunRoom 8' never exceeds 55° C (131° F) by providing a shading screen,
such as the Shade Net (available as an accessories option).
Note: RION is not responsible for any damage due to high temperatures.
* Always close roof vent in high winds.
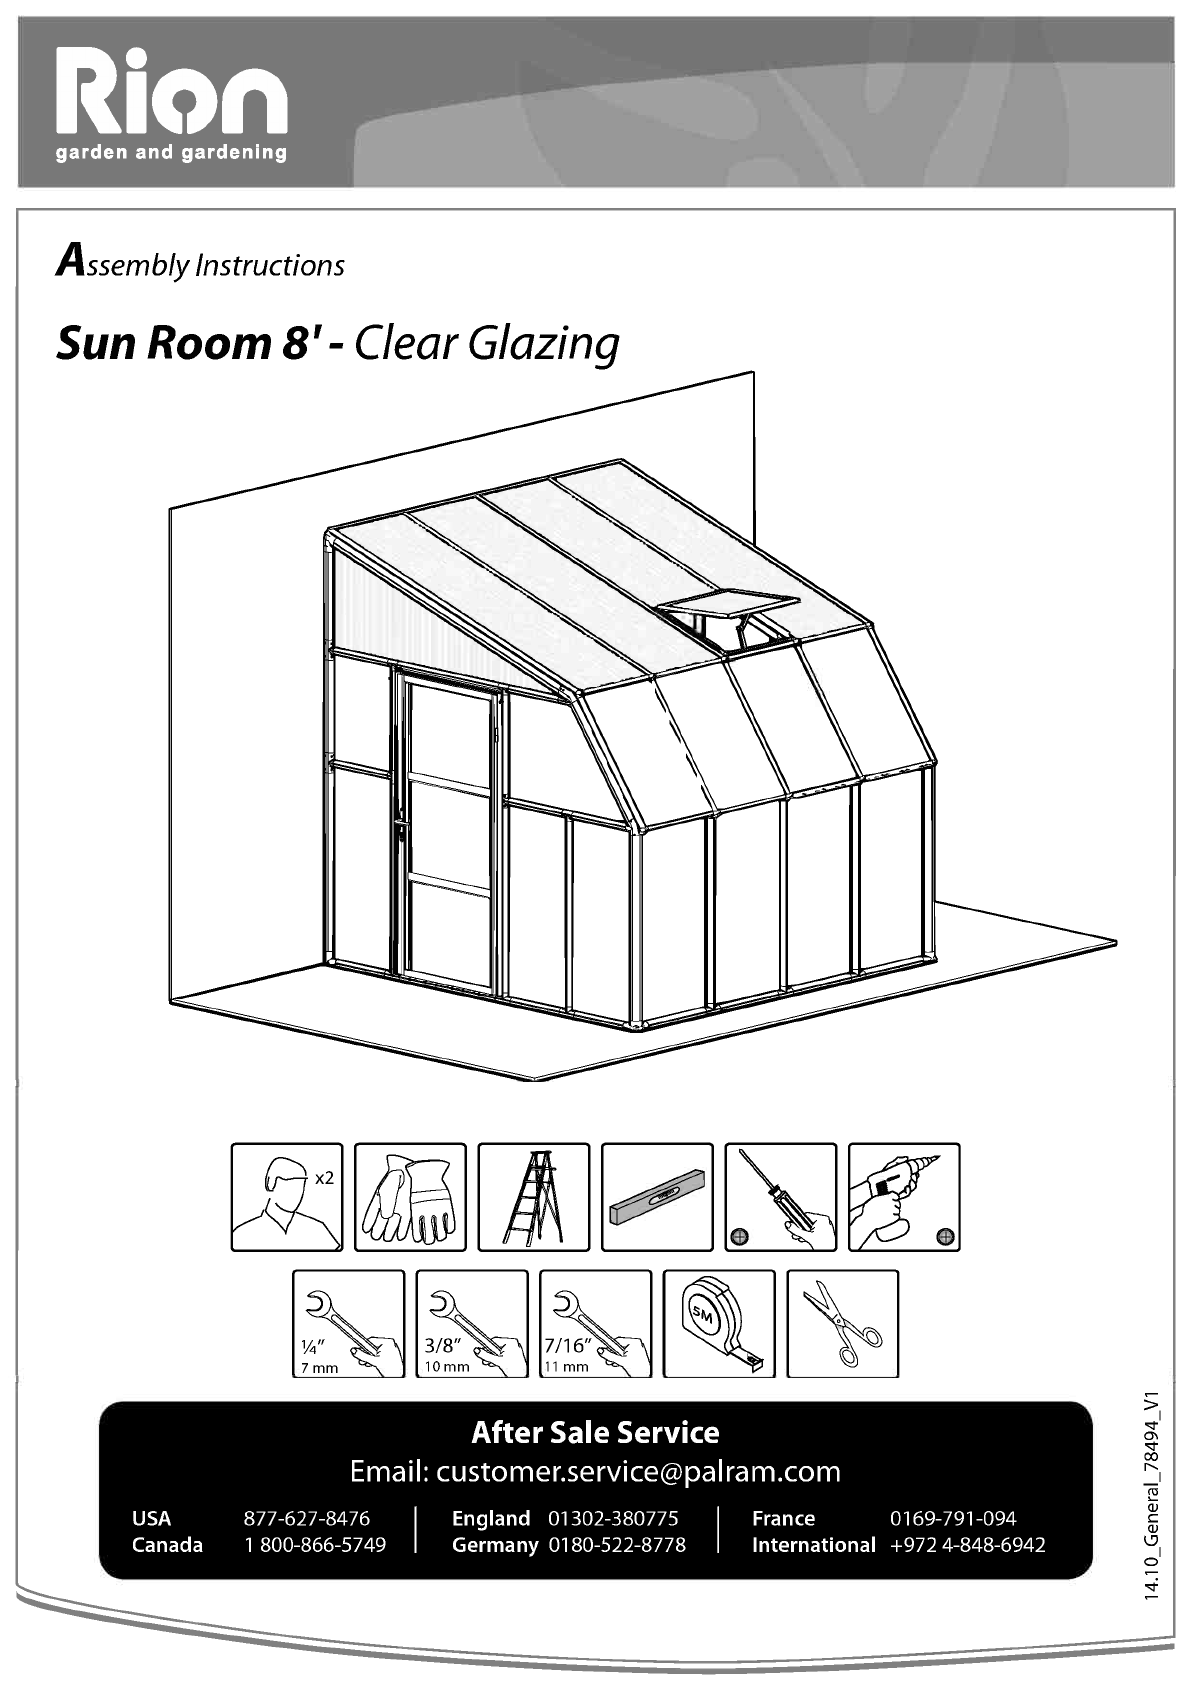
REQUIRED TOOLS
GT1 - Special tool to connect pins through lined up holes. Pin Tool fix and lock profiles in place.
To assemble this product you will need the following tools (these items are not supplied).
A, 411
BEFORE ASSEMBLY
RION is not responsible for the misuse oftools or parts.
Selecting a site - the SunRoom 8' must be, positioned and fixed on a flat level surface.
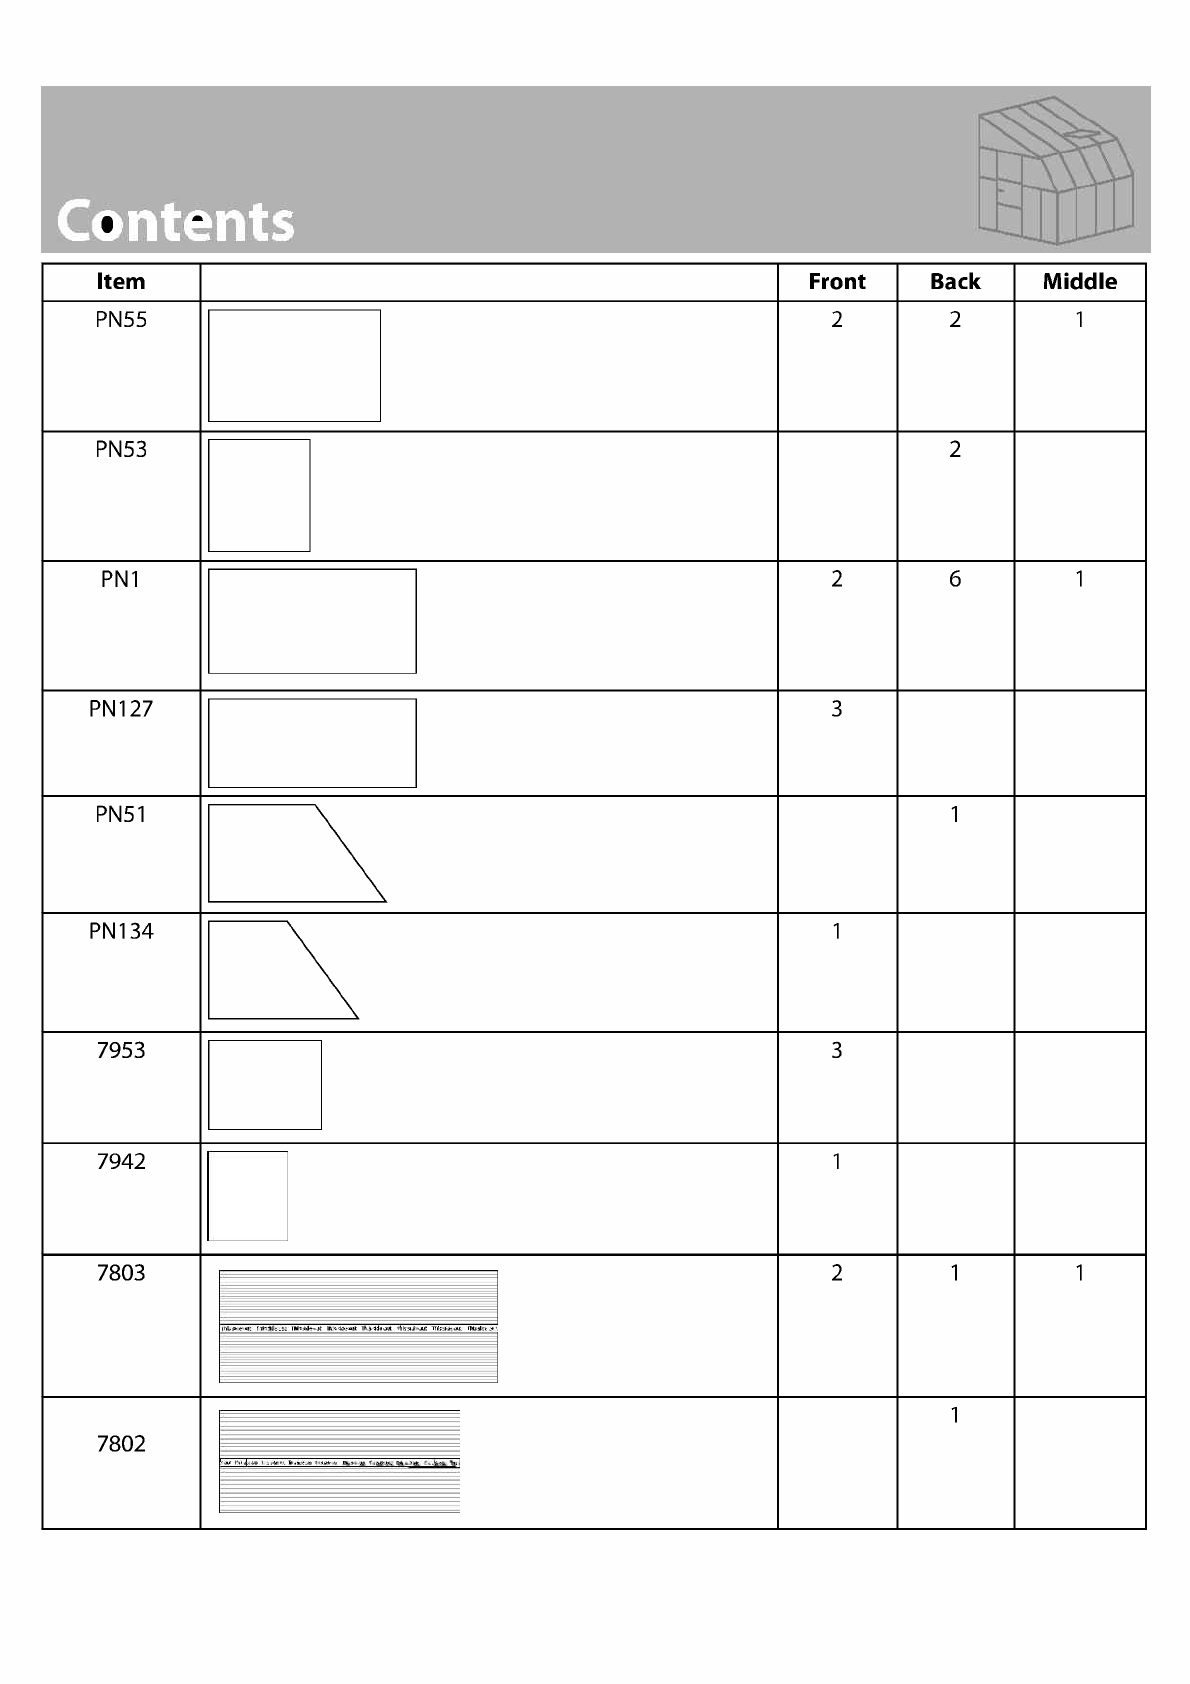
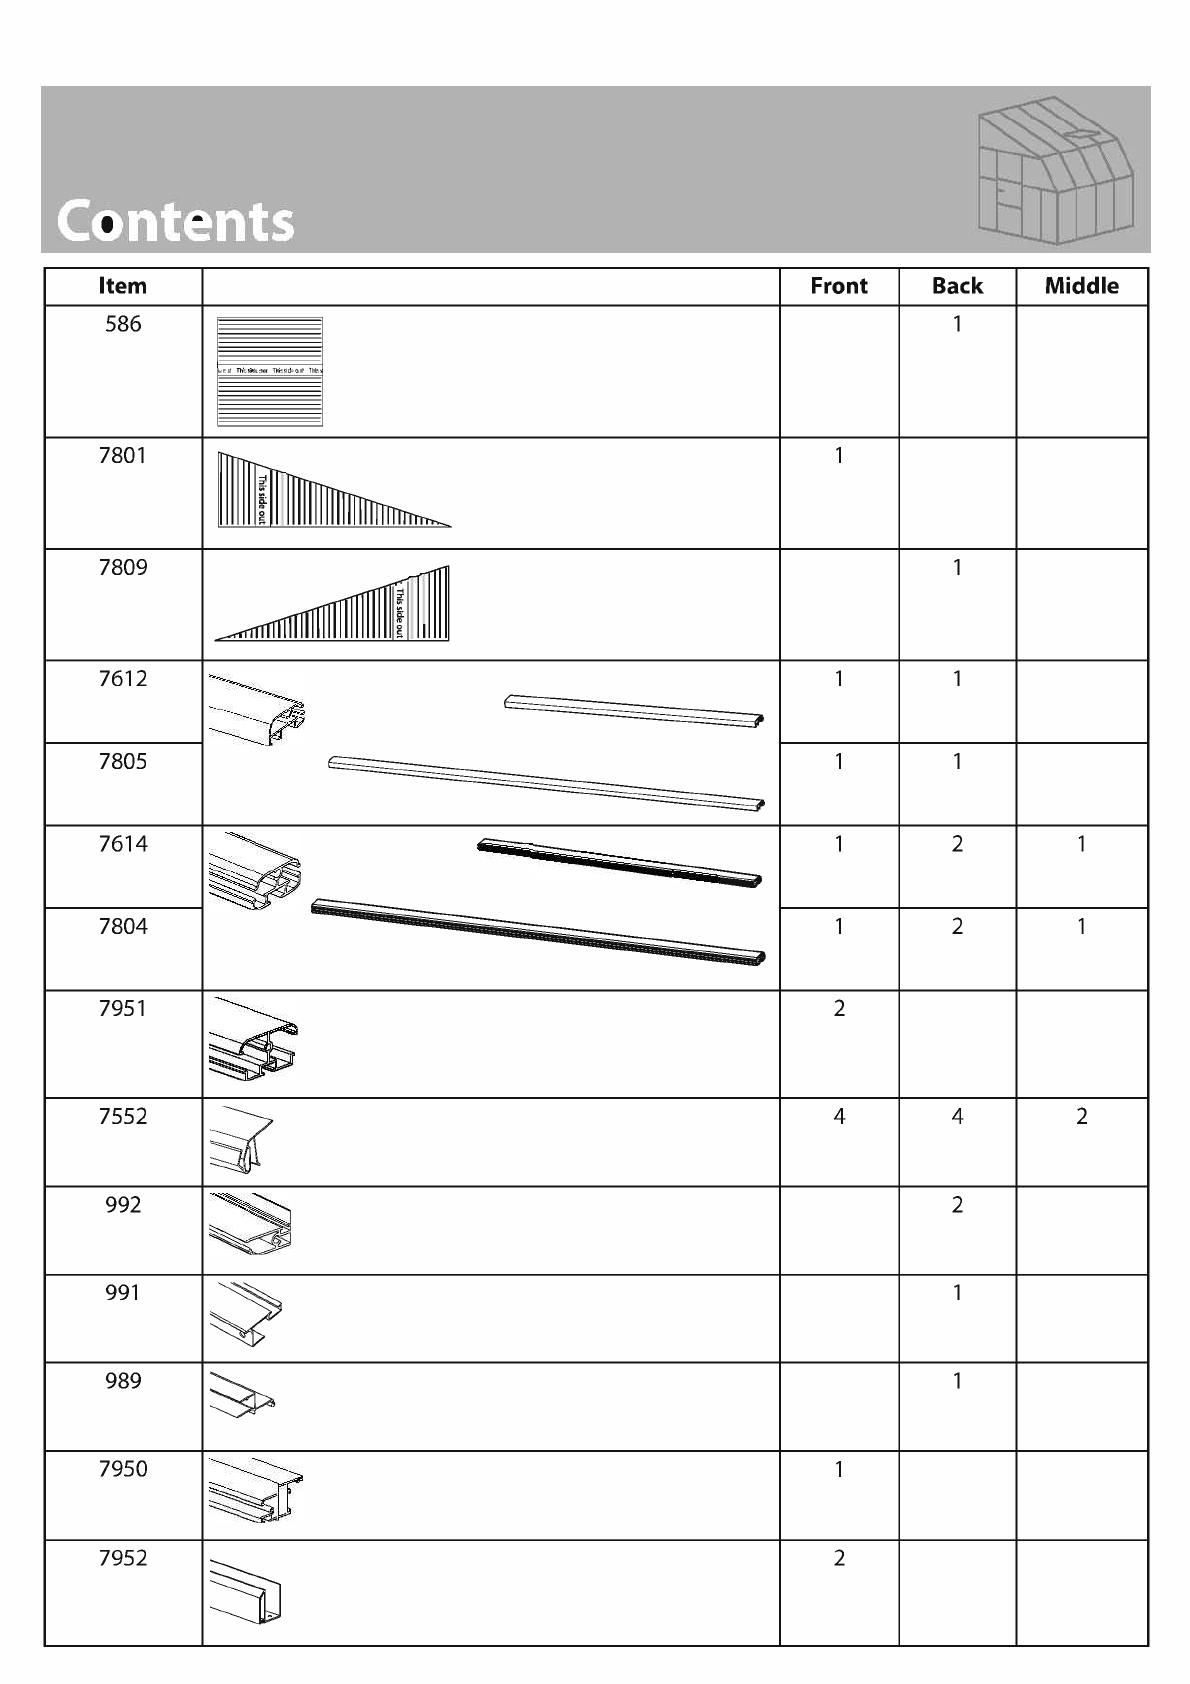
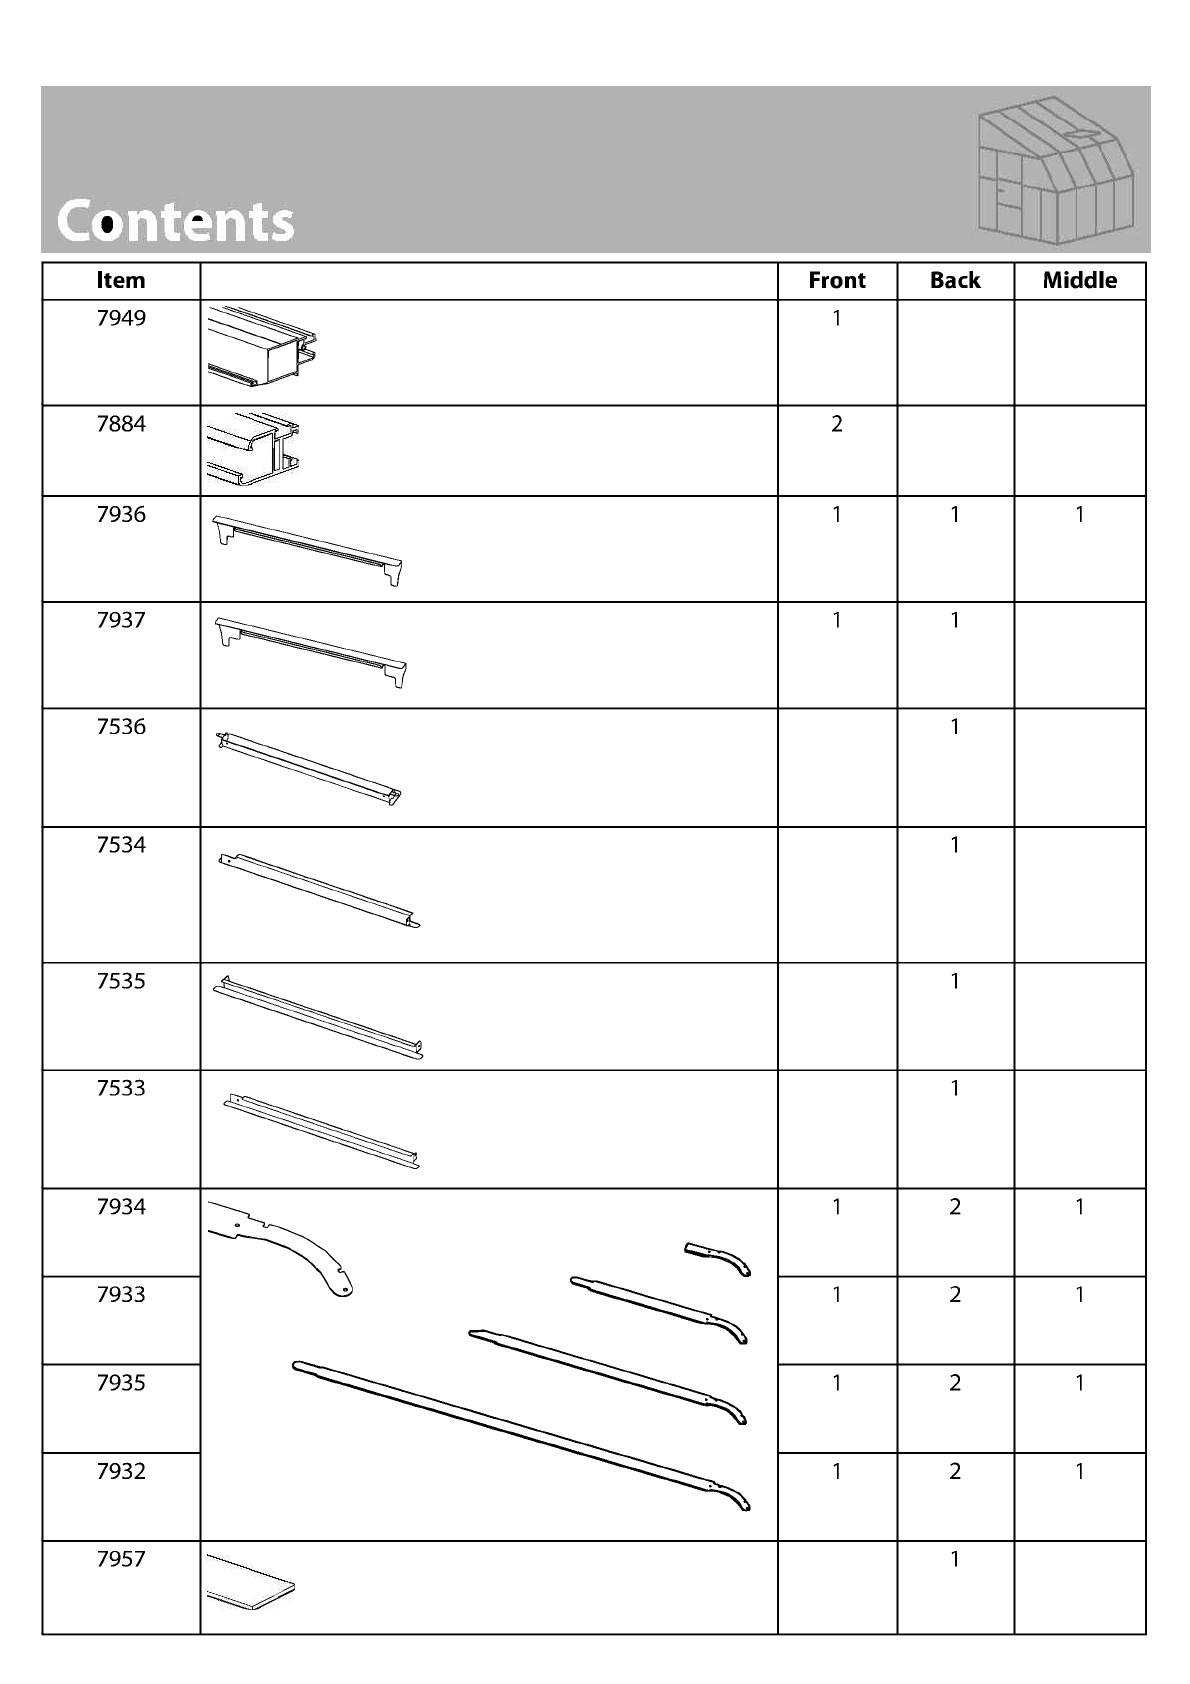
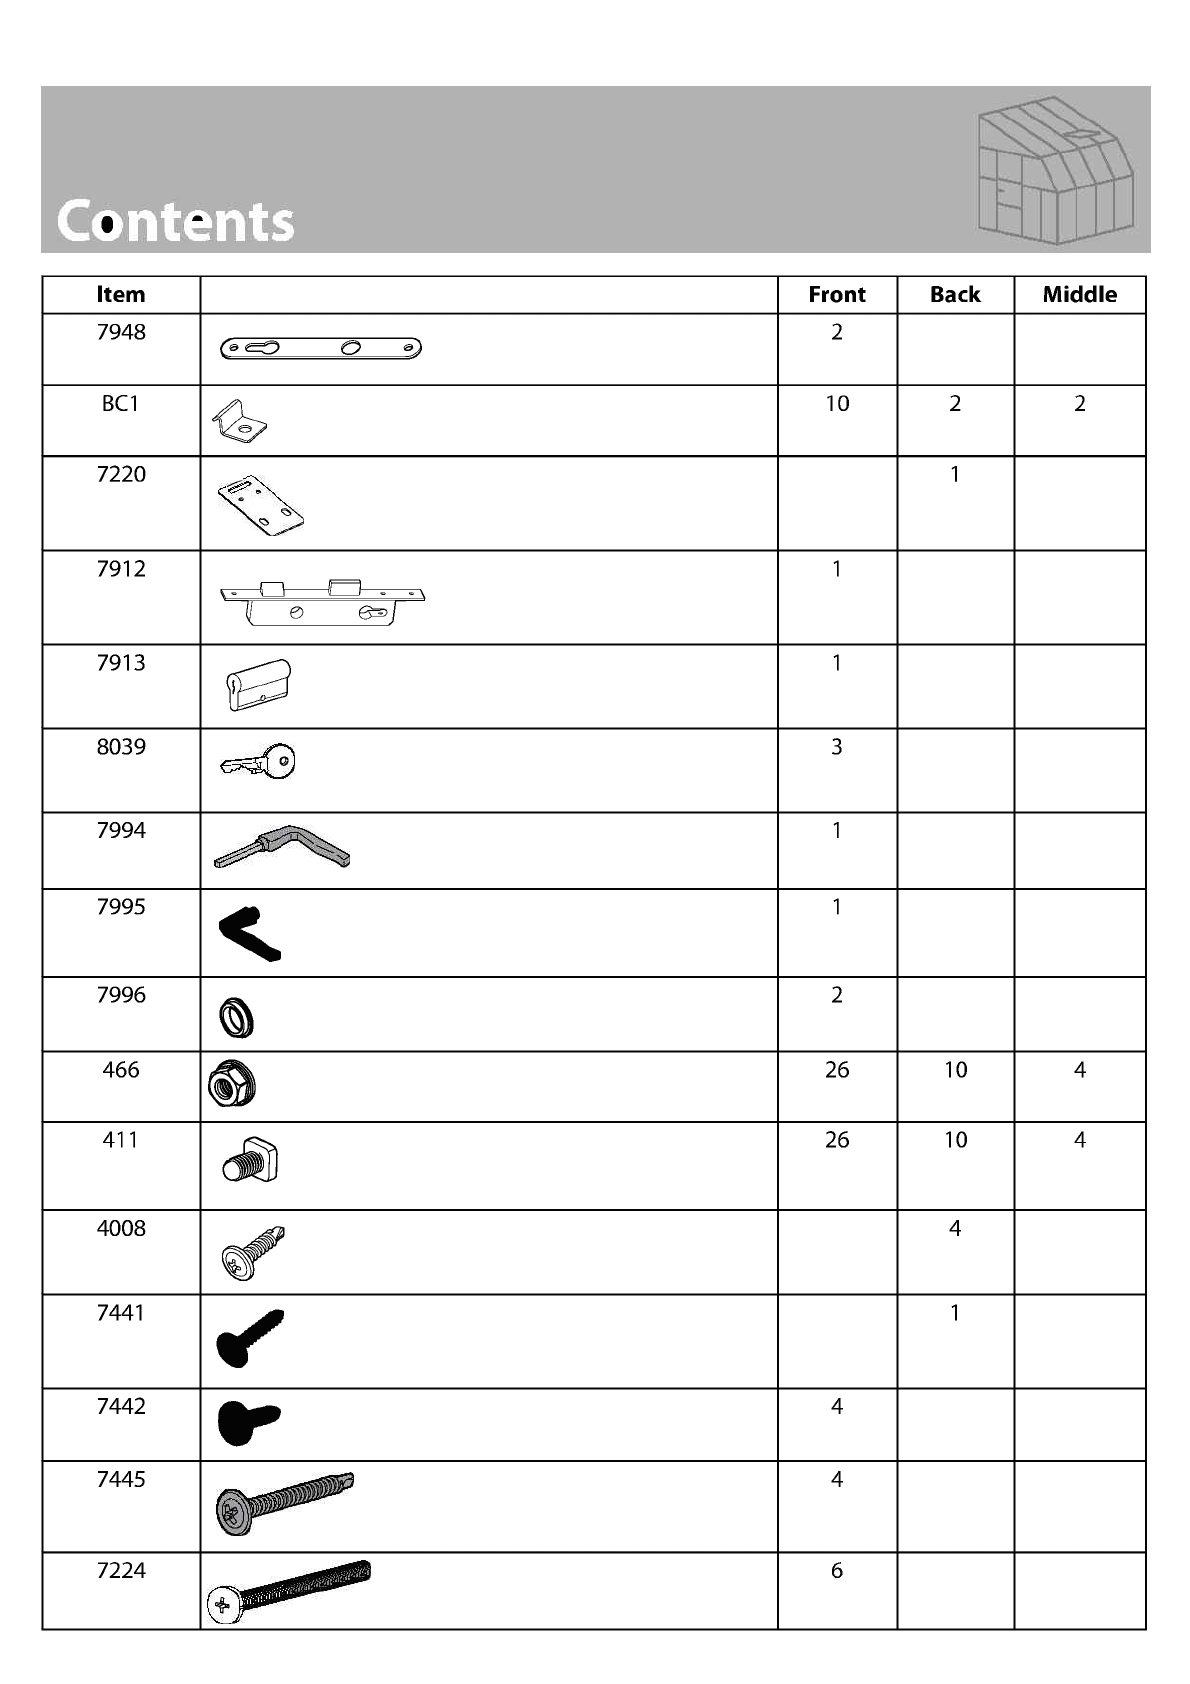
Sort the parts and check according to the contents parts list. Do not begin assemblyif any other parts are missing.
If you prepare a concrete foundation do not excavate and pour concrete in frozen ground.
We recommend that you place your SunRoom 8' in a spot where it will receive direct sunlight and will be
protected from the wind as much as possible. The door should not face prevailing winds.
DURING ASSEMBLY
Step 1: Determine which side to place the door. The decision will affect the upcoming steps.
Steps 1, 3: Arrange all 2D connectors with the stamped word "OUT"facing out of the SunRoom 8'.
Step 4:
Make sure that the frame is perfectly straightened by measuring and verifying that they leveled.
Make sure that the frame is leveled and anchor it to the ground with screw / screw + dibble / spike (not supplied) in accordance with the selected surface.
The wall to which you are securing your SunRoom 8' must be 90° to the foundation.
Step 17:
Make sure that the frame is perfectly straightened by measuring and verifying that they leveled.
Make sure that the frame is leveled and anchor it to the wall with screw / screw + dibble / spike (not supplied excluding part # BC1)
in accordance with the selected surface.
The wall to which you are securing your SunRoom onto must be 90° to the foundation.
Reinforcement Arch Profiles
Steps 18-23:
Ensure that all the metal profiles are inserted inside the plastic profiles.
Repeat each step based on your SunRoom 8' size and the number of arch profiles needed to be assembled as illustrated.
(These assembly instructions refer only to SunRoom 8'x8' and 8'x10').
Step 27: Make sure that the profiles are perfectly straightened by measuring and verifying that they are leveled.
Anchor the Part 7937 to the ground with screw / screw + dibble / spike (not supplied) according to the selected surface.
Step 28: Repeat Steps 24-27 according to the amount of modules purchased.
Step 30: Repeatand refer to Step 4.
Steps 39-40: Repeat and refer to Step 17.
Step 41: Seal the SunRoom 8' edges with Silicon Sealant.
Step 57: Insert the rubber strip (Part GF) from the outside of the SunRoom8'. Cut the remaining edges.
Step 64: Insert the rubber strip (Part 7945) from the outside of the SunRoom 8'. During this step, turn the door in order to insert the rubber strip correctly.
Step 66: Determinesdoor direction. The door can be installed and open either as a left or right hand door.
Step 69: Adjust the hinges height in accordance with the upper post and lower ramp of the door aperture, as specified in level C.
ATTENTION:
1 When encountering the
information icon, please refer
to therelevant assembly step
for additional comments and
assistance.
iiThis icon indicates that the
installer should be inside the
product.