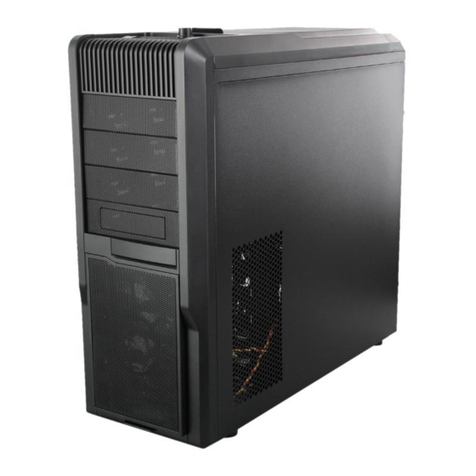
Riotoro MORPHEUS User manual

MID TOWER CONFIGURATION
CONVERTIBLE PC CASE
MORPHEUS

1
Note: This manual is a guide for the Morpheus convertible case. For instructions on installing the motherboard and other components,
please refer to their documentation.
Thank you for purchasing the MORPHEUS!
The first convertible PC case, resizes to fit your evolving needs.
The perforated mesh exterior and keeps the PC cool, and USB
Type-C provides state-of-the-art connectivity.
Welcome to RIOTORO

2
36
37
39
40
43
55
56
57
45
46
47
48
49
50
51
52
53
4
5
7
Before You Begin
- Exploded view
- What is in the box
- Requirements
Middle Panel Assembly
- Components required to build this section
- Unpack components
- Seure the structure
- Secure the drive caddies
Trim / Side Panel Assembly
- Components required to build this section
- Secure the trim to the structure
- Install cooling bracket and filter
- Adjust the side panels
- Install side panels
1Back / Bottom Panel Assembly
- Components required to build this section
- Unpack components
- Create an L-Shape structure
- Secure the structure
- Install the exhaust fan
5
Installing All Components
- Specifications
- Motherboard installation
- Connect the Front Panel
Switches and LEDs
- Power Supply Installation
- SSD / HDD Installation
- Fan Installation: Front, top, bottom
- Attaching the Case Fan Cables
- Water Cooling Installation - 120.0 mm
or 140.0 mm options
- GPU Installation
3Top / Front Panel Assembly
- Components required to build this section
- Unpack components
- Create an L-Shape structure
- Secure the structure
Everything Else
- General Maintenace
- Important Safety Information
- LIMITED PRODUCT WARRANTY
25
26
27
28
16
17
18
23
9
10
11
12
14
4
2
CONVERTIBLE PC CASEMORPHEUS
CONTENTS

www.riotoro.com/Morpheus
Before You Begin

Exploded view
CONVERTIBLE PC CASEMORPHEUS
11
1
2
3
4
5
67
8
10
12
13
14
15
16
9
17
18
19
20
21
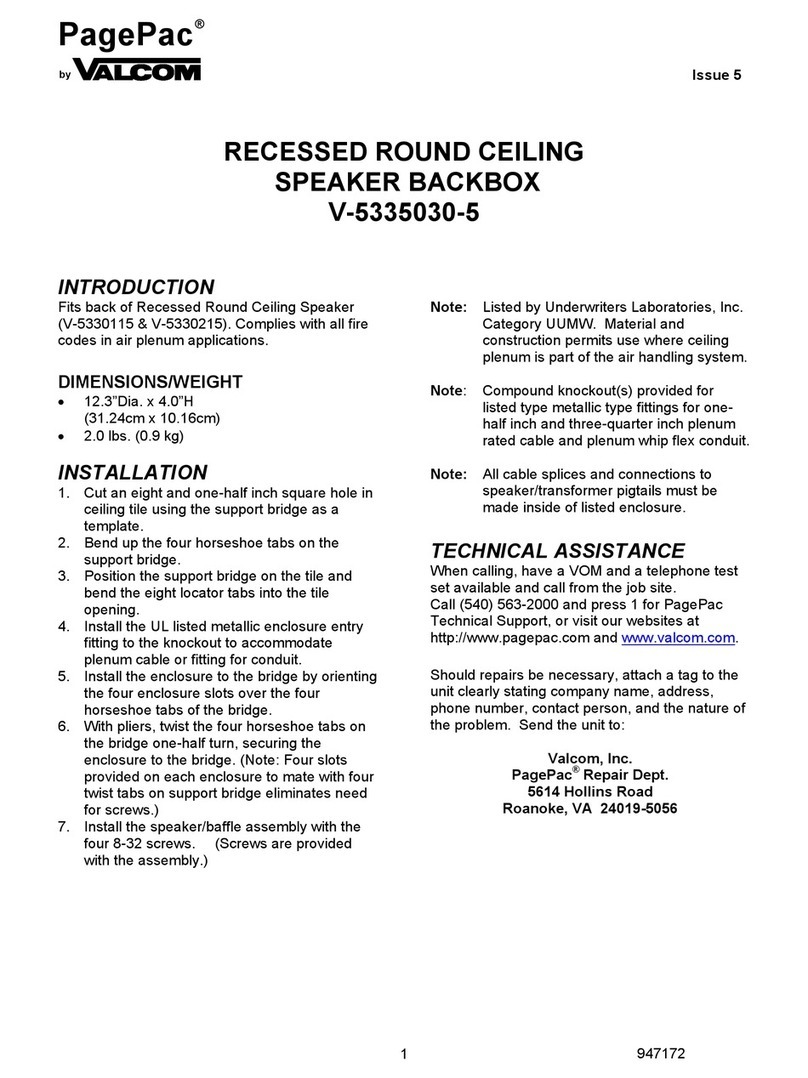
1. I/O panel
2. Dust filter
3. Top panel structure
4. Extension bracket
5. SSD cage
6. HDD cage
7. Middle panel
8. Cable management channels
9. Cooling bracket
10. Base plate structure
11. Bottom panel
12. Dust filters
13. Back panel structure
14. PCIe expasion bracket
15. Back trim
16. Front panel structure
17. Front trim
18. Red LED logo
19. Dust filter
20. Adjustable side panel
21. Thumb screws
Before You Begin 4

MORPHEUS
MINI-TOWER
MID-TOWER
COMPONENTSECTIONS
OVERVIEW
RIOTOROMorpheus,the world's first convertible PC case, allows you to resize
yourPCas your needs evolve. Morpheus can easilyshape-shiftto and from a
shortortall ATX mid-tower.The entire exterior is perforated mesh, which combined
withthestock dual 140.0 mm fans, keeps your PC’s components running cool and
quietevenin extreme gaming configurations. Plenty of easy-to-install cooling
optionsareavailable thanks to a removal cooling mount and support for additional
fansortwo 240mm radiators. Tool-less features, combined with the strategically
placedcablerouting channels, drive trays, and cooling bracket, make building
Morpheusasnap. Plus we added state-of-the-art USB Type-C and USB 3.0 ports
forhigh-speedconnections to modern storage and mobile devices.
RIOTOROINC.
CONFIGURATIONS:
PATENTPENDING
271.0x400.0x 466.0 mm 271.0x466.0x 466.0 mm
-Resizablefrom mid-to-mini tower height
-High-densityperforated mesh on all sides for superior cooling
-USB-Cand USB 3.0 ports
-Dualcompartments with streamlined airflow and isolate heat
-SupportsE-ATX, ATX, microATXand mini-ITX motherboards
-Dual120.0 mm fans, additional mounts for 140.0 mm fans and
240.0 mm water coolers
-Optimizedcable routes, mount points hassle free assembly
-2x3.5-inch HDD plus, up to 4x 2.5-inch SSD out of the box
SectionOne:take out components from protective bag, remove security thumb screws, position back panel in an upright position and
tightenthescrews. If you are building a Mini-Tower configuration make sure to change the expansion bracket and adjust back panel size.
ASSEMBLY
SectionTwo:take out components from protective bag, position and screw middle panel to section one. If you are building a Mid-Tower
configurationmakesure to add the expansion to the middle section, SSD expansion caddy and tighten screws.
SectionThree:take out components from protective bag, remove security thumb screws, position front panel in an upright position and
tightenthescrews. If you are building a Mini-Tower configuration, make sure to adjust front panel size, screw components to previous
assemblyandtighten screws.
SectionFour:take out components from protective bag and use red thumb screws to secure to previous sections. If you are building a
Mini-Towerconfigurationmake sure to adjust side panel size.
KEYDESIGN ELEMENTS
BACKPANEL
-High-airflowperforatedmesh panel
-1x80.0mm exhaust fan
BOTTOMPANEL
-High-airflowperforatedmesh panel
-2x120.0mm or 140.0 mm fans
-ABSfeet
-Easilyaccessibledust filters to help
keepthe computer clean
MIDDLEPANEL
-Dualchamberconfiguration
-CPUcutoutwith rubber grommets, cable
andmanagement routes with velcro ties
-Mini-Tower&Mid-Towercomponents
-Removablestoragebrackets for 2x HDD
andup to 4x SSD
-Removablebracketwith mounts for
2x120.0 / 140.0 mm fans or up to
280.0mm radiators
FRONTPANEL
-High-airflowperforatedmesh panel
-RedLEDRIOTORO bullhead logo
TOPPANEL
-High-airflowperforatedmesh panel
-I/Opanelwith 2 x USB Type-C,
2xUSB 3.0, 1 x Headphone,
1xMicrophone, RGB fan control
(mode,color, brightness)
SIDEPANEL
-High-airflowperforatedmesh panel
-LeftandRight panels each consist of
threeresizable mesh sheets
-Magneticdustfilter
WHAT’S IN THE BOX
QTY
ITEM IMAGE USEDESCRIPTION
SECTION 1
SECTION 2
SECTION 3
Mouse Pad
1Build the base &
back strucure
Build the middle
structure
Build the front &
top structure
Surface protection
& quick reference
1
1
1
1
2
3
4
5Side panel with
magnetic filter
Cover both sides
of the case
2
Before You Begin 5
CONVERTIBLE PC CASEMORPHEUS

Before You Begin 6
QTY
ITEM IMAGE USEDESCRIPTION
120.0 mm
Red LED Fan
80.0 mm
Exhaust Fan
2Front, Top, or
Bottom
Back 1
1
1
6
7
8
9
11 4
Structure installation
Screw M3 x 5mm Trim installation
Screw M3 x 5mm
Screw 5 x 10KT Fan installation
(front/rear)
Thumb Screw
9*15mm (Red)
Side Panel
10
12
1
4
Thumb Screw
9*15mm (Black)
Side Panel
CONVERTIBLE PC CASEMORPHEUS
WHAT’S IN THE BOX

Before You Begin 7
CONVERTIBLE PC CASEMORPHEUS
Start by taking the entire content out of the box, sort them out by section,
take out the quick start mouse mat and use it as general guide and
building surface.
Note: Handle all components with care, should you need any assistance go to www.riotoro.com/support
REQUIREMENTS
In order to assemble Morpheus to the desired form factor
(either mini or mid tower) you will need:
1. A flat working area (e.g. desk or table)
with sufficient space
2. A magnetic Phillips screw driver
This means you need to have the Phillips screw driver
available in order to complete this assembly and the
type of screw you need.
9

Back / Bottom Panel Assembly
1
www.riotoro.com/Morpheus

QTY
IMAGE USEDESCRIPTION
Top & bottom trim 1Back panel
2
1
2
Back panel
PCIe bracket Back panel
Adjustable top
structure & body
Dust filter Bottom panel
1Bottom structure
and feet
Bottom panel
Mid Mini
80.0 mm
Exhaust Fan
Back panel 1
5
Structure installation
Screw M3 x 5mm Trim installation
Screw M3 x 5mm 21
4Screw 5 x 10KT Fan installation
Components required to build this section:
BACK / BOTTOM PANEL ASSEMBLYMORPHEUS
Chapter 1 9

Unpack components
BACK / BOTTOM PANEL ASSEMBLYMORPHEUS
Chapter 1 10
Note: 1you may discard the security screws as they are not used for the assembly
- Remove the top back trim and set
it aside for later use, additionally
you need to remove security thumb
screws on each side1
- Take out the preassembled bottom
and back panel out of the bag.
To start the assembly, you need to:

9
- Make sure the back and bottom panels are properly aligned and
tighten the two structure screws (1 and 2) on each side of the
L-Shape Structure.
Chapter 1 11
BACK / BOTTOM PANEL ASSEMBLYMORPHEUS
Create an L-Shape structure
- Lift the back panel to an upright position, in order to make an
L-Shaped structure, , tke out the shipping foam, mini tower
expansion bracket and 80.0 mm fan and set them aside for later use.
1
2

9
Chapter 1 12
- Locate the two screw holes at the bottom of the structure, place and
tighten two structure screws.
screw them from the outside in
BACK / BOTTOM PANEL ASSEMBLY
Secure the structure
MORPHEUS
1
2

9
Chapter 1
BACK / BOTTOM PANEL ASSEMBLYMORPHEUS
13
Secure the structure
Once you have secured the two sides, you should have an L-shaped section
ready for configuration.
screw them from the outside in
1
2
3
4
5
6
- Place and tighten six (1, 2, 3, 4, 5 and 6) structure screws,on each side to
secure the adjustable top, expansion bracket and the back panel body.
- Adjust the height of the adjustable top in order align the structure screw
holes of the adjustable top and the back panel body.

10
BACK / BOTTOM PANEL ASSEMBLYMORPHEUS
Chapter 1 14
1
2
3
4
screw them from the outside in
- Align the fan to the back panel body, place and tighten the fan screws
(provided in box PL01-1).
Install the exhaust fan

www.riotoro.com/Morpheus
Middle Panel Assembly
2

Components required to build this section:
Chapter 2 16
QTY
IMAGE USEDESCRIPTION
panel with 6x Cable
Management Routing
Channels
1Middle panel
1
1
Middle panelBase plate
HDD bracket for
two drives
Middle panel
SSD bracket for
two drives
Middle panel 2
1
Structure installation
Extension plate Middle panel
Screw M3 x 5mm 21
HDD stabilizer 1Middle panel
MIDDLE PANEL ASSEMBLYMORPHEUS

Unpack components
Chapter 2 17
To start the assembly, you need to:
- Take out the HDD stabilizer and
structure screws from
Box PL02-1.
- Take out the preassembled middle panel and base plate out of the bags.
Provided a successful SECTION 1 assembly, now the next step is to
install the middle panel and its components.
MIDDLE PANEL ASSEMBLYMORPHEUS

Chapter 2 18
9
Secure the structure
- Align the holes for the preassembled middle panel and base plate,
join both parts by placing and tightening two (1 & 2) structure screws.
MIDDLE PANEL ASSEMBLYMORPHEUS
1 2
screw them from the outside in

Note: you need to have the Phillips screw driver available in order to complete this assembly.
Secure the structure
Chapter 2 19
- Get the HDD stabilizer, align the screw holes, place and tighten
two structure screws in order to secure it into place.
MIDDLE PANEL ASSEMBLYMORPHEUS
1
2
9
Table of contents
Other Riotoro Enclosure manuals

Riotoro
Riotoro CR500 User manual
Riotoro
Riotoro CR1280 User manual

Riotoro
Riotoro CR1288TG User manual
Riotoro
Riotoro CR100TG User manual
Riotoro
Riotoro CR488 User manual

Riotoro
Riotoro CR280 MINI User manual
Riotoro
Riotoro CR400 User manual

Riotoro
Riotoro CR101BE User manual

Riotoro
Riotoro CR1080 User manual
Riotoro
Riotoro CR1088 User manual
Popular Enclosure manuals by other brands

Western Digital
Western Digital WDBABT0010HBK - My Book AV DVR Expander Quick install guide
Pulsar
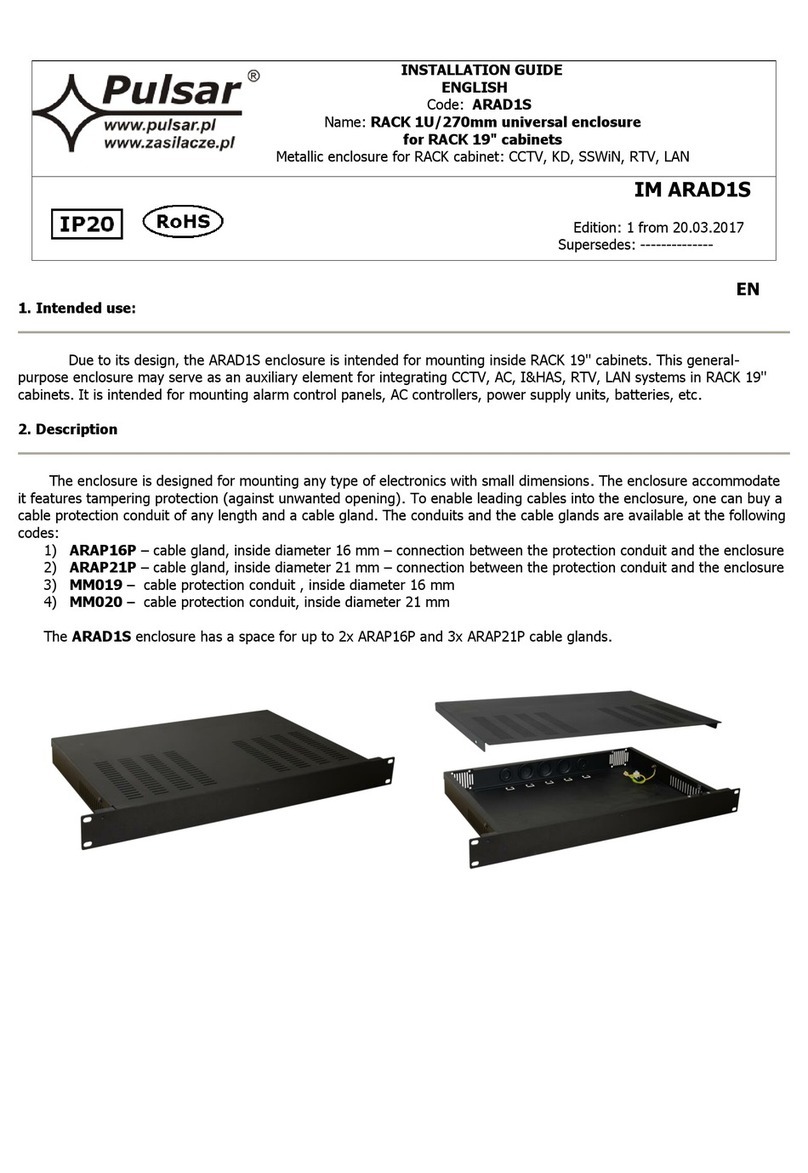
Pulsar ARAD1S installation guide
SMS
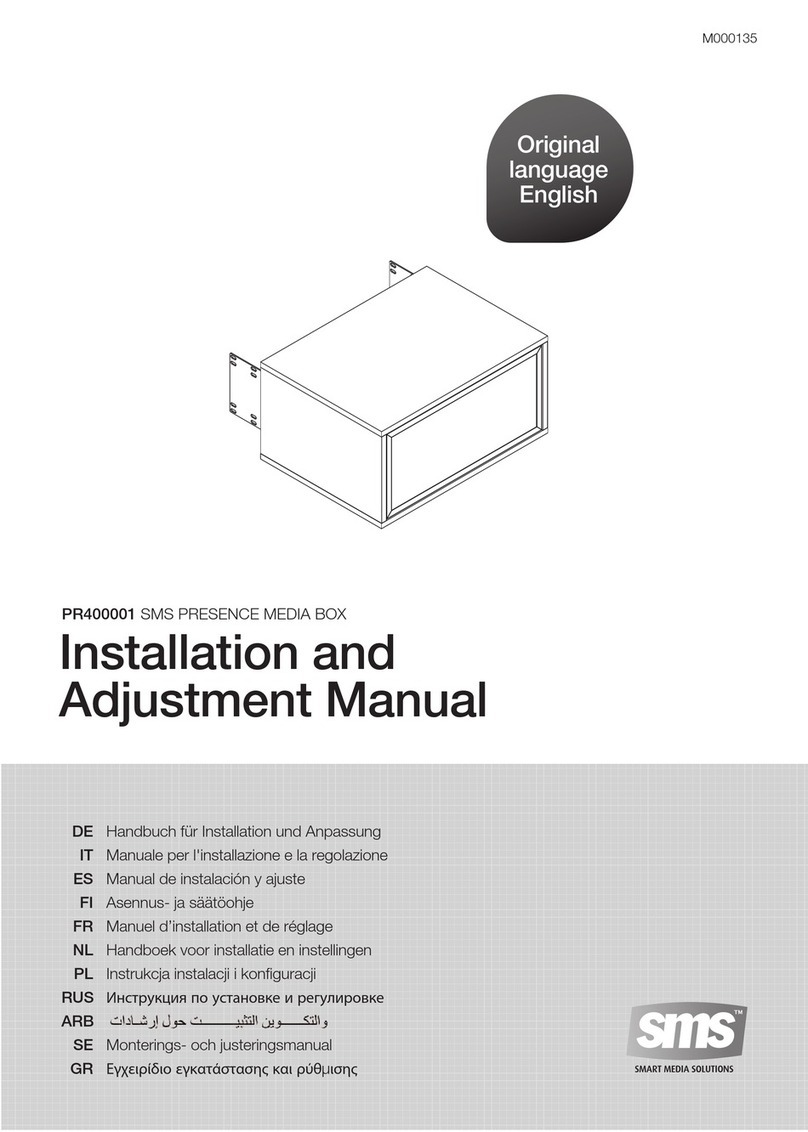
SMS PR400001 Installation and adjustment manual

Pepperl+Fuchs
Pepperl+Fuchs 1011 Series Installation and operation manual

Contractors Wardrobe
Contractors Wardrobe 7800 installation instructions
TOOQ
TOOQ TQE-2530B user manual


