Torque set
Wrench size
Model
Part No.
In-lbs
(N-m)
Inch
(mm)
TW 227
RA-120 mm*
43225
22
(2.49)
7/16
(11.1)
TW 307 RA
43235
30
(3.39)
7/16
(11.1)
43238 instru table 12-09-10.doc
Part number explanation. For
example model number TW-307RA:
The first two numbers (30) indicate
the torque value in inch pounds. The
7 indicates 7/16 wrench size.
* This model is made with an extended security tool wrench that
measures 120mm (4.7”) from the yoke to the wrench end.
Standard wrench length is 2.47”
46 Nooks Hill Road, Cromwell, CT 06416 USA ~ Phone: 800-528-8665 ~ Int’l: (01) 860-635-2200
Fax: (01) 860-635-3631
~ E-mail:
[email protected] ~ Internet: www
.ripley-tools.com
43238rev.3 06-01-17 ff
WARRANTY: RIPLEY warrants its products against defective materials and workmanship for a period of one
year from date of shipment from the RIPLEY factory provided the product is utilized in accordance with
instructions and specified ratings.
Torque set
Wrench size
Model
Part No.
In-lbs
(N-m)
Inch
(mm)
TW 227
RA-120 mm*
43225
22
(2.49)
7/16
(11.1)
TW 307 RA
43235
30
(3.39)
7/16
(11.1)
43238 instru table 12-09-10.doc
Part number explanation. For
example model number TW-307RA:
The first two numbers (30) indicate
the torque value in inch pounds. The
7 indicates 7/16 wrench size.
* This model is made with an extended security tool wrench that
measures 120mm (4.7”) from the yoke to the wrench end.
Standard wrench length is 2.47”
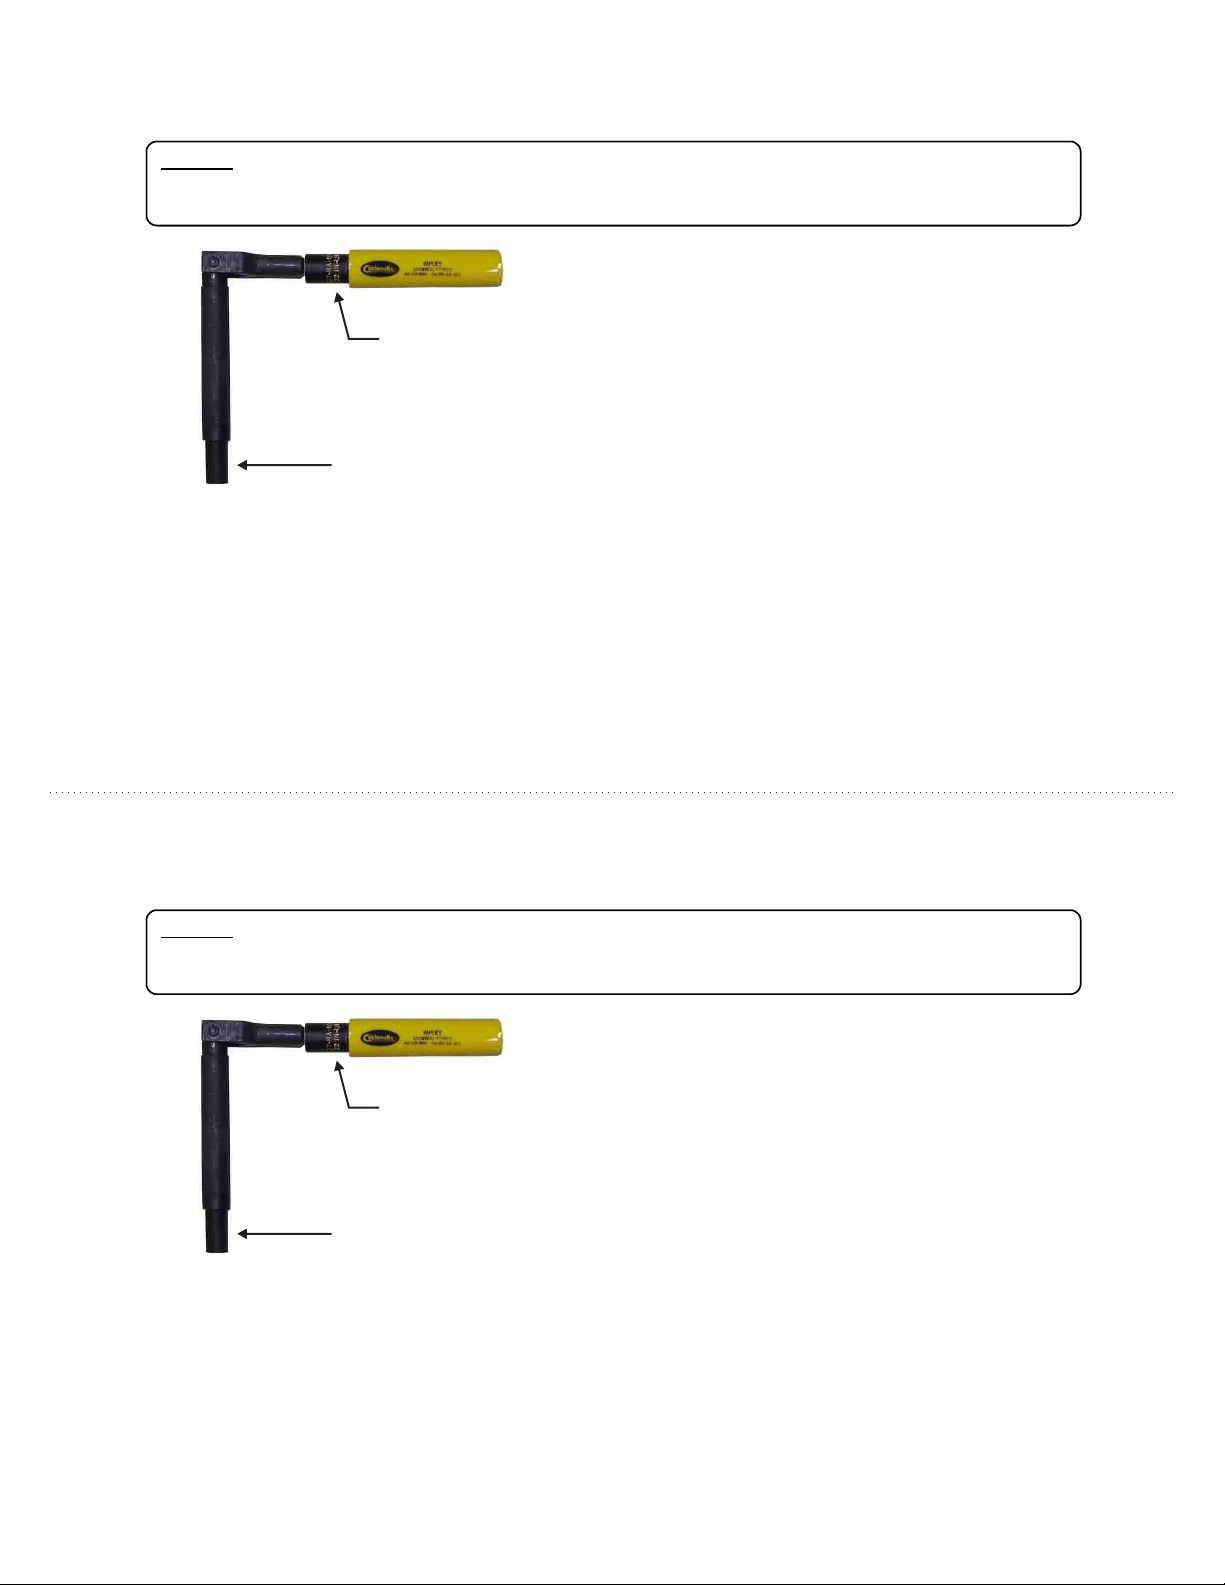
OPERATING INSTRUCTIONS
For Connector Assembly:
1. Install the shield on the tap port. Use tool to thread connector on the port finger tight. The handle can be pivoted
away for ease.
2. Pivot wrench handle, so it is at a right angle like photo above. Rotate clockwise. You will hear and feel a “click” in
the handle when the wrench reaches the pre-set torque level. At this point the connector is properly torqued on the
tap port. CAUTION: Do not continue rotating after the “click”. This will increase the applied force and damage the
connector and/or the wrench.
For Connector Removal:
1. Place wrench on the connector and rotate counter-clockwise until the connector loosens and continue to remove it
with the tool. Note: The wrench may “click” during this sequence to overcome the breakaway force of the tightened
connector. This is acceptable. However, if excessive force is used, damage will occur to the connector and/or
wrench
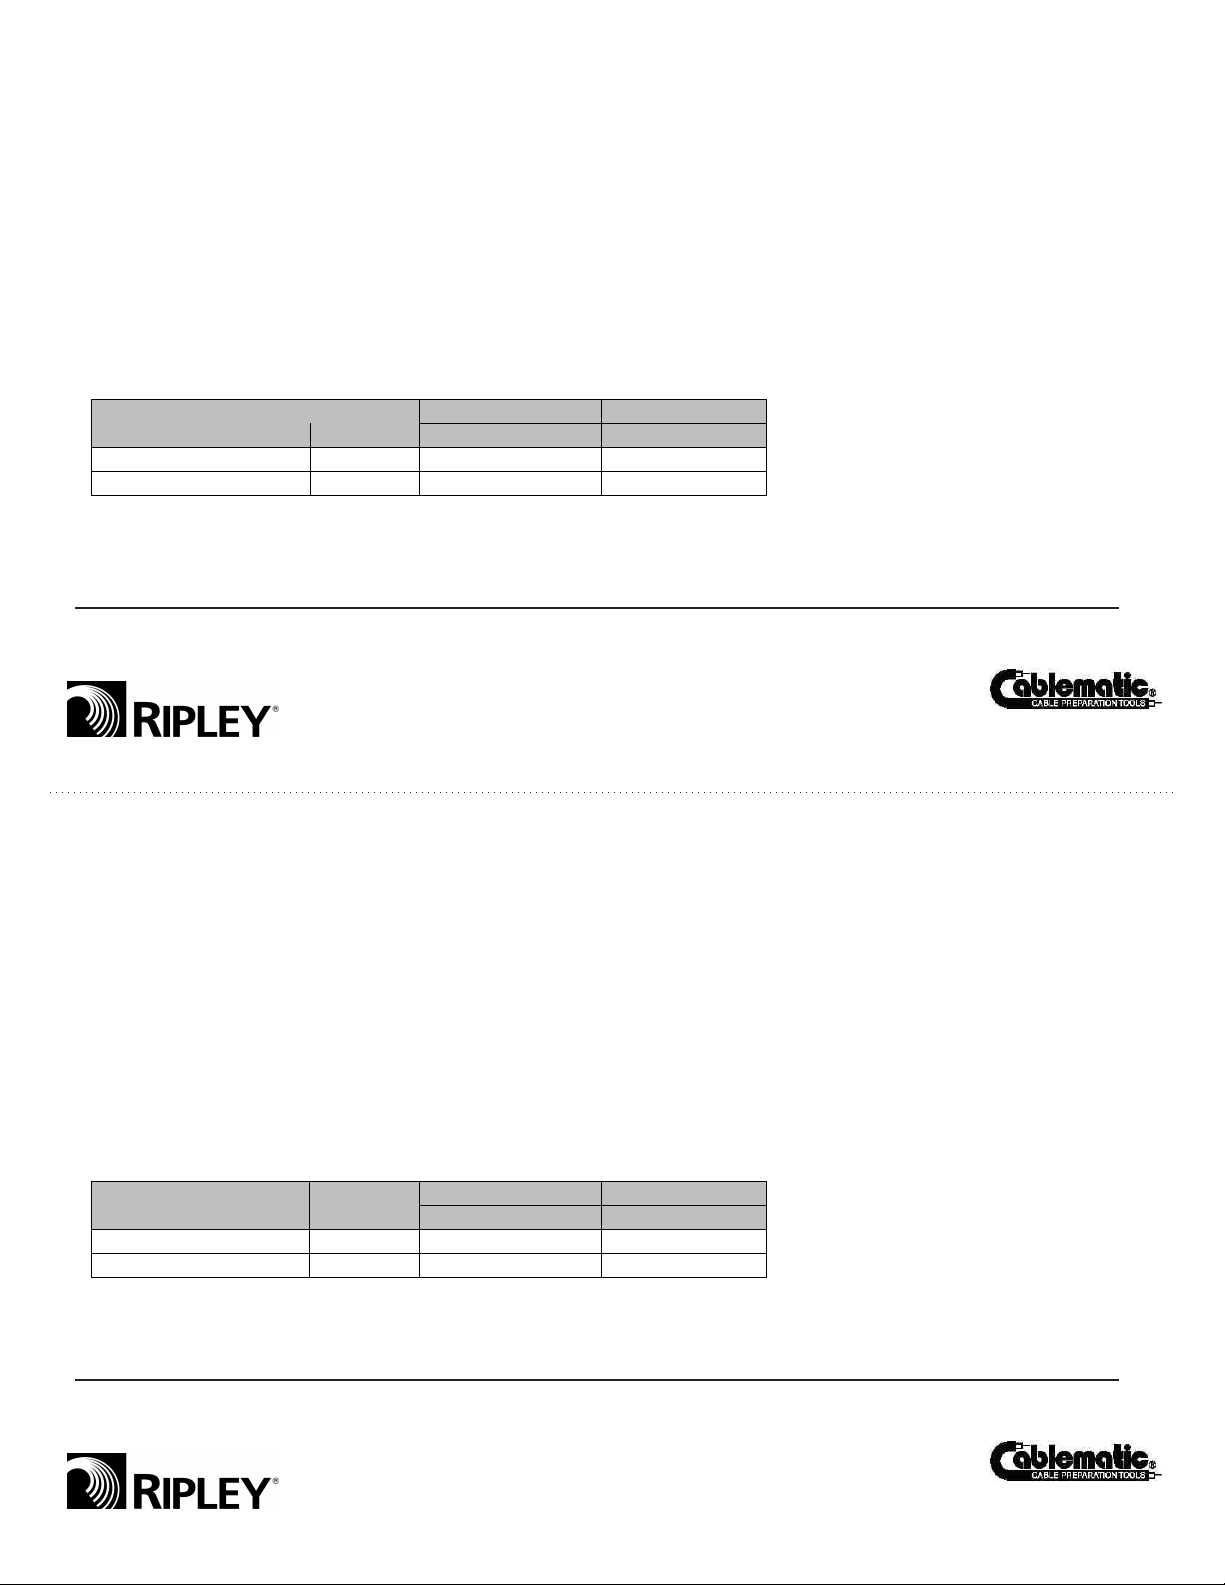