Riso EZ5 Series User manual

RISO Printer Driver
for EZ5/EZ3/EZ2/KZ Series
Ms6210-58E
USER’S GUIDE


1
This document is intended for use by RISO, its authorized dealers and purchasers of the
equipment described herein. While every effort has been made to insure the accuracy of
information contained in this document, RISO, its authorized dealers and their employ-
ees shall not be held responsible for any inaccuracies it may contain.
ALL SPECIFICATIONS ARE SUBJECT TO CHANGE WITHOUT NOTICE.
The screens used in this manual are now under development. Therefore, they might be
different from the actual screens.
Reproduction or copying of this manual or any parts without permission is strictly prohibited.
Although every effort has been made to ensure that the contents of this manual are error-
free, please contact us if you notice any errors or other points which should be brought to the
company’s attention.
© Copyright 2016 RISO KAGAKU CORPORATION
●and RISORINC are trademarks or registered trademarks of RISO KAGAKU CORPORATION
in the United States and other countries.
●Microsoft, Windows and Windows Vista are either registered trademarks or trademarks of Microsoft
Corporation in the United States and/or other countries.
●Other corporate names and/or trademarks are either registered trademarks or trademarks of each
company, respectively.
●The screens and content appearing in this manual may differ from the actual product.
●The screens and messages appear in procedures may differ depending on the type of computer and
application.

2Preface
Preface
Welcome to the high-speed PC printing field presented by RISO printers through RISO Printer Driv-
ers.
The RISO printers, which are designed to operate as a high-speed GDI printer, enable you to print
various documents you create on different computer platforms very speedily, only if an appropriate
RISO Printer Driver is installed in your computer.
The GDI printer, as you know, uses the bit-mapped image data developed on your PC monitor
screen as print data source, enabling you to print the exactly same image as of what you see on your
PC monitor screen in most cases. Besides, it requires no printer font to print document, thus reliev-
ing you of the restrictions on the use of fonts when you create documents on your PC.
The RISO printers can also operate as a network printer under various LAN environments, with an
additional network interface card embedded inside.
KZ cannot be connected via network.
About the Guide Signs
The following advice signs are given to the descriptions which will help a user to avoid unexpected
troubles and obtain the optimum performance of this product.
•IMPORTANT !
Gives you helpful advice for trouble-free operation.
•Gives you tips for more effective use of this product.
Preface

3
Procedure before printing
Before you use the printer at the first time, carry out the installation procedure below.
After installation, follow the basic operation procedure. Then, you can print out the documentation
data.
Installing the Printer Driver
Install the RISO Printer Driver into
your computer. ☞Page 8
•Depending on the connecting
method, your computer needs to be
connected to the printer in advance.
1. Preparing for the printer
Prepare for the printer and put
the print paper suitable for the
original data to be printed out
onto the standard (multipurpose)
tray.
•For the preparation method for the
printer, read the user’s guide of the
RISO printer.
Installation (When the printer
is used at the first time)
OS Support
This Printer Driver supports following OS:
Windows®2000*1/Windows®XP (32-bit)/Windows Vista®(32-bit/64-bit)/
Windows®7 (32-bit/64-bit)/Windows®8 (32-bit/64-bit)*2/
Windows®8.1 (32-bit/64-bit)*2/Windows®10 (32-bit/64-bit)*2
*1 This operating system is not available for KZ.
*2 Only compatible with desktop app.

4Procedure before printing
2. Setting
Open the data you want to print
out with your computer, select
your Printer Driver (or the USB
flash-via-Printer Driver) and make
settings for printing.
To print from a *USB Flash Drive,
connect the USB Flash Drive to
your computer.
3. Printing
Open the [Print] dialog box on your
PC and click [OK]. The data is
transmitted to the printer or stored
in the *USB Flash Drive.
4. Completion of printing
The printer receives the data and
makes master and prints out the
data.
To print from a *USB Flash Drive,
connect the USB Flash Drive to
the printer.
Basic operation
Printing
OK
*USB Flash Drive *USB Flash Drive
*Only EZ5 series has a feature of printing with USB Flash Drive.

5
Connecting Methods and Printer Driver types
The types of Printer Drivers are as follows:
Printer Driver
USB flash-via-Printer Driver
Choose the Printer Driver to install according to your environment.
■ The environment for being connected via cable
In the following environment, the Printer Driver should be used.
●When connected via USB cable ☞Page 9
●When connected via network ☞Page 25
This option is not available for KZ.
■
The environment for not being connected via cable ☞Page 36
Save the data to the USB Flash Drive by using the USB flash-via-Printer
Driver. Connect the USB Flash Drive to the printer to print out the data.
•Even in the environment where the printer and your computer are
connected via cable, the data can be printed by using USB Flash
Drive.
•USB Flash Drive cannot be used for the EZ3/EZ2/KZ series.
USB cable
Hub
Network cable
USB Flash
Drive

6Table of Contents
Table of Contents
Preface ....................................................................... 2
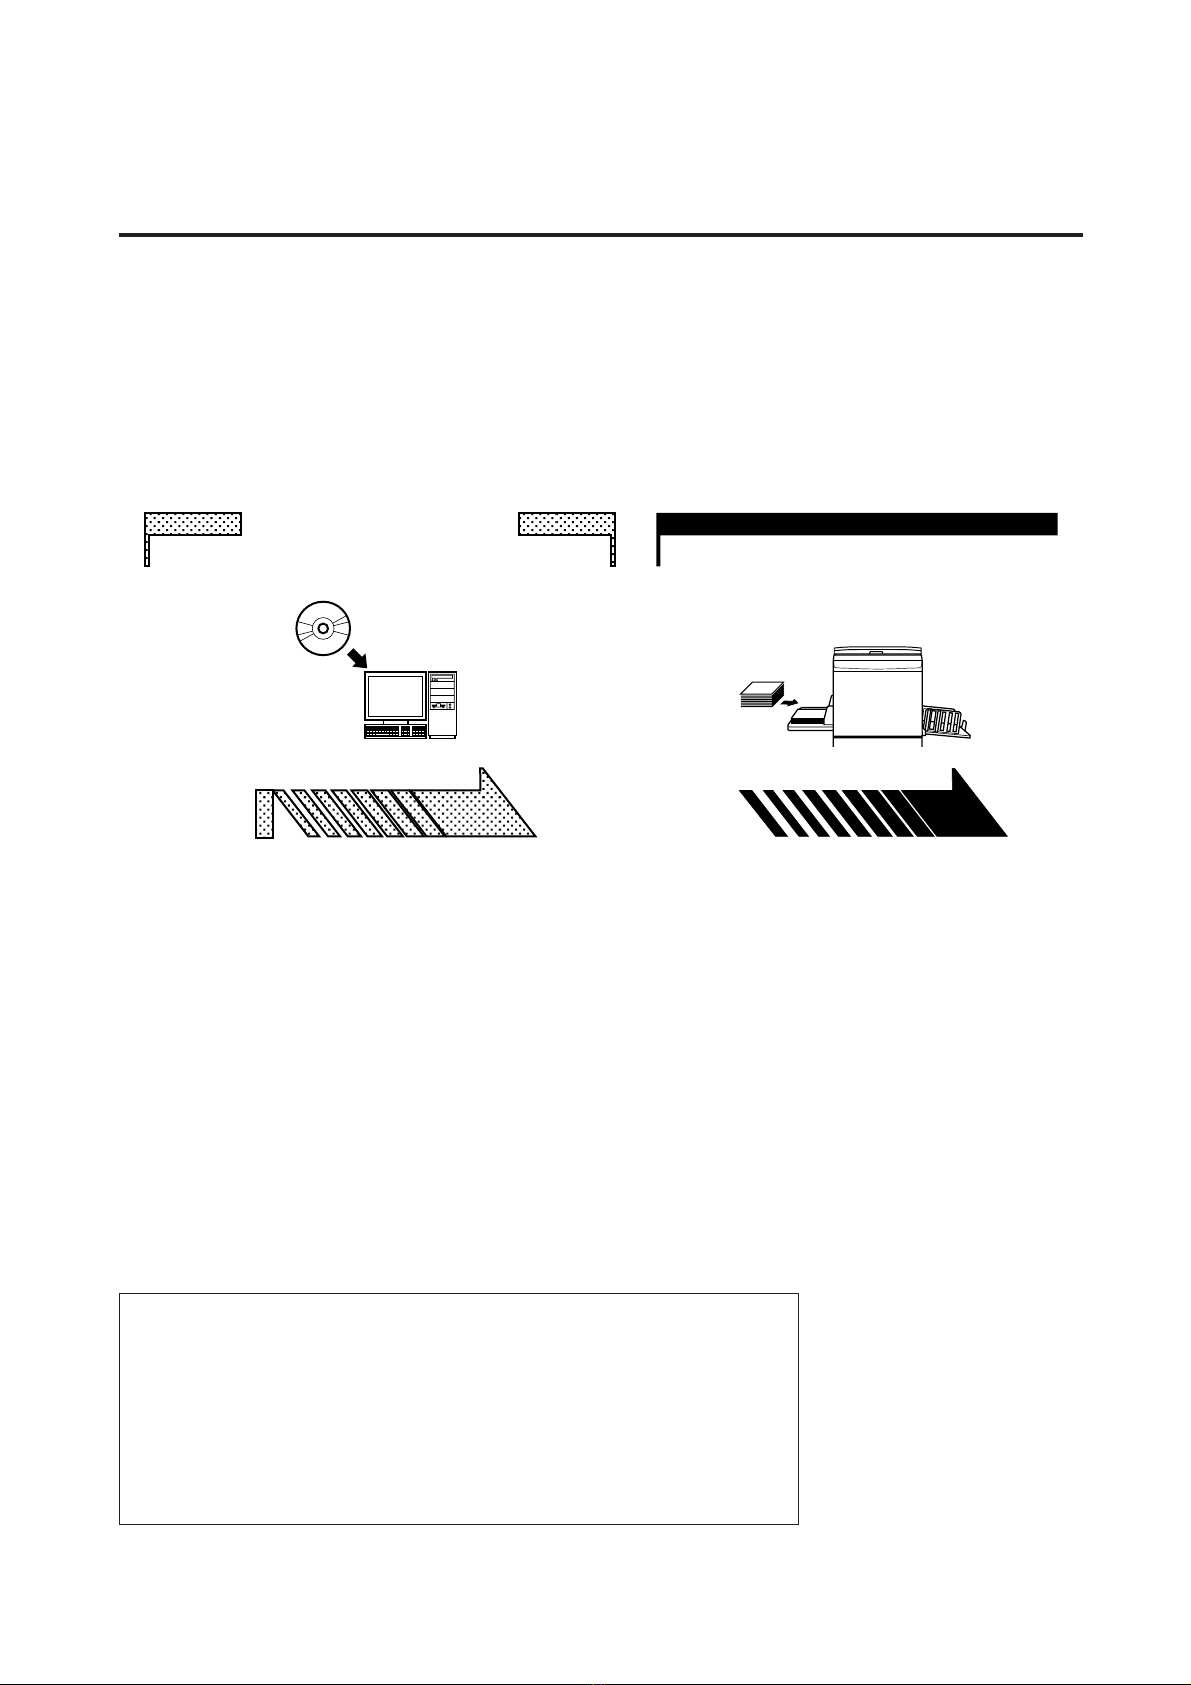
Procedure before printing ........................................... 3
Connecting Methods and Printer Driver types ............ 5
Table of Contents........................................................ 6
Installing the Printer Driver
■USB Connection.............................................. 9
Installing the Printer Driver ......................................... 9
Creating a USB port ................................................. 23
USB Device Association ........................................... 24
■Network Connection ..................................... 25
Connecting with PC ................................................. 25
Installing the Printer Driver ....................................... 26
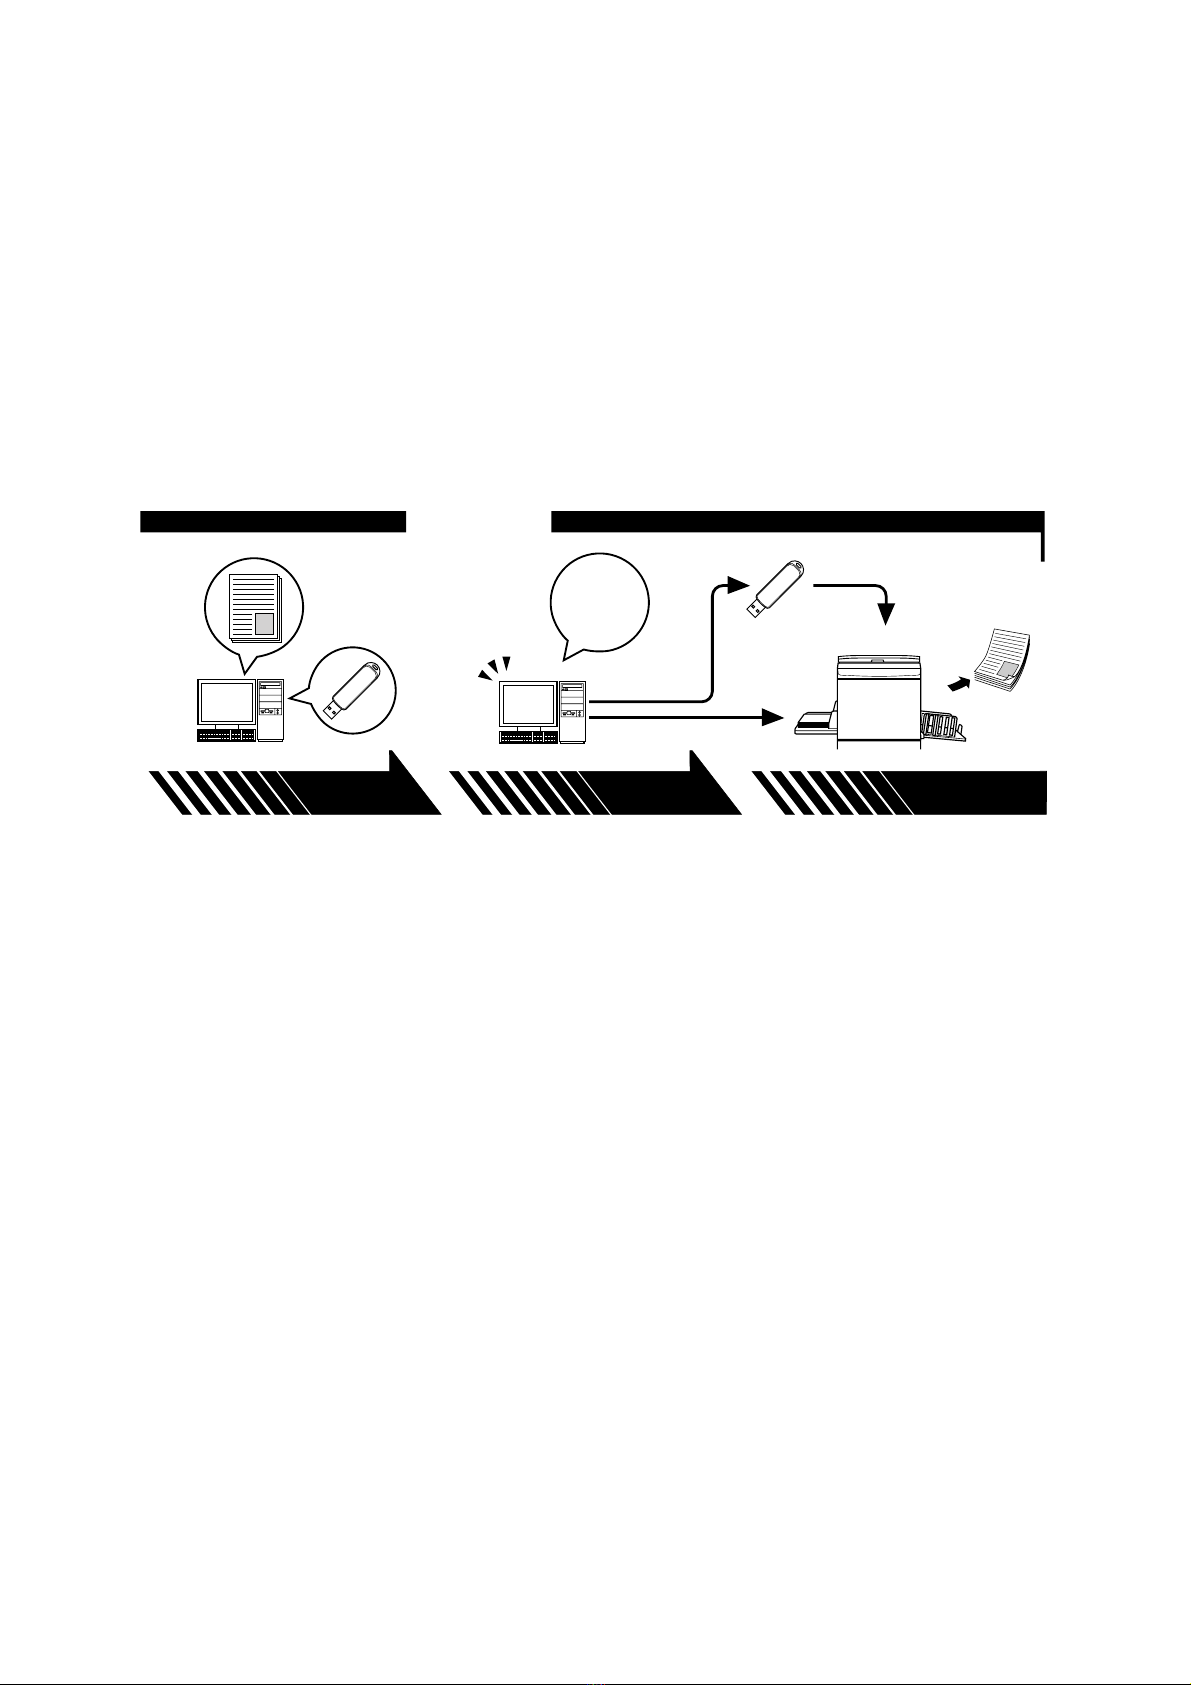
■USB Flash Drive Output ............................... 36
About USB Flash Drive............................................. 36
Installing the USB flash-via-Printer Driver ................ 36
Create a Folder......................................................... 42
Printing a test page................................................... 43
Working with the Printer Driver
■
Changing the Printer Driver Configuration ...
46
■Sending and Printing Data ........................... 51
■Setting the Print Conditions ........................ 54
[Guide] Tab ............................................................... 55
[Image] Tab ............................................................... 63
[Extensions] Tab ....................................................... 66
■Creating a RISORINC-format file ................. 69
Creating RISORINC Files Using the
Layout Feature ......................................................... 71
Uninstalling the Printer Driver
■Uninstall the Printer Driver .......................... 73
Manually installing / uninstalling the Printer Driver
For Windows 2000 / Windows XP
■Manual installation........................................ 78
In the case of connection via USB cable .................. 78
In the case of network connection/
USB Flash Drive output ............................................ 79
■Manual uninstallation ................................... 80
For Windows Vista
■Manual installation........................................ 81
In the case of USB cable connection........................ 81
In the case of network connection /
USB Flash Drive output ............................................ 82
■Manual uninstallation ................................... 84

7
Table of Contents
For Windows 7
■Manual installation ....................................... 85
In the case of USB cable connection........................ 85
In the case of network connection /
USB Flash Drive output ............................................ 86
■Manual uninstallation ................................... 88
For Windows 8/Windows 8.1
■Manual installation ....................................... 89
In the case of USB cable connection........................ 89
In the case of network connection /
USB Flash Drive output ............................................ 90
■Manual uninstallation ................................... 92
For Windows 10
■Manual installation ....................................... 93
In the case of USB cable connection........................ 93
In the case of network connection /
USB Flash Drive output ............................................ 94
■Manual uninstallation ................................... 96
Appendix
Troubleshooting Tips ................................................ 98
Error Message on PC’s Display ..................... 98
Operation Problems ....................................... 99

8Installing the Printer Driver
Installing the
Printer Driver
The method of installing the Printer Driver using the installer is
described here.
■USB Connection ........................................ 9
Installing the Printer Driver ..................... 9
Creating a USB port .............................. 23
USB Device Association ....................... 24
■Network Connection................................ 25
Connecting with PC ............................. 25
Installing the Printer Driver ................... 26
■USB Flash Drive Output .......................... 36
About USB Flash Drive ......................... 36
Installing the USB flash-via-Printer Driver ...
36
Create a Folder ..................................... 42
Printing a test page ............................... 43

USB Connection
9
Installing the Printer Driver
■USB Connection
Installing the Printer Driver
This section describes how to install the Printer Driver for windows supporting
the Plug&Play installation when your computer and the RISO printer are con-
nected via USB cable.
IMPORTANT!
• You are required to have the administrator’s privilege to install the printer driver
program in your computer.
• This Printer Driver does not support server OS or printer sharing.
• Use a commercially available USB cable (Hi-speed USB, 3m or less).
For Windows Vista/Windows 7/Windows 8/Windows 8.1/Windows 10
To update the Printer Driver, change cable connections or reinstall a Printer
Driver of the same series, deletion of the driver package is required. Uninstall
the installed Printer Driver manually before new installation. "Manual
uninstallation" (Page 84)
Make sure that the printer is turned off and that the computer and
printer are not connected by a USB cable.
IMPORTANT!
At some point during the installation procedure (step 7/8) you will need to connect the
USB cable and turn the printer on.
For Windows Vista(64-bit)/Windows 7(64-bit), create a USB port (Page
23) in advance.
Insert the [RISO Printer Driver] CD-ROM into your computer's CD-
ROM drive.
The installer is started. If the installer does not start up, double-click on the
[Setup(.exe)] file in the folder below.
For Windows (32-bit):
(CD-ROM):[Windows 32-bit] folder
For Windows (64-bit):
(CD-ROM):[Windows 64-bit] folder
If the [User Account Control] dialog appears, click [Yes] or [Allow] (for Windows
Vista).

USB Connection
12 Installing the Printer Driver
Connect the computer to the RISO printer with an USB cable (Hi-
Speed USB, 3 m or less).
Select the printer name you just connected.

USB Connection
13
Installing the Printer Driver
Click [Next].
When selected Printer Driver has already been installed in Windows 2000/
Windows XP, [Installation Method] dialog appears. Click [Next].
Click [Next].
You can also change the name of the printer.

USB Connection
14 Installing the Printer Driver
Click [Install].
When the [Digital Signature Not Found], [Windows Logo Approval Test] or
[Windows Security] dialog appears, continue with installation.
[Do you want to print a test page?] appears, then click [Yes].
Set A4/Letter paper in the printer beforehand.
Check the test print was properly printed and click [OK].

USB Connection
15
Installing the Printer Driver
Click [Display the ReadMe file].
The ReadMe file is opened. Be sure to read all the instructions and notes on it.
Click [Finish].
Be sure to restart the computer before using the Printer Driver. If you have
checked [Restart immediately], the computer will be shut down and restarted
when you click [Finish].
When [Found New Hardware Wizard] is displayed, click [Cancel].
Then remove the [RISO Printer Driver] CD-ROM from the CD-ROM
drive of your computer.
IMPORTANT!
Keep the removed CD-ROM at hand.
Printer driver installation is now completed.
If using Windows Vista(64-bit)/Windows 7(64-bit), associate USB Devices
(Page 24) continuously.

USB Connection
16 Installing the Printer Driver
For Windows Vista(64-bit) or Windows 7(64-bit)
Select [Connect using another connection method].
Click [Next].
Select the printer name you just connected.

USB Connection
17
Installing the Printer Driver
Click [Next].
When selected Printer Driver has already been installed, [Installation Method]
dialog appears. Click [Next].
Select a USB port.
Select [Existing Port], and then [USB***].
Other manuals for EZ5 Series
1
This manual suits for next models
3
Table of contents
Other Riso Printer Accessories manuals
Popular Printer Accessories manuals by other brands

Canon
Canon Super G3 Fax Board-J1 Service manual

HP
HP LaserJet M5025 MFP Installation

Epson
Epson Continuous Ink Supply System installation instructions

Oce
Oce im4511 operating manual

Ricoh
Ricoh DDP 92 Maintenance manual

Output Technology
Output Technology LaserMatrix Floor Model Stacker Replacement parts catalog