Riso MZ9 Series User manual

RISO Printer Driver
for MZ9/MZ7/RZ9/RZ5/RZ3/
RZ2/CZ Series
Ms6011-27E
INSTALLATION GUIDE
“RISO Printer Driver” CD-ROM version
For CD108B,CD110C,CD112D,CD105F
and later


1
This document is intended for use by RISO, its authorized dealers and purchasers of the
equipment described herein. While every effort has been made to insure the accuracy of
information contained in this document, RISO, its authorized dealers and their employ-
ees shall not be held responsible for any inaccuracies it may contain.
ALL SPECIFICATIONS ARE SUBJECT TO CHANGE WITHOUT NOTICE.
The screens used in this manual are now under development. Therefore, they might be
different from the actual screens.
Reproduction or copying of this manual or any parts without permission is strictly prohibited.
Although every effort has been made to ensure that the contents of this manual are error-
free, please contact us if you notice any errors or other points which should be brought to the
company’s attention.
Copyright © 2014 RISO KAGAKU CORPORATION, JAPAN
●Windows and Windows Vista are trademarks of Microsoft Corporation in the U.S.A. and other countries.
●Product names and company names that are referenced in this guide are (registered) trademarks of
respective companies.
●The screens and content appearing in this manual may differ from the actual product.
●The screens and messages that appear in the procedure may differ depending on the type of printer,
the equipment of option, the type of computer, and applications, etc.
Introduction
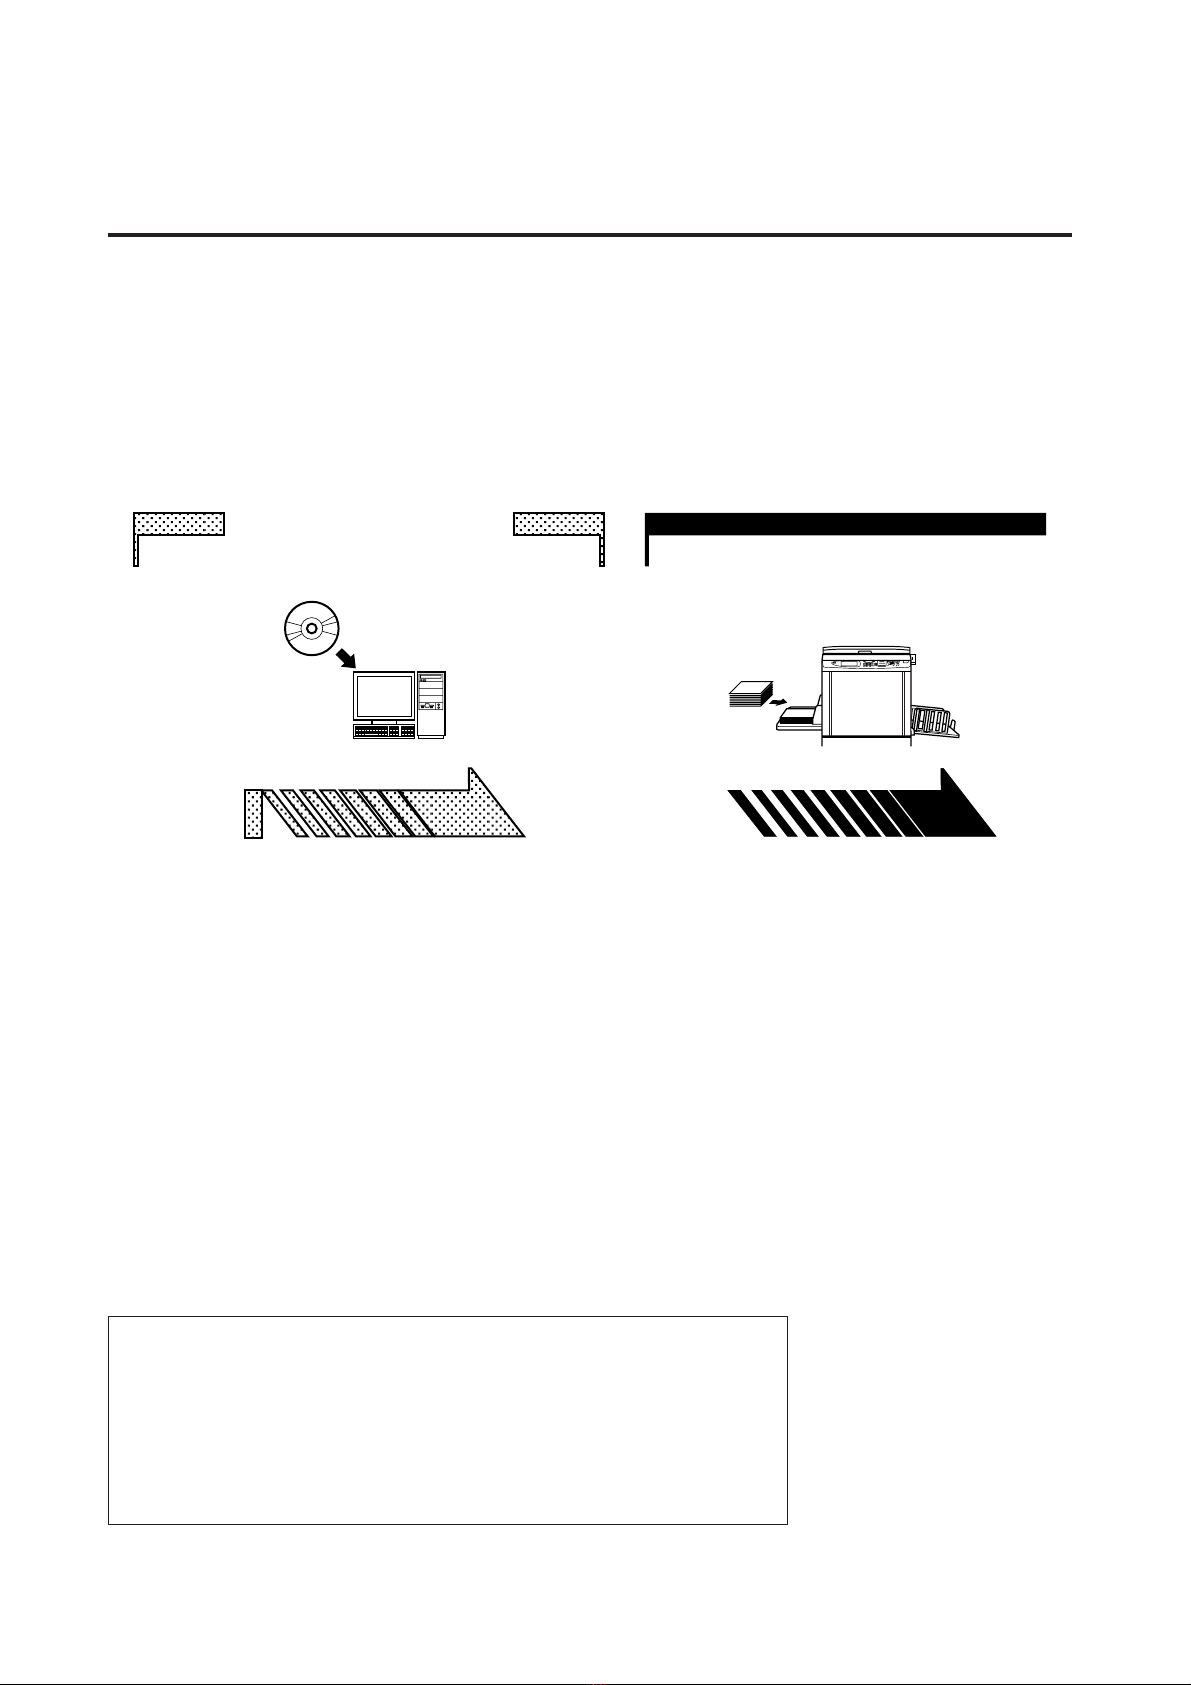
The RISO Printer Driver can be used only for the RISO printers.
This installation procedure describes how to install the printer driver for win-
dows when your computer and the RISO printer are connected.
• For the instructions to operate the printer driver, refer to “RISO Printer
Driver User’s Guide” in the supplied CD-ROM.
• To install this RISO Printer Driver in computers running CD106B, CD108C,
CD110D, CD103F or earlier versions of the driver, see the separately bound
“RISO Printer Driver User’s Guide”.
• To install this RISO Printer Driver in computers running CD107B, CD109C,
CD111D, CD104F versions of the driver, see the separately bound “RISO
Printer Driver INSTALLATION GUIDE (Ms5709-52)”.
• To install this RISO Printer Driver in Mac OS, see the separately bound
“RISO Printer Driver User’s Guide”.

2Procedure before printing
Procedure before printing
Before you use the printer at the first time, carry out the installation procedure below.
After installation, follow the printing operation procedure. Then, you can print out the documentation
data.
Installing the Printer Driver
Install the RISO Printer Driver into
your computer. ☞Page 7
•Depending on the connecting
method, your computer needs to be
connected to the printer in advance.
1. Preparing for the printer
Prepare for the printer and put the
print paper suitable for the origi-
nal data to be printed out onto the
standard (multipurpose) tray.
•For the preparation method for the
printer, read the user’s guide of the
RISO printer.
Installation (When the printer
is used at the first time)
OS Support
This Printer Driver supports following OS:
Windows®2000/Windows®XP (32-bit)/Windows Vista®(32-bit/64-bit)/
Windows®7 (32-bit/64-bit)/Windows®8 (32-bit/64-bit)*/Windows®8.1
(32-bit/64-bit)*
* Only compatible with desktop app.

3
Procedure before printing
2. Setting
Open the original data you want
to print out with your computer,
and make necessary settings for
printing.
3. Printing
When you give print instructions by
the [Print] dialog box on your com-
puter, the data is transmitted to the
printer.
4. Completion of printing
The printer receives the data and
makes master and prints out the
data.
Basic operation
Printing
OK

4Connection Methods
Connection Methods
The printer driver installation procedure differs depending on the
method of connecting your computer to the printer. Check the con-
nection method.
●Connection via USB Cable ☞Page 8
Some models of the MZ7/RZ5/RZ3/RZ2/CZ series do not support USB
cable connection.
●Connection via Other Cables ☞Page 24
USB cable
Hub
Network cable
Printer cable

5
Table of Contents
Table of Contents
Introduction ................................................................. 1
Procedure before printing ........................................... 2
Connection Methods................................................... 4
Table of Contents........................................................ 5
Installing the Printer Driver
■Connection via USB Cable ............................. 8
Installing the Printer Driver ......................................... 8
Creating a USB port ................................................. 22
USB Device Association ........................................... 23
■Connection via Other Cables ....................... 24
Connecting with PC ................................................. 24
Installing the Printer Driver ....................................... 25
Uninstalling the Printer Driver
■Uninstall the Printer Driver .......................... 38
Manually installing / uninstalling the Printer Driver
For Windows 2000 / Windows XP
■Manual installation........................................ 42
Connection via USB Cable ....................................... 42
Connection via Other Cables.................................... 43
■Manual uninstallation ................................... 44
For Windows Vista
■Manual installation........................................ 45
Connection via USB Cable ....................................... 45
Connection via Other Cables.................................... 47
■Manual uninstallation ................................... 48
For Windows 7
■Manual installation........................................ 49
Connection via USB Cable ....................................... 49
Connection via Other Cables.................................... 51
■Manual uninstallation ................................... 52
For Windows 8 / Windows 8.1
■Manual installation........................................ 53
Connection via USB Cable ....................................... 53
Connection via Other Cables.................................... 55
■Manual uninstallation ................................... 56

6

7
Installing the Printer Driver
Installing the
Printer Driver
The method of installing the Printer Driver using the installer is
described here.
•When connecting your computer to the printer via USB cable, read “Connec-
tion via USB Cable” (see Page 8).
•When connecting your computer to the printer via a printer cable or a net-
work cable, read “Connection via Other Cables” (see Page 24).
•To install this RISO Printer Driver in Mac OS, see the separately bound “RISO
Printer Driver User’s Guide”.
■Connection via USB Cable ....................... 8
Installing the Printer Driver ..................... 8
Creating a USB port .............................. 22
USB Device Association ....................... 23
■Connection via Other Cables ................. 24
Connecting with PC ............................. 24
Installing the Printer Driver ................... 25

8Installing the Printer Driver
■Connection via USB Cable
Installing the Printer Driver
This section describes how to install the Printer Driver for windows supporting
the Plug&Play installation when your computer and the RISO printer are con-
nected via USB cable.
IMPORTANT!
•Some models of the MZ7/RZ5/RZ3/RZ2/CZ series do not support USB cable
connection.
•You are required to have the administrator’s privilege to install the printer
driver program in your computer.
•This Printer Driver does not support server OS or printer sharing.
•Use a commercially available USB cable (Hi-speed USB, 3 m or less).
For Windows Vista/Windows 7/Windows 8/Windows 8.1
To update the Printer Driver, change cable connections or reinstall a Printer
Driver of the same series, deletion of the driver package is required. Uninstall
the installed Printer Driver manually before new installation. "Manual
Uninstallation" (Page 52)
Make sure that the printer is turned off and that the computer and
printer are not connected by a USB cable.
IMPORTANT!
At some point during the installation procedure (step 7/8) you will need to connect the
USB cable and turn the printer on.
For Windows Vista(64-bit)/Windows 7(64-bit), create a USB port (Page 22)
in advance.
Insert the [RISO Printer Driver] CD-ROM into your computer's CD-
ROM drive.
The installer is started. When the installer is not started, double-click the [Setup
(.exe)] file in CD-ROM.
For Windows 2000/Windows XP/WindowsVista(32-bit)/Windows 7(32-bit)/
Windows 8(32-bit)/Windows 8.1(32-bit):
(CD-ROM):[Windows 32-bit] folder
For Windows Vista(64-bit)/Windows 7(64-bit)/Windows 8(64-bit)/Windows
8.1(64-bit):
(CD-ROM):[Windows 64-bit] folder
If the [User Account Control] dialog appears, click [Allow] (for Windows Vista)
or [Yes] (for Windows 7/Windows 8/Windows 8.1).

Connection via USB Cable
11
Installing the Printer Driver
Connect the computer to the RISO printer with a USB cable (Hi-
Speed USB, 3 m or less).
Select the printer name you just connected.

Connection via USB Cable
12 Installing the Printer Driver
Click [Next].
When the selected printer driver has already been installed in Windows 2000/
Windows XP, [Installation Method] dialog appears. Click [Next].
Click [Next].
You can also change the name of the printer.

Connection via USB Cable
13
Installing the Printer Driver
Click [Install].
When the [Digital Signature Not Found] (for Windows 2000), [Windows Logo
Approval Test] (for Windows XP) or [Windows Security] (for Windows Vista/
Windows 7) dialog appears, continue with installation.
[Do you want to print a test page?] appears, then click [YES].
Set A4/Letter paper in the printer beforehand.
Load paper with the short edge first.
Check the test print was properly printed and click [OK].

Connection via USB Cable
14 Installing the Printer Driver
Click [Display the ReadMe file].
The ReadMe file is opened. Be sure to read all the instructions and notes on it.
Click [Finish].
Be sure to restart the computer before using the Printer Driver. If you have
checked [Restart immediately], the computer will be shut down and restarted
when you click [Finish].
When [Found New Hardware Wizard] is displayed, click [Cancel].
Then remove the [RISO Printer Driver] CD-ROM from the CD-ROM
drive of your computer.
IMPORTANT!
Keep the removed CD-ROM at hand.
Printer driver installation is now completed.
If using Windows Vista (64-bit)/Windows 7 (64-bit), associate USB Devices
(Page 23) continuously.

Connection via USB Cable
15
Installing the Printer Driver
For Windows Vista(64-bit) or Windows 7(64-bit)
Select [Connect using another connection method].
Click [Next].
Select the printer name you just connected.

Connection via USB Cable
16 Installing the Printer Driver
Click [Next].
When selected Printer Driver has already been installed, [Installation Method]
dialog appears. Click [Next].
Select the USB port.
Select [Existing Port] and then [USB***].

Connection via USB Cable
18 Installing the Printer Driver
For Windows 8/Windows 8.1
Select the printer name you just connected.
Click [Next].
This manual suits for next models
6
Table of contents
Other Riso Printer Accessories manuals