Ritron RGG1 User manual
Other Ritron Security System manuals
Ritron
Ritron Quick Talk RQA-451 User manual
Ritron
Ritron Quick Talk RQT-150 User manual

Ritron
Ritron Quick Talk RQT User manual
Ritron
Ritron RQA-1B User manual
Ritron
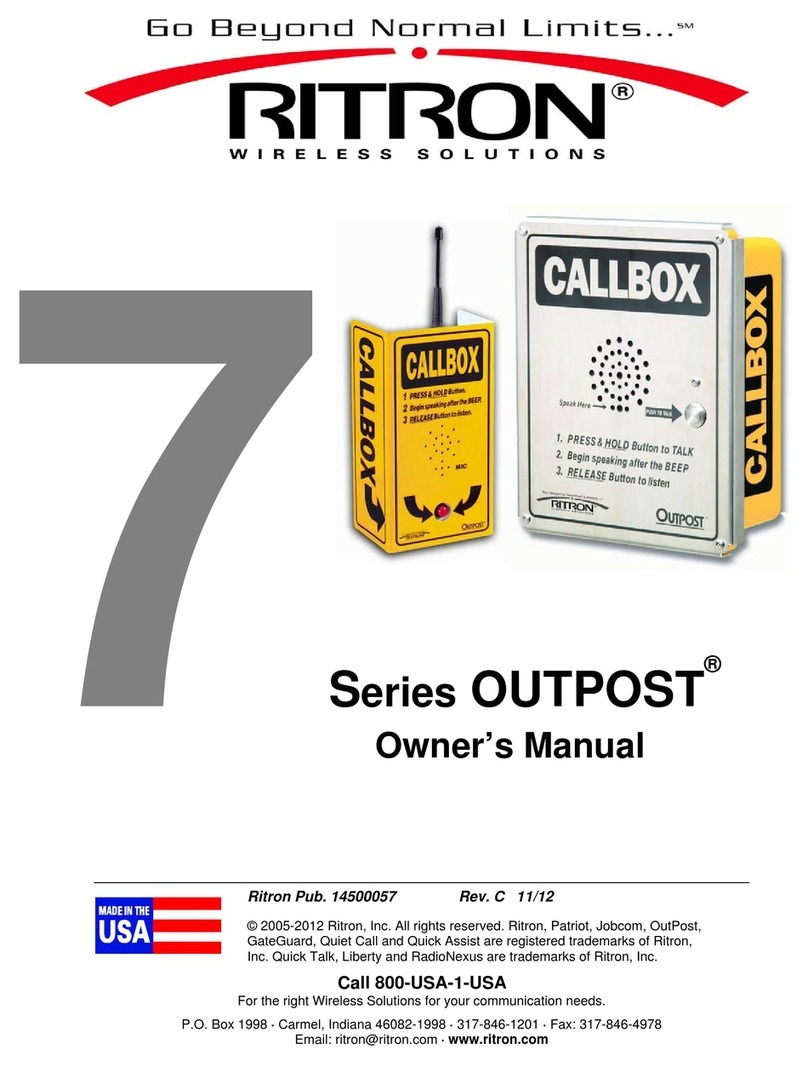
Ritron OUTPOST Series User manual

Ritron
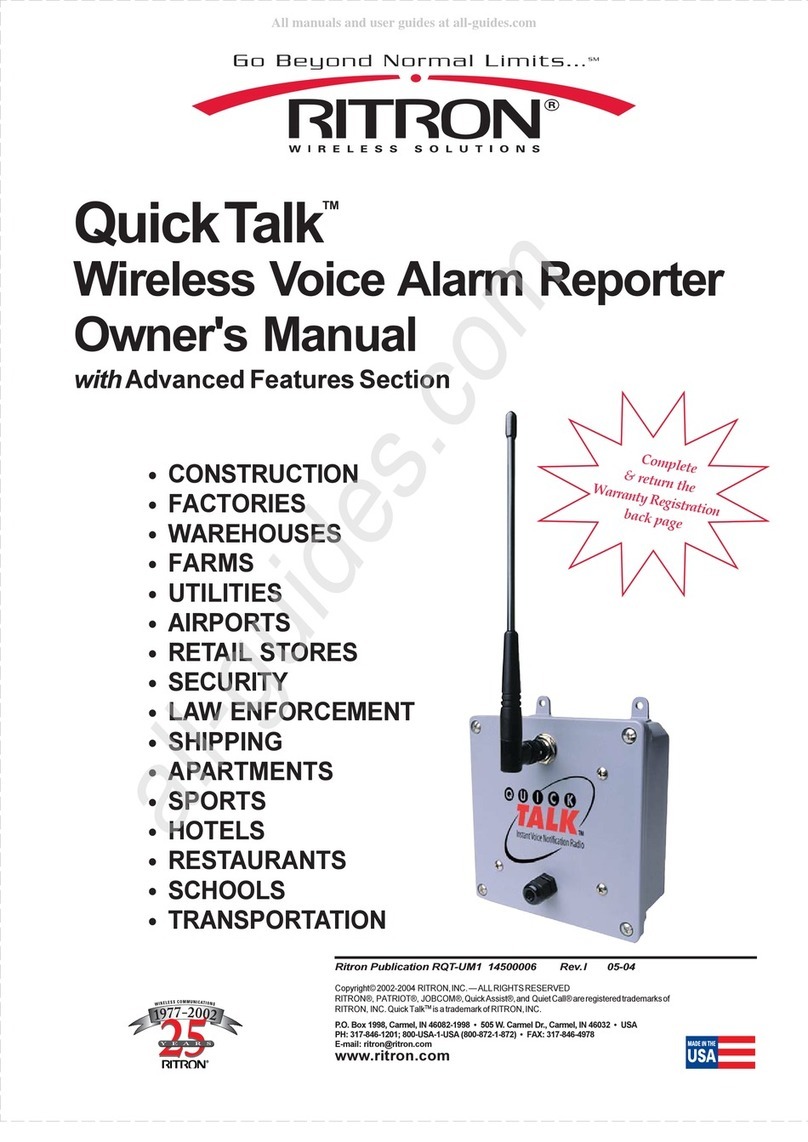
Ritron OUTPOST Series User manual
Ritron
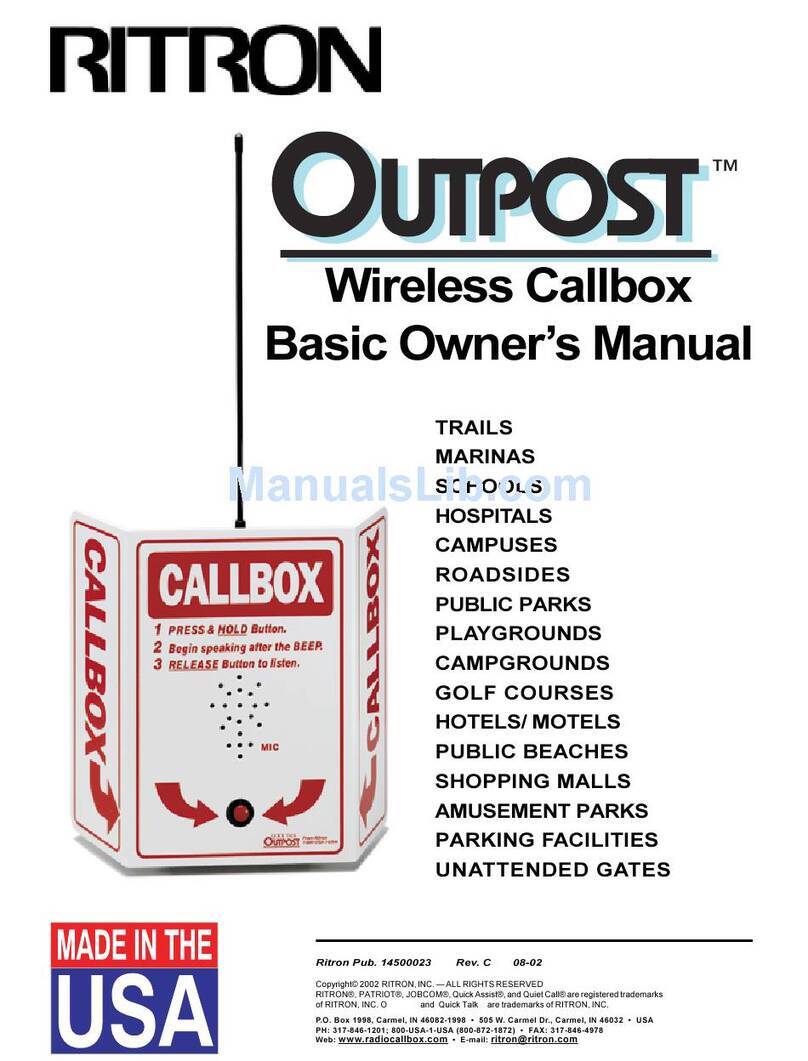
Ritron QuickTalk RQT-150 User manual
Ritron
Ritron Outpost RQX-150 Installation and service instructions
Popular Security System manuals by other brands
Lutz-Jesco
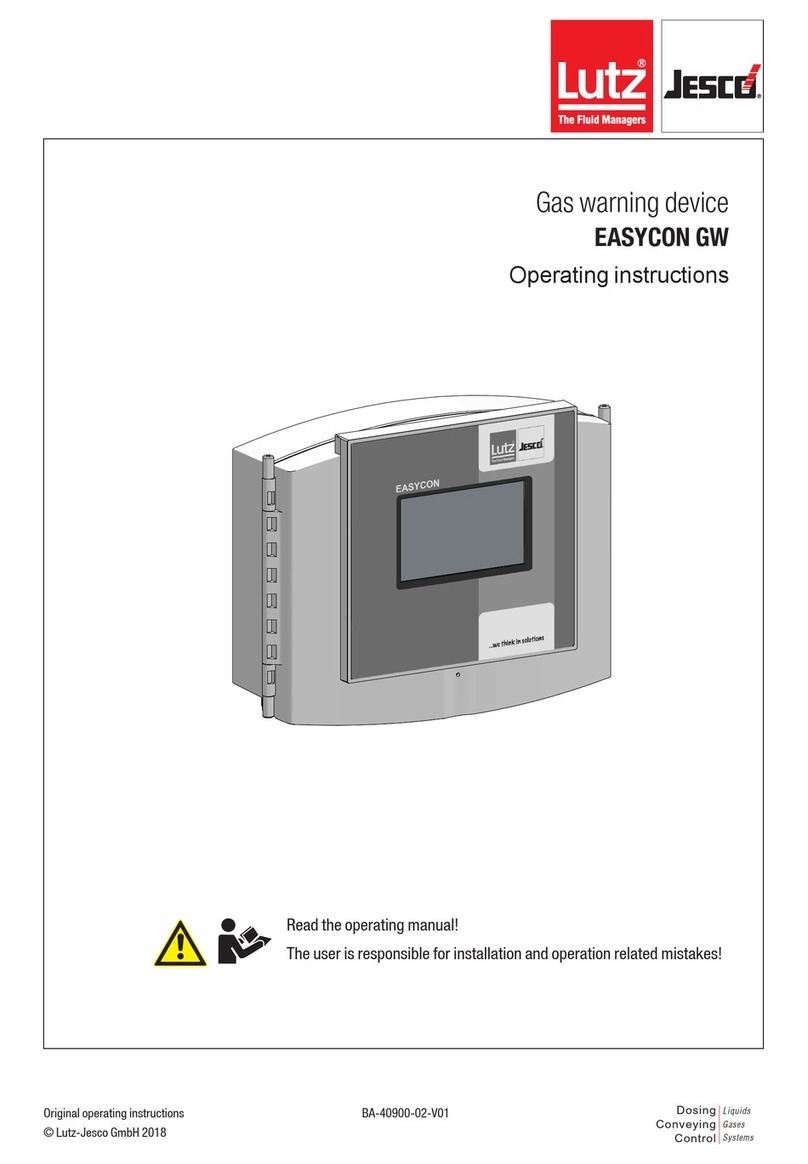
Lutz-Jesco EASYCON GW operating instructions
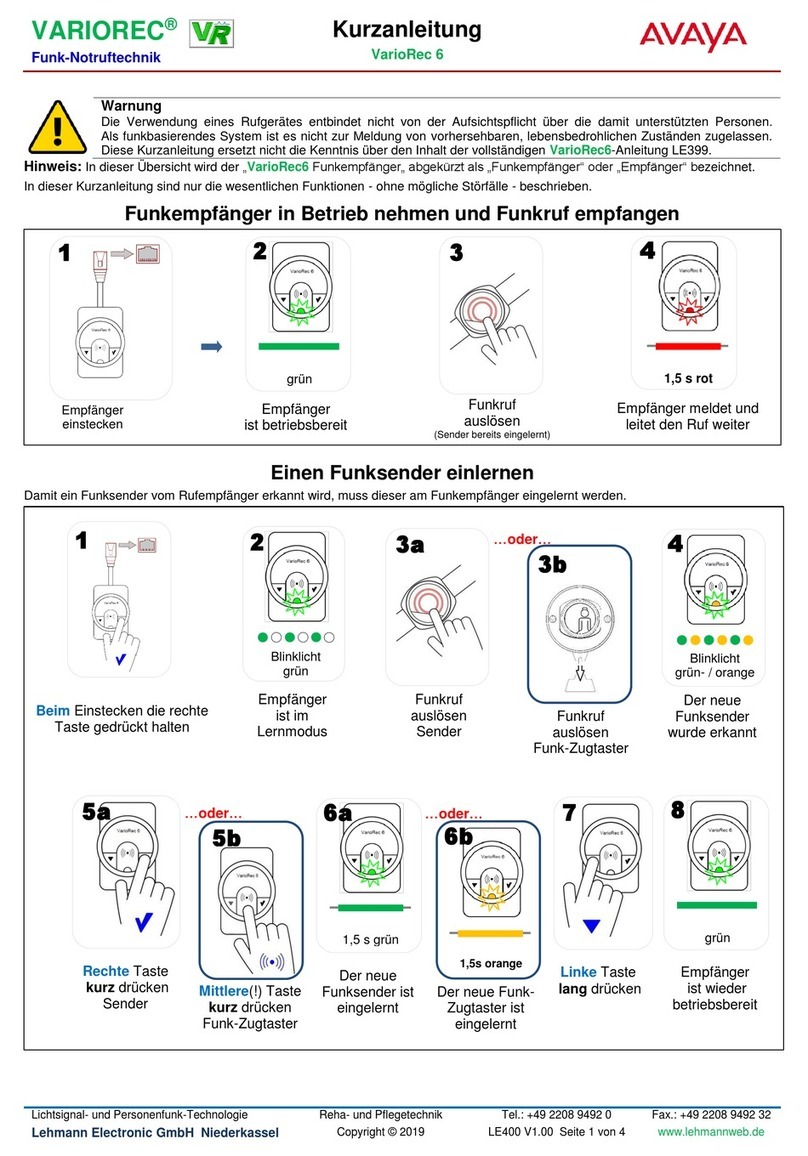
Lehmann electronic
Lehmann electronic VarioRec 6 Quick reference guide
DSC
DSC PowerSeries Neo 3G8080 installation manual
Accutron
Accutron Guardian Monitor 38003 Guardian Monitor... installation instructions
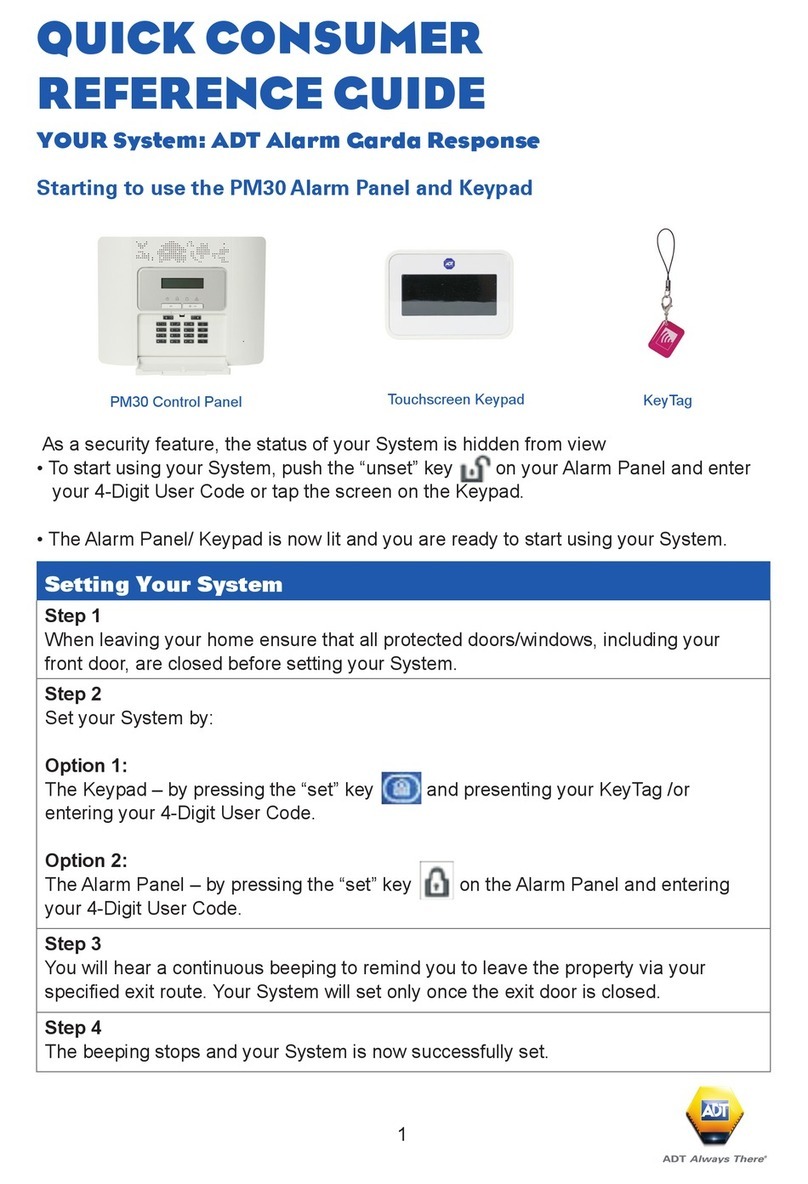
ADT
ADT Garda Response PM30 reference guide
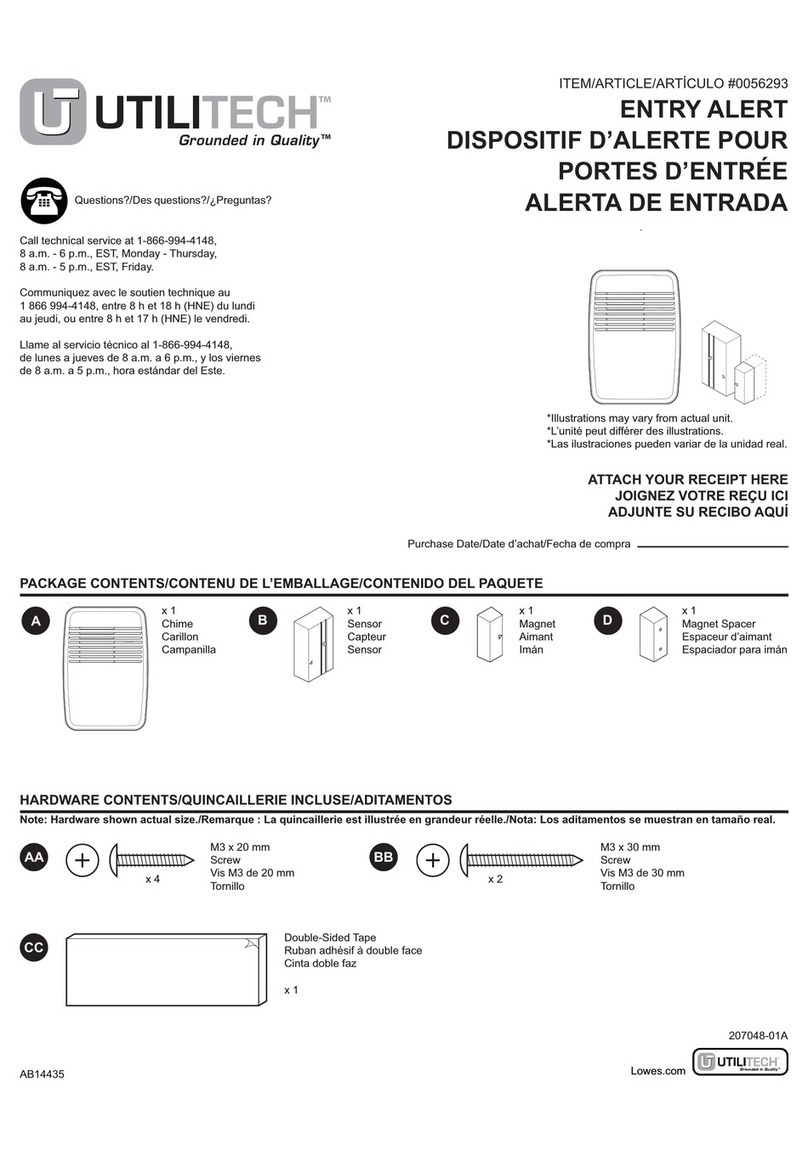
Utilitech
Utilitech 00526293 user manual
Princeton Instruments
Princeton Instruments Activity Tracker user manual
Dahua
Dahua VTH1200 Series user manual
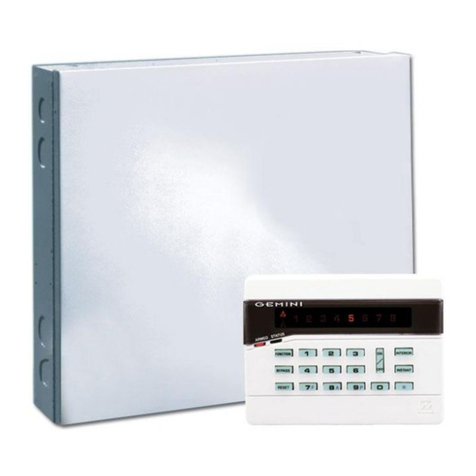
Gemini
Gemini GEM-P800 using manual
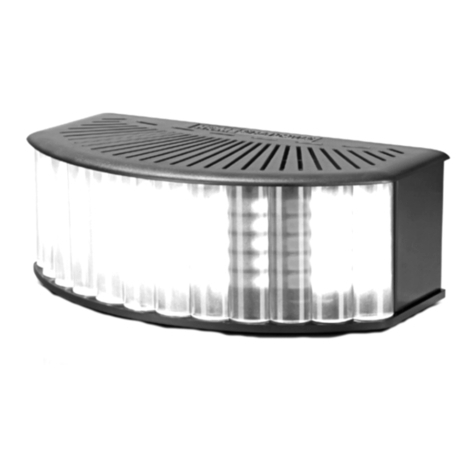
HOME SHADOWS
HOME SHADOWS HFRPO0308 operating instructions
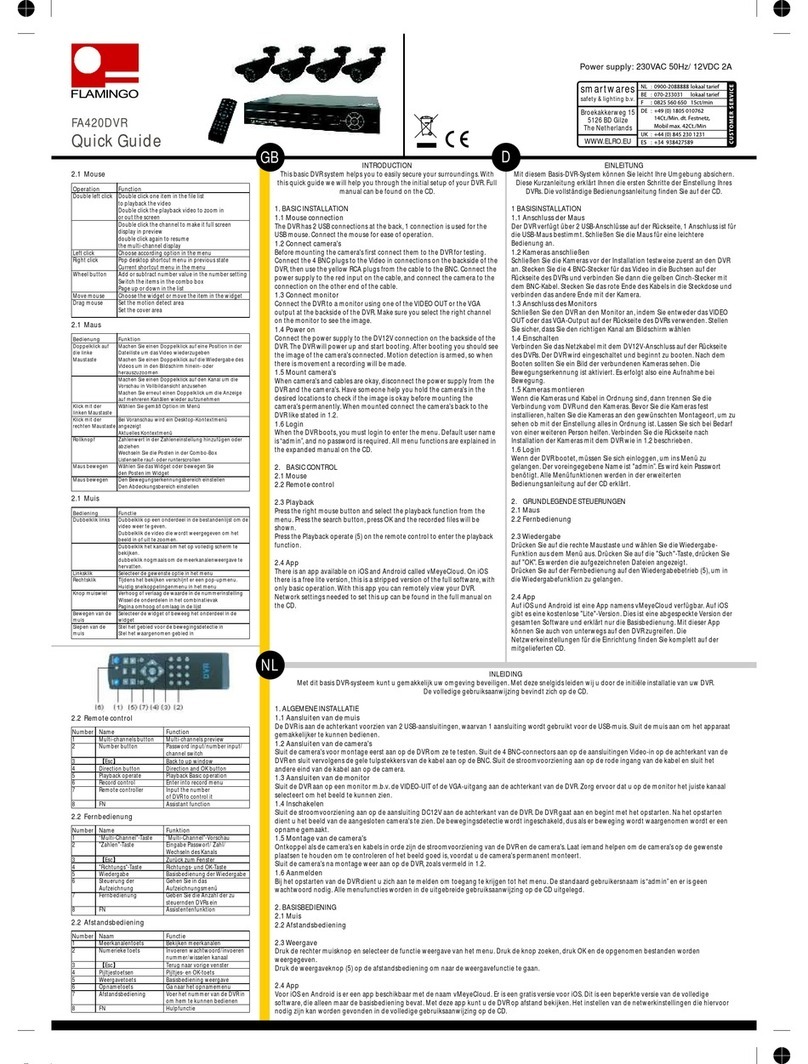
Flamingo
Flamingo FA420DVR quick guide
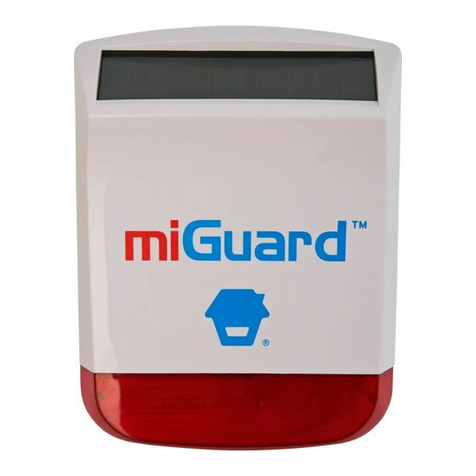
Response Electronics
Response Electronics miGuard DS26 instructions


