manuals.online logo
Brands
  1. Home
  2. •
  3. Brands
  4. •
  5. RLE Technologies
  6. •
  7. Controllers
  8. •
  9. RLE Technologies SeaHawk LD5200 User manual

RLE Technologies SeaHawk LD5200 User manual

A dedicated circuit breaker must be provided within
close proximity to the LD5200 and be clearly marked as
the LD5200’s disconnecting device. Engage a certied
electrician to run a 110 or 220 VAC power supply from a
dedicated circuit breaker (following all state and local electrical codes)
and conduit to the device to support your cabling needs.
Install the Sensing Cable
Leader cable is used to connect sensing cable to the LD5200,
since sensing cable cannot connect directly to the controller.
1. Insert the four stripped wires of the leader cable into the
appropriate slots in the 4-pin terminal block connector -
from left to right: white, black, green, and red. Tighten
the screws on the terminal block connector to secure the
leader cable. Thread the leader cable through a knockout
on the bottom of the enclosure and plug the terminal
block connector into TB2.
2. Unscrew the EOL from the end of the leader cable.
3. Attach the rst length of sensing cable to the leader cable.
4. Route the sensing cable according to your cable layout diagram.
5. Secure the EOL to the unoccupied end of the sensing cable.
Apply Power to the LD5200
1. Route the power supply through a knockout, into the enclosure, to the power
input terminal block. Insert the wires as noted on the enclosure’s backplate:
Neutral - Line- Ground. Ensure all connections are correct and the screw
terminals are tightened and secure.
2. Apply power. The device will boot. Once diagnostics are complete, the
LCD displays the Main Menu. No alarms should be present. If an alarm is
present, consult the Troubleshooting section of the LD5200 User Guide.
Congure Communications
Use the LCD touch screen on the
front of the LD5200 to congure
communications.
1. Push the Setup button on the
LD5200’s LCD.
2. You’ll be prompted to enter a
password. By default, there is no
password congured. Leave the
password eld blank and press the
enter button.
3. Once you’ve accessed the Setup
Menu, press the Down button
until the System Settings option is
highlighted in blue. Press the Select
button to access the System Setup
Menu.
© Raymond & Lae Engineering, Inc. 2011. All rights reserved. RLE® is a registered trademark and Seahawk™, Falcon™, and Raptor™ are
trademarks of Raymond & Lae Engineering, Inc. The products sold by Raymond & Lae Engineering, Inc. are subject to the limited warranty, limited
liability, and other terms and conditions of sale set forth at http://rletech.com/RLE-Terms-and-Conditions.html.
Installation Supplies
Included with the LD5200
LD5200 controller in wall-mount enclosure
15 foot (4.57m) leader cable
End-of-line terminator (EOL)
Available from RLE, Sold Separately
SeaHawk sensing cable - up to 10,00 feet (3048m) of conductive uid sensing
cable or 7,000 feet (12134m) of chemical sensing cable
Network Communications Information
Consult your IT administrator and determine the following LD5200 network
settings:
• IP Address _______________________________________________
• Subnet Mask _____________________________________________
• Default Gateway __________________________________________
Mount the Device
THE LD5200 is a wall mounted device. Use the included wall mount kit and
mount the controller in a convenient location. Once the unit is mounted on the
wall, carefully remove the appropriate knockouts from the enclosure.
SeaHawk LD5200 Quick Start Guide
Thank you for purchasing a SeaHawk
LD5200 distance-read leak detection
controller. This guide outlines basic LD5200
installation and conguration.
For additional installation and conguration
instructions, download the LD5200 User
Guide from our website - rletech.com.
If you need further assistance, please
contact RLE Technologies via our website -
http://www.rletech.com/ (go to the Support
link) or call us at 970-484-6510, Option 2.
v1.0
(03/2012)
4. Push the Down button until the IP
address is highlighted. By default,
the IP address is 10.0.0.188. Press
the Select button to change the IP
address.
5. Use the backspace button to delete
the default address. Enter the new
IP address, as provided by your
network administrator. Press the
Enter button to apply the new IP address.
6. Scroll down to the Def Route and Net Mask and use the same method to edit
the Default Gateway and Subnet Mask information as necessary.
Test the System
If the LD5200 is already connected to a BMS or NMS, notify monitoring personnel
before you begin testing the system.
1. Using a sketch or mechanical drawing of the facility, add the cable routing,
connection points, and any accessories used. Record the distance marker
when the cable changes direction and in between connectors.
2. The more details you show, the greater the benet later when you are
locating leaks and troubleshooting the system
3. To verify the LD5200’s functionality, test three points within the length of
TB1
4-20mA
Output
TB2
Cable Interface
(W - B - G - R)
TB3
Form C
Maintenance
Relay
TB4
(2) Form C
Leak/Fault
Relay Outputs
P1
EIA-232 Connector
SW1
EIA-485
Port 3
Termination
SW2
EIA-485
Port 2
Termination
SW3
EIA-485
Port 1
Termination
TB5
EIA-485
Port 3
TB6 Top
EIA-485
Port 1
TB6 Bottom
EIA-485
Port 2
P2
Ethernet Jack
TB7
Input Power
LD5200 Physical Connections and Switches
sensing cable - one at the beginning, one in the middle of the length, and
another near the end of the length of cable.
4. There are a variety of ways to simulate a leak.
• Pour a small puddle of water on the cable while it rests on the oor.
• Dunk the cable in a cup of water.
• Soak a paper towel or rag and wrap it loosely around the cable. This is
popular if the cable is used in pipe applications. Be careful to wrap the wet
cloth loosely around the cable. Do not put pressure on the cable.
IMPORTANT - To avoid inaccurate readings, do not grip the cable with your
hand.
5. Verify that the LD5200 reports the leaks within a few feet of their actual
physical location. If the leaks are reported in the approximate location, but
not precisely at the actual location of the leak, you may wish to calibrate the
system. Consult the LD5200 User Guide to calibrate the cable’s resistance,
which will provide the most accurate distance readings.
6. Remove all simulated leak sources and return the system to its normal
operating state.
7. To test the cable fault alarm, remove the end-of-line terminator (EOL) from
the end of the sensing cable. This will cause a cable break, which should
be reported appropriately by the LD5200. Once the cable break alarm
is veried, reapply the EOL and ensure the system returns to its normal
operating state.

Other manuals for SeaHawk LD5200

1

Other RLE Technologies Controllers manuals

RLE Technologies LD1500 User manual

RLE Technologies

RLE Technologies LD1500 User manual

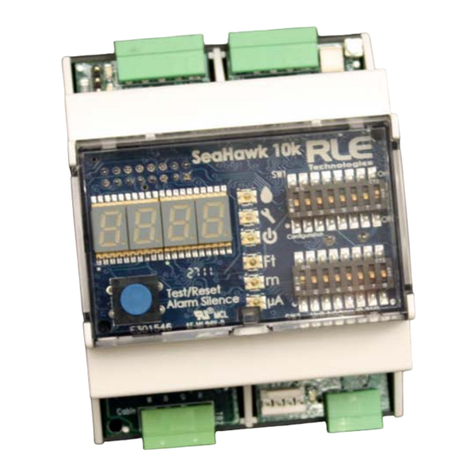
RLE Technologies SeaHawk 10K User manual

RLE Technologies

RLE Technologies SeaHawk 10K User manual

RLE Technologies SeaHawk LD5200 User manual

RLE Technologies

RLE Technologies SeaHawk LD5200 User manual

RLE Technologies Falcon F200 Operating and maintenance instructions

RLE Technologies

RLE Technologies Falcon F200 Operating and maintenance instructions

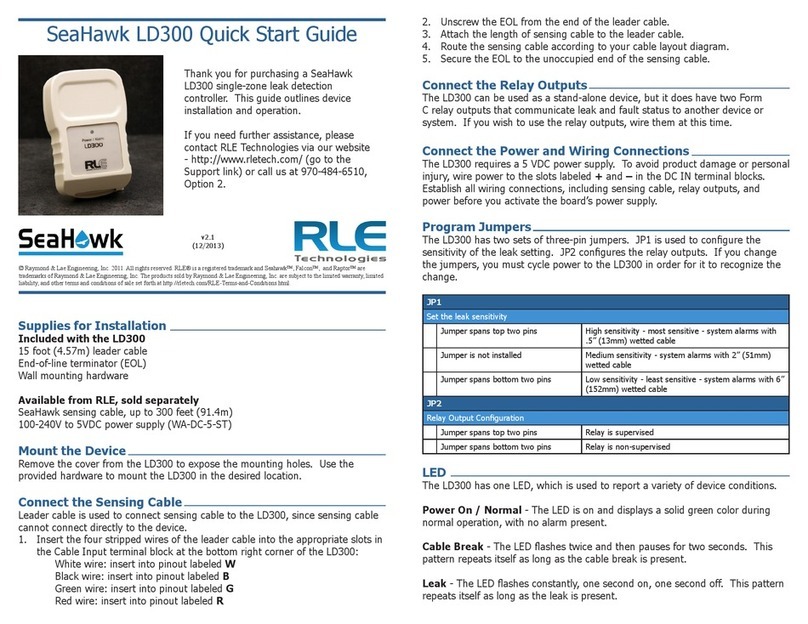
RLE Technologies SeaHawk LD300 User manual

RLE Technologies

RLE Technologies SeaHawk LD300 User manual

RLE Technologies Falcon F200 User manual

RLE Technologies

RLE Technologies Falcon F200 User manual

RLE Technologies SeaHawk 10K User manual

RLE Technologies

RLE Technologies SeaHawk 10K User manual

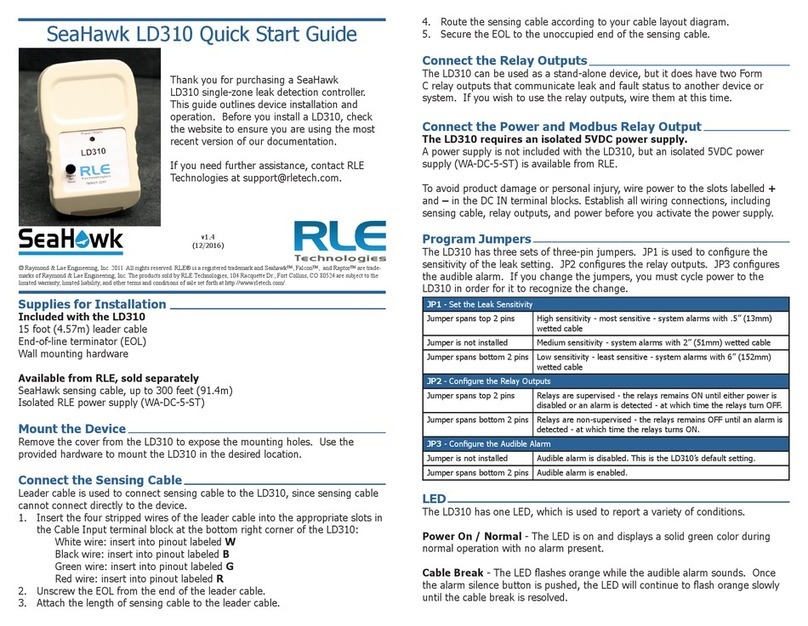
RLE Technologies SeaHawk LD310 User manual

RLE Technologies

RLE Technologies SeaHawk LD310 User manual

Popular Controllers manuals by other brands

Kübler CODIX 554 manual

Kübler

Kübler CODIX 554 manual

ComAp InteliLite MRS10 user guide

ComAp

ComAp InteliLite MRS10 user guide

Daikin SLM operating manual

Daikin

Daikin SLM operating manual

EMR LX10.2 instruction manual

EMR

EMR LX10.2 instruction manual

Ascon tecnologic Y39SE operating instructions

Ascon tecnologic

Ascon tecnologic Y39SE operating instructions

Siemens Synco 700 Basic documentation

Siemens

Siemens Synco 700 Basic documentation

Emerson AVENTICS 645 operating instructions

Emerson

Emerson AVENTICS 645 operating instructions

Siruba C007KD manual

Siruba

Siruba C007KD manual

Honeywell MN6110 installation instructions

Honeywell

Honeywell MN6110 installation instructions

SIEBE Eliwell EWPX 193 quick start guide

SIEBE

SIEBE Eliwell EWPX 193 quick start guide

Ingersoll-Rand 150BMPC Series Installation and maintenance information

Ingersoll-Rand

Ingersoll-Rand 150BMPC Series Installation and maintenance information

Panasonic FP7 Series user manual

Panasonic

Panasonic FP7 Series user manual

Siemens SINAMICS G120 Application description

Siemens

Siemens SINAMICS G120 Application description

Levven GPC20 instruction sheet

Levven

Levven GPC20 instruction sheet

Kilews SKP-32B-60W Operation and maintenance manual

Kilews

Kilews SKP-32B-60W Operation and maintenance manual

Honeywell Mini-AT user manual

Honeywell

Honeywell Mini-AT user manual

IAI SCON-CGAL First step guide

IAI

IAI SCON-CGAL First step guide

Dometic Optimus Adaptive Trim Tab System Installation and setup manual

Dometic

Dometic Optimus Adaptive Trim Tab System Installation and setup manual

manuals.online logo
manuals.online logoBrands
  • About & Mission
  • Contact us
  • Privacy Policy
  • Terms and Conditions

Copyright 2025 Manuals.Online. All Rights Reserved.