continued from preceding page
blue wire to the terminal block screw labeled “blue wire”
in Figure 2.
Note: due to manufacturing variances, the preattached
blue wire may be mounted to a different terminal block
screw than the one shown in Figure 2. If this is the case,
match color to color — blue wire opposite blue wire.
Step Two
Attach the air line and compressor
Before connecting the air line, make certain that it
is clean. If dirt or debris is not removed, air pressure
will carry it through the system, which may prevent
proper operation of the braking system or damage
system components.
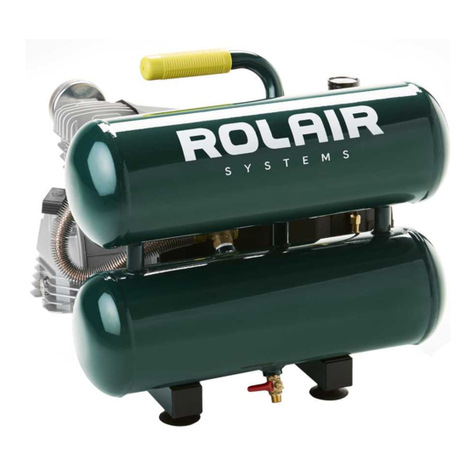
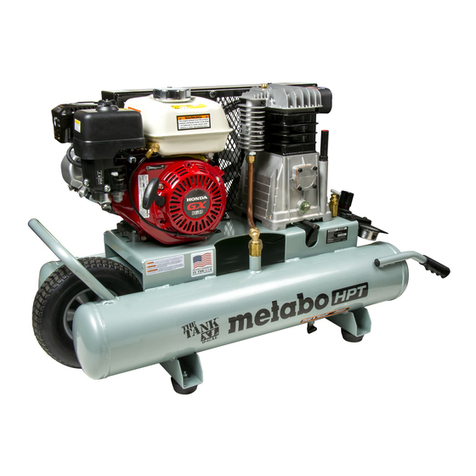
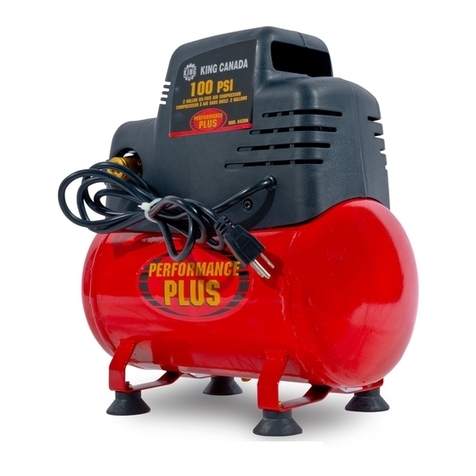
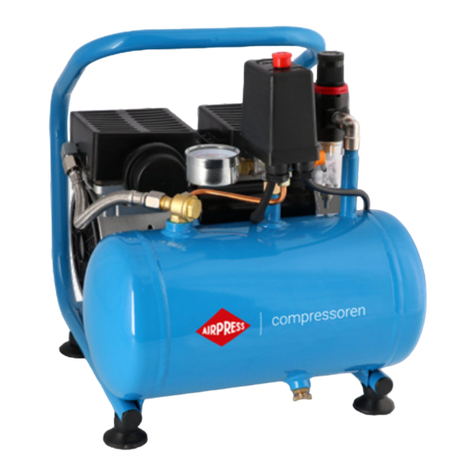
1. Connect the air line to the “out” compression fitting
on the air compressor (Figure 1). Before doing so, make
certain that the brass insert (Figure 3) is still inside the
line, and that the ferrule (Figure 3) is positioned ¼" from
the end of the line.
Note: if the brass inserts are omitted, the fittings will
not be airtight.
Next, push the air line into the compression fitting, as
far as it can go. Then push the ferrule into the compres-
sion fitting, and tighten the compression nut onto the
fitting.
Note: if the compression nut is overtightened, the fit-
ting will not be airtight. After completing the installation,
check the fittings for air leaks (Step Three, below).
2. With the air line attached, position the air compressor
over the four pilot holes, and use the provided screws to
secure the compressor in place.
2. Check to make certain that the handle on the air tank
drain valve (Figure 4) is closed.
The handle on the air tank drain valve should only
be opened to drain the air tank. If the handle is open
during towing, the air compressor will run constantly,
which may damage the compressor.
Figure 3
Figure 4
Step Three
Check for proper function
1. Start the motorhome engine and allow the air com-
pressor to run until it shuts off (about 45 seconds). Then,
hold the brake pedal down until the air compressor shuts
off again.
If the air compressor does not function as described
above, check the wiring. Make certain that all connections
have been made as described in Step One — “Wire the
air compressor.”
2. Check for leaks in the air line — first, cover the fittings
at the air compressor with a leak check solution.
The air system now contains pressurized air, which
may cause severe eye or ear injury if it is inadver-
tently released. Wear appropriate eye and ear protec-
tion before adjusting the air system fittings.
Tighten any fittings, if necessary, and repeat until all
connections are airtight.
Towing and Suspension Solutions
ROADMASTER, Inc. • 6110 NE 127th Ave. • Vancouver, WA 98682 • 800-669-9690 • Fax 360-735-9300 • roadmasterinc.com

