manuals.online logo
Brands
  1. Home
  2. •
  3. Brands
  4. •
  5. Roadstar
  6. •
  7. Radio
  8. •
  9. Roadstar HRA-1220 User manual

Roadstar HRA-1220 User manual

Other manuals for HRA-1220

1

Other Roadstar Radio manuals

Roadstar HRA-1500/N User manual

Roadstar

Roadstar HRA-1500/N User manual

Roadstar HRA-1320US User manual

Roadstar

Roadstar HRA-1320US User manual

Roadstar HRA-1200W User manual

Roadstar

Roadstar HRA-1200W User manual

Roadstar TRA-2350P User manual

Roadstar

Roadstar TRA-2350P User manual

Roadstar TRA-2291 User manual

Roadstar

Roadstar TRA-2291 User manual

Roadstar HRA-1300DAB+ User manual

Roadstar

Roadstar HRA-1300DAB+ User manual

Roadstar TRA-1955 User manual

Roadstar

Roadstar TRA-1955 User manual

Roadstar HRA-600D+ User manual

Roadstar

Roadstar HRA-600D+ User manual

Roadstar HRA-1430 User manual

Roadstar

Roadstar HRA-1430 User manual

Roadstar CLR-2950DAB+ User manual

Roadstar

Roadstar CLR-2950DAB+ User manual

Roadstar HRA-590D+ User manual

Roadstar

Roadstar HRA-590D+ User manual

Roadstar HRA-5500 User manual

Roadstar

Roadstar HRA-5500 User manual

Roadstar HRA-1245NWD User manual

Roadstar

Roadstar HRA-1245NWD User manual

Roadstar IR-540D+BT User manual

Roadstar

Roadstar IR-540D+BT User manual

Roadstar CDR-4550U User manual

Roadstar

Roadstar CDR-4550U User manual

Roadstar TRA-886D+ User manual

Roadstar

Roadstar TRA-886D+ User manual

Roadstar TRA-1966 User manual

Roadstar

Roadstar TRA-1966 User manual

Roadstar TRA-500DS User manual

Roadstar

Roadstar TRA-500DS User manual

Roadstar TRA-2235 User manual

Roadstar

Roadstar TRA-2235 User manual

Roadstar HRA-1325US User manual

Roadstar

Roadstar HRA-1325US User manual

Roadstar TRA-2350 User manual

Roadstar

Roadstar TRA-2350 User manual

Roadstar TRA-1957 User manual

Roadstar

Roadstar TRA-1957 User manual

Roadstar TRA-130D+ User manual

Roadstar

Roadstar TRA-130D+ User manual

Roadstar HRA-1500D+ User manual

Roadstar

Roadstar HRA-1500D+ User manual

Popular Radio manuals by other brands

Grundig G6 AVIATOR owner's manual

Grundig

Grundig G6 AVIATOR owner's manual

Makita DMR114 instruction manual

Makita

Makita DMR114 instruction manual

PURE Move R3 manual

PURE

PURE Move R3 manual

Motorola CP040 Detailed service manual

Motorola

Motorola CP040 Detailed service manual

Bosch GPB18V-5C Operating/safety instructions

Bosch

Bosch GPB18V-5C Operating/safety instructions

Ocean Digital WR-230 user manual

Ocean Digital

Ocean Digital WR-230 user manual

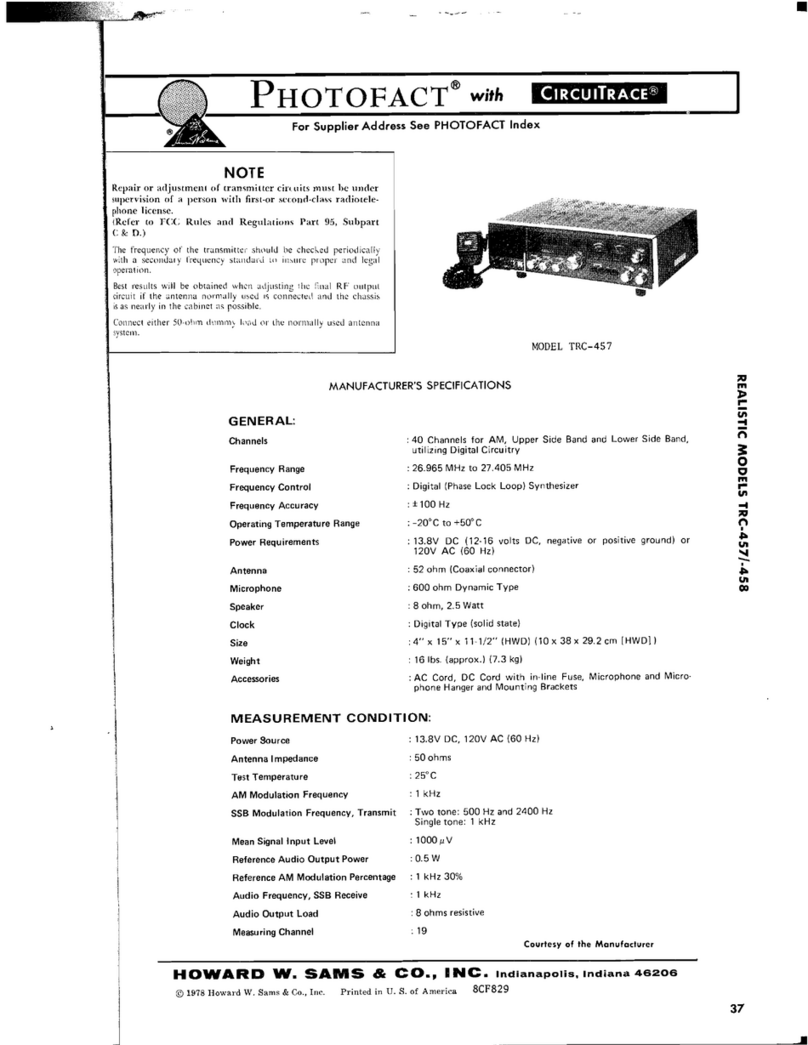
Realistic TRC-457 owner's manual

Realistic

Realistic TRC-457 owner's manual

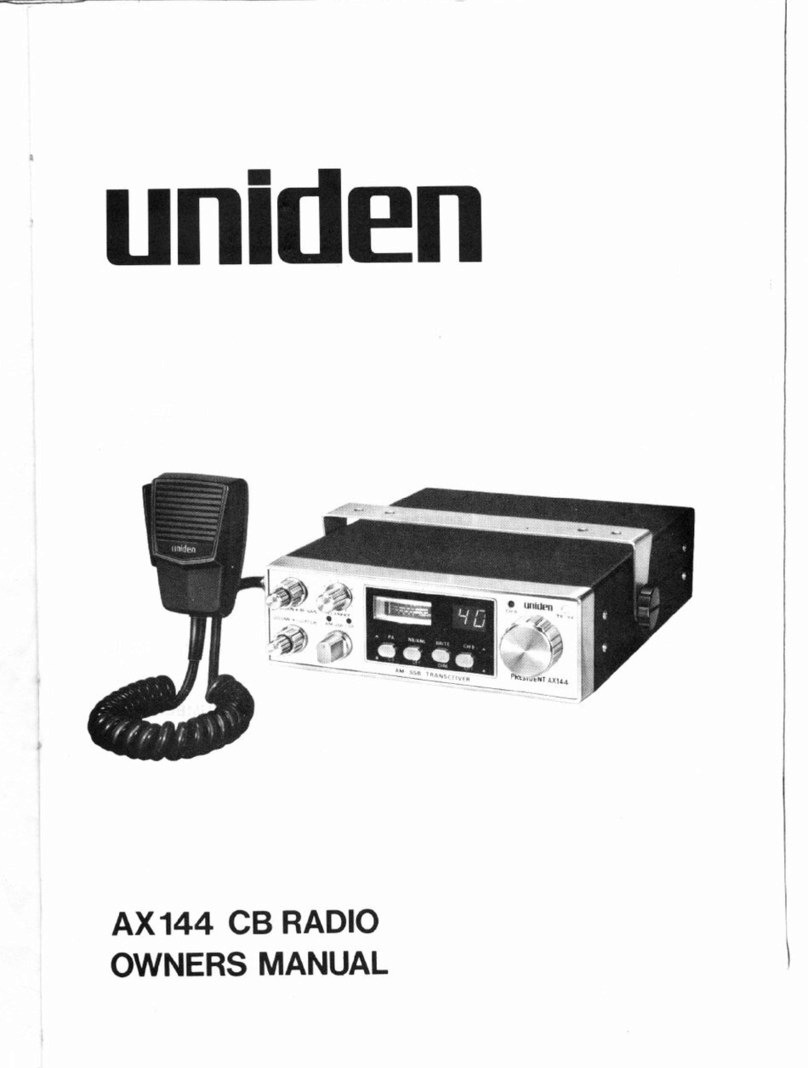
Uniden AX 144 owner's manual

Uniden

Uniden AX 144 owner's manual

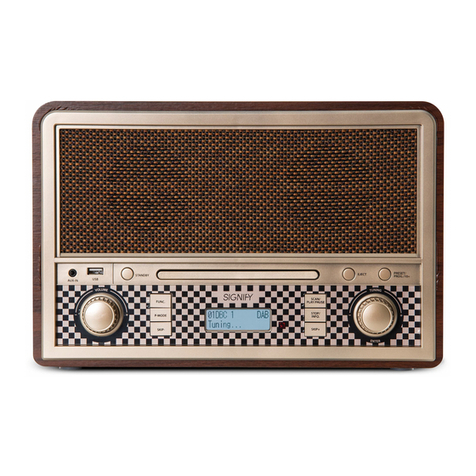
SIGNIFY EA2173 instruction manual

SIGNIFY

SIGNIFY EA2173 instruction manual

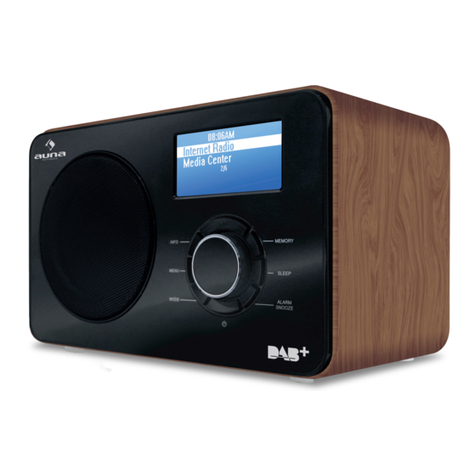
auna multimedia 10026443 user manual

auna multimedia

auna multimedia 10026443 user manual

GME TX680 instruction manual

GME

GME TX680 instruction manual

Motorola MTM5 00 Series Basic service manual

Motorola

Motorola MTM5 00 Series Basic service manual

Tivoli Audio ONE+ owner's manual

Tivoli Audio

Tivoli Audio ONE+ owner's manual

Sirius Satellite Radio SDVK1 installation guide

Sirius Satellite Radio

Sirius Satellite Radio SDVK1 installation guide

Sirius XM RAdio EDGE user guide

Sirius XM RAdio

Sirius XM RAdio EDGE user guide

Trevi XF 100 user guide

Trevi

Trevi XF 100 user guide

EisSound KBSound iSelect user manual

EisSound

EisSound KBSound iSelect user manual

Kirisun DM588-02 user manual

Kirisun

Kirisun DM588-02 user manual

manuals.online logo
manuals.online logoBrands
  • About & Mission
  • Contact us
  • Privacy Policy
  • Terms and Conditions

Copyright 2025 Manuals.Online. All Rights Reserved.

EnglishEnglish 12
WARNINGS
CAUTION
RISK OF ELECTRIC
SHOCK
DO NOT OPEN
The exclamation point within the triangle is a warning sign alert-
ing the user of important instructions accompanying the
product.
The lightening flash with arrowhead symbol within the triangle
is a warning sign alerting the user of “dangerous voltage” inside
the unit.
To reduce the risk of electric shock, do not remove the cover. No
user serviceable parts inside the unit. Refer all servicing to
qualified personnel.
This unit operates on 230V ~ 50Hz. If the unit is not used for a
long period of time, remove the plug from the AC mains.
This unit must not be exposed to moisture or rain.
The power switch in this unit is mounted on the secondary
circuit and does not disconnect the whole unit from the mains in
OFF position.
Ensure all connections are properly made before operating the
unit.
This unit should be positioned so that it is properly ventilated.
Avoid placing it, for example, close to curtains, on the carpet or in
a built-in installation such as a bookcase.
Donotexposethisunittodirectsunlightorheatradiatingsources.
230v~
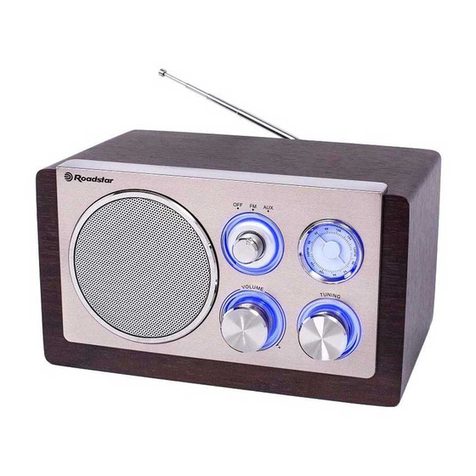
HRA-1220
Home AM/FM Radio with USB Port and MMC/SD Card slot.
INSTRUCTIONMANUAL
Please read this instruction manual carefully and familiarize yourself with your new Home
Radio before using it for the first time. Please retain this manual for future reference.
LOCATION OF CONTROLS
1. Speaker
2. Function selector (USB-SD/FM/AM)
3. Dial scale
4. Telescopic antenna
5. Ventilation hole
6. AC cable
7. TUNING Knob
8. VOLUME-ON/OFFControl
9. SD / MMC Card Slot
10.USB Port
CONNECTING TO POWER
Before switching on make sure that the voltage of your electricity supply is the same as
that indicated on the rating plate.
For your own safety read the following instructions carefully before attempting to connect
this unit to the mains.
MAINS(AC)OPERATION
This unit is designed to operate on AC 230V 50Hz current only. Connecting it to other
power sources may damage the unit.
CAUTION
To prevent electric shock disconnect from the mains before removing cover. No user
serviceable parts inside. Refer servicing to qualified service personnel.
SAFETYPRECAUTION
Do not allow this unit to be exposed to rain or moisture.
EnglishEnglish
Mains Supply: 230V 50Hz - AC only
This symbol means that this unit is double insulated. An earth connection is not
required.
POWER SUPPLY
Remove the stereo carefully from the box, retaining the packaging for future use (servicing).
ACPOWEROPERATION
Connect the plug to a mains power inlet 230V AC ~ 50 Hz.
AM/FMTUNER
OPERATION
• Select the desired frequency band (AM or FM) with the Function Selector (2).
• Tune to the desired radio station by turning the Tuning control (7).
• Turn the Volume control knob (8) to the desired level
• To turn off the unit set the Volume (8) to the OFF position.
ANTENNA
• For FM reception there is a built-in telescopic FM antenna (4) at the rear of the unit.
Extend the antenna and move it around to obtain the best reception.
• For MW reception the signals are picked up through a built-in ferrite antenna. Your may
have to orient the unit to obtain the best reception.
USB/SD/MMCOPERATION
Playback MP3 files from a USB / SD / MMC memory Stick
1. Select the USB/SD Mode function.
2. The unit will identify the mode USB first when you insert the SD/MMC drive or USB
together
3. The unit start to play the first song.
6. Press NEXT or PREV button to select the desired song.
TOSKIP BACK TOTHEPREVIOUS TRACK(USB/ SD)
• Press the PREV button. If this button is pressed in the middle of a track, the player will skip back
to the beginning of that track. To make it skip back to the previous track press the PREV twice.
Continuously pressing the PREV button makes the player skip back through the memory
track by track. Once the beginning of the first track is reached, the player will not go back
anyfurther.
34
Correct Disposal of This Product
(Waste Electrical & Electronic Equipment)
This marking shown on the product or its literature, indicates that it
should not be disposed with other household wastes at the end of its
working life. To prevent possible harm to the environment or human
health from uncontrolled waste disposal, please separate this from
other types of wastes and recycle it responsibly to promote the
sustainable reuse of material resources.
Household users should contact either the retailer where they
purchased this product, or their local government office, for details of
where and how they can take this item for environmentally safe recycling.
Business users should contact their supplier and check the terms and
conditions of the purchase contract. This product should not be mixed
with other commercial wastes for disposal.
PRESETEQUALIZER
• The Quality of the sound can be adjusted to suit the type of music playing ( CLASSIC,
ROCK,POP, JAZZor PASS.
• Simply Press the Preset Equalizer button on the unit (16) or on Remote Control (12)
which matches the type of music playing.
SPECIFICATIONS
Power Supply
AC: 230V ~ 50Hz
Radio Frequency Coverage
FM: 87.5 - 108MHz
MW: 530 - 1600kHz
Design and specifications are subject to change without notice.