ROBORISEN EDU Series Product guide

PINGPONG ROBOT
EDU SERIES
Manual Book
EDU SERIES Manual Book
www.roborisen.com
E
PINGPONG ROBOT
EDU SERIES
E

E
PINGPONG ROBOT
EDU SERIES

PINGPONG ROBOT
EDU SERIES
User’s Manual
1. Product Introduction
2. PingPong Robot (Cube)
3. Operation of Button
4. Matters Related to Charging
5. Connection to Smartphone
6. Connection to Scratch
1. Cube only
2. Edu basic
3. Lesson kit A/B/C/D
Product Composition Robot operation, App functions
Assembly flowchart
AUTO CAR
WORM BOT
ROLLING CAR
BATTLE BOT
DRAWING BOT
HUMAN BOT
ANT BOT
CRAWLING BOT
ROBOT ARM
PINGPONG ROBOT
EDU SERIES
www.roborisen.com
E

Composition: Cube only
Edu Basic Box
Links
Composition: Edu Basic
CUBE CUBE BOX
Cube 2 EA
Charging Cable
USB Dongle
BAT & BT LED
Power Button
Charging Connector
Origin Detect Sensor
Stepper Motor
BLE 5.0
Proximity Sensor
Piezo Buzzer
LED indicator
Link Holes
IMU Sensor
Extension Port
PINGPONG
EDU SERIES e

Composition: Lesson kit A Composition: Lesson kit B
4 Sensors
(Light, Sound, Dot Matrix & RC Servo)
Cube 1 EA
Charging Cable
Cube 1 EALinks
Lesson kit B BoxLesson kit A Box
USB Dongle
PINGPONG
EDU SERIES e

Composition: Lesson kit C Composition: Lesson kit D
Links Cube 1 EA Links Cube 1 EA
Lesson kit D BoxLesson kit C Box
PINGPONG
EDU SERIES e

PINGPONG ROBOT
EDU SERIES
User’s Manual
1
LINK
2
CHARGING
CABLE
3
PINGPONG
ROBOT
(CUBE)
This is the basic module of
PingPong robot, which is
called “Cube”.The button, various
sensors and 4-pin expansion
port are built in Cube.
It is the framework that connects
Cube and Cube, which can
make various shapes of
Robots using avariety of
Links.The Links for the basic
model are included in G2, G3
and G4boxes.
This is adedicated charger that
can charge PingPong robot.
Magnets are attached for
easy connection.
Product Introduction
1. Product Introduction
2. PingPong Robot (Cube)
3. Operation of Button
4. Matters Related to Charging
5. Connection to Smartphone
6. Connection to Scratch
PINGPONG
EDU SERIES e

Magnetic Charging Terminal
Button
LED Indicator
4Pin Expansion Port
(GND, VCC, SCL, SDA)
Stepper Motor
Infrared Proximity Sensor
Connection &Charging
Indicator
Link Hole
The shape of figure
1. Turning On
2. Connecting
3. Turning Off
If you press the button once
briefly when the power is off,
PingPong Robot is turned on.
Click
After running aSmartphone
App or computer connection
program, if you press the
button once more when the
power is on, PingPong Robot
makes an attempt to connect
with the device.
Click
Clink in 3 seconds
If you press and hold the
button when the power is on,
PingPong Robot is turned off.
Operation of Button
PingPong Robot (Cube)
Beep!
Be-Beep!
Ring-a-Ring
PINGPONG
EDU SERIES e

•Be sure to turn off the power when PingPong Robot is not used.
•As battery power supply may be insufficient depending on the robot
model, fully charge it before use.
•As for the battery of cube, it can be used continuously for about an hour
for a wheel-driven robot, and about 20 minutes for a joint-driven robot
(or operation).
•In the event of the sudden voltage drop due to the continuous
operation or battery discharge due to long use, LED indicator flickers in
red 5 times and the power of Cube is turned off.
•After 5 minutes from disconnecting power and wireless connection, the
system becomes the dormant state (flickering in white), and the power
turns off automatically after 5 minutes
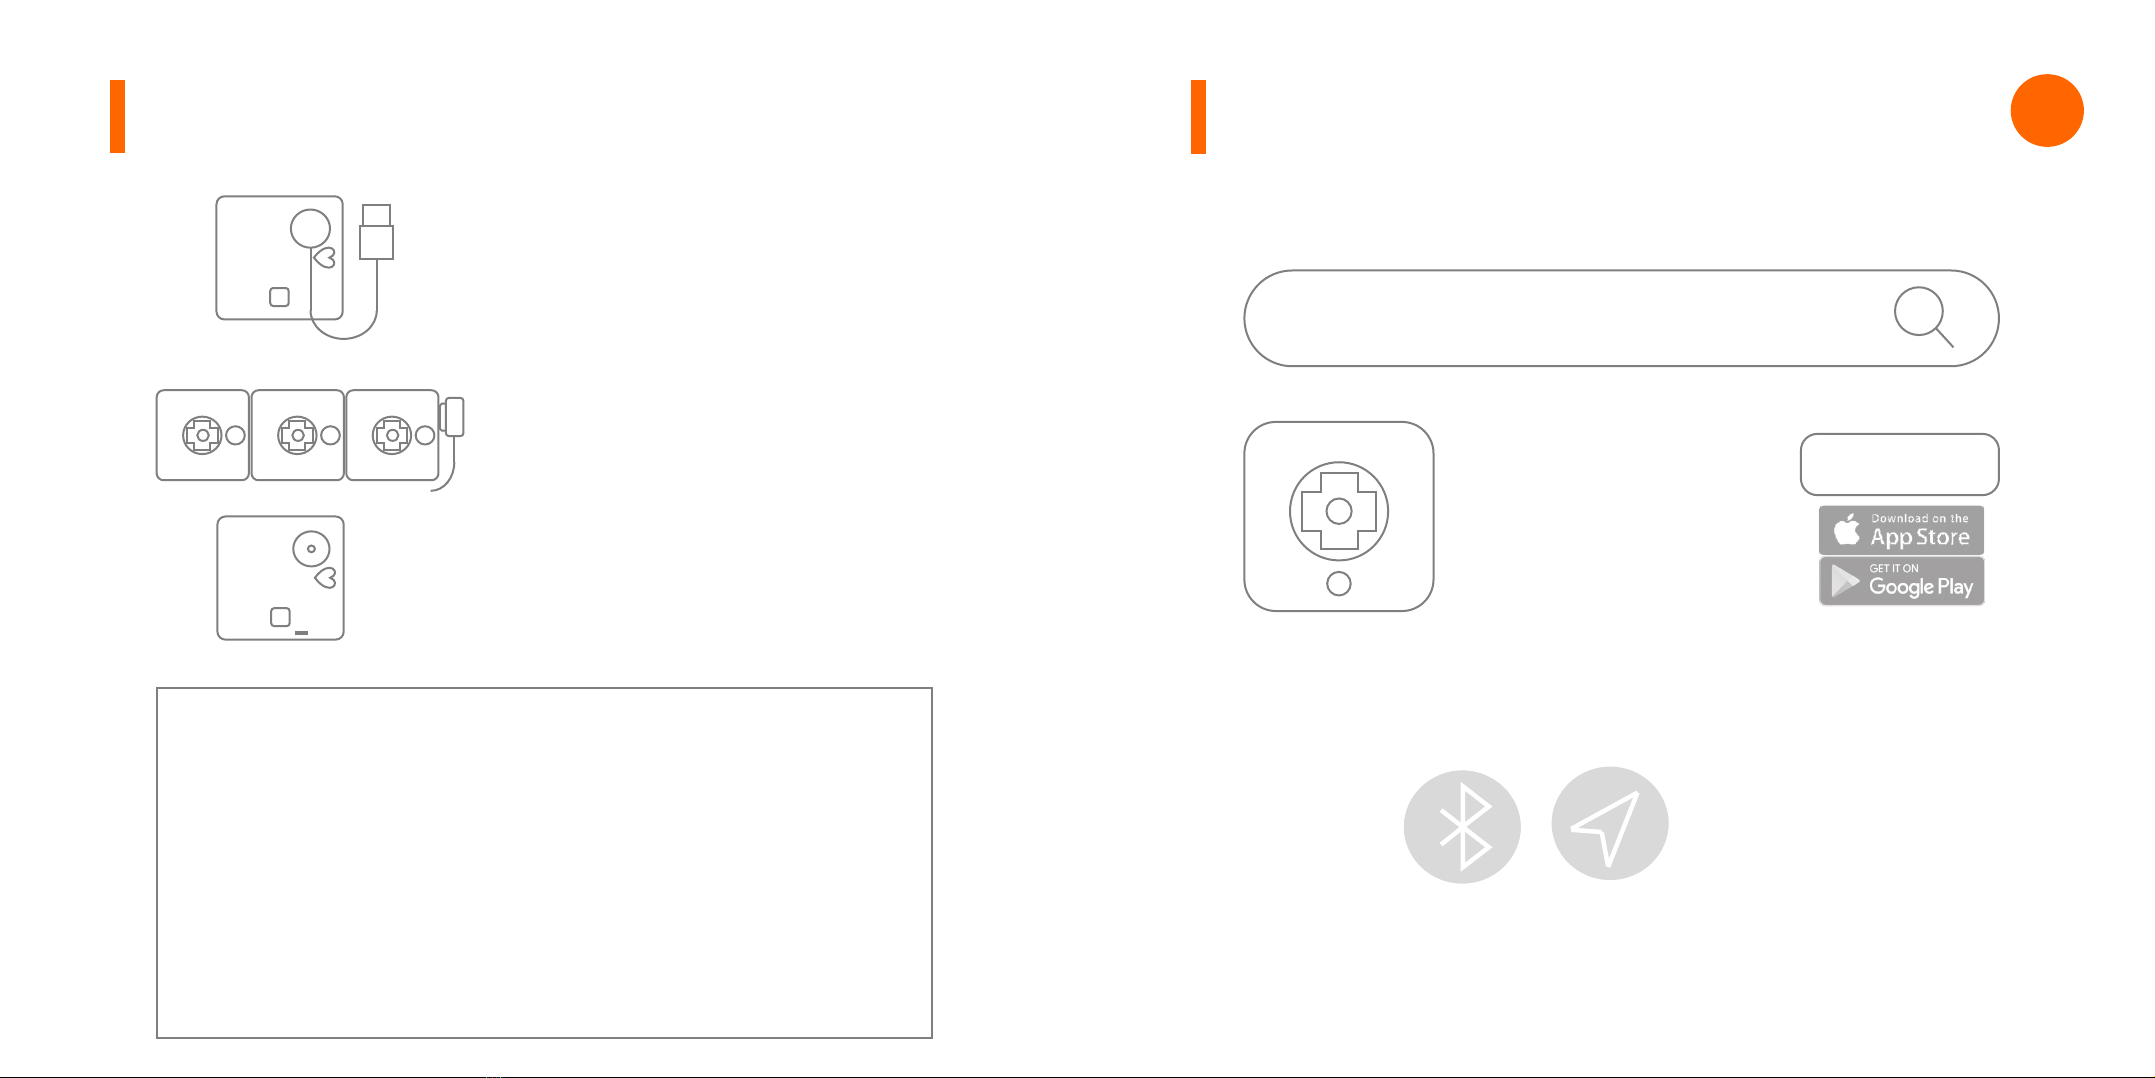
You can charge PingPong Robot
using the Magnet Charging Cable
built in the box.When charging USB,
use arated 5V/3Adedicated
charger.When using aUSB port of
laptop or PC, there is aconcern of
terminal damage.
Several Cubes can be charged at a
time connecting together.
It takes about an hour from 1to 6
Cubes to the full charge, and takes
more time for 7Cubes for more.
When charging starts, LED next to
the button lights in red, and the
light turns off when fully charged.
Tap!
Flash-
1. Search the “PingPong Robot” application with aSmartphone
and install it.
PingPong Robot
PingPong Robot
RoboRisen
Install
2. Turn on Bluetooth and GPS in the Smartphone setting
window, and allow use.
Matters Related to Charging Connection to Smartphone PINGPONG
EDU SERIES e

3. Run the application and select two Cubes on the screen.
4. Select the robot to connect
(e.g. AUTO CAR)
5. Assemble it by referring the development view or the assembly
flow chart.
The assembly flow chart is
at the last of the manual,
and there are the assembly
sequences of all the robots
that can be assembled in
this series.
The shape of the upper
figure should be assembled
to fit the star and square,
so that the front and the
rear are not changed when
operating with ajoystick.
Direction
Connection to SmartphoneConnection to Smartphone PINGPONG
EDU SERIES e

방향
6. Find the No. 1 Cube on the Smartphone screen..
7. After turning on the power by pressing briefly the
No. 1 Cube, press the button once more to connect
8. When connected, the color of No. 1 Cube turns red on
the application screen.
9. At the same time, the LED indicator on the left Cube
flickers in red.
Connection to Smartphone Connection to Smartphone PINGPONG
EDU SERIES e

10. Connect the second Cube in the same way.
11. Connection is completed with buzzer sound.
It turns on If you press
once briefly when it is
turned off, and PingPong
Robot makes an attempt
to connect with the device
if you press it once more
when it is turned on.
Joystick
Drawing
Dancing to the music
Motion Maker
Moving with a joystick
You can control the Auto
Car by pressing the button.
Press the left arrow key to
move in straight, and press
the blue circle to stop.
You can control the operation
speed by using the speed
bar on the right.
Direction Speed
Joystick
You can control it freely by
moving the joystick.The
PingPong Robot moves faster
if you pull the joystick more.
The speed window on the
right shows the current speed
as the number of 1~100.
App OperationConnection to Smartphone PINGPONG
EDU SERIES e

If you press the desired figure,
it moves according to the
specified figure.In case of
Drawing Bot, you will draw a
figure by lowering and lifting
apen.
If you press the icon, it
will dance according to the
predetermined motion with
the theme song of PingPong
Robot.
Drawing the basic figure
Dancing to the music
It is the menu to create the
desired motion and move
the PingPong Robot at will.
After pressing and dragging
the icons below, you will
create the motion by placing
them in order in the execution
area of the film shape.
.
Execution Area
Motion Maker (To create motion)
Execution Area
App OperationApp Operation PINGPONG
EDU SERIES e

By pressing the motion
icon in the execution area,
you can change the values
(movement distance,
rotation angle and waiting
time) for each motion.
Motion Maker (To modify motion)
Execution Area
If you press the motion icon
that you want to change and
move it to another place, the
sequence of motion is changed.
Motion Maker (To change the sequence and to play)
If you press the play button,
the PingPong Robot moves
in the order of the icons.
App Operation App Operation PINGPONG
EDU SERIES e

1. Download Scratch 3.0for PingPong from the website of
RoboRisen (www.roborisen.com) and install it.
2.At this time, install 2types of Link SW for Scratch connection
as well.You can connect to PingPong Scratch 3.0without a
dongle, from Windows 10 and higher.
Connection of Scratch
With Dongle Without Dongle
New
Open
Save
Play
Stop
Delete
PingPong Robot moves
according to the sequence of
the icons in the execution
Stopping the motion of a
moving PingPong Robot.
Deleting unwanted motions
in the execution area.
You can delete unnecessary
motion by pressing the trash
button.
When deleting is completed,
press the trash button again
to clear the delete mode.
Motion Maker (To delete motion)
App Operation
Smartphone.
area..
Clearing all the motions in the
execution area and creating
the new ones..
Invoking the saved motion.
Saving the motion in the
execution area to a
PINGPONG
EDU SERIES e

3. Run Scratch to connect with Cube.Select “Add Extension
Function” at the bottom left or PingPong Scratch.
4. Select the PINGPONG model you want to connect. This time,
select Connecting two Cubes (G2) for PingPong robot
project using two Cubes.
Connection of ScratchConnection of Scratch
Add Extension
PINGPONG
EDU SERIES e

방향
5. When the yellow window to find the device pops up,
slowly press the yellow buttons of the prepared two Cubes
twice respectively.
Connection of Scratch Connection of Scratch
Click
twice
Click
Twice
6. When both Cubes are completed, move to the Editor to
start coding.
7. If it is disconnected midway, press Connection again and
repeat the previous process.
PINGPONG
EDU SERIES e

8. Depending on the PingPong robot model or the Cube
utilization project, you can select and use various types of
models as shown below.
Connection of Scratch
Robot operation and App function
PINGPONG ROBOT
EDU SERIES
www.roborisen.com
E

PINGPONG AUTO CAR
Links Cube
Assembly
App functions
SENSOR Basic
Light Sensor RCServo Motor
Sound sensor Dot Matrix
PINGPONG
EDU SERIES e

PINGPONG WORM BOT
Links Cube
Assembly
App functions
PINGPONG ROLLING CAR
Links Cube
Assembly
App functions
PINGPONG
EDU SERIES e
This manual suits for next models
1
Table of contents
Other ROBORISEN Robotics manuals