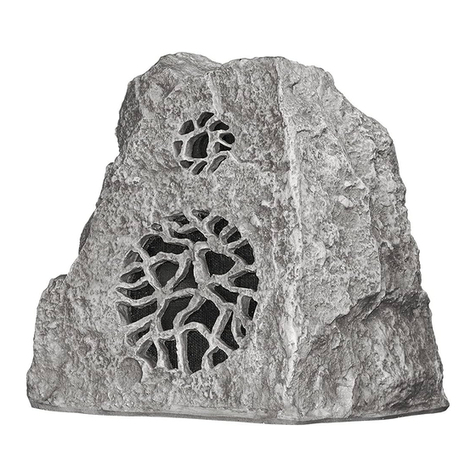
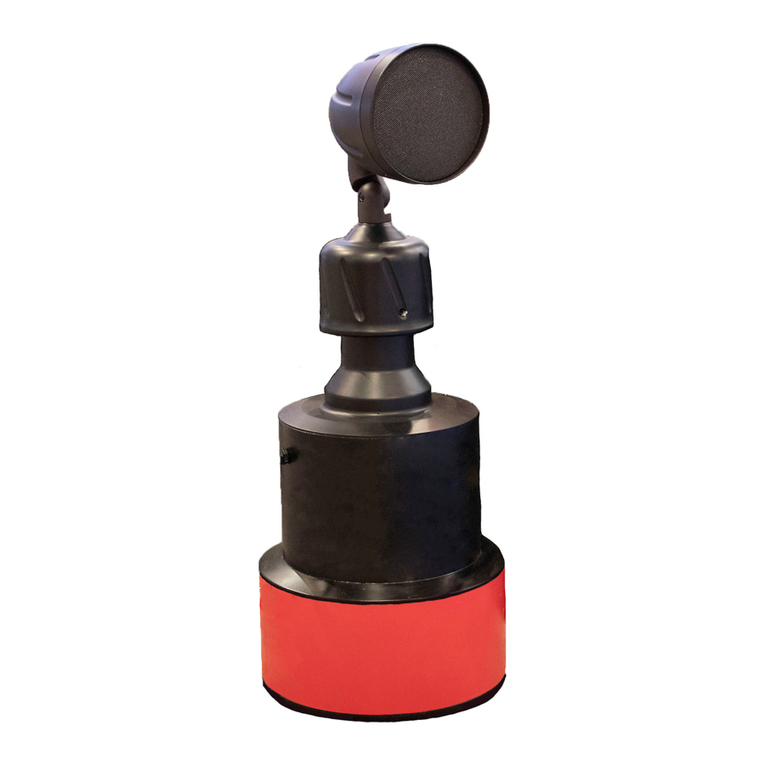
Rockustics Escape Series Configuration guide

Escape Series
INSTALL INSTRUCTIONS
© 2021 MSE Audio. Rev. 02.19.2021
Ultra-Fidelity Outdoor Speakers
Please read the following instructions carefully before installing
your Rockustics®Rock speaker. If you have any questions
regarding installation that are not answered in the following
directions, please contact your local sound contractor or the
Rockustics®/MSE Audio®technical support team.
Optimizing Speaker Placement for Best Sound
All Rockustics speakers can generate a high SPL (sound
pressure level). Be ready to rock, but be considerate of your
neighbors! Maximum acoustic performance should be an
important factor in determining speaker placement. Here is
how to achieve it:
1) Establish where the most likely or average listening
position will be.
2) The speakers should be placed at or close to the same
distance from that point.
3) The actual distance between the listening position and
the location of the speakers is not critical. However, keep
in mind that as the distance between listening area and
speaker is increased, there will be a noticeable decrease
in perceived volume.
4) Be sure to conrm amp power matches the power rating
on the speaker. Over-driving the speaker can lead to
permanent damage that is not covered under warranty.
Optimizing Aesthetics with Speaker Placement
All Rockustics products are designed with a boost in high fre-
quency response to accommodate for placement near plants
and other landscaping features. Feel free to position the product
within your landscaping, camouaged near bushes or shrubs.
Rockustics products strive to blend into the natural aesthetic of
their surroundings.
Be sure to account for the wires which will run from the rock to
your stereo or audio source. Camouage wires by running them
an inch below ground level when possible.
Cautions and Maintenance
All Rockustics Rock Series speakers are sealed and fully weath-
erproof. However, DO NOT place speakers where the grille will
be in the path of a sprinkler system. Sprinklers typically have a
high water pressure level that can damage speaker cones if hit
directly.
DO NOT place soil or wood chips over the speaker grille. If the
grilles accumulate a build up of soil, the speaker may become
damaged. If build up does occur, simply rinse the grille with a
garden hose set to a low pressure level. Accumulated soil may
also promote undesired insect trafc into the speaker. Insects
may eat through the speaker surround. Chemical sprays may
also cause damage to the rubber of the speaker surround. This
includes bug spray, deck sealant, some fertilizers and oil based
products. Speakers MUST be covered when applying these
treatments or chemicals in your yard.
For environments that get snow and ice during the winter
months, be sure to check that the openings and woofer cone
are clear and there is no hard-packed snow or ice built up in
these areas before playing. If there is ice or snow present on the
cone, use a hair dryer set on a low setting to to melt it away. If
the speakers are not going to be used during winter months, it
is recommended that they either be disconnected and brought
indoors, or covered with a plastic bag to help protect the
speaker components.

Escape Series
INSTALL INSTRUCTIONS
© 2021 MSE Audio. Rev. 02.19.2021
Ultra-Fidelity Outdoor Speakers
Wiring for Low Impedance Applications
If using 8 ohm wiring instead of 70V, only use tap position 1
on Periscape units. Subscape units require specic preparation
for 8 ohm use, outlined in step 5 of the Subscape instructions
section. Use the supplied silicone wire nut to connect the
positive (+) leads of the speaker and input wires. Repeat this
step with the negative (-) leads. Rockustics recommends using
14ga or heavier direct burial cable for the connection between
the amplier and the speakers.
Wiring for 70V/100V Applications
For speakers with transformers, use Diagram C and D to nd
the proper wire selection for your desired tap setting. Once
the desired tap setting is conrmed, trim the unused wires to
minimize corrosion. For harsh and wet environments, it is
recommended to apply a bead of silicone to the end of the
unused wires for added protection.
If daisy-chaining, follow wire preparations as outlined in the
Basic Wiring section. Review Diagram F for a typical daisy-chain
wiring system for 70V and 100V applications. Be sure to
connect the wires going to the next speaker in the chain as
shown in Diagram E. There should be three pairs of wires at
each speaker, but the last speaker in the chain will only have
two pair. Follow standard protocol for polarity and make sure all
units are wired with the same polarity.
Diagram E
Diagram C
Wire Color Subscape 8 Subscape 10 Subscape 12
Black 70V-Common 70V-Common 70V-Common
Yellow 150W 250W 300W
Blue 75W 125W 150W
Brown 38W 63W 75W
SubscapeSubscape
Tap WireTap Wire
KeyKey
Diagram D
Switch Position Periscape 4 Periscape 6
I 8 Ohm 8 Ohm
II 25W 50W
III 13W 25W
IV 7W 13W
V 4W 7W
PeriscapePeriscape
Tap WireTap Wire
KeyKey
Diagram F

Escape Series
INSTALL INSTRUCTIONS
© 2021 MSE Audio. Rev. 02.19.2021
Ultra-Fidelity Outdoor Speakers
Red +
Black -
+
____
--
1. 2.
+
4. Trim Wire
Trim the wire to the appropriate
length and connect the positive
(+) leads on the input wire with the
wire nut. If daisy-chaining, connect
the positive (+) wire for the next
speaker in the chain. Repeat for
negative (-) leads.
~6-8”
~8”
1. Digging
Dig a hole sufcient to bury the
speaker(s) to the correct depth
(noted above) in the precise
location where the speaker will be
placed.
2. Strip Wire
Strip and prepare wire ends for
your speaker conguration.
3. Thread Wire
Pass the wire from the amp through
the side hole in the mounting spike
and out the top end. Repeat this
process if daisy-chaining. Do NOT
pass the speaker wire(s) out of the
bottom of the mounting spike.
Back
8. Fine Tune Aiming
Angle the speaker in your desired
position with the allen wrench.
Loosen screw in the bottom of
the gooseneck and gently rotate.
Re-tighten when angled properly.
5. Screw on Spike
With the speaker wires inside the
spike, begin threading the speak-
er until it’s tight. Gently pull on the
speaker wires coming out of the
side to remove any excess wire.
7. Position Speaker
Position the speaker in the desired
direction in the hole. The speaker
should be deep enough that the
wire(s) can be buried at least 1”
below the ground. Backll the hole.
6. Test
Fully wire the rest of your system
and test to make sure sound is
coming from each unit.
Mylar Film
11. Mylar Film
Remove the mylar lm from un-
der the tap switch knob by pulling
on the exposed tab. Push the tap
switch onto the speaker to lock
into position.
10. Tap Switch Settings
See the tap switch key on page
2 to determine which tap power
setting corresponds to the mark-
ings on the speaker and select
accordingly.
Side View
Back View
9. Vertical Aiming
Adjust angle by loosening the screw
on the side of the mounting bracket.
Adjust speaker to the desired angle
and re-tighten screw. Do NOT angle
speaker more than 45°.
NOTE::
To reset the tap position after the
knob has been locked in place,
gently pry the tap switch knob 1/8”
from speaker. Re-position the tap
switch to the desired setting and
then push the knob back in place
to be locked in its new position.
If desired, the tap switch locking
mechanism may be permanently
disabled by cutting off the short
pin on the back of the speaker.
Simply remove the tap knob, cut
off the locking pin on the back of
the speaker and replace the knob.
PERISCAPE INSTRUCTIONS
Escape Series
INSTALL INSTRUCTIONS
© 2021 MSE Audio. Rev. 02.19.2021
Ultra-Fidelity Outdoor Speakers
+
____
--
1. 2.
+
4. Daisy-Chaining
If daisy-chaining, be sure to also
connect the wires going to the
next speaker in the chain. Follow
standard protocol for polarity and
make sure the subwoofer is wired
with the same polarity as the
Periscape units.
1. Install Cap
Install the cap by threading it onto
the end of the port tube clockwise.
Daisy Chaining Wiring
Wire Nuts
Speaker or
Subwoofer
Daisy-Chained
Speaker or
Subwoofer
Signal Wire
3. 70V Applications
For 70V (or 100V) applications,
select the appropriate tap wires
from the chart on page 3 and
connect them to the input wire
from the amp. Skip to step 5 if
using 8 ohm.
3” to 5”
8. Complete Install
Place subwoofer in hole and ll.
Leave 3-5” of space from the
bottom of the cap to the ground.
Gray
Green
White
8 Ohm -
Red
8 Ohm +
8 Ohm Wiring
Heat Shrink Cap
5. 8 Ohm Application
Locate the red, gray, green, and
white wire pairs and cut off the
heat shrink cap on each pair. Use
the supplied wire nuts and connect
the positive (+) lead from the amp
to the red wire and connect the
negative (-) lead from the amp to
the white wire. Do not use the gray
or green wire. Disregard if using
70V Wiring.
7. Trim Wires
Trim unused wires on the sub-
woofer and wrap the loose ends
with electrician’s tape or a suitable
alternative to protect the bare
wires from corroding.
6. Test
Fully wire the rest of your system
and test to make sure sound is
coming from each unit.
2. Digging
Dig a hole sufcient to bury the
Subscape so that there is 3-5”
clearance between the bottom of
the port and the ground level. Be
sure to account for several inches
of gravel at the bottom to assist
with drainage.
SUBSCAPE INSTRUCTIONS
This manual suits for next models
5
Other Rockustics Speakers manuals

Rockustics
Rockustics OmniPlanter 8.0 Configuration guide

Rockustics
Rockustics XT-PowerRock Configuration guide

Rockustics
Rockustics Periscape 6 Configuration guide

Rockustics
Rockustics Monument Series Configuration guide

Rockustics
Rockustics Music Garden User manual

Rockustics
Rockustics Stonehenge II Configuration guide

Rockustics
Rockustics Cherry Bomb CB5 User manual

Rockustics
Rockustics XT-SurroundStone Configuration guide

Rockustics
Rockustics XT-PowerRock Configuration guide

Rockustics
Rockustics Coconutz User manual