manuals.online logo
Brands
  1. Home
  2. •
  3. Brands
  4. •
  5. Rockwell Automation
  6. •
  7. Cables And Connectors
  8. •
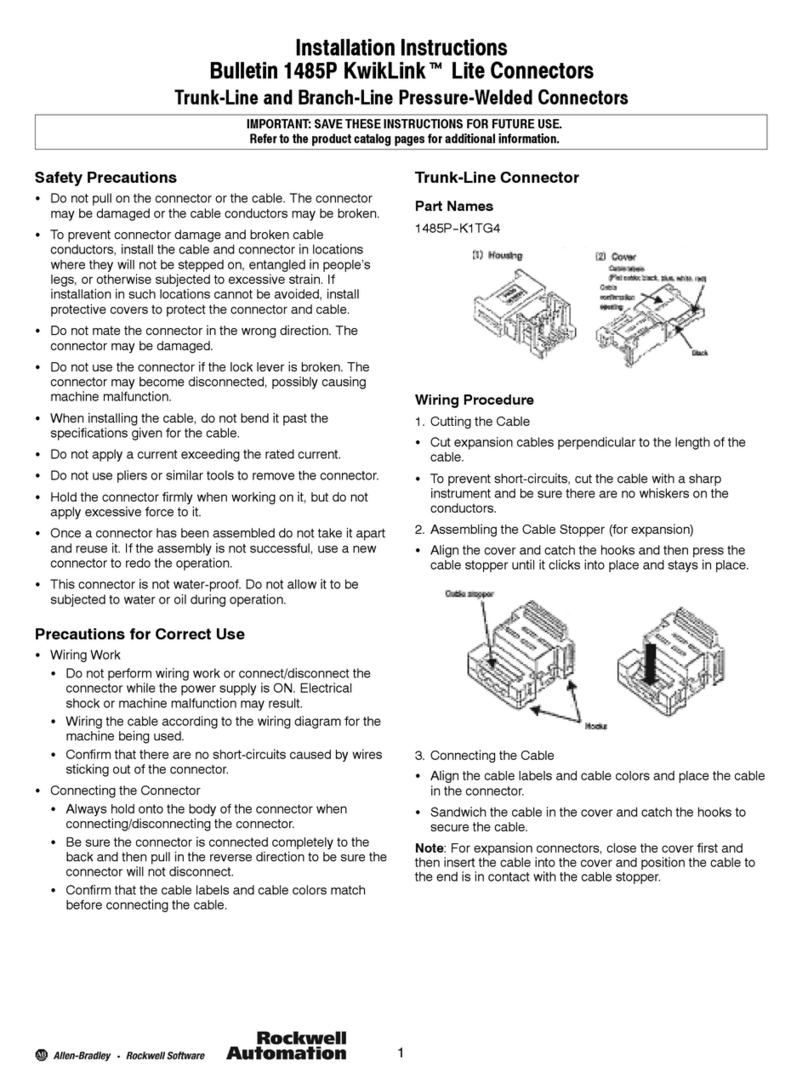
  9. Rockwell Automation 1485P KwikLink User manual

Rockwell Automation 1485P KwikLink User manual

1
Installation Instructions
Bulletin 1485P KwikLinktLite, 5-Pin Insulated Displacement connector
IMPORTANT: SAVE THESE INSTRUCTIONS FOR FUTURE USE.
Refer to the product catalog pages for additional information.
Safety Precautions
SDo not pull on the connector or the cable. The connector
may be damaged or the cable conductors may be broken.
STo prevent connector damage and broken cable
conductors, install the cable and connetor in locations
where they will not be stepped on, entangled in people’s
legs, or otherwise subjected to excessive stain. If
installation in such locations cannot be avoided, install
protective covers to protect the connector and cable.
SDo not mate the connector in the wrong direction. The
connector may be damaged.
SDo not use the connector if the lock lever is broken. The
connector may become disconnected, possibly causing
machine malfunction.
SWhen installing the cable, do not bend it past the
specifications given for the cable.
SDo not apply a current exceeding the rated current.
SDo not use pliers or similar tools to remove the connector.
SHold the connector firmly when working on it, but do not
apply excessive force to it.
SOnce a connector has been assembled, do not take it
apart and reuse it. If the assembly is not successful, use a
new connector.
SThis connector is not water-proof. Do not allow it to be
subjected to water or oil during operation
SWire correctly and double-check all the wiring before
turning ON the power supply.
Precautions for Correct Use
SOperating Environment Precautions
SDo not install the control system in the following
locations.
SLocations subject to direct sunlight
SLocations subject to temperatures or humidity outside
the range specified in the specifications
SLocations subject to condensation as a result of severe
changes in temperature
SLocations subject to corrosive or flammable gases
SLocations subject to dust (especially iron dust) or salts
SLocations subject to exposure to water, oil, or chemicals
SLocations subject to shock or vibration
Take appropriate and sufficient countermeasures when using
systems in the following locations
SLocations subject to static electricity or other forms of
noise
SLocations subject to strong electromagnetic fields
SLocations close to power lines
SWiring Work
SDo not perform wiring work or connect/disconnect the
connector while the power supply is ON. Electrical
shock or machine malfunction may result.
SWire the cable according to the wiring diagrams for the
machine being used.
SConfirm that there are no short-circuits caused by wires
sticking out of the connector
SDo not drop the connectors or give the connectors
excessive vibration or shock. Doing so may cause a
failure or malfunction
SWire correctly as specified in the manual.
SDo not pull on the cables or bend the cables beyond
their natural limit.
SAbide by the specifications for a communication
distance and the number of units to be connected.
SConnecting the Connector
SAlways hold onto the body of the connector when
connecting/disconnecting the connector.
SBe sure the connector is connected all the way to the
back and then pull in the reverse direction to be sure the
connector will not disconnect.
SConfirm that cable labels and cable colors match
before connecting the cable.
Parts and Nomenclature
1485P--K1G4--Y5
2
Wiring Procedure
1. Cutting the Cable
SCut cables perpendicular to the length of the cable
STo prevent short-circuits, cut the cable with a sharp
instrument and be sure there are no whiskers on the
conductors.
2. Connecting the Cable
SAlign the cable labels and cable colors, and place the
cable on the connector.
SThe cover is translucent. Visually confirm that the cable
has been inserted all the way to the back.
3. Assembling the Connector
SBefore assembling connectors, check that the cable is
inserted all way to the cable stopper and be sure that it
is securely connected.
SGrip the connector in the center with the crimp tool and
assemble the connector. When finished, confirm that the
connector has been properly assembled.
SConfirm that the locks on the housing are completely
caught on the hooks on the cover.
Pressure-welding Pressure-weld the
connector until
there is no gap.
Pressure-welding
Before pressure-welding
After pressure-welding
Cover hook
Basic Specifications
Rated current 5A
Rated voltage 25V DC
10000030663 Ver 00
PrintedinUSA

Other Rockwell Automation Cables And Connectors manuals

Rockwell Automation Allen-Bradley Kinetix 2090 Series User manual

Rockwell Automation

Rockwell Automation Allen-Bradley Kinetix 2090 Series User manual

Rockwell Automation Allen-Bradley 1203-SG2 User manual

Rockwell Automation

Rockwell Automation Allen-Bradley 1203-SG2 User manual

Rockwell Automation Trusted TC-201-02 m Series Operating and safety instructions

Rockwell Automation

Rockwell Automation Trusted TC-201-02 m Series Operating and safety instructions

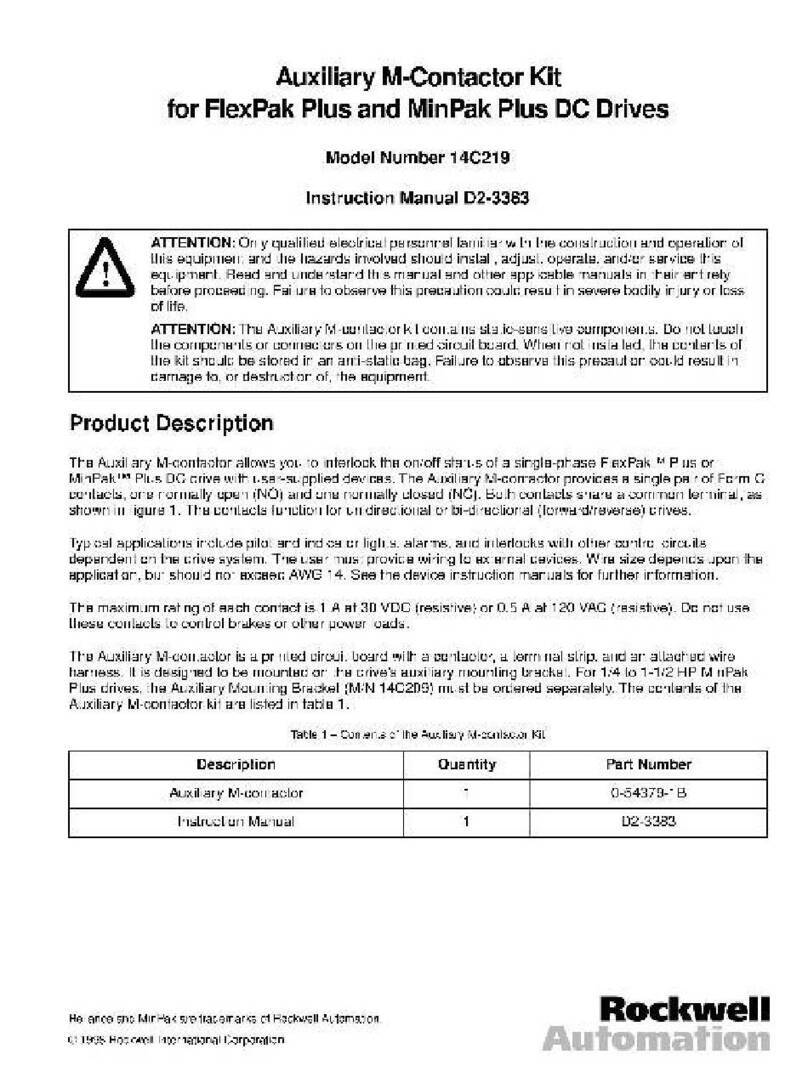
Rockwell Automation 14C219 User manual

Rockwell Automation

Rockwell Automation 14C219 User manual

Rockwell Automation Allen-Bradley 1794-TB2 User manual

Rockwell Automation

Rockwell Automation Allen-Bradley 1794-TB2 User manual

Rockwell Automation Allen-Bradley Bulletin 1485P KwikLink User manual

Rockwell Automation

Rockwell Automation Allen-Bradley Bulletin 1485P KwikLink User manual

Rockwell Automation Allen-Bradley Kinetix 2090 Series User manual

Rockwell Automation

Rockwell Automation Allen-Bradley Kinetix 2090 Series User manual

Rockwell Automation Trusted TC000 Series User manual

Rockwell Automation

Rockwell Automation Trusted TC000 Series User manual

Rockwell Automation Allen-Bradley Kinetix 2090 Series User manual

Rockwell Automation

Rockwell Automation Allen-Bradley Kinetix 2090 Series User manual

Rockwell Automation Allen-Bradley Kinetix 2090 Series User manual

Rockwell Automation

Rockwell Automation Allen-Bradley Kinetix 2090 Series User manual

Rockwell Automation ArmorKinetix 2090 User manual

Rockwell Automation

Rockwell Automation ArmorKinetix 2090 User manual

Rockwell Automation Allen-Bradley 800G-ACGK1 User manual

Rockwell Automation

Rockwell Automation Allen-Bradley 800G-ACGK1 User manual

Rockwell Automation Allen-Bradley 2090-KTPC-MA-AA User manual

Rockwell Automation

Rockwell Automation Allen-Bradley 2090-KTPC-MA-AA User manual

Rockwell Automation 1797-BIC User manual

Rockwell Automation

Rockwell Automation 1797-BIC User manual

Popular Cables And Connectors manuals by other brands

ARTHUR HOLM DynamicCableRetract AHDCRHDMI user guide

ARTHUR HOLM

ARTHUR HOLM DynamicCableRetract AHDCRHDMI user guide

Satson HDMI-SPL-2105C user manual

Satson

Satson HDMI-SPL-2105C user manual

ZERUN Z8X Series instruction manual

ZERUN

ZERUN Z8X Series instruction manual

National Instruments SCXI-1348 installation guide

National Instruments

National Instruments SCXI-1348 installation guide

Sera Reptil Precision Assembly instructions and operation manual

Sera

Sera Reptil Precision Assembly instructions and operation manual

cable matters 202067-BLK user manual

cable matters

cable matters 202067-BLK user manual

Marmitek IR EYE 2 manual

Marmitek

Marmitek IR EYE 2 manual

Staubli PV-KST4 UR Series Assembly instructions

Staubli

Staubli PV-KST4 UR Series Assembly instructions

Exsys EX-1346IS manual

Exsys

Exsys EX-1346IS manual

Amphenol PL18 30 Series Assembly manual

Amphenol

Amphenol PL18 30 Series Assembly manual

Manhattan 207454 instructions

Manhattan

Manhattan 207454 instructions

natus Nicolet EDX Instructions for use

natus

natus Nicolet EDX Instructions for use

Festo NEBU-M8R3 Series Assembly instructions

Festo

Festo NEBU-M8R3 Series Assembly instructions

Philips SWA3302S datasheet

Philips

Philips SWA3302S datasheet

LIN 43265 user manual

LIN

LIN 43265 user manual

Diablotek EN2535A Specifications

Diablotek

Diablotek EN2535A Specifications

Delta TNC-W/ZAC.H-155 user manual

Delta

Delta TNC-W/ZAC.H-155 user manual

Rocket Fish RF-AP301 Quick setup guide

Rocket Fish

Rocket Fish RF-AP301 Quick setup guide

manuals.online logo
manuals.online logoBrands
  • About & Mission
  • Contact us
  • Privacy Policy
  • Terms and Conditions

Copyright 2025 Manuals.Online. All Rights Reserved.