manuals.online logo
Brands
  1. Home
  2. •
  3. Brands
  4. •
  5. RODE Microphones
  6. •
  7. Microphone
  8. •
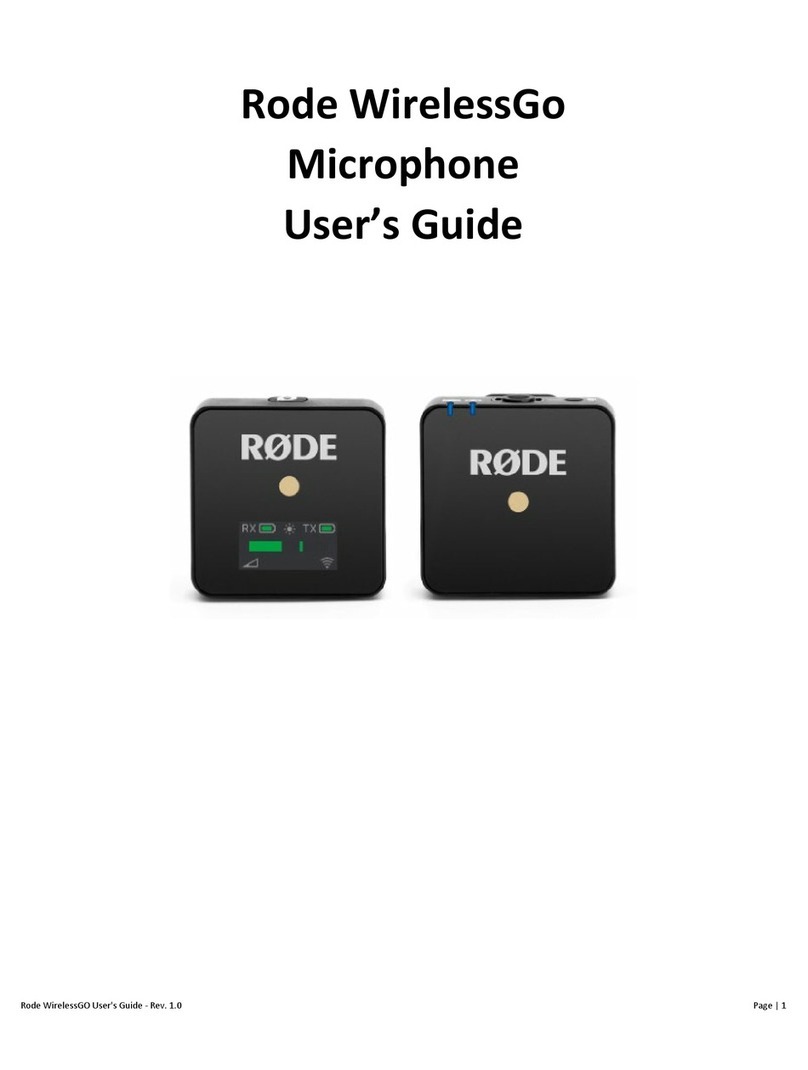
  9. RODE Microphones WIRELESS GO User manual

RODE Microphones WIRELESS GO User manual

Rode Wireless Go
Wireless & Wearable Microphone
Ki con en s
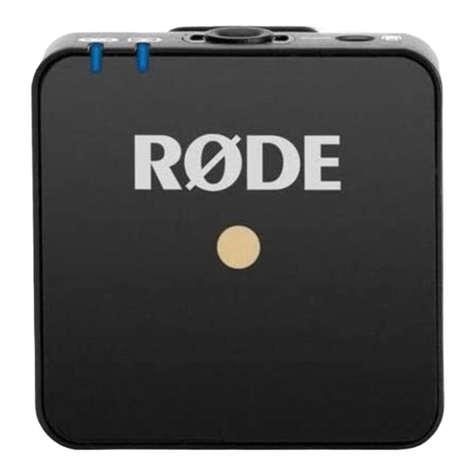
1. Rode transmitter with built-in mic
2. Rode receiver
3. Two (2) Rode USB cables (USB-C to
USB-A)
4. Rode TRS-to-TRS cable (black-
cover to black-cover)
5. TRS-to-TRRS cable (black-cover to
grey-cover)
6. Lightning to 3.5mm Headphone
Jack Adapter
7. Splitter
8. Fur windshield for transmitter
9. Manufacturer's quickstart guide
Please ensure hese con en s are included when you re urn he device.
Ki s wi h missing i ems will no be accep ed.
Version 1.0 (2022-07-28)
1
Table of contents
Before using the device 2
Instructions 3
1. Turning on the Wireless Go 3
2. Recording to Canon M50 camera 3
3A. Recording to a computer with an input port 4
3B. Recording to a computer with only an output port 5
3C. Recording to a computer using the splitter cable 5
4. Recording to iOS device with a Lightning port 6
5. Recording to Android device with headphone port 7
6. Recharging the transmitter and receiver 5
Helpful tips and usage 6
2
Before using the device
1. Understand that the ireless Go might not work with every recording
device. Cameras, computers, phones, and tablets don’t have the same
number or type of 3.5 mm ports.
2. Know the difference between TRS and TRRS plugs: TRS plugs have two
dark bands and TRRS plug have three dark bands.
2.i. TRS and TRRS are initialisms for the anatomy of plugs. They mean “tip-
ring-sleeve” and “tip-ring-ring-sleve,” respectively.
2.ii. TRS plugs/cables send audio signals in one direction. They either input
signals from user to device (cable for microphone) or output signals
from device to user (cable for headphones).
2.iii. TRRS plugs/cables send audio signals in two directions. They input and
output signals between device and user (cable for headphones with
microphone).
3. Know the type(s) of 3.5 mm port(s) in your device: input (microphone/
line-in) ports work best. Ports often have an icon or label that indicates
whether it’s an input port (microphone) or an output port (headphones).
3.i.
V
ideo cameras often have only one 3.5 mm port, and it’s usually for
input.
Y
ou can use the standard TRS-to-TRS cable to connect the
W
ireless
G
o receiver.
3.ii.
D
esktop computers often have one 3.5mm port that’s for input (and/
or a port for input-output).
Y
ou can use the TRS-to-TRS cable to
connect the
W
ireless
G
o receiver.
Y
ou might need to try the TRS-to-
TRRS cable and/or the splitter cable.
3.iii.
L
aptop computers often have only one 3.5mm port, and it’s usually
intended for output (not input or input-outuput ).
Y
ou probably need to
try the TRS-to-TRRS cable and/or the splitter cable.
3.iv. Smartphones and tables sometimes have one 3.5mm port, and it’s
usually intended for output (not input or input-output).
Y
ou need to try
the TRS-to-TRRS cable and/or the splitter cable.
I
f your recording
device is iPhone or iPad with a
L
ightning port, you can use the
L
ightning adapter.
3
Instructions
1. Turning on the Wireless Go
1. Turn on the transmitter and receiver by long-
pressing their power buttons (Fig. 1a). The
transmitter’s two indicator- ights wi turn b ue. The
receiver’s screen wi show battery eve s abe ed
TX (transmitter) and RX (receiver) (Fig. 1b).
2. (Optional) Attach the fur-windshield over the
transmitter’s microphone (Fig. 1c):
2.1. Pu back the fur to expose the two red-c ips
on the windshie d’s ring.
2.1. Insert one of the windshie d’s c ips into one of
the s ots beside the microphone, then insert
the other c ip (Fig. 1c).
3. (Recommended) Adjust the gain level (volume
boost) by pressing the receiver’s dB button (bottom
side).
2. Recording to a Canon M50 camera
1.
L
ocate the M50’s shoe mount (small rectangular
frame on top)
,
and remove its cover (Fig. 1d).
2.
S
lide the Go receiver into the mount with the
receiver’s screen facing upward and its top facing
inward (Fig.
2
a).
3. Connect the receiver and the M50 using the TR
S
-
to-TR
S
cable:
3.1. Insert one T
RS
p ug (b ack cover) into the
receiver’s
3
.
5
mm port ( eft side) (Fig.
2
b).
3.2. Insert the other T
RS
p ug (b ack cover) into the
camera’s
3
.
5
mm port ( eft side, behind
/
under
cover abe ed
Mic
).
4
.
P
lace the Go transmitter at (or near) the desired
source of sound.
Fig. 1a. Power buttons
of T
X
and
RX
Fig. 1b.
RX
screen with
battery eve s
Fig. 1c.
W
indshie d
c ips (1) wi attach to
RX
mic (
2
)
Fig. 1d.
S
hoe mount of
M
5
0
4
5. Record using the M50 camera:
5.1. Turn the M50’s mode-selection dial (on top) to
M (movie) ( ig. 2c).
5.2. Press on the Menu button on the back (lower-
right area) of the M50 ( ig. 2c).
5.3. Select Shooting settings.
5.4. Scroll to page 8 and set the Sound Recording
setting to Manual.
5.4. Press the record button (smaller button with
red circle) on top of the M50.
3A. Recording to a computer with an input
port
Note: This section assumes that your computer has
a 3.5 mm port for input (microphones).
1. Connect the Go receiver to your computer using
the TRS-to-TRS cable:
1.1. Insert the TRS plug (black cover) into the
receiver’s 3.5 mm port (left side).
1.2. Insert the other TRS plug (black cover) into the
computer’s 3.5 mm input port.
2.
P
lace the Go transmitter at (or near) the desired
source of sound.
3.
(
Recommended
)
Con

rm the input source on
your computer:
3.a. mac
O
S ( ig. 3a)

S
y
ste
m
P
re
f
erences -
>
Sound -
>
I
n
p
ut
3.b.
W
indows
1
0
/11
Settings -
>
S
y
ste
m
-
>
Sound
4.
(
Recommended
)
Ad
j
ust the gain level
(
volume
boost
)
by pressing the receiver’s d
B
button (bottom
side).
5.
O
pen an audio-
/
video-recording app and record.
6
. If no audio is recorded
,
try the steps in section
3B
.
F
ig. 2a. R
X
connected
to cold-shoe mount
F
ig. 2b. TRS-to-TRS
cablee connection
F
ig. 2c. M50 dial set to
M
F
ig. 3a.
I
n
p
ut tab of
Sound section for
mac
O
S
5
3B. Recording to a computer with only an output port
Note: This sec ion ssumes ha your compu er only has a 3.5 mm por for
ou pu (headphones).
1. Connect the Go receiver to your computer using the TRS-to-TRRS cable:
1.1. Inser he TRS plug (black cover) in o he receiver’s 3.5 mm por (lef
side).
1.2. Inser he TRRS plug (grey cover) in o he compu er’s 3.5 mm por .
2. Place the Go transmitter a (or near) he desired source of sound.
3. (Recommended) Conrm the input source on your computer:
3.a. macOS
System Preferences -> Sound -> Input
3.b. Windows 10/11
Settings -> System -> Sound
4. (Recommended)
A
d
j
ust the gain level (volume boost) by pressing he
receiver’s d
bu on (bo om side).
5.
O
pen any audio-
/
video-recording app and record.
6
. If no audio is recorded
,
ry he s eps in he following sec ion
,
3C
.
3C. Recording to a computer using the
splitter cable
Note: This sec ion assumes ha your compu er
only has one 3.mm por and/or you wan o use
wired headphones while he receiver is connec ed.
1. Connect the Go receiver to the splitter cable
using the TRS-to-TRS cable :
1.1. Inser he TRS plug (black cover) in o he
spli er’s 3.5 mm inpu por (represen ed wi h
icon of microphone) (
F
ig. 3b).
1.1. Inser he o her TRS plug (black cover) in o he
receiver’s 3.5 mm por (lef side
,
F
ig. 3c).
2. Connect the splitter to your computer by inser ing
he former’s 3.5 mm plug in o he la er’s 3.5mm
por .
F
ig. 3b. TRS plug
inser ed in o spli er
F
ig. 3c. Receiver-
spli er connec ion
6
3. (Recommended) Connect your w red headphones to the spl tter by
inserting the former’s 3.5 mm plug into the latter’s 3.5 mm output port
(represented with an icon of headphones).
4. Place the Go transm tter at (or near) the desired source of sound.
5. (Recommended) Conrm the nput source on your computer:
5.a. macOS
System Preferences -> Sound -> Input
5.b. W ndows 10/1
Settings -> System -> Sound
6. (Recommended) Adjust the ga n level (volume boost) by pressing the
receiver’s dB button (bottom side).
7. Open an aud o-record ng app and record.
8. (If no audio is recorded, consider using a different recording device.)
4. Record ng to an OS dev ce w th a
L
ghtn ng port
1. Connect the Go rece ver to your OS dev ce us ng
the
T
RS-to-
T
RRS cable and
L
ghnt ng adapter
(
F
g. 4a):
1.1. Insert the
TRS
plug (blac
k
cover) into the
receiver’s 3.5 mm port (left side).
1.
2
. Insert the
TRRS
plug (grey cover) into the
L
ightning adapter’s 3.5 mm port (
F
ig.
4
a).
1.3. Insert the
L
ightning adapter’s plug into the i
OS
device’s
L
ightning port (
F
ig.
4
a).
2
. (Recommended) Adjust the ga n level (volume
boost) by pressing the receiver’s dB button (bottom
side).
3. Open any aud o-/v deo-record ng app (e.g.
V
o ce
M
emos) and record.
F
g. 4a.
RX
connected
to i
P
hone
7
5. Recording to an Android device with a headphone port
1. Connect the Go receiver to yo r Android device sing the TRS-to-TRRS
cable:
1.1. Insert the TRS plug (black cover) into the receiver’s 3.5 mm port (left
side).
1.2. Insert the TRRS plug (grey cover) into the Android device’s 3.5 mm
port.
2. (Recommended) Adj st the gain level (vol me boost) by pressing the
receiver’s dB button (bottom side).
3. Open any a dio-/video-recording app and record.
6. Recharging the transmitter and receiver
You can re-charge the transmitter and receiver at the same time using
different cables. They don’t need to be powered on to recharge.
1. Connect the Go transmitter to yo r power so rce sing the USB cable:
1.1. Insert the
U
S
B
-
C
plug (flat
,
oval shape) into the transmitter’s
U
S
B
-
C
port (right side).
1.2. Insert the
U
S
B
-A plug (rectangle shape) into the power source’s
U
S
B
-A
port. The transmitter’s second indicator-light will turn blue and flash
while the transmitter charges.
2. Connect the Go receiver to yo r power so rce sing the USB cable:
2.1. Insert the
U
S
B
-
C
plug (flat
,
oval shape) into the receiver’s
U
S
B
-
C
port
(left side).
2.2. Insert the
U
S
B
-A plug (rectangle shape) into the power source’s
U
S
B
-A
port. The receiver’s screen will show an battery-charging icon while
the receiver charges.
8
Helpful tips & usage notes
i. Pay attention to the volume meter and volume line on the receiver’s
screen: they should always be green and in the middle third. The volume
meter and volume line turn yellow or even red when they’re in the last third
of the screen. These colours and positions indicate that the source volume
is too loud.
ii. Adjust the gain level (volume boost) on the receiver as needed: test
before recording. The receiver dB button toggles among three levels of
volume-adjustment.
iii. Position the transmitter as needed: test before recording. In general,
place the transmitter a hand-length (several inches) from a speaker’s
mouth.
iv. Consider using a lapel/lavalier mic with the transmitter. You can insert a
lapel mic into the transmitter (port on top). This setup lets you place the
transmitter in a more hidden and stable position, like on a waistband.
5
6. Disassembling the Wireless Go
1. Detach all USB cables and neatly fold them into
the red container
2. Detach the fur-shield from the transmittor and
place it in the container
3. Unplug both the Rode TRS to TRS cable (black-
cover to black-cover) and the TRS to TRRS cable
(black-cover to grey-cover), from the reciever.
4. Place both the transmittor and the reciever, side
by side in the carrying pouch
5. Place all other items on top of the carrying pouch
in the container and close the Lid
Fig. 6a. The carrying
pouch
6
Helpful tips & usage notes
* c nsectetur adipiscing elit. In turpis diam, malesuada id tristique sit amet,
interdum at turpis. Pr in ultricies sem turpis, i

Other manuals for WIRELESS GO

3

Other RODE Microphones Microphone manuals
RODE Microphones NT1-A Manual

RODE Microphones

RODE Microphones NT1-A Manual

RODE Microphones VideoMic NTG User manual

RODE Microphones

RODE Microphones VideoMic NTG User manual

RODE Microphones NTG-1 User manual

RODE Microphones

RODE Microphones NTG-1 User manual

RODE Microphones NT-USB User manual

RODE Microphones

RODE Microphones NT-USB User manual

RODE Microphones Reporter User manual

RODE Microphones

RODE Microphones Reporter User manual

RODE Microphones VideoMic Me User manual

RODE Microphones

RODE Microphones VideoMic Me User manual

RODE Microphones NT4 Manual

RODE Microphones

RODE Microphones NT4 Manual

RODE Microphones STEREO VIDEOMIC PRO User manual

RODE Microphones

RODE Microphones STEREO VIDEOMIC PRO User manual

RODE Microphones blimp User manual

RODE Microphones

RODE Microphones blimp User manual

RODE Microphones VideoMic User manual

RODE Microphones

RODE Microphones VideoMic User manual
RODE Microphones VideoMic GO Operating instructions

RODE Microphones

RODE Microphones VideoMic GO Operating instructions

RODE Microphones NT5 User manual

RODE Microphones

RODE Microphones NT5 User manual

RODE Microphones K2 Manual

RODE Microphones

RODE Microphones K2 Manual

RODE Microphones NTG-1 User manual

RODE Microphones

RODE Microphones NTG-1 User manual

RODE Microphones Procaster User manual

RODE Microphones

RODE Microphones Procaster User manual

RODE Microphones NT6 User manual

RODE Microphones

RODE Microphones NT6 User manual

RODE Microphones VideoMic User manual

RODE Microphones

RODE Microphones VideoMic User manual

RODE Microphones Pinmic User manual

RODE Microphones

RODE Microphones Pinmic User manual

RODE Microphones PODCASTER Manual

RODE Microphones

RODE Microphones PODCASTER Manual

RODE Microphones Procaster User manual

RODE Microphones

RODE Microphones Procaster User manual

RODE Microphones NT2-A User manual

RODE Microphones

RODE Microphones NT2-A User manual

RODE Microphones NT1000 Manual

RODE Microphones

RODE Microphones NT1000 Manual

RODE Microphones NT55 User manual

RODE Microphones

RODE Microphones NT55 User manual

RODE Microphones NT2000 Manual

RODE Microphones

RODE Microphones NT2000 Manual

Popular Microphone manuals by other brands

Countryman E6 manual

Countryman

Countryman E6 manual

Audix M55WD Installation & operating guide

Audix

Audix M55WD Installation & operating guide

Electro-Voice Sentry III Specifications

Electro-Voice

Electro-Voice Sentry III Specifications

Crown BF-100 SUX Specification sheet

Crown

Crown BF-100 SUX Specification sheet

JVC VLV3u - Auto Light For Camcorders instructions

JVC

JVC VLV3u - Auto Light For Camcorders instructions

CyberData 11280 Installation quick reference

CyberData

CyberData 11280 Installation quick reference

Audix M70WD Installation & operating guide

Audix

Audix M70WD Installation & operating guide

Monacor img Stage Line DM-101 manual

Monacor

Monacor img Stage Line DM-101 manual

Audio Technica ATND1061LK user manual

Audio Technica

Audio Technica ATND1061LK user manual

Audio Technica PRO 3x Specifications

Audio Technica

Audio Technica PRO 3x Specifications

Boya BY-M1 Pro user manual

Boya

Boya BY-M1 Pro user manual

Stagg SUW 30 user guide

Stagg

Stagg SUW 30 user guide

Zeck Audio DSLMB specification

Zeck Audio

Zeck Audio DSLMB specification

Monacor HSE-40/SK quick guide

Monacor

Monacor HSE-40/SK quick guide

Beyerdynamic CLASSIS GM 301 UNITE Product information

Beyerdynamic

Beyerdynamic CLASSIS GM 301 UNITE Product information

rada DUO Quick installation guide

rada

rada DUO Quick installation guide

AKG WMS 61 User instructions

AKG

AKG WMS 61 User instructions

Samson MTR201 owner's manual

Samson

Samson MTR201 owner's manual

manuals.online logo
manuals.online logoBrands
  • About & Mission
  • Contact us
  • Privacy Policy
  • Terms and Conditions

Copyright 2025 Manuals.Online. All Rights Reserved.