10
Your installation is done!
Smart Home Monitoring | Water Leak Sensor | Smartphone Set-Up
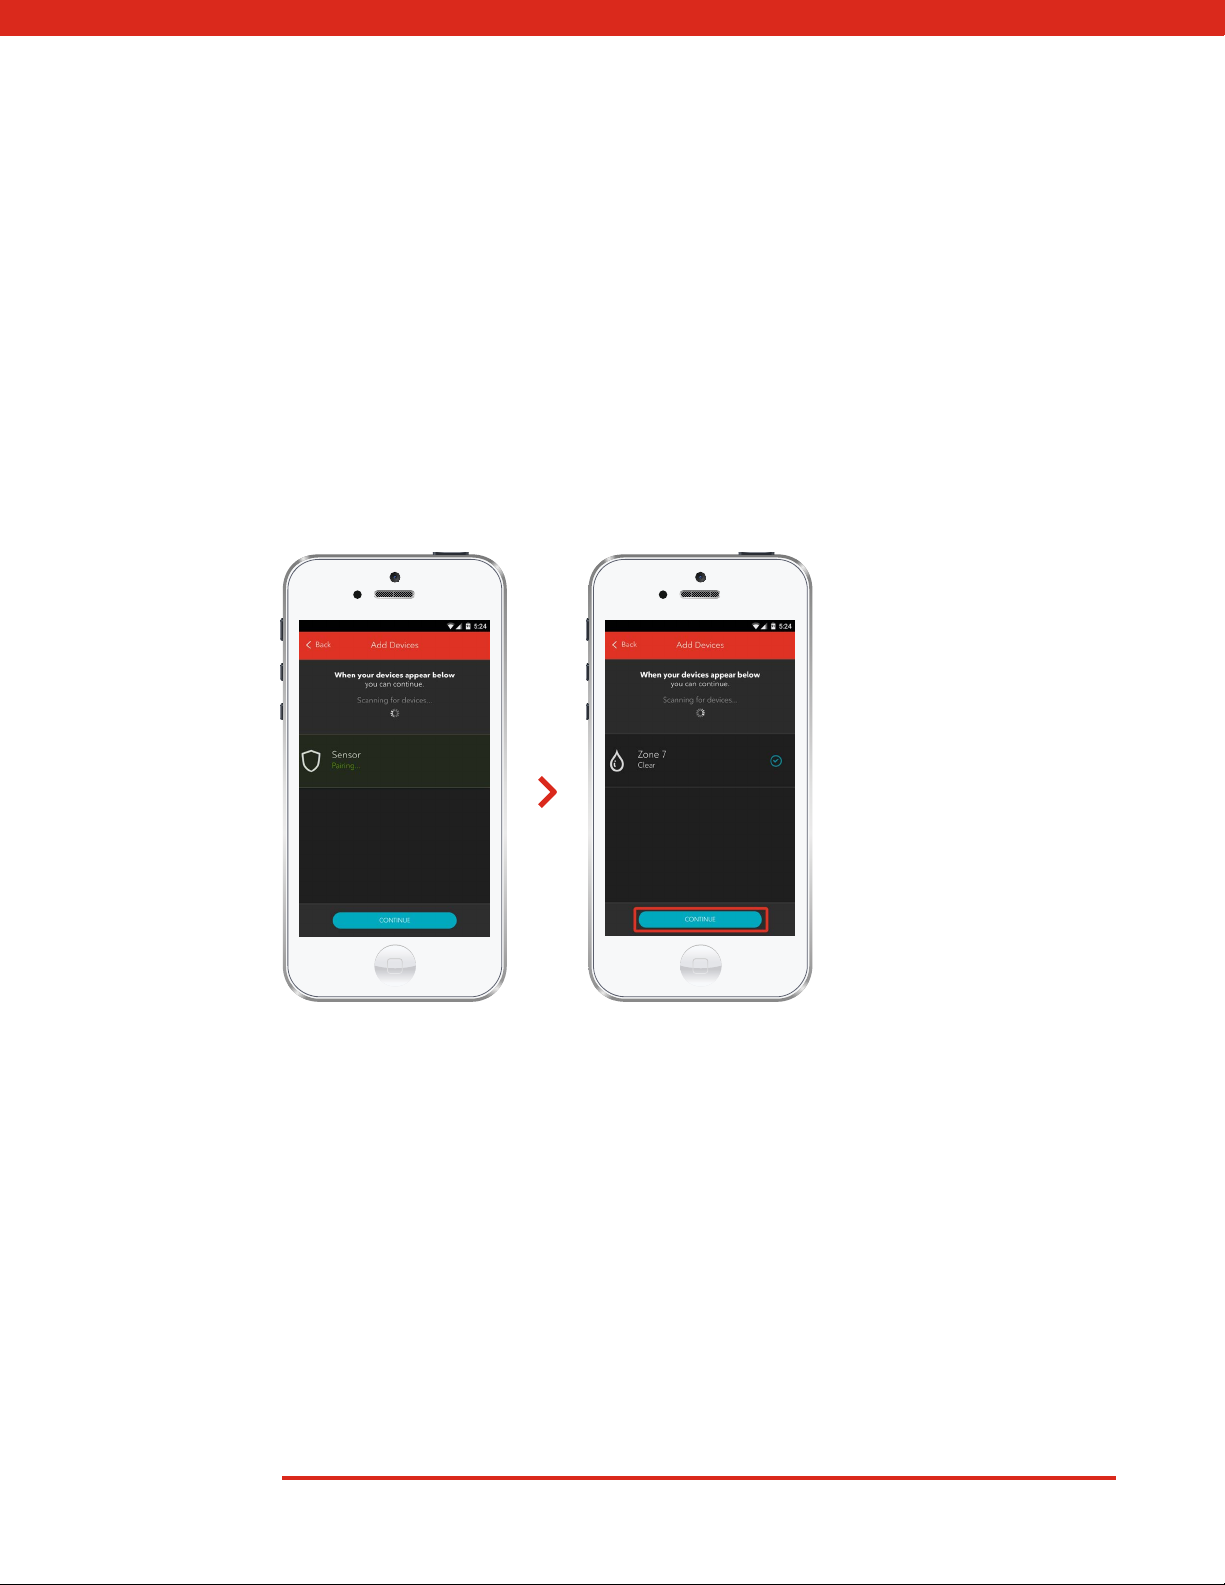
Your Water Leak Sensor is now part of your Smart Home Monitoring system. Now you
can monitor your home remotely with your smartphone app and through the Web
Control Centre.
Start using this device:
Use your smartphone app or visit the Web Control Centre at smarthome.rogers.com to:
• Get an instant alert if a water leak is detected in your home.
• Limit costly water damage to your home by responding to leaks right away.
• Learn more about the features of your Smart Home Monitoring system.
How to reset this device:
If you are trying to add your Water Leak Sensor to your Smart Home Monitoring system and you
are unable to pair it in the first few attempts, or if you see an error while pairing, try the following
steps to reset the Water Leak Sensor and then pair it again.
1. Open Water Detector top cover.
2. Remove the CR2 battery.
3. Press and hold the Reset button while re-inserting the battery.
4. The Green LED will light up, when this occurs release the Reset button.
5. The sensor will now be reset to factory defaults and will initiate pairing mode.