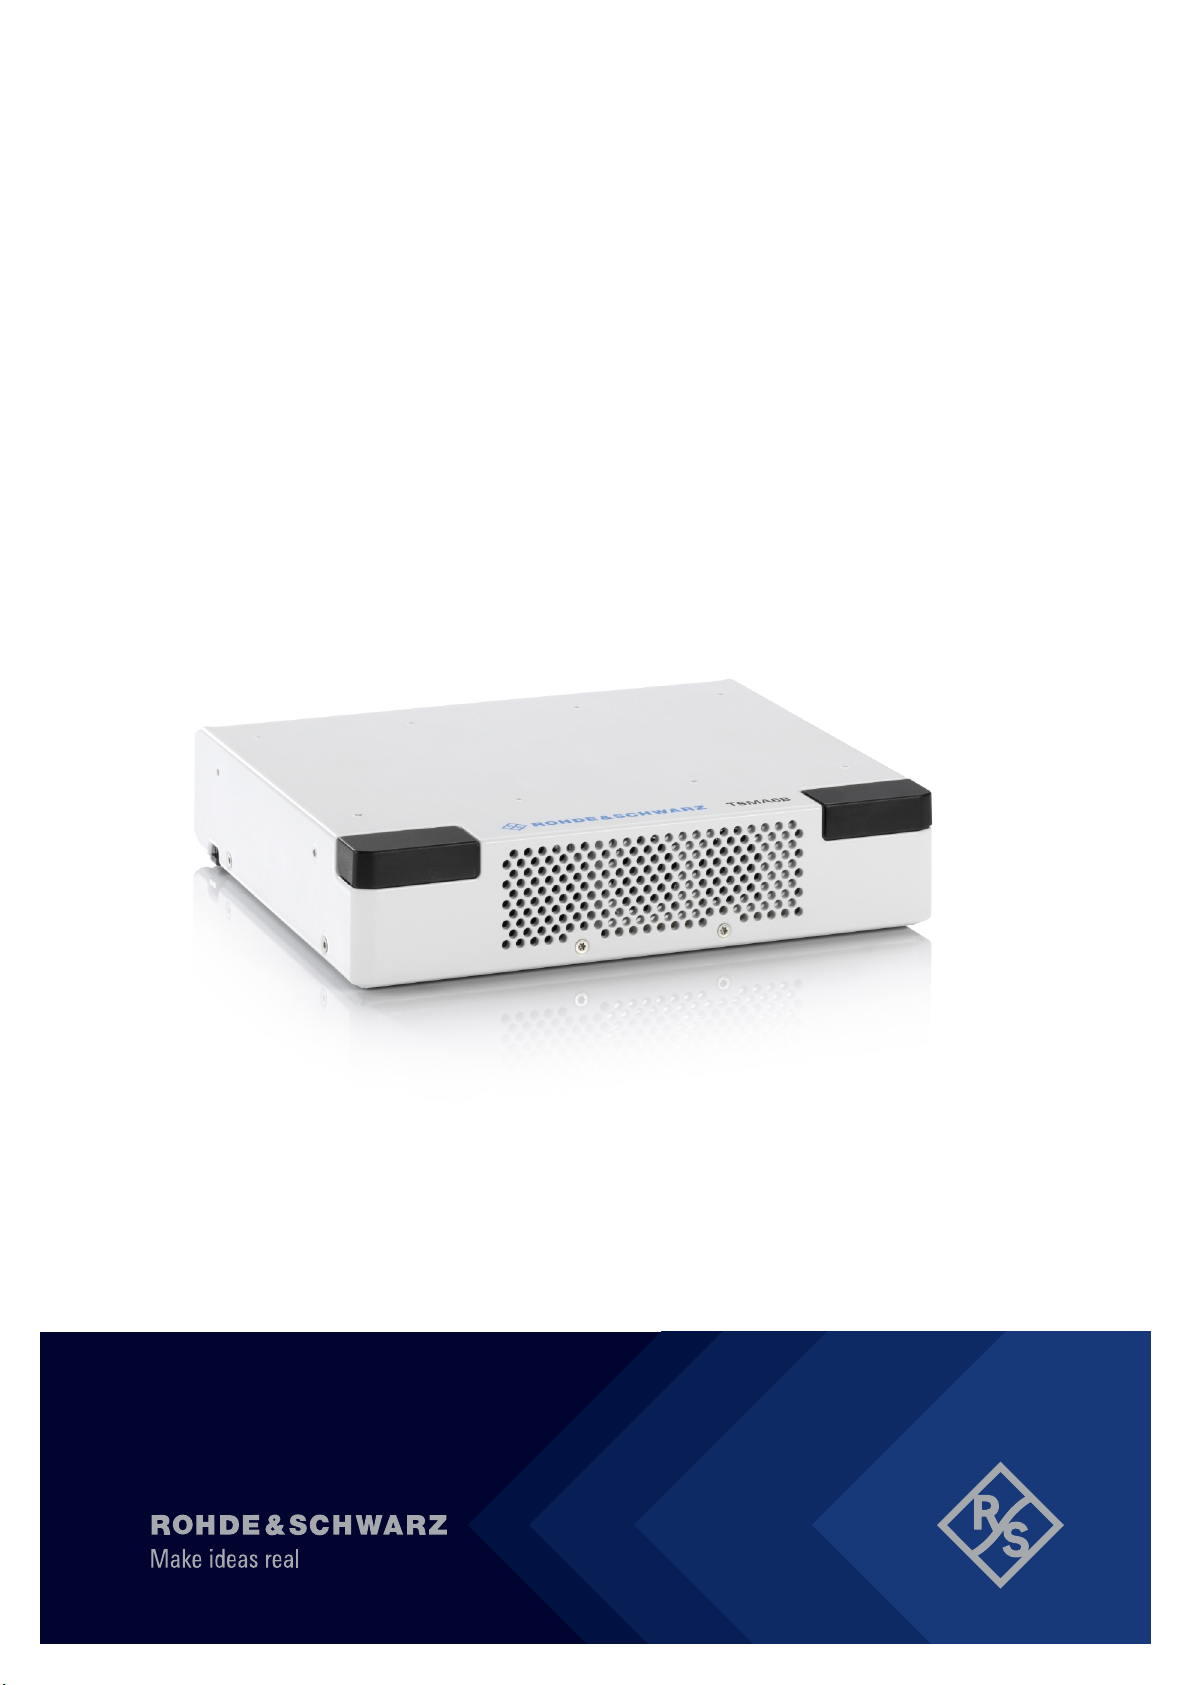
Rohde & Schwarz TSMA6B User manual

R&S®TSMA6B
Autonomous Mobile
Network Scanner
Getting Started
4901401002
Version 01
(a1X:2)

This manual describes the following R&S®TSMA6B models:
●R&S®TSMA6B (4900.8005.K20)
The software contained in this product uses several valuable open source software packages. For infor-
mation, see the "Open Source Acknowledgment" document, which is available for download from the
R&S TSMA6B product page at www.rohde-schwarz.com/product/tsmx > "Downloads" >"Firmware".
Rohde & Schwarz would like to thank the open source community for their valuable contribution to embed-
ded computing.
© 2021 Rohde & Schwarz GmbH & Co. KG
Mühldorfstr. 15, 81671 München, Germany
Phone: +49 89 41 29 - 0
Email: [email protected]
Internet: www.rohde-schwarz.com
Subject to change – data without tolerance limits is not binding.
R&S® is a registered trademark of Rohde & Schwarz GmbH & Co. KG.
Trade names are trademarks of the owners.
4901.4010.02 | Version 01 | R&S®TSMA6B
Throughout this manual, products from Rohde & Schwarz are indicated without the ® symbol, e.g.
R&S®TSMA6B is indicated as R&S TSMA6B.

Contents
R&S®TSMA6B
3Getting Started 4901.4010.02 ─ 01
Contents
1 Safety and Regulatory Information...................................... 5
2 Documentation Overview......................................................7
2.1 Getting Started Manual.........................................................................7
2.2 User Manuals and Help........................................................................ 7
2.3 Basic Safety Instructions..................................................................... 7
2.4 Data Sheets and Brochures................................................................. 7
2.5 Release Notes and Open Source Acknowledgment (OSA)...............8
3 Key Features.......................................................................... 9
4 Preparing for use................................................................. 11
4.1 Unpacking the instrument..................................................................12
4.2 Connecting external devices............................................................. 13
4.3 Connecting power supply.................................................................. 14
4.3.1 Connecting to a vehicle DC power supply............................................ 14
4.3.2 Connecting an AC power supply...........................................................15
4.3.3 Connecting the R&S TSMA6B-BP........................................................ 16
4.4 Switching on R&S TSMA6B............................................................... 21
4.5 Connecting with R&S TSMA6B WLAN access point....................... 21
4.6 Connecting USB to LAN adapter TSPC-U2L2 / TSPC-USL............. 23
4.7 Connecting test mobile phones........................................................ 24
4.8 Calibrating GPS for dead reckoning................................................. 24
4.9 Using external SSD option (R&S TSMA6B-BEB)............................. 25
5 Instrument tour.................................................................... 27
5.1 Front panel view..................................................................................27
5.2 Rear panel view...................................................................................27

Contents
R&S®TSMA6B
4Getting Started 4901.4010.02 ─ 01
5.3 Removable SSD option (R&S TSMA6B-BEB)...................................31
5.4 Status LEDs.........................................................................................32
6 Configuring the R&S TSMA6B............................................35
6.1 Accessing the R&S TSMA6B............................................................. 35
6.1.1 Using the R&S TSMA6B web GUI........................................................ 35
6.1.2 Using a remote desktop connection......................................................37
6.2 Selecting measurement mode........................................................... 39
6.2.1 Measurement modes............................................................................ 39
6.2.1.1 PC mode............................................................................................... 40
6.2.1.2 Remote ViCom server mode.................................................................40
6.2.1.3 QualiPoc mode..................................................................................... 41
6.2.1.4 NESTOR and NESTOR probe mode.................................................... 44
6.2.1.5 SmartONE mode...................................................................................47
6.2.1.6 Scanner mode.......................................................................................48
6.3 Importing workspace files (NESTOR, ROMES)................................ 49
6.4 Pairing Bluetooth® devices................................................................ 50
6.5 Changing keyboard language............................................................52
6.6 Verify virtual memory settings...........................................................54
7 Contacting Customer Support........................................... 61

Safety and Regulatory Information
R&S®TSMA6B
5Getting Started 4901.4010.02 ─ 01
1 Safety and Regulatory Information
The product documentation helps you use the R&S TSMA6B safely and effi-
ciently. Follow the instructions provided here and in the printed "Basic Safety
Instructions". Keep the product documentation nearby and offer it to other users.
Intended use
The R&S TSMA6B is intended for the development, production and verification of
electronic components and devices in industrial, administrative, and laboratory
environments. Use the R&S TSMA6B only for its designated purpose. Observe
the operating conditions and performance limits stated in the data sheet.
Where do I find safety information?
Safety information is part of the product documentation. It warns you about the
potential dangers and gives instructions how to prevent personal injuries or dam-
age caused by dangerous situations. Safety information is provided as follows:
●The printed "Basic Safety Instructions" provide safety information in many lan-
guages and are delivered with the R&S TSMA6B.
●Throughout the documentation, safety instructions are provided when you
need to take care during setup or operation.

Safety and Regulatory Information
R&S®TSMA6B
6Getting Started 4901.4010.02 ─ 01

Documentation Overview
R&S®TSMA6B
7Getting Started 4901.4010.02 ─ 01
2 Documentation Overview
This section provides an overview of the R&S TSMA6B user documentation.
Unless specified otherwise, you find the documents on the R&S TSMA6B product
page at:
www.rohde-schwarz.com/manual/tsmx
2.1 Getting Started Manual
Introduces the R&S TSMA6B and describes how to set up and start working with
the product. Includes basic operations, typical measurement examples, and gen-
eral information, e.g. safety instructions, etc. A printed version is delivered with
the instrument.
2.2 User Manuals and Help
Contains the description of all instrument modes and functions. Includes the con-
tents of the getting started manual .
2.3 Basic Safety Instructions
Contains safety instructions, operating conditions and further important informa-
tion. The printed document is delivered with the instrument.
2.4 Data Sheets and Brochures
The data sheet contains the technical specifications of the R&S TSMA6B. It also
lists the firmware applications and their order numbers, and optional accessories.
The brochure provides an overview of the instrument and deals with the specific
characteristics.
Data Sheets and Brochures

Documentation Overview
R&S®TSMA6B
8Getting Started 4901.4010.02 ─ 01
See www.rohde-schwarz.com/brochure-datasheet/tsmx
2.5 Release Notes and Open Source Acknowledg-
ment (OSA)
The release notes list new features, improvements and known issues of the cur-
rent firmware version, and describe the firmware installation.
The open-source acknowledgment document provides verbatim license texts of
the used open source software.
See www.rohde-schwarz.com/firmware/tsmx
Release Notes and Open Source Acknowledgment (OSA)

Key Features
R&S®TSMA6B
9Getting Started 4901.4010.02 ─ 01
3 Key Features
As in-building traffic in cellular networks grows, there is an increased need for
indoor measurements. While traditional drive test systems consist of a laptop with
test mobile phones and scanners, there are also walk-test solutions that use tab-
lets and smartphones.
The R&S TSMA6B enhances such solutions, providing the user with accurate
insight into the RF environment.
The R&S TSMA6B combines the technology of the R&S TSME6 ultra-compact
drive test scanner with a high-performance Intel processor. The scanner can run
PC-based drive test software, and smartphones can be connected via USB.
With its ultra-broadband front end, the integrated scanner measures all supported
technologies 350 to 6000 MHz simultaneously. The future-proof architecture and
the in-field upgradability for both, hardware and software, allow up to 4x4 MIMO
measurements and pave the way for the upcoming 5G technology.
Key Features
●No limitation in 3GPP (LTE, WCDMA, GSM, NB-IoT…) frequency bands up to
6 GHz incl. a Multi-GNSS receiver for uninterrupted location tracking
●More than 10 technologies simultaneously in one system
●Future-proof for upcoming 5G related measurements
●Compact and lightweight design with customized mechanical concept for cas-
cading multiple scanner hardware
●Maximum connectivity supporting additional scanner hardware, Windows-
based PC, Android-based UEs or tablets using wireless and wired connec-
tions
●Integrated 8th generation Intel quad-core processing unit

Key Features
R&S®TSMA6B
10Getting Started 4901.4010.02 ─ 01

Preparing for use
R&S®TSMA6B
11Getting Started 4901.4010.02 ─ 01
4 Preparing for use
Risk of injury and instrument damage
The instrument must be used in an appropriate manner to prevent electric
shock, fire, personal injury, or damage.
●Do not open the instrument casing.
●Read and observe the "Basic Safety Instructions" delivered as a printed
brochure with the instrument.
In addition, read and observe the safety instructions in the following sec-
tions. Notice that the data sheet may specify additional operating condi-
tions.
Risk of instrument damage during operation
An unsuitable operating site or test setup can cause damage to the instru-
ment and to connected devices. Ensure the following operating conditions
before you switch on the instrument:
●The instrument is dry and shows no sign of condensation.
●The instrument is positioned as described in the following sections.
●Signal levels at the input connectors are all within the specified ranges.

Preparing for use
R&S®TSMA6B
12Getting Started 4901.4010.02 ─ 01
EMI Suppression
Electromagnetic interference (EMI) may affect the measurement results.
To suppress generated electromagnetic interference (EMI):
●Use only double shielded cables for RF and GPS connection when not
using the standard accessory.
●Use only shielded LAN cable CAT6 / assembling accessory ferrit if using
a LAN cable supplied by the customer.
●The length of the connected USB cables must not exceed 3 m.
●Always terminate open cable ends.
●DC-based lab networks are not allowed to be used for power supply.
●LAN cable length to the next PC or switch must be < 30m
●Note the EMC classification in the data sheet.
4.1 Unpacking the instrument
The following section describes how to setup the instrument.
Risk of instrument damage due to inappropriate operating conditions
Specific operating conditions are required to ensure accurate measure-
ments and to avoid damage to the instrument. Observe the information on
appropriate operating conditions provided in the basic safety instructions
and the instrument's data sheet.
Check the equipment for completeness using the delivery note and the accessory
lists for the various items. Check the instrument for any damage. If there is dam-
age, immediately contact the carrier who delivered the instrument. Make sure not
to discard the box and packing material.
Packing material
Retain the original packing material. If the instrument needs to be transpor-
ted or shipped later, you can use the material to protect the control elements
and connectors.
Unpacking the instrument

Preparing for use
R&S®TSMA6B
13Getting Started 4901.4010.02 ─ 01
Accessories
The following items are included with shipment of the R&S TSMA6B:
●12 V DC power supply cable with a cigarette lighter connector
●Wide range RF paddle antenna (700 MHz to 2600 MHz)
●Active GPS patch antenna
●LAN cable with ferrit
●Ferrit for LAN cable supplied by the customer
Optional accessories
The following items are optionally available.
●TSMA6-ZCB2 (Carrying Bag)
●TSMA6-Z1 (AC Adapter)
●TSMA6-Z2 (19" Rack Adapter)
●TSMA6-Z5 (Carrying Box)
4.2 Connecting external devices
The following external devices must be connected before connecting the power
supply.
The SMA connector is sensitive to mechanical stress. Use the following
handling precautions. (Relevant for step 1 (RF) and step 2 (GPS).
●Always use a torque wrench and mount the cable end with 60 Ncm.
●Do not stack adapters directly at the SMA connector. If you need to use
adapters (e.g: SMA to N), then always use a specific adapter cable
(R&S no. 4900.1700.00).
To select the correct connectors, refer to Chapter 5, "Instrument tour",
on page 27.
1. Connect the RF antenna to the RF IN connector (see Figure 5-2 - 17).
2. Connect the GPS antenna to the GPS ANT port (see Figure 5-2 - 16).
Connecting external devices

Preparing for use
R&S®TSMA6B
14Getting Started 4901.4010.02 ─ 01
3. Connect mouse and keyboard to the USB ports (see Figure 5-2 - 11) and a
monitor to the appropriate monitor port (HDMI, USB-C)) (see Figure 5-2 - 11,
12) if you want to use local operation. (optional)
4. Connect a LAN cable to the LAN port if you want to use the R&S TSMA6B via
Remote Desktop or as distributed system (optional). (See Figure 5-2 - 12.)
5. OPTIONAL: Connect external devices/storage devices and test mobile
phones to USB 2.0 / USB 3.0 / USB-C ports (see Figure 5-2 - 9, 10, 11).
4.3 Connecting power supply
This section describes how to connect the R&S TSMA6B to a power supply unit.
4.3.1 Connecting to a vehicle DC power supply
For 12V vehicle DC supply only
The R&S TSMA6B is to be used with a 12 V vehicle DC power supply net-
work only.
Use the accessory DC cable with cigarette lighter adapter to power the
R&S TSMA6B from the vehicle power supply. Connect the 7-pin connector to DC
IN.
Connecting a proprietary power supply
► To use a proprietary DC supply with the R&S TSMA6B power cable, demount
the cigarette lighter adapter from the supplied power cable and connect the
open ends of the cable to the proprietary power supply. Ensure that the polar-
ity is correct. (see Figure 4-1).
Connecting power supply

Preparing for use
R&S®TSMA6B
15Getting Started 4901.4010.02 ─ 01
Figure 4-1: Supplied power cable with cigarette lighter adapter
4.3.2 Connecting an AC power supply
To operate the R&S TSMA6B with an AC power supply, connect the DC IN con-
nector with the AC power supply (R&S TSMA6B-Z1, R&S No. 4901.0550.02).
Connecting power supply

Preparing for use
R&S®TSMA6B
16Getting Started 4901.4010.02 ─ 01
Use only the R&S TSMA6B-Z1, R&S No. 4901.0550.02 as power supply.
Figure 4-2: R&S
TSMA6B-Z1 Power Supply
4.3.3 Connecting the R&S TSMA6B-BP
Alternatively, it is possible to power the R&S TSMA6B via the R&S TSMA6B-BP.
When the R&S TSMA6B is switched off, remove the batteries from
R&S TSMA6B-BP to prevent discharge.
Connecting power supply

Preparing for use
R&S®TSMA6B
17Getting Started 4901.4010.02 ─ 01
Risk of instrument damage
If the R&S TSMA6B is connected with a R&S TSMA6B-BP, DC power must
be connected to the R&S TSMA6B-BP.
Do not connect the DC power to the R&S TSMA6B.
Figure 4-3: DC IN connectors
1 = DC IN connector R&S TSMA6B-BP
2 = DC IN connector R&S TSMA6B
●Switch of the R&S TSMA6B.
●Disconnect an existing connection to the DC IN connector of the
R&S TSMA6B
●Connect R&S TSMA6B-BP and R&S TSMA6B.
●Connect DC power supply to the DC IN connector of the R&S TSMA6B-
BP.
●Switch on the R&S TSMA6B.
To use the R&S TSMA6B with the R&S TSMA6B-BP, proceed as follows.
1. Insert the batteries into the R&S TSMA6B-BP.
Connecting power supply

Preparing for use
R&S®TSMA6B
18Getting Started 4901.4010.02 ─ 01
Figure 4-4: Battery orientation
Note: The R&S TSMA6B may be used only with closed battery cover.
2. Remove the cover cap from the docking connector of the R&S TSMA6B.
3. Attach the R&S TSMA6B with the bottom side (see Figure 4-6) on top of the
R&S TSMA6B-BP (see Figure 4-5).
Connecting power supply

Preparing for use
R&S®TSMA6B
19Getting Started 4901.4010.02 ─ 01
Figure 4-5: R&S
TSMA6B-BP
1 = Mechanical connectors for R&S TSMA6B
2 = Power connector for R&S TSMA6B
Figure 4-6: R&S
TSMA6B
1* = Power connector for R&S TSMA6B-BP
*On delivery the power connector is protected by a cover cap.
4. Set the R&S TSMA6B vertically on top of the R&S TSMA6B-BP (1).
5. Slide the R&S TSMA6B horizontally (2) until it engages in the mechanical con-
nectors on top of the R&S TSMA6B-BP. (Noticeable by a "click" sound.)
Connecting power supply

Preparing for use
R&S®TSMA6B
20Getting Started 4901.4010.02 ─ 01
Figure 4-7: Connected R&S
TSMA6B and R&S
TSMA6B-BP
1 = Move R&S TSMA6B vertically
2 = Move R&S TSMA6B horizontally
3 = Power Connection established
The power-up behavior after connecting the R&S TSMA6B-BP (including
charged batteries or connected to an external DC power supply) with the
R&S TSMA6B depends on the system settings on the R&S TSMA6B.
● Auto Power On
The R&S TSMA6B starts automatically when power is applied at the DC IN
connector of the R&S TSMA6B or at the DC IN connector of a connected
R&S TSMA6B-BP.
● Remember Last State
The R&S TSMA6B remembers the last state before the DC power was
removed
● Startup Delay
"Auto Power On" after a configurable time delay
● Auto Power Off
"Auto Power Off" after a configurable time delay if the R&S TSMA6B is
connected to a R&S TSMA6B-BP.
Connecting power supply
Other manuals for TSMA6B
3
Table of contents
Other Rohde & Schwarz Scanner manuals

Rohde & Schwarz
Rohde & Schwarz TSMA6B User manual

Rohde & Schwarz
Rohde & Schwarz TSME6 User manual

Rohde & Schwarz
Rohde & Schwarz TSMA6 Series User manual

Rohde & Schwarz
Rohde & Schwarz R&S TSMA6 User manual

Rohde & Schwarz
Rohde & Schwarz TSME User manual

Rohde & Schwarz
Rohde & Schwarz TSME6 User manual

Rohde & Schwarz
Rohde & Schwarz TSMA6B User manual

Rohde & Schwarz
Rohde & Schwarz TSME6 User manual

Rohde & Schwarz
Rohde & Schwarz TSMA6B User manual

Rohde & Schwarz
Rohde & Schwarz TSMA User manual