Bauanleitung zu ROKE AS W 19 Seite
ROKE -Modelle, Roland Kern, Rosenstrasse 2, D -72827 Wannweil, Telefon 0049 7121 -57 336
9
outside with adhesive film to the fuselage. consider please, that the doors are parallel and a
gap of approx. 1/2 mm is present in the center, and a 1mm wide gap is needed for the silicone
joint.
If everything fits, press colorless silicone into the joint and smooth it with a wet finger into the
appropriate form (see sketch)
Wait at least 2 days for drying. Remove afterwards the adhesive tapes
After the wheel in the retractable landing gear is installed, take an approx. 10 mm wide strip
from steel-or brass-sheet, bent it in such a way that it runs U-shaped in front around the wheel,
and fasten it to the wheel-carriers.(glue or screw it).
The U-shaped handle is to open the doors when driving out the RETRACT.
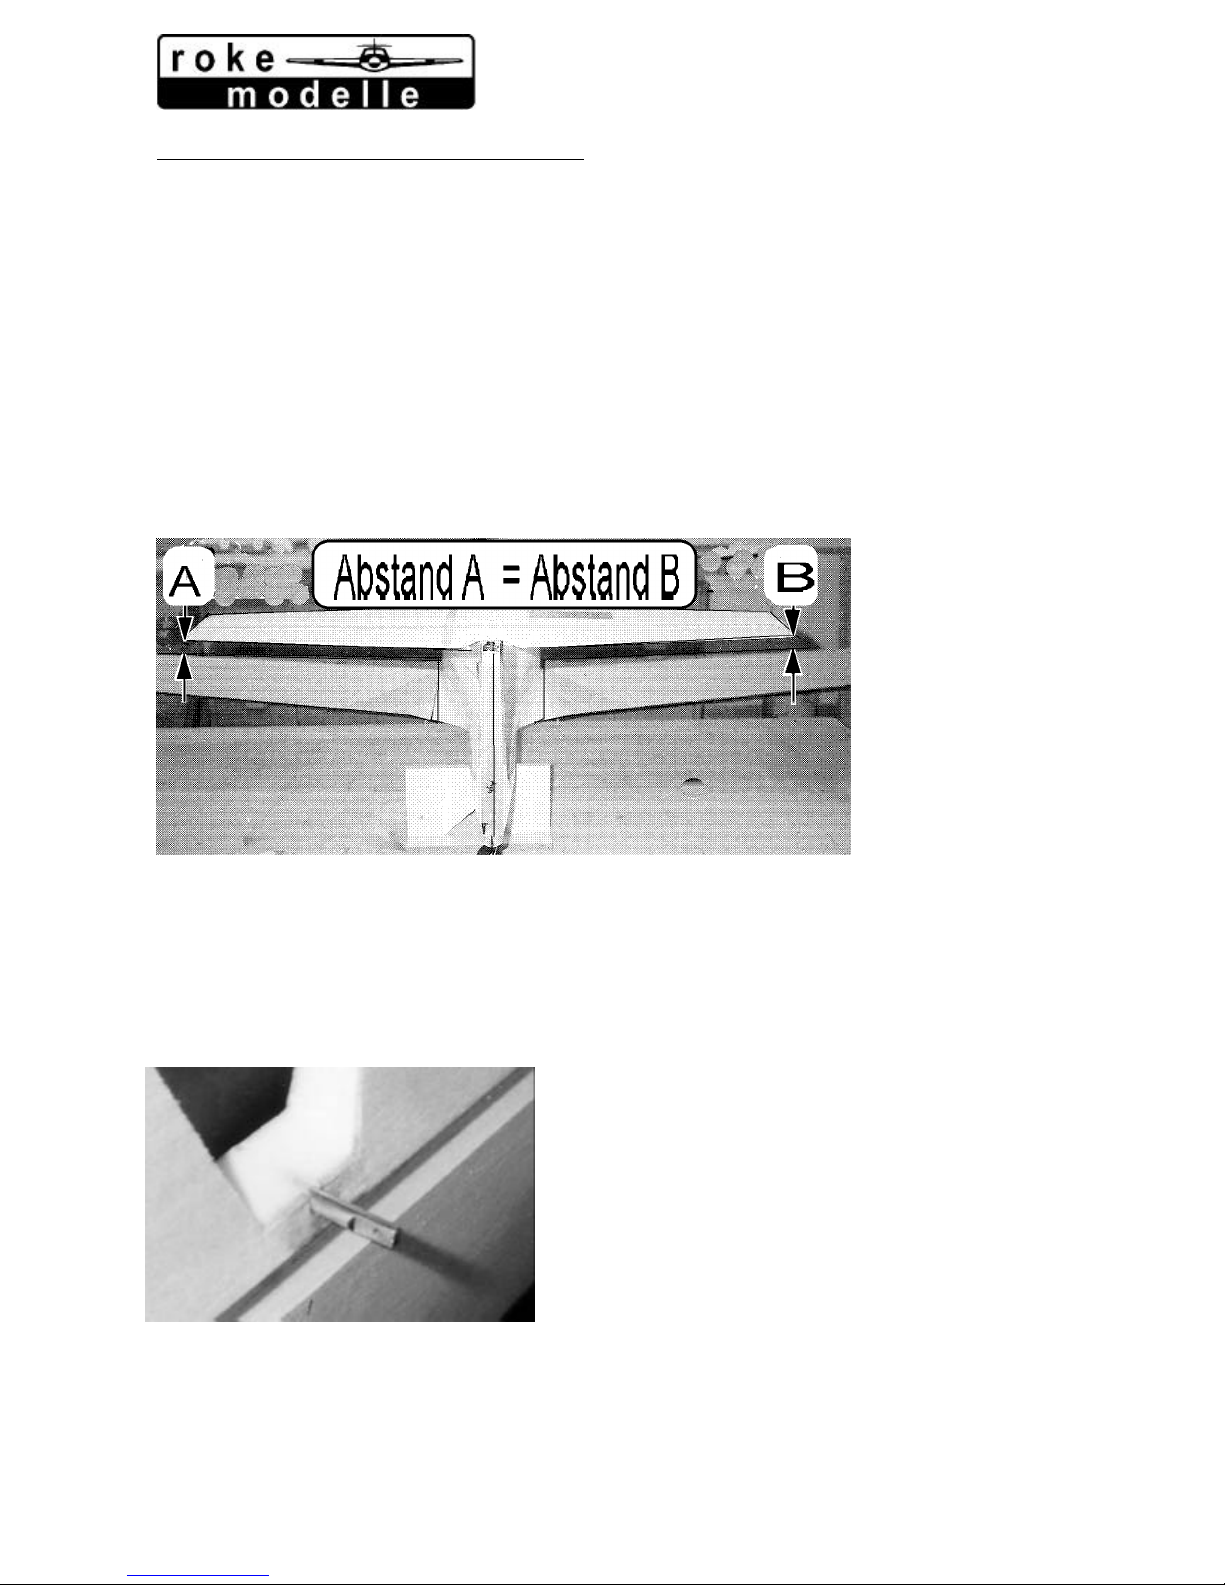
Set RETRACT into the fuselage and adjust it in such a way that the wheel, when driving out, has
the same distance to the pit opening in front and in the back.
In view from the rear and in front the wheel is to stand as exactly as possible perpendicularly in
a line with the vertical stabilizer.
Mark now with a pencil the exact position of the RETRACT. Take the retract out of the fuselage,
remove the wheel.
Fill up at the lower surfaces of the RETRACT resin/glass splinter mixture now.
Put the RETRACT again into the before marked position in the fuselage.
After hardening you can install the wheel again.
Take small hooks and glue them, in suitable place, onto the doors.
In the hooks, rubbers-rings or springs can be hung in, which ensure that doors are closed, if the
RETRACT brought in.
At the other end of the rubbers or springs can be hung in a steel-hook (1 -1,5 mm). You can
fasten this steelhook to the lower screw of the cross-beam bridge
Cabin- frame: (ordering separately)
Set cabin frame onto the fuselage and align it exactly.
Attach cabin frame with tape firmly on the fuselage.
Make the front locking pin from 4 mm steel, approx. 15 mm long.
Drill with flat angle through the cabin-frame and fuselage the hole for the locking pin and put
the pin into the hole.
Subsequently, the canopy-lock is inserted in the back above for locking the canopy
For this you drill through cabin-frame and fuselage at the same time with 3 mm Ø, afterwards
remove the cabin frame and increase the hole in the fuselage with 5.5 mm Ø
For using of the canopy-lock, you drill behind the cab-cutout a 15mm long and 2mm wide slit,
into the fuselage
Set cab-frame again properly on the fuselage and attach it with adhesive tape, then set in the
canopy-lock from the rear by the fuselage into the cab-frame and glue it with thickened
epoxy. Fill in that epoxy, through holes in the root-ribs
Canopy
Cut the canopy with a belt-saw on the correct measure. For this turn the saw blade, that the
teeth show upward.
Cut out canopy along the marked lines and adapt it to the cabin frame on the fuselage.
Je nachdem, wie der cabin-frame eingebaut wurde, muß dieser nachgearbeitet werden. Das
kann bedeuten, daß Überstände abgetragen oder Fehlstellen aufgefüttert werden müssen.
The canopy may not rise up anywhere over the fuselage outline. The canopy can be made
suitable very practically with a balsa mini block-flat. If everything fits, the fuselage within the
range of the edge of cab is coated several times with separation wax or still better additionally
with liquid foil-separation-agent.