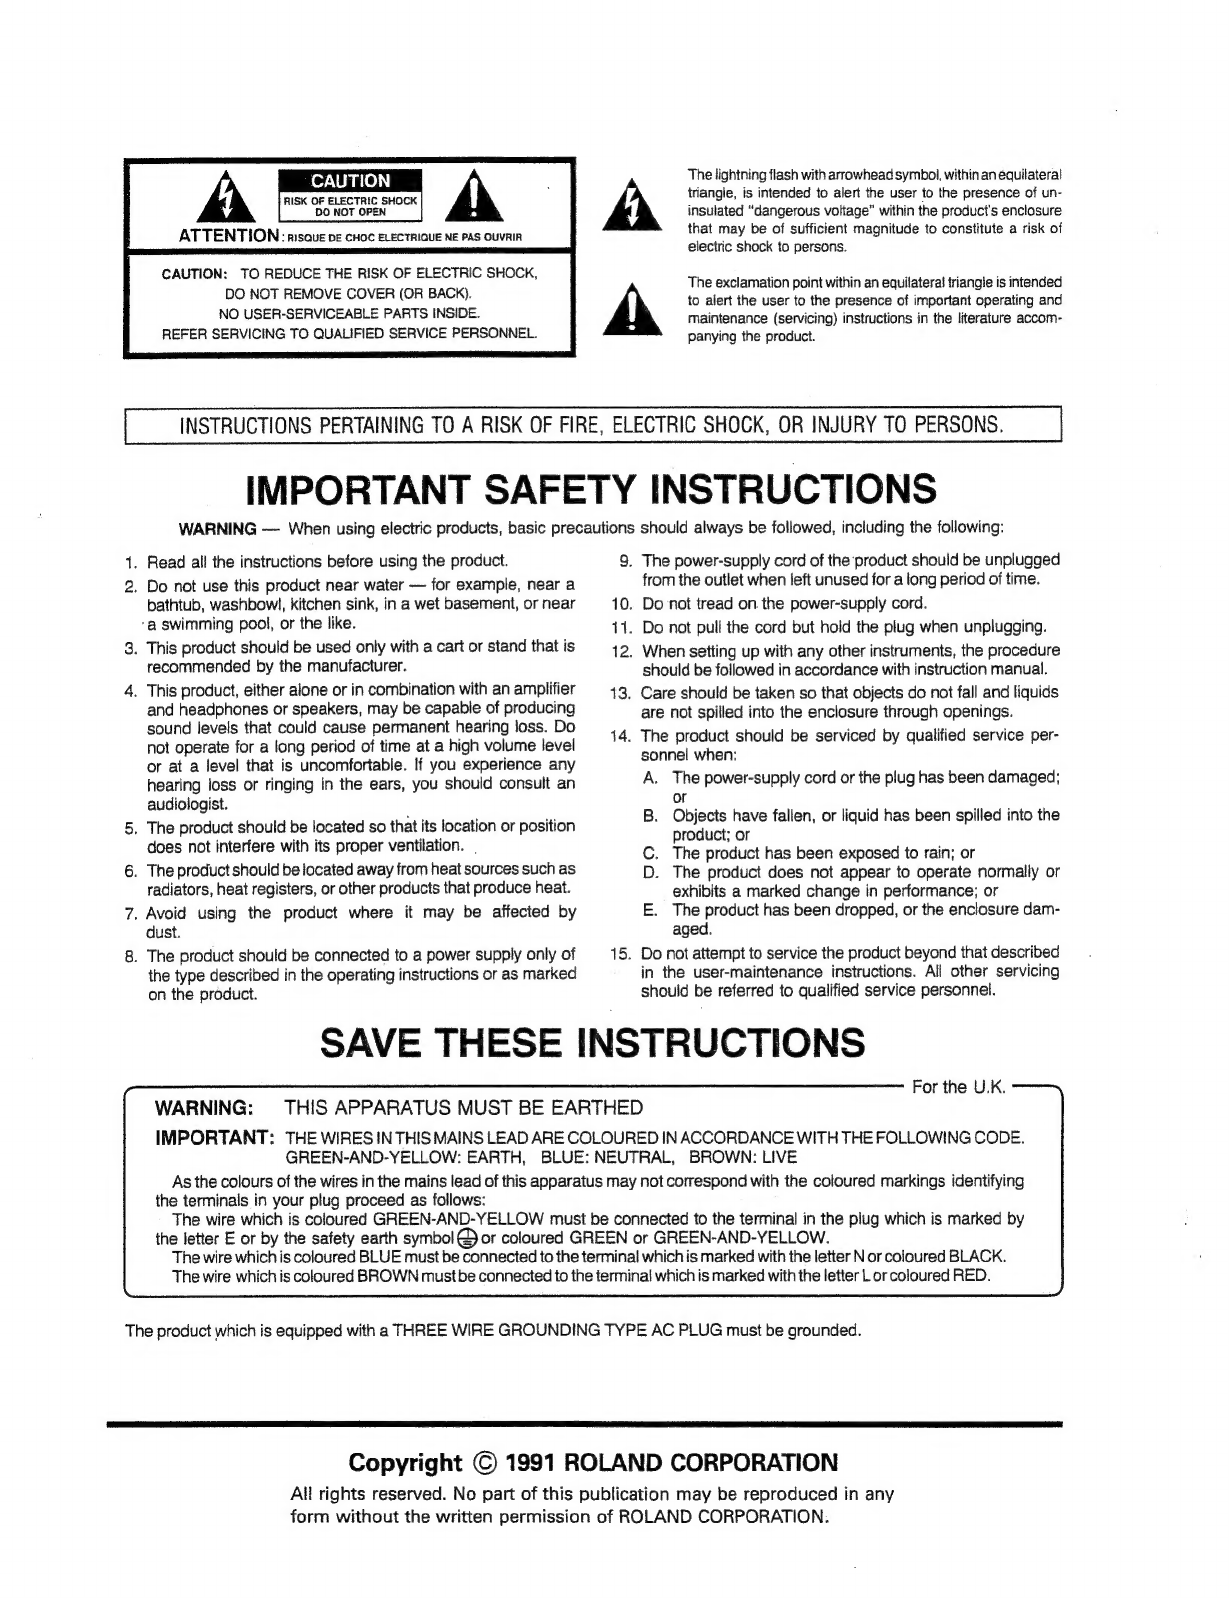
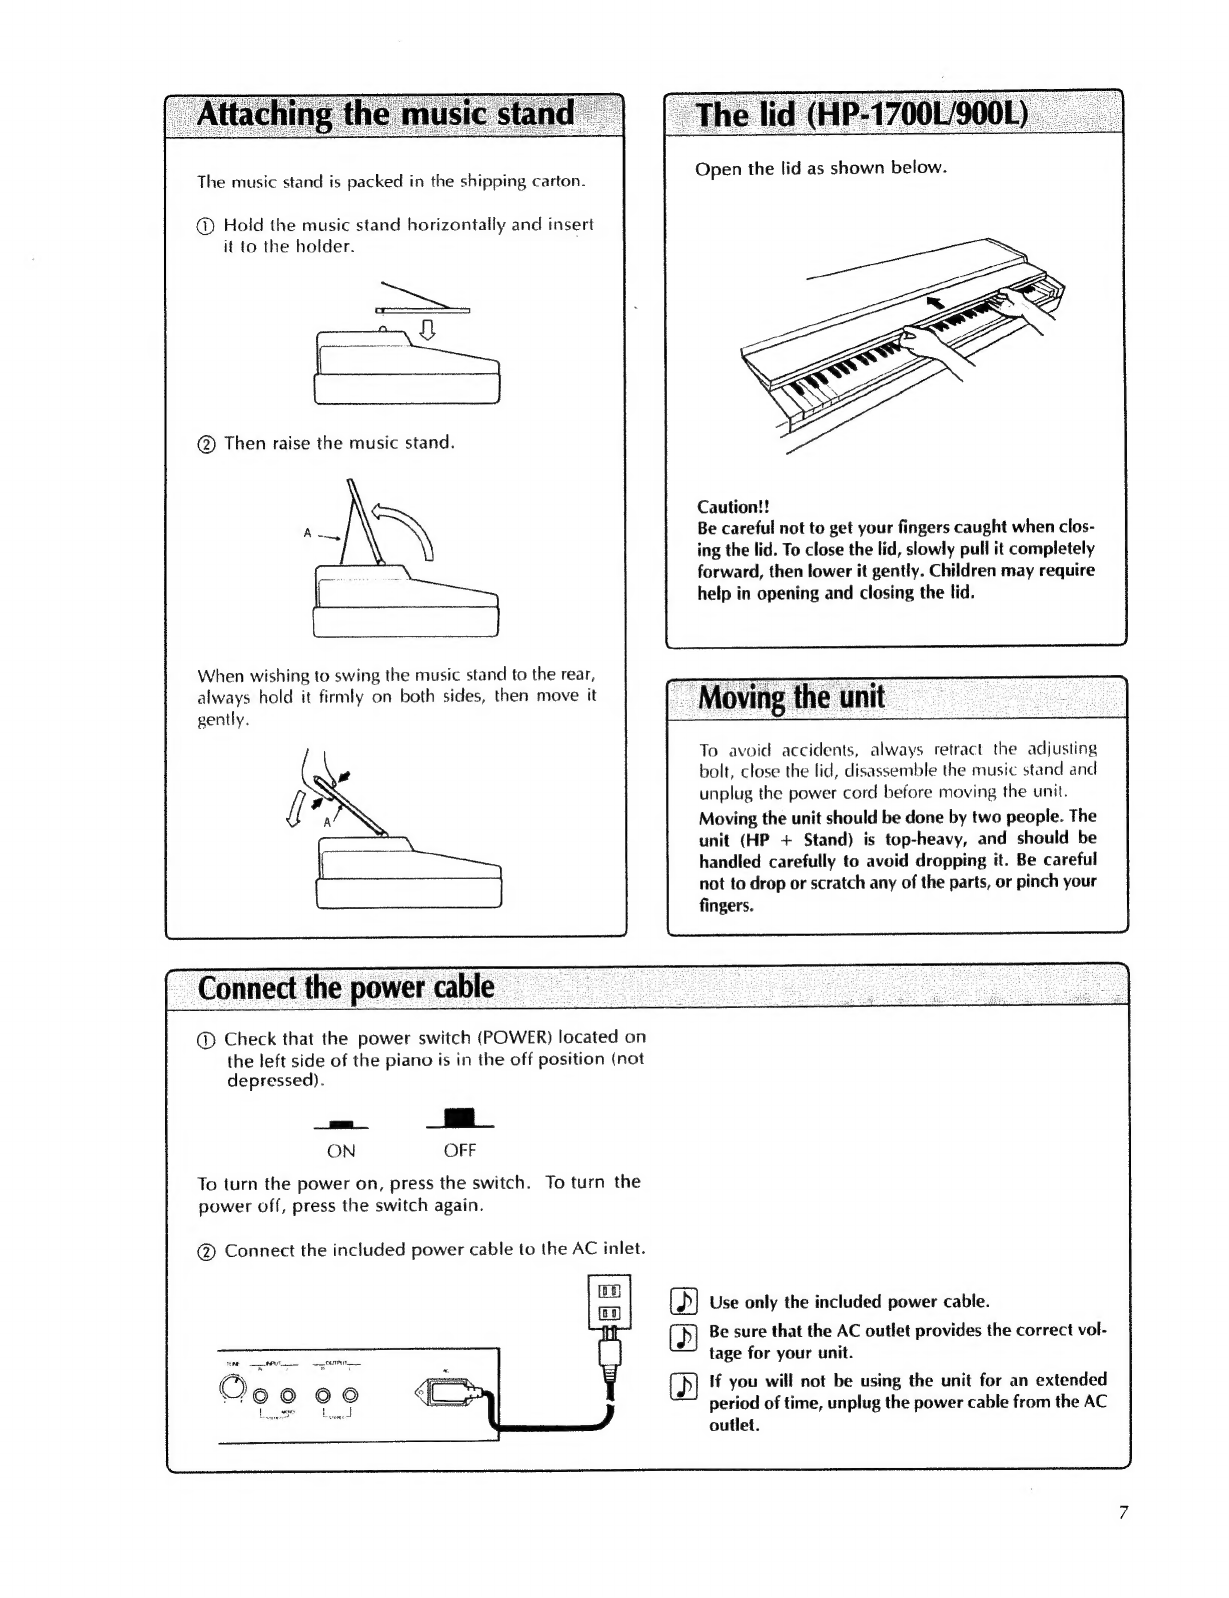
Roland HP 1700L User manual
Other Roland Musical Instrument manuals

Roland
Roland FP-90 User manual

Roland
Roland EXR-5 User manual

Roland
Roland DP90e User manual

Roland
Roland V-ACCORDION FR-7 User manual

Roland
Roland Classic C-330 Installation guide

Roland
Roland HP 330 User manual

Roland
Roland KR-777 User manual

Roland
Roland HP 900 User manual

Roland
Roland DP-900 User manual

Roland
Roland HP 337 User manual

Roland
Roland RD-700 User manual

Roland
Roland KR-377 User manual

Roland
Roland FP-10 User manual

Roland
Roland Music Atelier AT-60R User manual

Roland
Roland RD-300GX User manual

Roland
Roland KR-115 User manual

Roland
Roland FR-3X V-Accordion User manual

Roland
Roland VS-2000 Installation and operating instructions

Roland
Roland HP 555G Operating and maintenance manual

Roland
Roland C-190 User manual