2
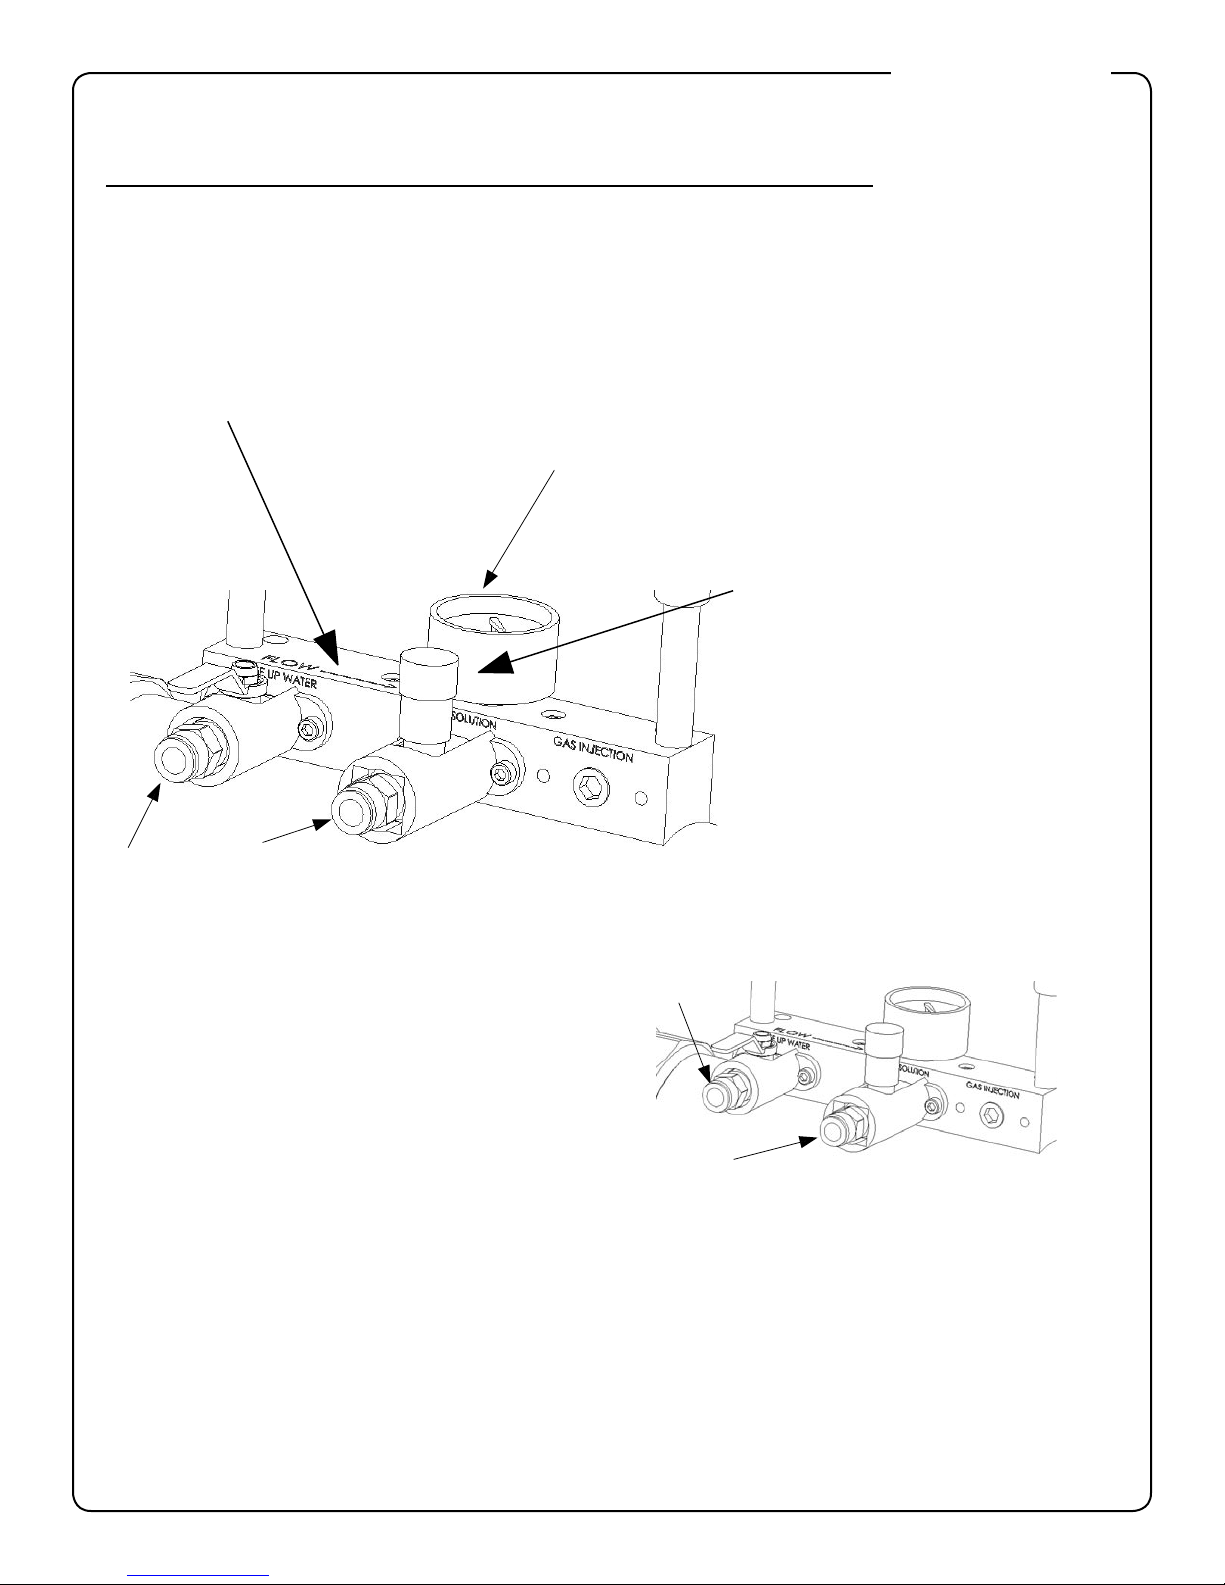
Solution Mixing
TM
Needle Valve Setting 150-200 GPM 200-300 GPM 300-400 GPM 400-600 GPM 600+ GPM
FULL OPEN 22 gph (14 min) 45 gph (7min) 64 gph (5 min) 90 gph (3 min) 110 gph (3 min)
3 turns 17 gph (18 min) 34 gph (9 min) 48 gph (6 min) 68 gph (4 min) 83 gph (4 min)
2 turns 6 gph (55 min) 12 gph (27 min) 16 gph (19 min) 23 gph (13 min) 28 gph (11 min)
1 turn 4 gph (1.5 hour) 7 gph (44 min) 10 gph (31 min) 14 gph (22 min) 17 gph (18 min)
FEED SOLUTION CONSUMPTION CHART
Consumption in gallons per (how many minutes to empty a 5 gallon bucket) hour
FLOW RATE in gallons per minute (GPM)
Vita-D-Chlor FEED SOLUTION MIXING AND
FEED SOLUTION VALVE SETTING CHARTS
This chart is good for water ow between 175 - 900 gpm
0 - .5 1/4 cup 2
.5 - 1 1/2 cup 2
1 - 1.5 1/2 cup 3
1.5 - 10 5 cups 2
10 - 30 15 cups 2
30 - 50 15 cups 3
50 - 150 25 cups Full open
150 - 200 34 cups Full open
If... Then add... Set Control Valve on...
Cl.(ppm, mg/l) Vita-D-Chlor cups for maximum Cl.
value per 5 gal water
NOTE: Mixed solution cannot be stored overnight. It will decrease in potency and will not dechlorinate.
If you
Turn control valve
toward 0
Turn control valve
toward full open
Increase the V-D-C mix
amount
Decrease the V-D-C mix
amount
You will
Decrease the ow of feed
solution
Increase the ow of feed
solution
Be able to decrease the
feed solution ow
Have to increase the feed
solution ow
And
Increase the amount of time
between solution batch mixing.
Decrease the amount of time
between solution batch mixing.
Increase the amount of time
between solution batch mixing.
Decrease the amount of time
between solution batch mixing.
Keep in mind
You might not be adding enough feed
solution to dechlorinate the water.
You might be using too much V-D-C mix
and overdosing the discharge water.
More V-D-C will be used and less time
spent making solution batches.
Less V-D-C used. More time spent
making solution batches.
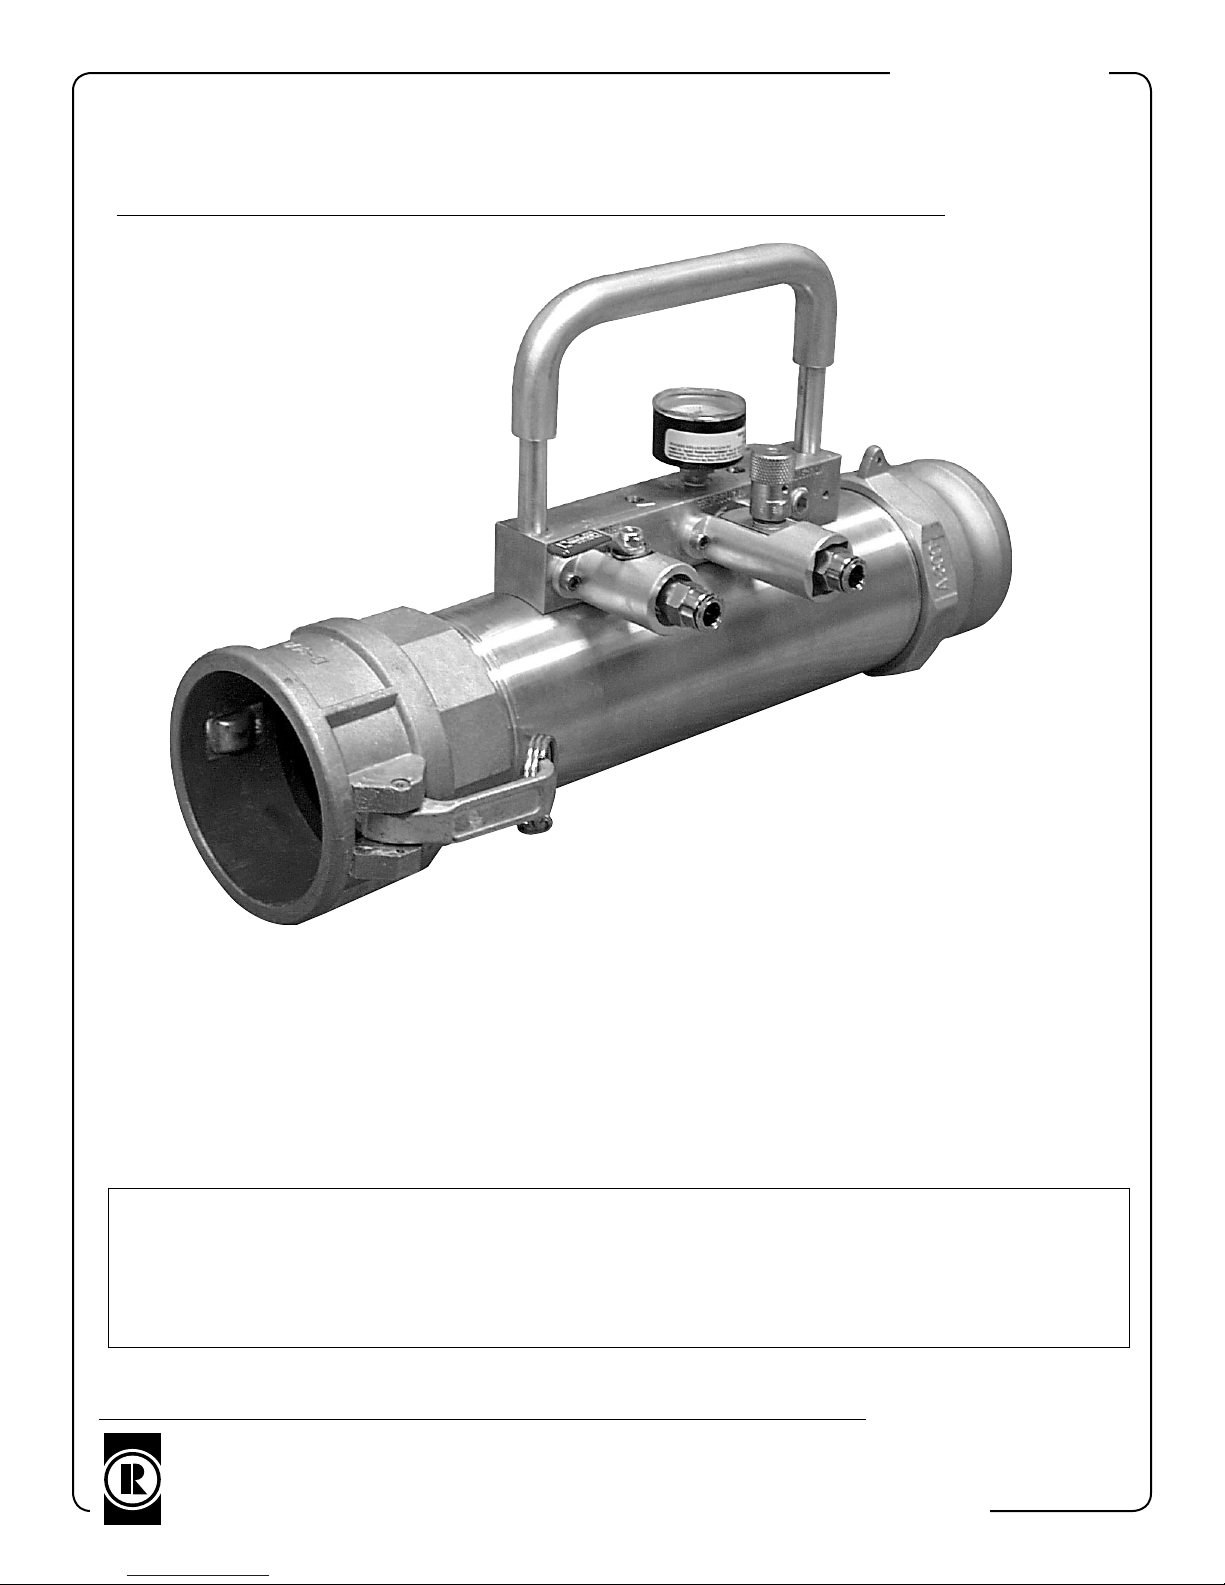
Transmate
deChlorinator