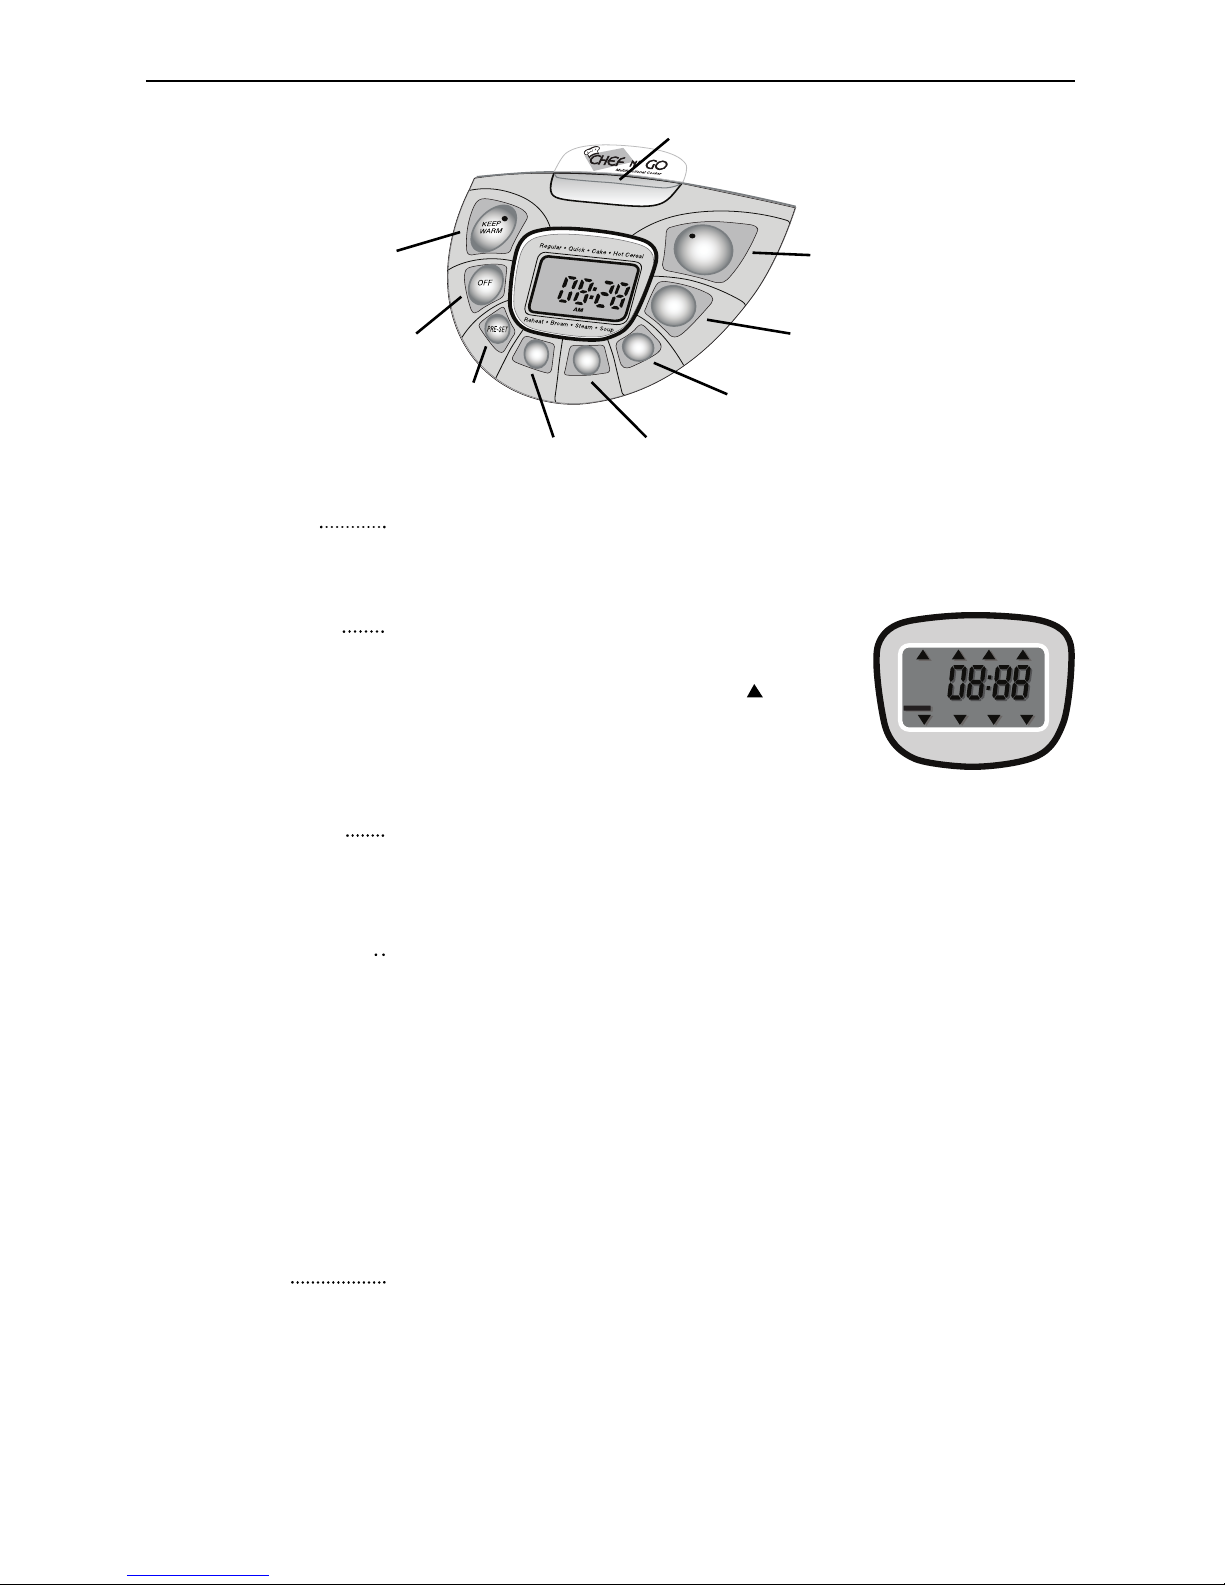
USING THE CHEF N GO: Regular and Quick Cooking modes
8
Prepare and add all ingredients into the inner pot.
Place into CHEF N GO, close lid and click shut.
Connect the power cord and press the “Menu” button to
choose Regular or Quick cooking mode, when you have
made your choice press the “Start” button to activate the
cooking mode selected. When the cooking cycle is com-
plete, the “Keep Warm” function will automatically engage.
When you are ready for your meal press the “Off” button
and unplug the power cord.
What you can make and the many uses.
Press the MENU button to access these modes.
Basic Instructions. Regular and Quick cooking modes are used for any one pot
meal such as Stew, Pot Roast, Chili, Pork Ribs, Garlic Chicken, Spaghetti Sauce,
Seafood Gumbo, to name a few, and both can also be used for cooking potato, rice
and side dishes. Regular cooks in 50 minutes and Quick in 40 minutes- so depend-
ing on the recipe and your schedule you can determine which one to use. Please
note that any foods can be prepared in the “Regular” and “Quick” modes that cook
under 50 minutes because the microchip sensor will sense
when cooking is completed (even if 5 minutes) and
switch to”Keep Warm” function to assure perfect cooking
every time.
1
2
3
Note:
You may utilize the
Pre-Set function in the
Regular and Quick
cooking modes,
setting the Pre-set
timer to when you
would like your meal
completed. (Refer to
the instructions for
the Pre-Set timer).
1 pound Boneless Beef Round Steak, cut into 6 pieces
2 to 3 Yukon Gold Potatoes, cut into quarters
1 cup Fresh or frozen whole baby carrots
1 medium Sweet onion, sliced (about 1 cup)
1 can (14oz) Diced tomatoes with basil, garlic and oregano
1 can (10oz) Beef gravy
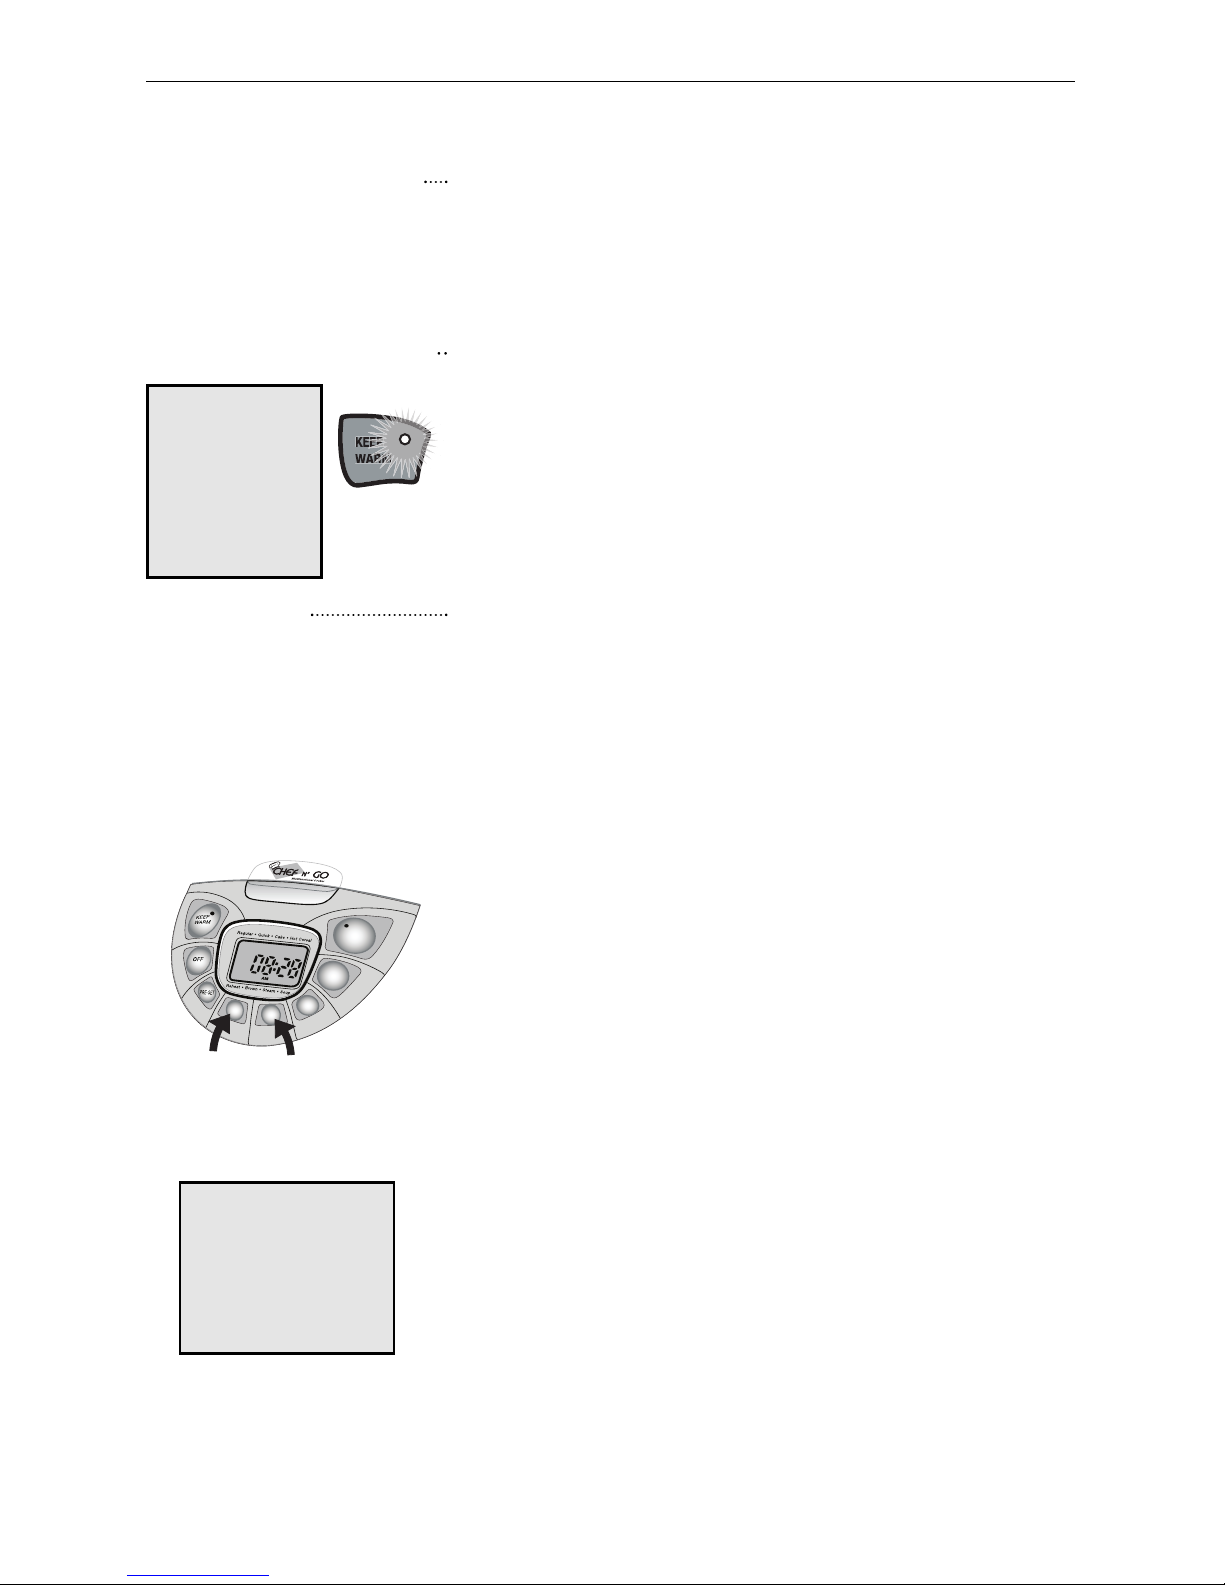
When the “Start” button light is flashing press the “Menu” button until “Brown”
mode is indicated-then press the “Start” button. Brown beef using the “Brown”
function in the CHEF N GO until it is to your liking (approx. 10 minutes).
Place potatoes, carrots and onions over the meat.
Mix the tomatoes and gravy together in a mixing bowl, and pour over beef and
vegetables. When the "Start" light is flashing, press the "Menu" button until
"Regular" mode is indicated, then press the “Start” button. When done (50 minutes-
1 hour) the CHEF N GO will automatically switch to the “Keep Warm” function.
Ronco CHEF N GO Swiss Steak (serves 4)